
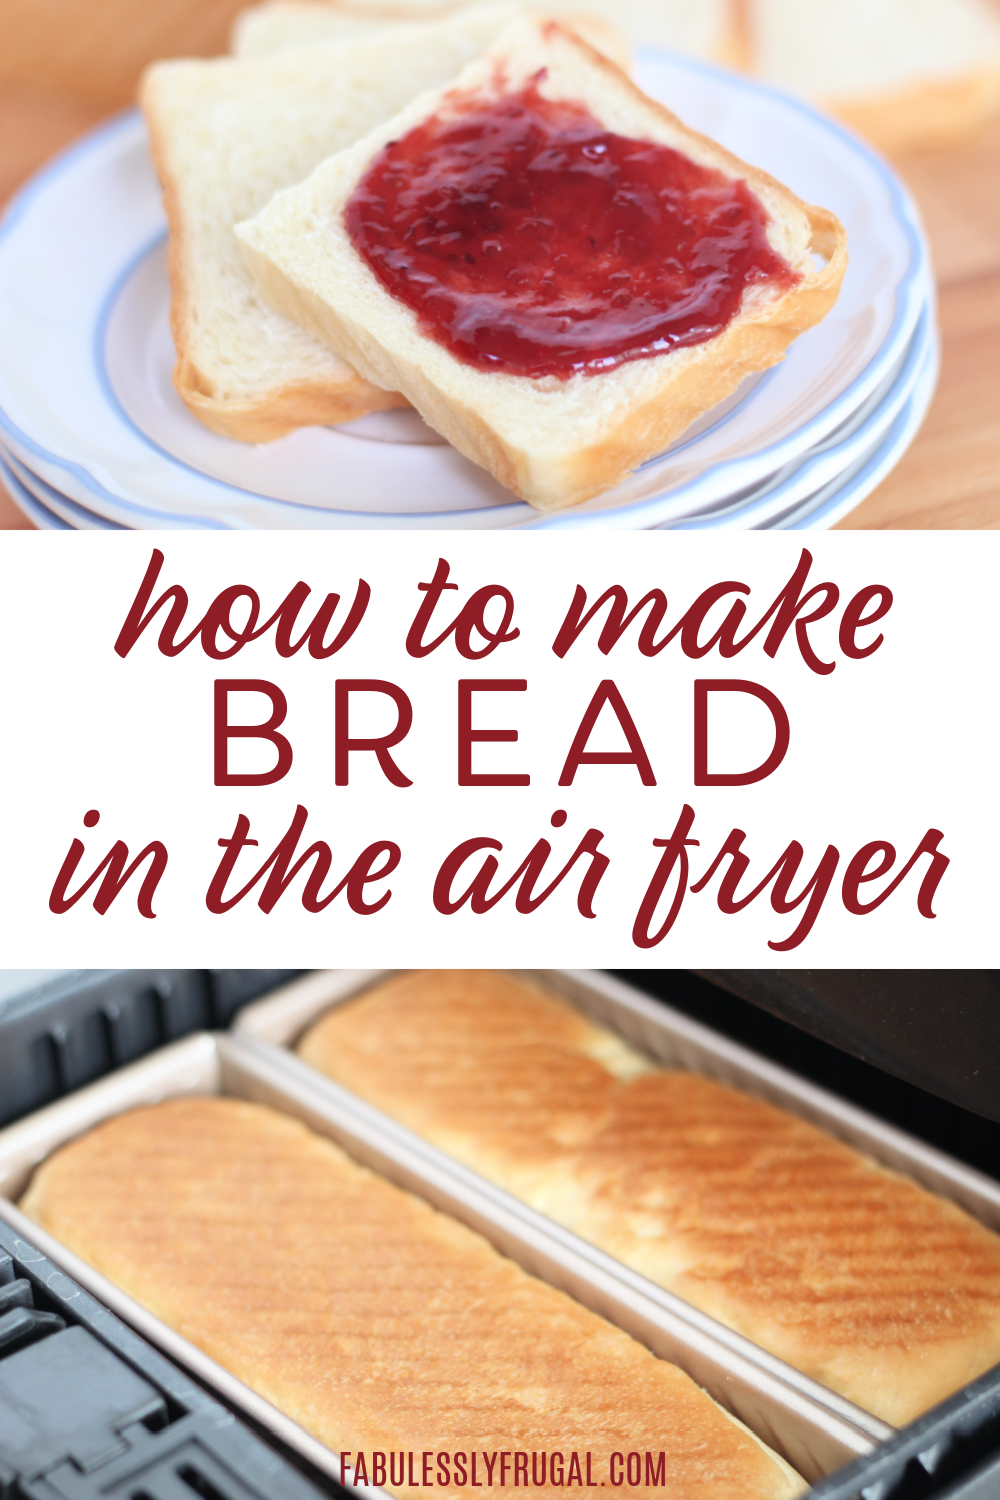
How to Bake Easy Air Fryer Bread
Yes, You Can Make Homemade Bread in the Air Fryer
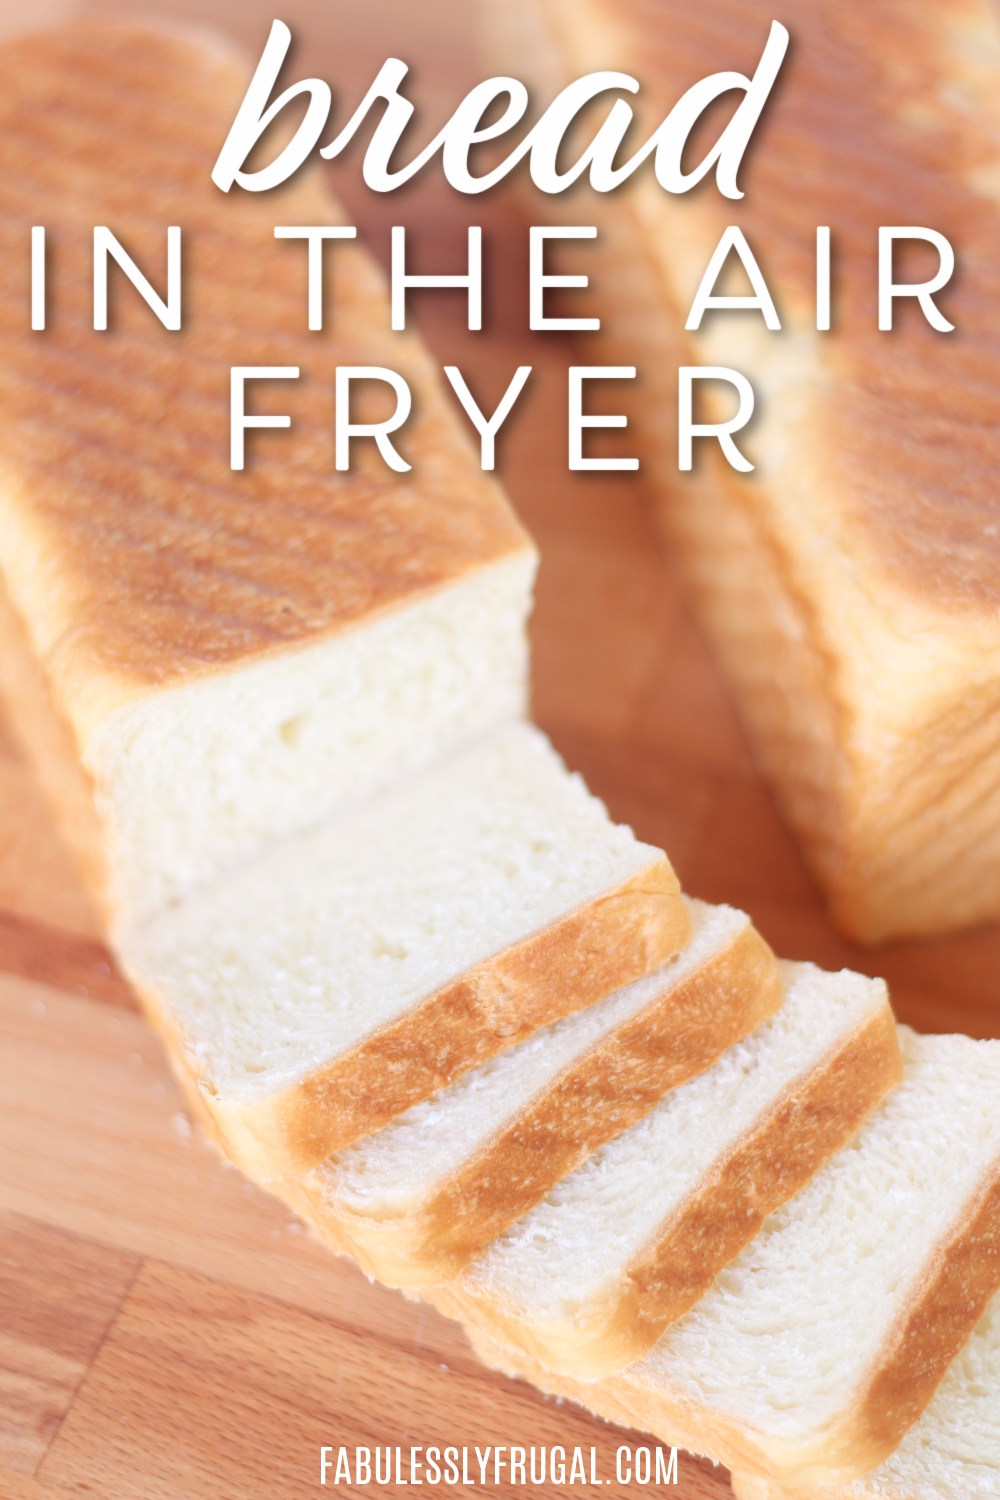
The Easiest Homemade Bread in Your Air Fryer (No Oven Needed)
Summary How To Make Homemade Bread in the Air Fryer
How do you make air fryer bread? Mix flour, milk, water, butter, sugar, salt, and instant yeast. Knead 5–6 minutes, rise until doubled, shape into a loaf pan that fits your air fryer (we tested this recipe using Pullman loaf pans), rise again, then air fry at 370°F until the center reaches 200°F on an instant-read thermometer.
- Best tested pan: Pullman loaf pan
- Cook Temp: 370°F
- Done temp: 200°F internal
- Timing: ~20–30 minutes (varies by pan + air fryer)
I’m not one who normally makes homemade bread, but once I learned how to make thi easy air fryer bread, I was hooked. Huge shoutout to viewer Richard in Chicago for sharing this life-changing recipe. You can watch the full process in the video below, or keep reading for step-by-step instructions, the best pan options, and troubleshooting tips.
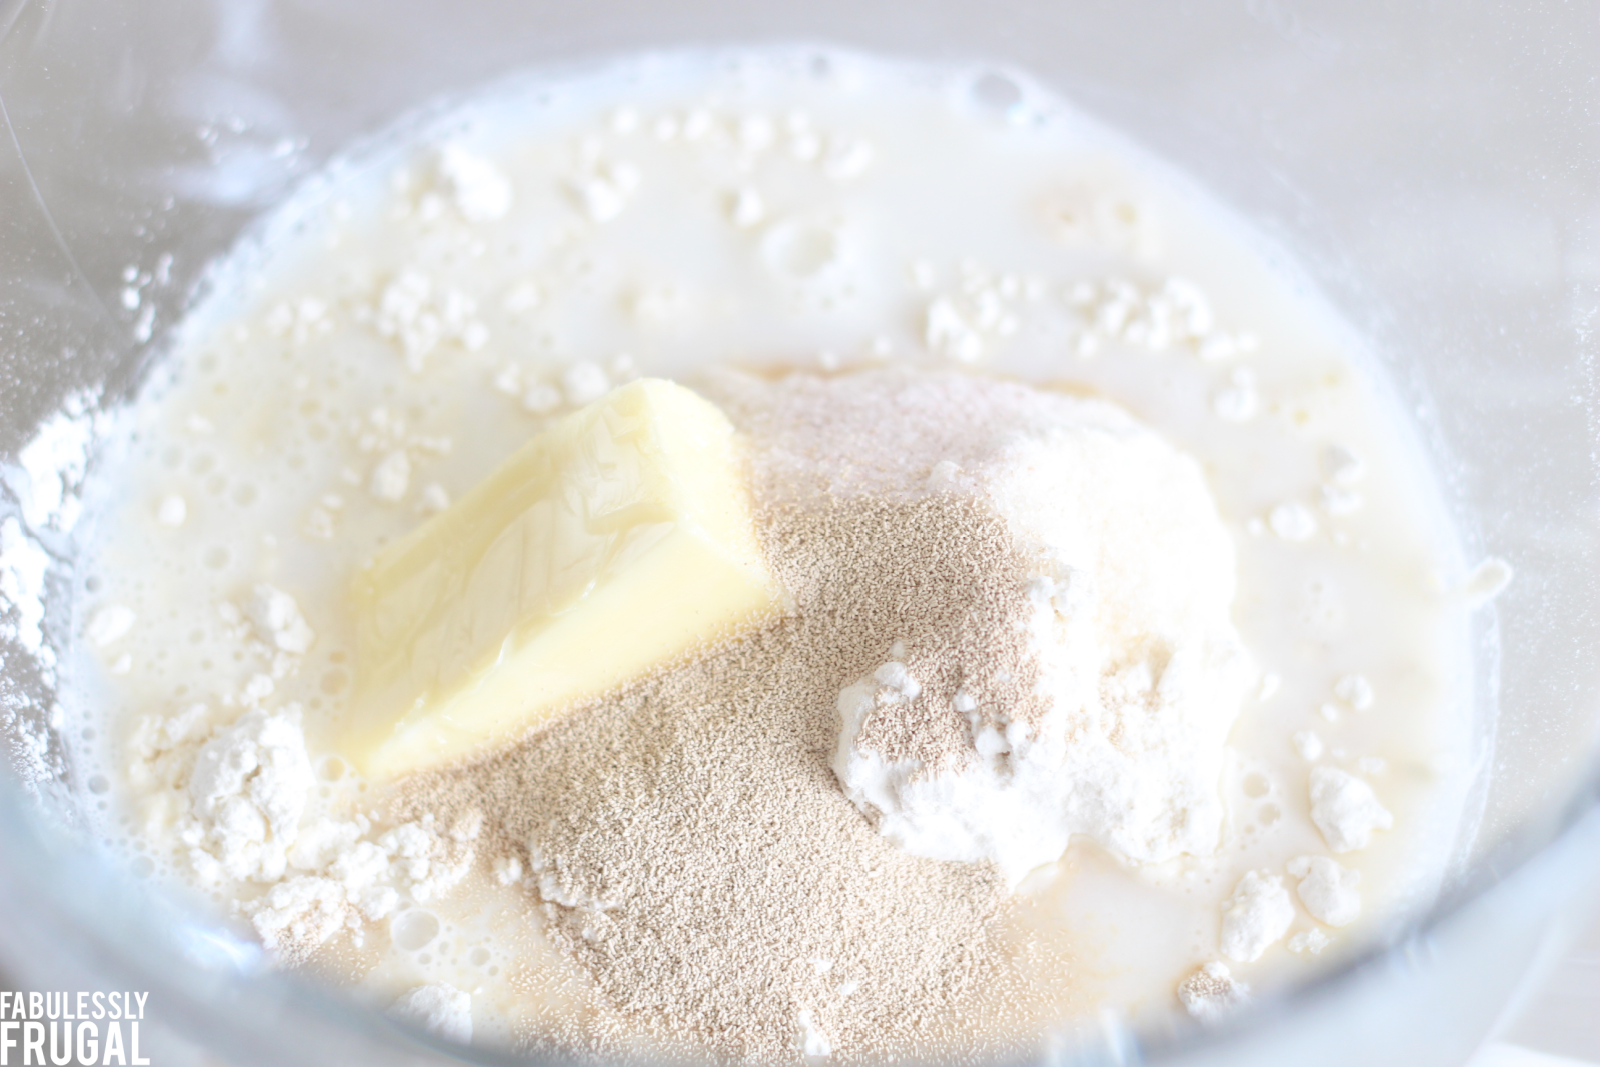
Ingredients for Air Fryer Bread
This air fryer bread recipe is also called Pain de Mie (Pullman bread). It makes a 1-pound loaf or two half-pound loaves.
- 3 cups all-purpose flour (375 g)
- 1/2 cup milk (123 g)
- 1/2 cup lukewarm water (118 g)
- 4 tablespoons softened butter (56 g)
- 2 tablespoons sugar (25 g)
- 1 1/2 tsp salt (7 g)
- 2 1/4 tsp instant yeast (8 g)
Best results tip: Measuring in grams is the easiest way to get consistent bread. A digital scale helps a ton (especially with flour).
If you’re new to yeast, this quick guide from King Arthur Baking explains how yeast works and why temperature and measurements matter.
Best Pan to use for Air Fryer Bread
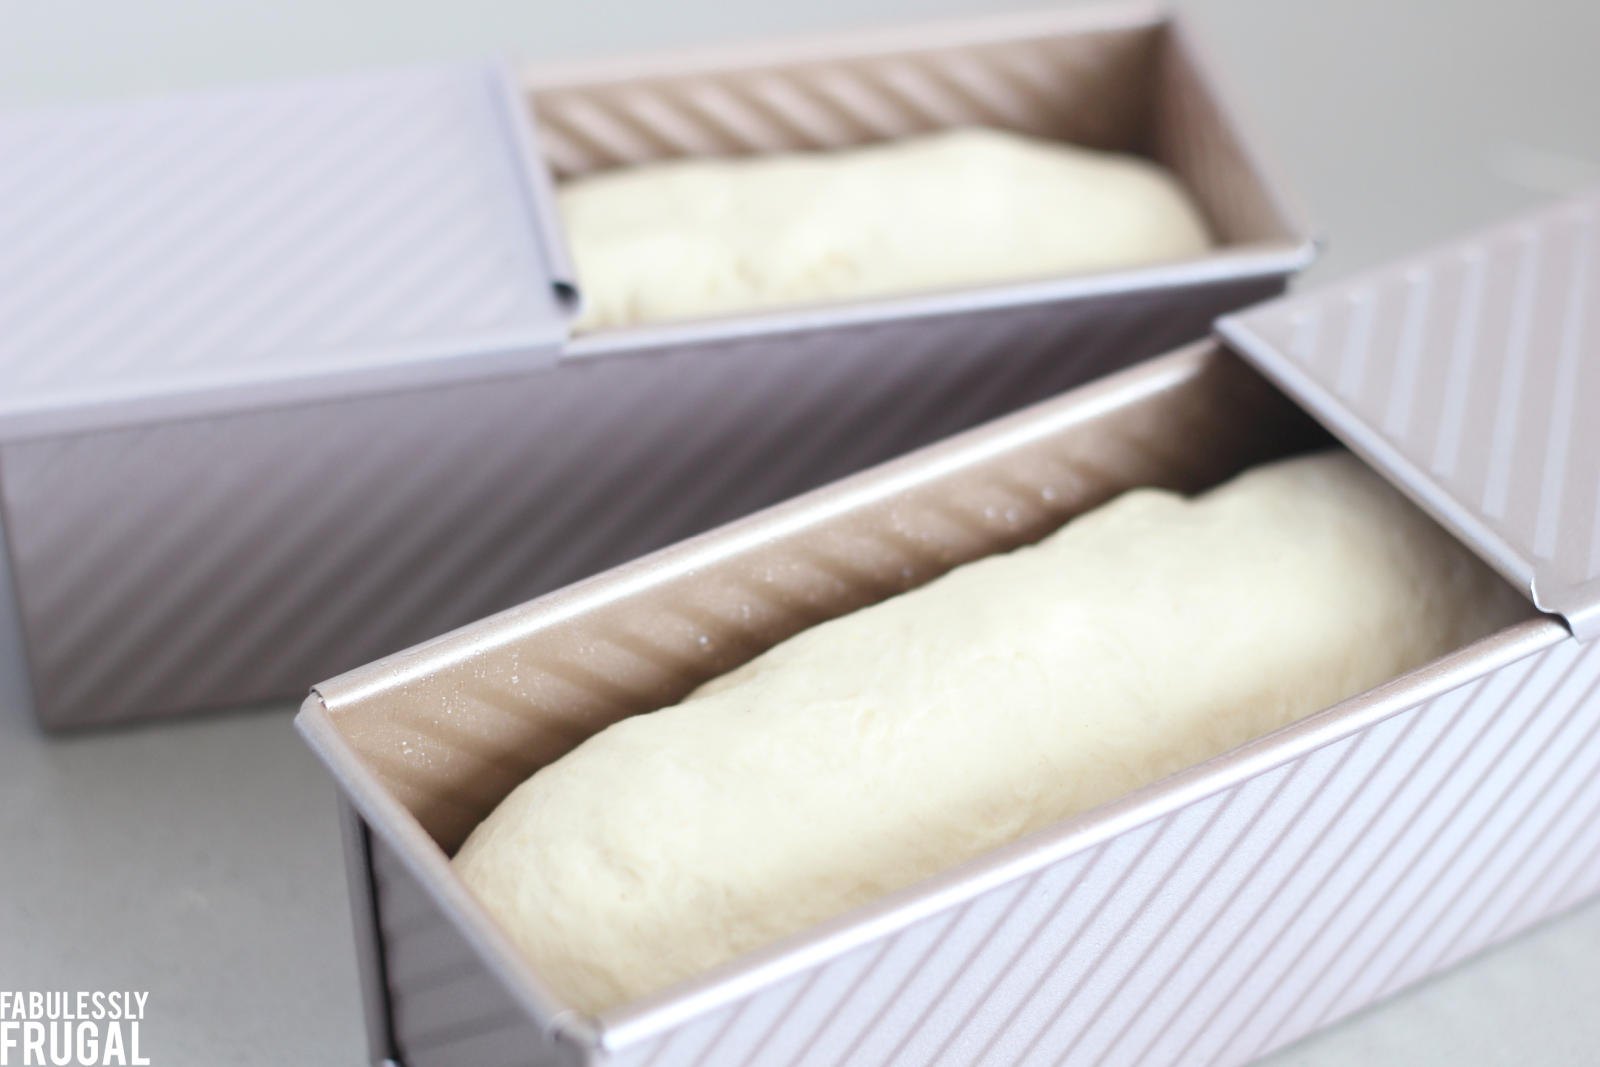
After testing this air fryer bread multiple times, we found that a Pullman loaf pan produces the most consistent results. It gives you straighter sides, an even rise, and that classic soft sandwich-bread shape.
🥇 Best Option (Tested & Recommended): Pullman Loaf Pan
- Square, sandwich-friendly slices
- Even structure and rise
- Consistent browning (especially when covered with foil)
- Perfect Pain de Mie texture
This is the pan we used during testing and in the video. Just be sure to measure your air fryer basket so the pan fits with a little airflow around it.
✅ No Specialty Pan? These Options Can Work Too
If you don’t have a Pullman pan, you can still make bread in the air fryer. Choose a pan that fits your basket and allows airflow:
- Standard 8-inch loaf pan
- Two smaller loaf pans (split the dough)
- Mini loaf pans
- Small cake pan
Pro Tip: Cover with foil so the top doesn’t over-brown before the center is done.
Step-by-Step: How to Make Bread in the Air Fryer
- Knead: Add all ingredients to a bowl (or bread maker) and knead for 5–6 minutes.
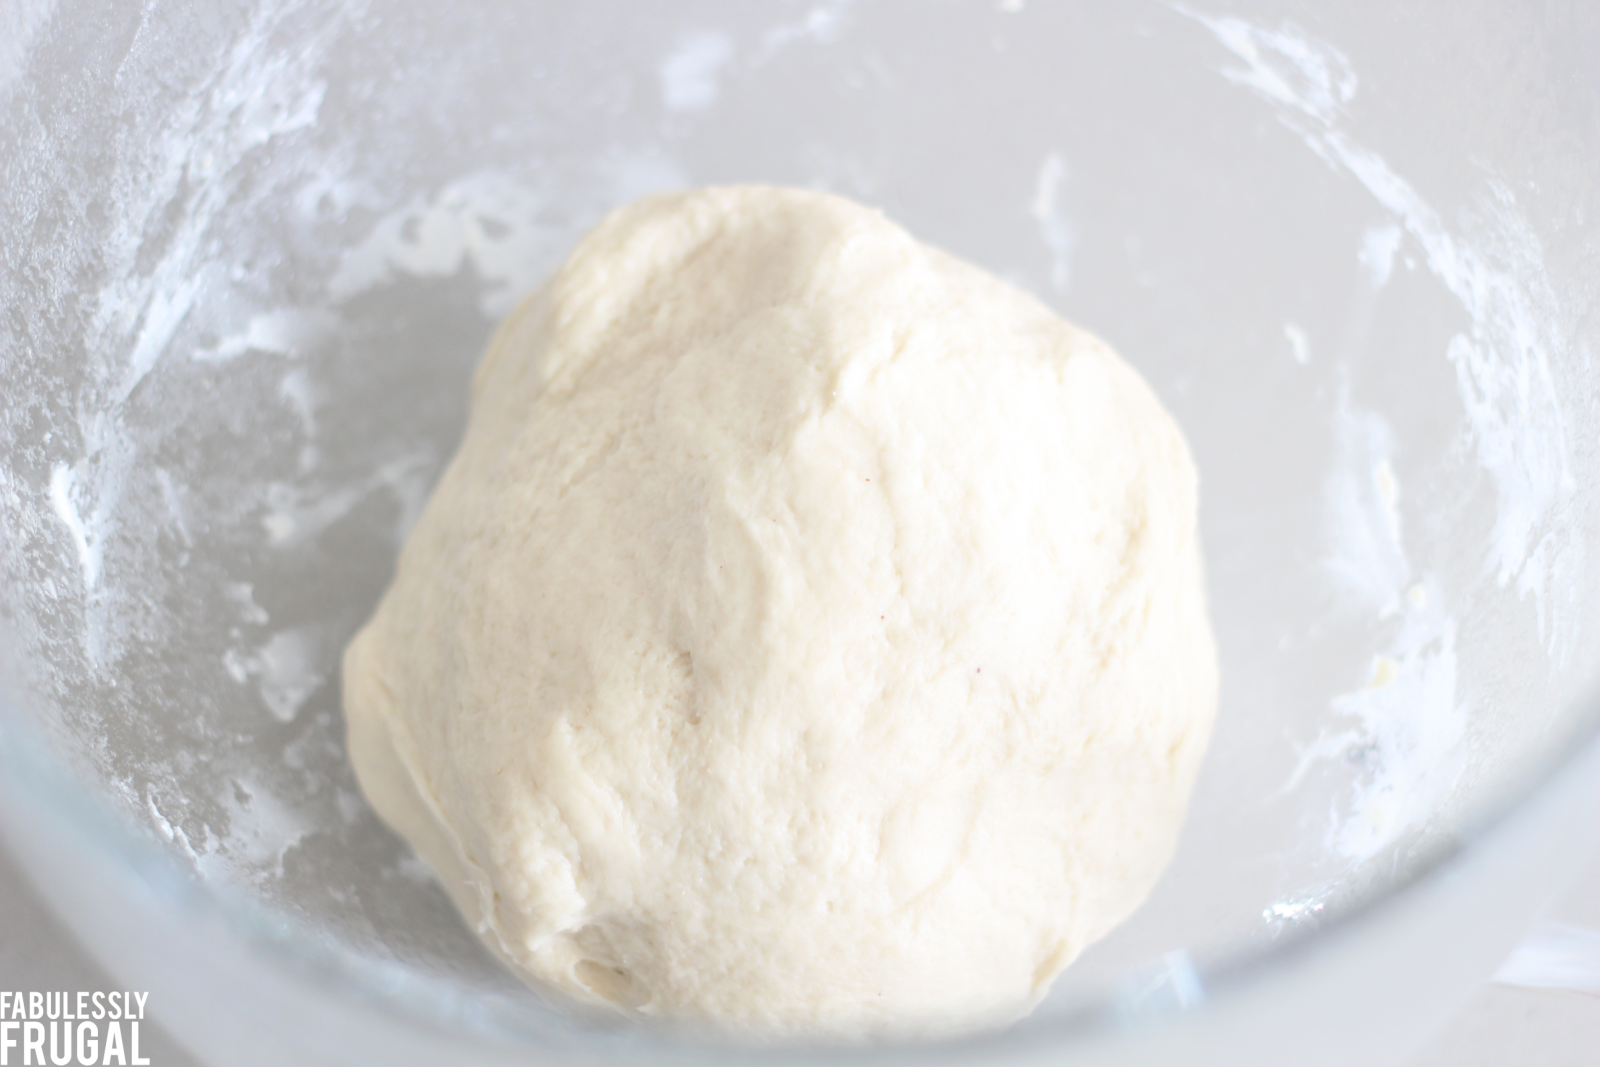
- First rise: Lightly spray a bowl with oil, place dough inside, cover, and let rise 1–2 hours (until doubled).
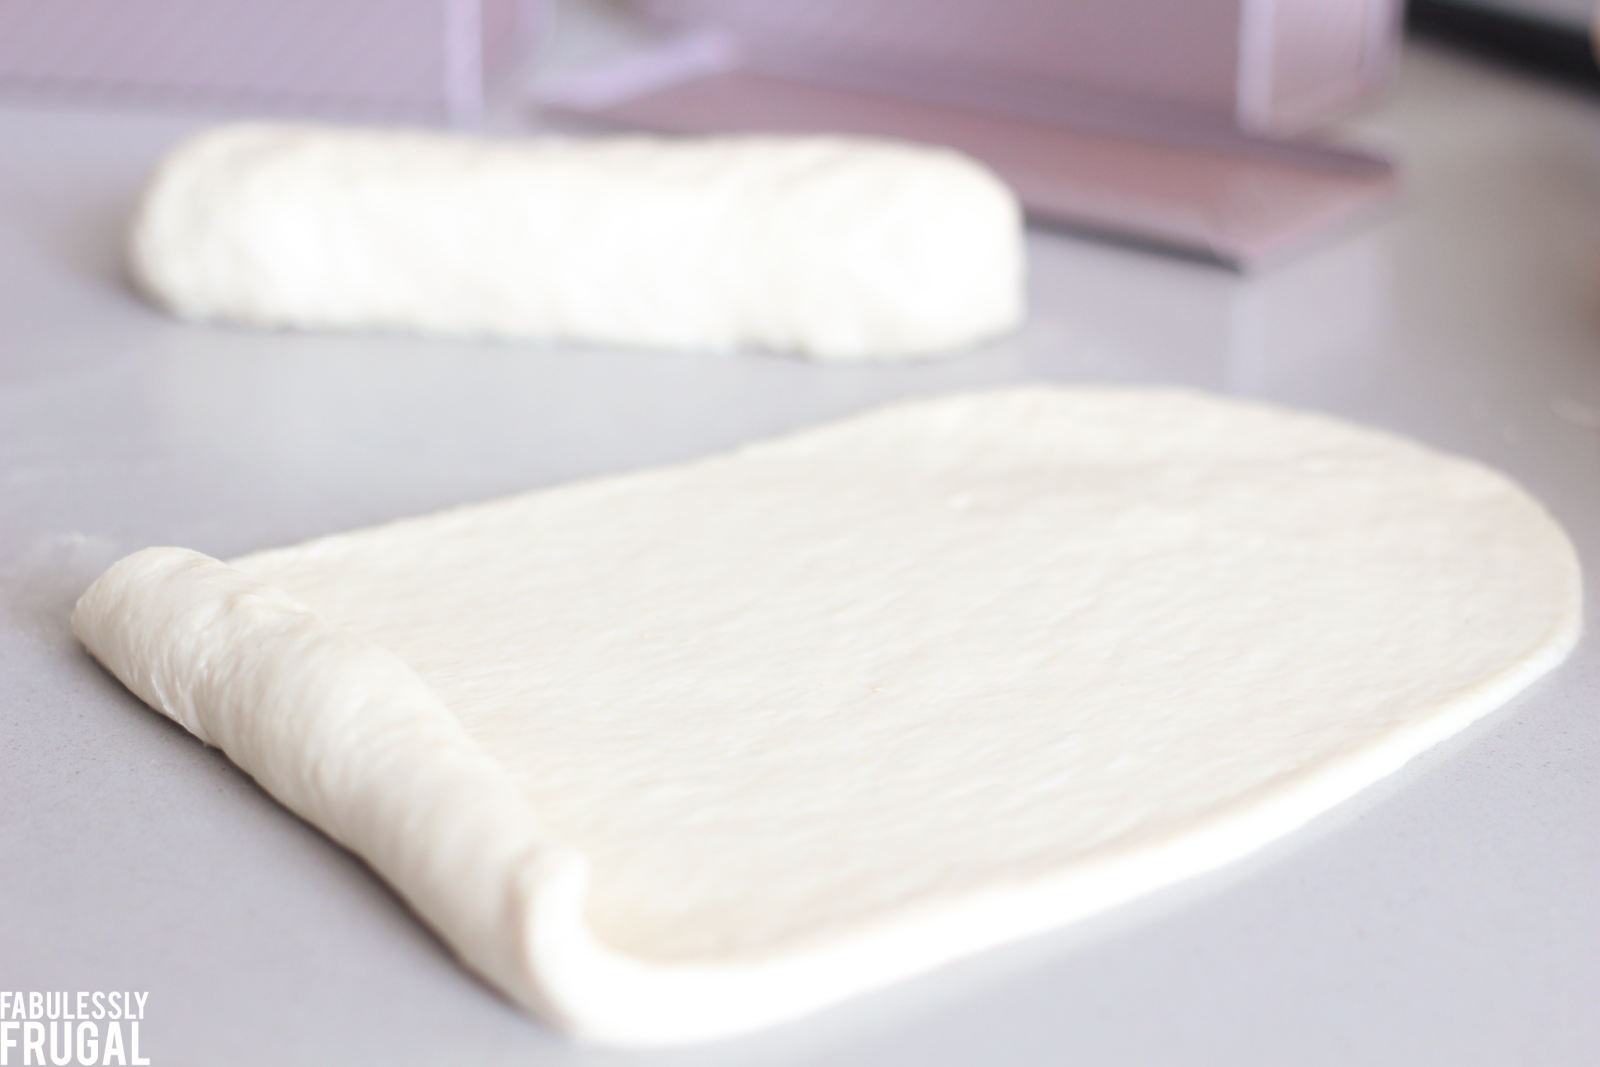
- Shape: Turn dough out and shape to fit your loaf pan.
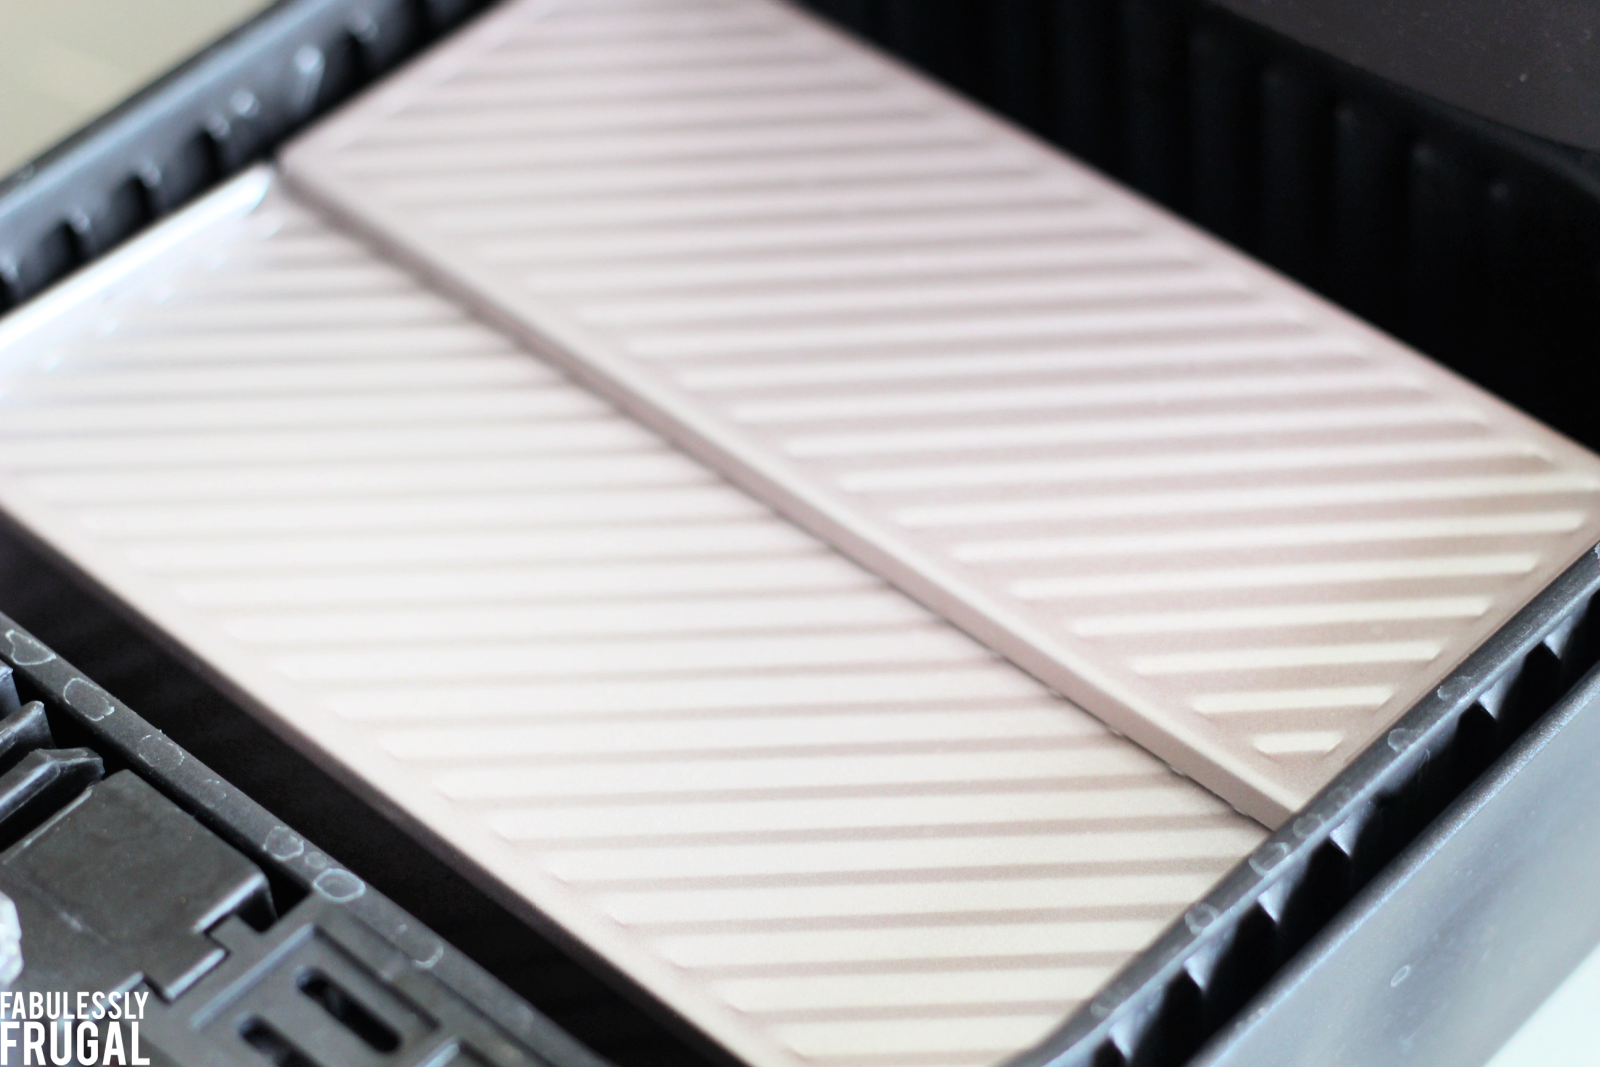
- Second rise: Place in pan, cover, and let rise another 30 minutes.
- Cover: Loosely cover with foil before cooking.
How Long Should I Cook Air Fryer Bread?
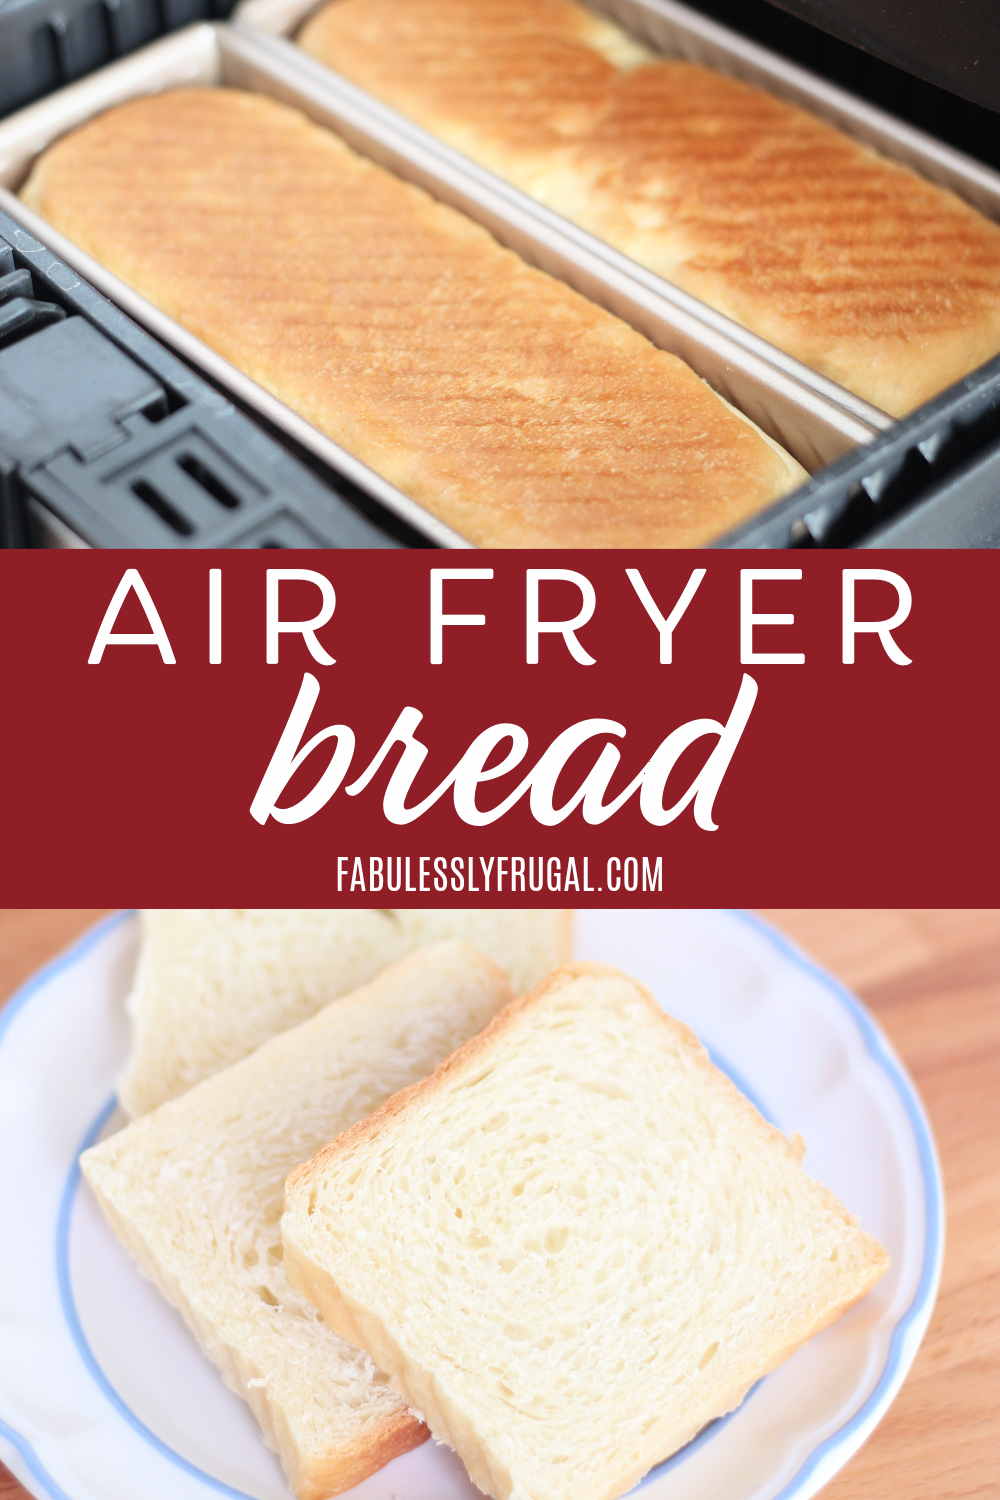
Air fry (bake) the bread covered at 370°F (187°C) until the internal temperature reaches 200°F.
- Smaller pan (half recipe): 21–22 minutes
- Larger pan (full recipe): about 30 minutes
Pro tip: Use an instant-read thermometer
Every air fryer runs a bit differently. Your air fryer bread is finished when it hits 200°F in the center. If it’s not there yet, add 2–3 minutes at a time until it is.
You can get a FREE download of the top 18 Air Fryer Tips PLUS recommended internal temps for meats & baked goods.
Troubleshooting Air Fryer Bread
- Top is browning too fast: Keep foil on loosely the whole time (don’t seal tightly).
- Bread is dense: Yeast may be old, dough didn’t rise long enough, or flour was over-measured. (Using grams helps.)
- Center is undercooked: Cook 2–3 minutes longer and check temp again (goal: 200°F).
- Dry bread: It likely cooked past 200°F. Pull it right at temp and cool on a rack.
Final Thoughts
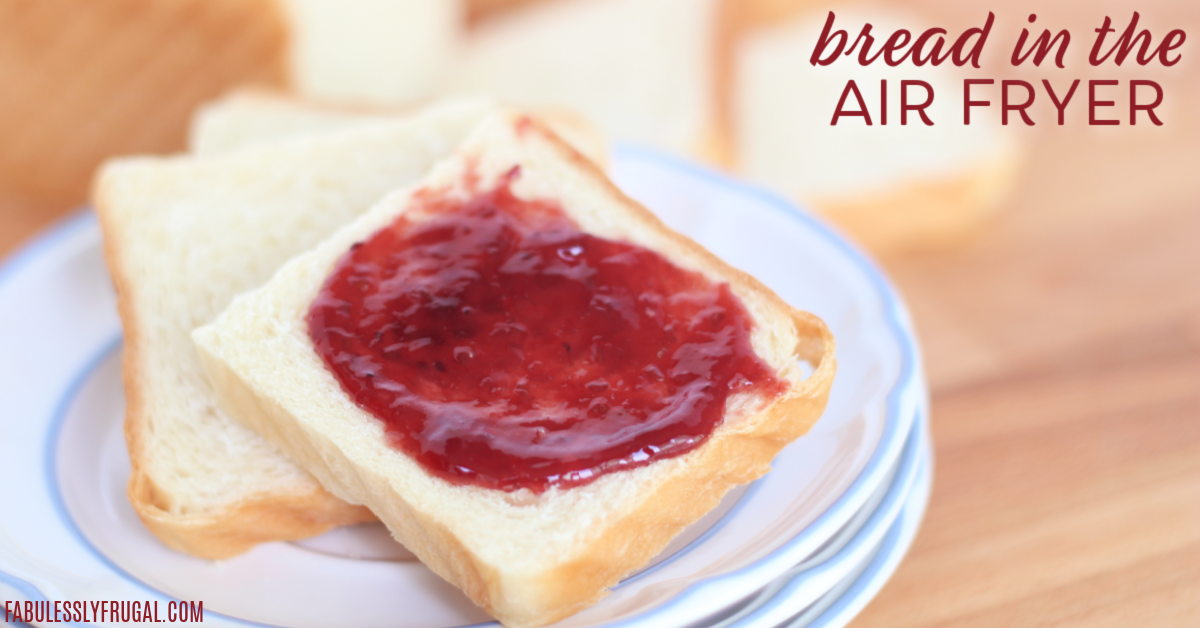
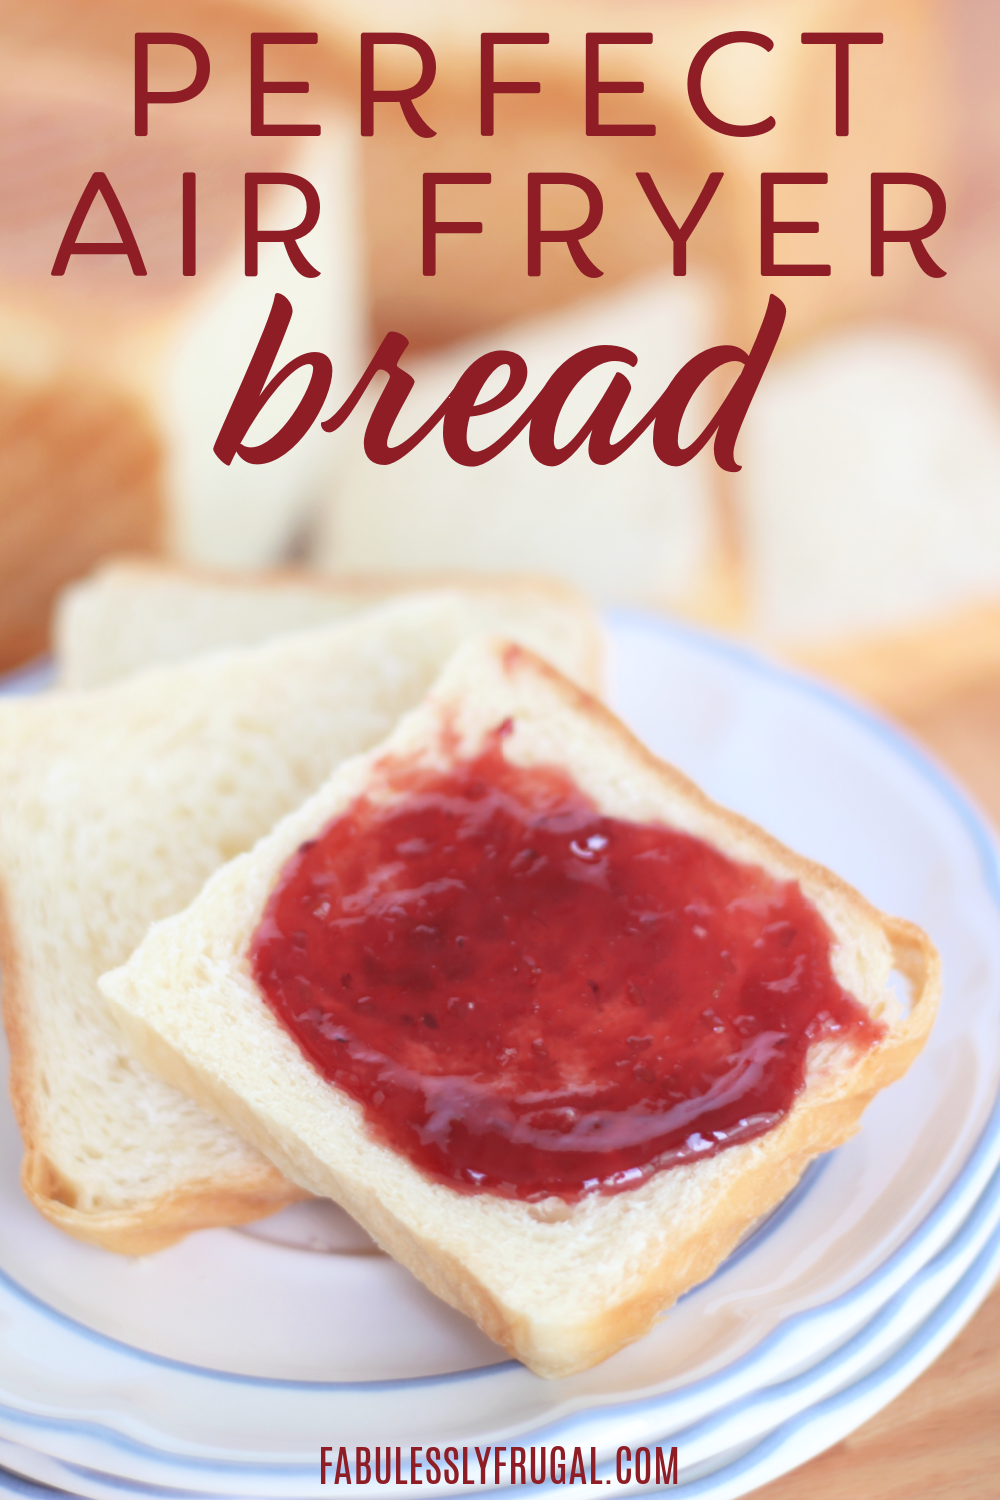
This bread is crazy delicious and genuinely easier than you’d expect. We love it fresh with butter, or as sandwich bread the next day. Try it with this homemade strawberry jam.
Air Fryer Bread FAQ
Can you bake bread in an air fryer?
Yes. An air fryer works like a compact convection oven, making it perfect for small-batch homemade bread. Just use a pan that fits inside your basket and check for doneness at 200°F internal temperature.
Do I need a Pullman loaf pan?
No — but it’s our top tested option for the most consistent shape and texture. A standard 8-inch loaf pan works well too, as long as it fits your air fryer.
I only have one 8-inch loaf pan. Should I use half the recipe?
Yes. If you only have one 8-inch pan and your air fryer cannot fit two pans at once, simply make half the recipe. This prevents overcrowding and ensures even cooking.
Can I proof this dough overnight?
Yes. You can use a method called cold fermentation. After kneading, place the dough in a lightly greased bowl, cover tightly, and refrigerate for 8–12 hours.
In the morning, remove the dough from the fridge and let it sit at room temperature for 20–30 minutes before shaping. The dough will rise more slowly in the refrigerator, but it will still ferment and develop deeper flavor.
What temperature should air fryer bread reach?
Your bread is done when the internal temperature reaches 200°F (93°C). Use an instant-read thermometer for accuracy.
Why is my air fryer bread dense?
Dense bread is usually caused by old yeast, under-rising, or adding too much flour. Measuring in grams and allowing the dough to fully double in size helps prevent this.
More Easy Recipes
- Air Fryer Chocolate Chip Cookies
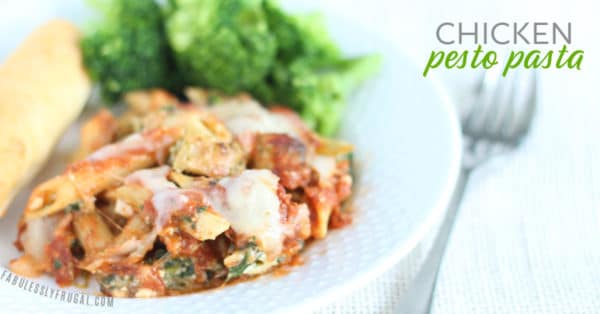
- Greek Chicken Souvlaki in the Air Fryer
- Easy Air Fryer Corn on the Cob
- Savory Air Fryer Carrots
🍟 Air Fryer Tips & Tricks You’ll Love

Pullman-Style Air Fryer Bread (Soft Sandwich Loaf)
Equipment
Ingredients
- 3 cups all-purpose flour 375 g
- ½ cup milk 123 g
- ½ cup lukewarm water 118 g
- 4 tablespoons butter, room temperature 56 g
- 2 tablespoons sugar 25 g
- 1 ½ teaspoons salt 7 g
- 2 ¼ teaspoons instant yeast 8 g
Instructions
- Add all ingredients to a mixing bowl or bread maker. Use a digital kitchen scale for accurate measurements. Knead for 5-6 minutes. Dough should be soft, smooth, elastic, and tacky.
- Remove dough and knead by hand and form into a ball. Lightly spray the bowl with an oil spray and place the ball of dough back into the bowl. Cover and let rise for 1-2 hours, until doubled.
- Punch down dough to remove air bubbles. (Divide dough equally if using two pans.) Roll out dough, keeping with the width of the loaf pan, and roll up the dough tightly, pinching the seam and tucking the ends under. Place loaf in a lightly sprayed/greased Pullman loaf pan. Cover and let rise for another 30 minutes.
- Bake covered with loaf pan lid at 370˚F for 21-22 minutes (for two smaller pans) or 30 minutes (for larger pan), until internal temperature reached 200˚F. Turn bread out from pans and let cool on a cooling rack.
Nutrition
Trending Recipes


Comments & Reviews
Leave a Review/Reply
More Related Recipes


Trending Recipes
- Recipes
- DIY
- Deals
- Blog


Popular
Recommended
About Us

At Fabulessly Frugal, our goal is to help you live HEALTHY, WEALTHY, and WISE! My team and I work hard to bring you the best, online deals, clean eating, DIY's, freezer meal recipes, and more! I LOVE coaching and inspiring people to improve their health in my fitness challenge! You should also check out my favorite cleanse! Learn more about me and the rest of my team.


Copyright © 2008–2026
Fabulessly Frugal: A Coupon Blog Sharing Gift Ideas, Amazon Deals, Printable Coupons, DIY, How to Extreme Coupon, and Make Ahead Meals. All rights reserved
Hi,
I would love to try this recipe, I have one 8″ pan, do I have to use half the ingredients?
thanx
Hi, Rindi. Yes if you only have one pan, then only make half of the recipe.
Thank you!!! 🙂
thank you! 🙂
Hi again,
I’m wondering if there is a mistake with the flour quantity, 3 cups of flour is 175g??? mine was too liquid so I had to add a lot of flour 🤔
thank you
In the text it says 375, I think its a typo. in the recipe card.
Definitely a typo, thanks for catching that! You will want to use 375 grams of flour.
Your link to buy the bread pan(s) links to an old Amazon listing.
Hi Cathy,
ich will definitely try this in my COSORI and compare it to the PANASONIC SD-YR2540 bread machine, thanks a lot! :-p
BTW, I think there might be another typo: ‘…internal temperature of 200˚F or 93.3˚F…’
Did you mean ‘… 93.3˚C…’ (Celsius)?
Bye 🙂
Thanks, Wolf! Let us know how it goes! And thank you for catching that typo 🙂
Love an air fryer loaf. Getting the timings right is the key to a good loaf. I had good success at 180c for 25 minutes.
Thanks for sharing, Martin. Glad you enjoyed it!
Anyway to prove this overnight so its ready to bake in the morning?
Hi Gemma, yes, you can proof this dough overnight. Instead of letting it rise on the counter, place it in a bowl and cover with plastic wrap. Then place it in the fridge for 8-12 hours. In the morning, take the dough out of the fridge and let it come to room temperature for 20-30 minutes before shaping it and proceeding with the rest of the recipe. This process is called “cold fermentation.” The dough will rise slowly in the cold, so it won’t rise as much as it would at room temperature, but it will still ferment and develop flavor. Let us know how it goes!