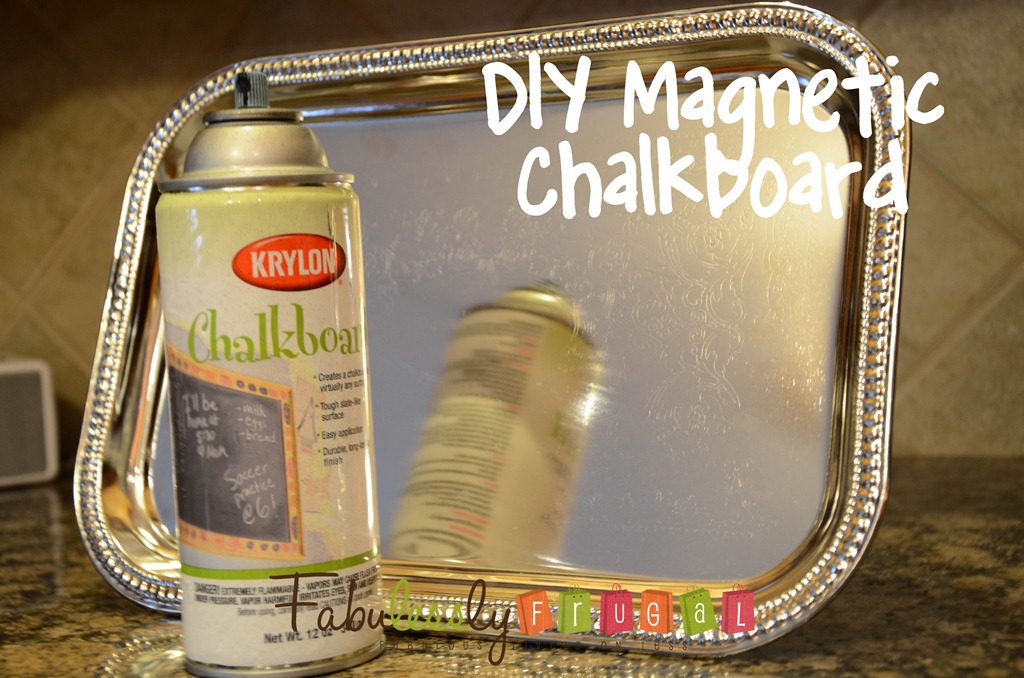
DIY Magnetic Chalkboard {Picture Tutorial}
Hey Y’all! I’ve got a really easy craft for you this week. I’m going to show you how to make your own magnetic chalkboard. You only need 2 things:
{PIN THIS}
-
A can of chalkboard spray paint
-
A Metal tray {I got mine from the Dollar Tree, they have a few different shapes}
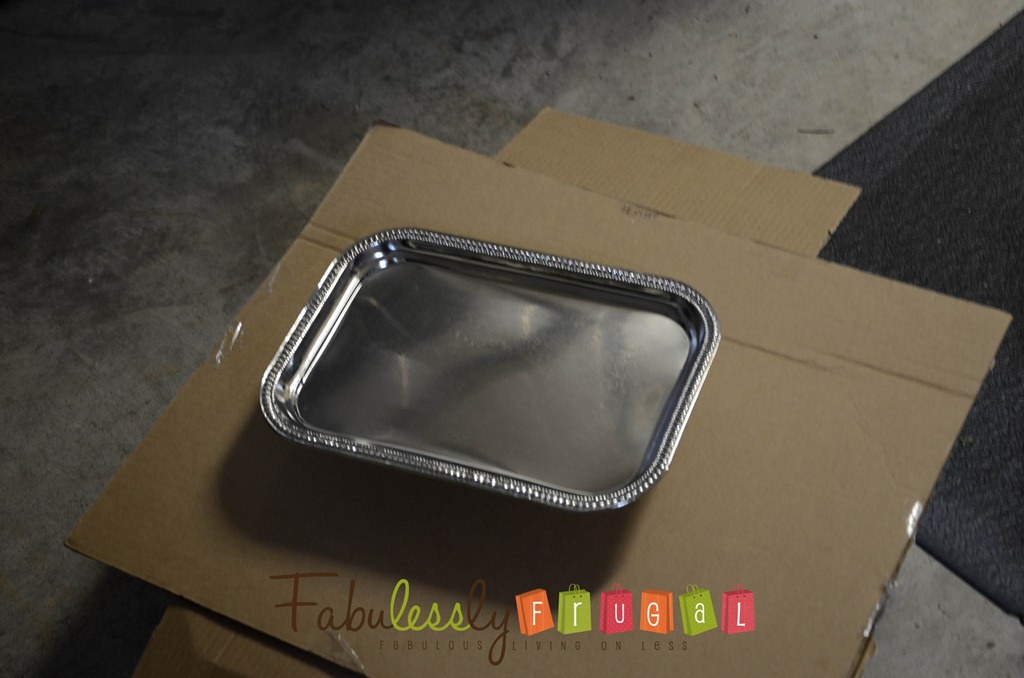
Make sure the tray is wiped clean, I had a couple of dust things on it that I noticed after I started painting.
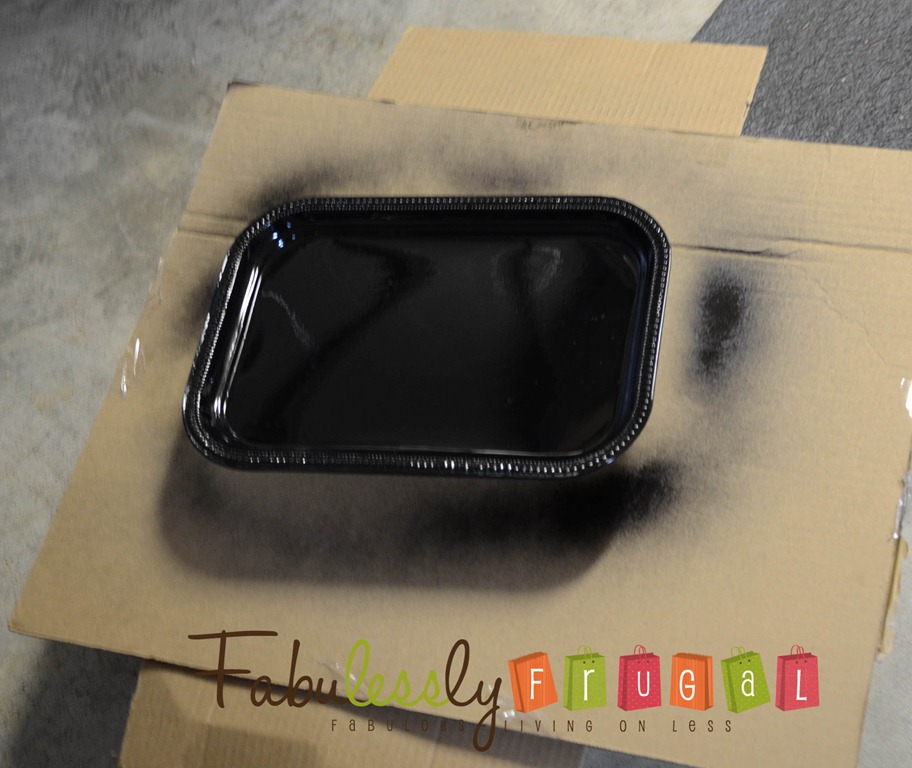
Follow the directions on the can. I applied 2 coats, letting it dry a little bit in between each coat.
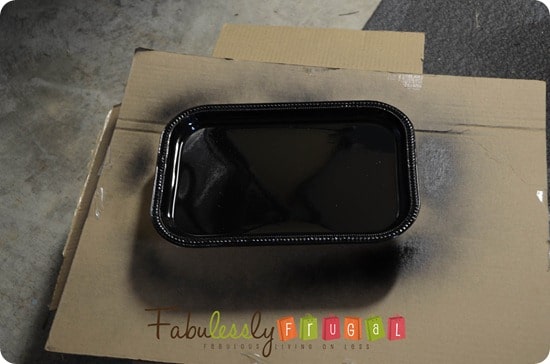
Let it dry for 24 hours before you try to use it, again trust me on this. I was impatient and tried to use it after a few hours…it didn’t work so just let it dry.
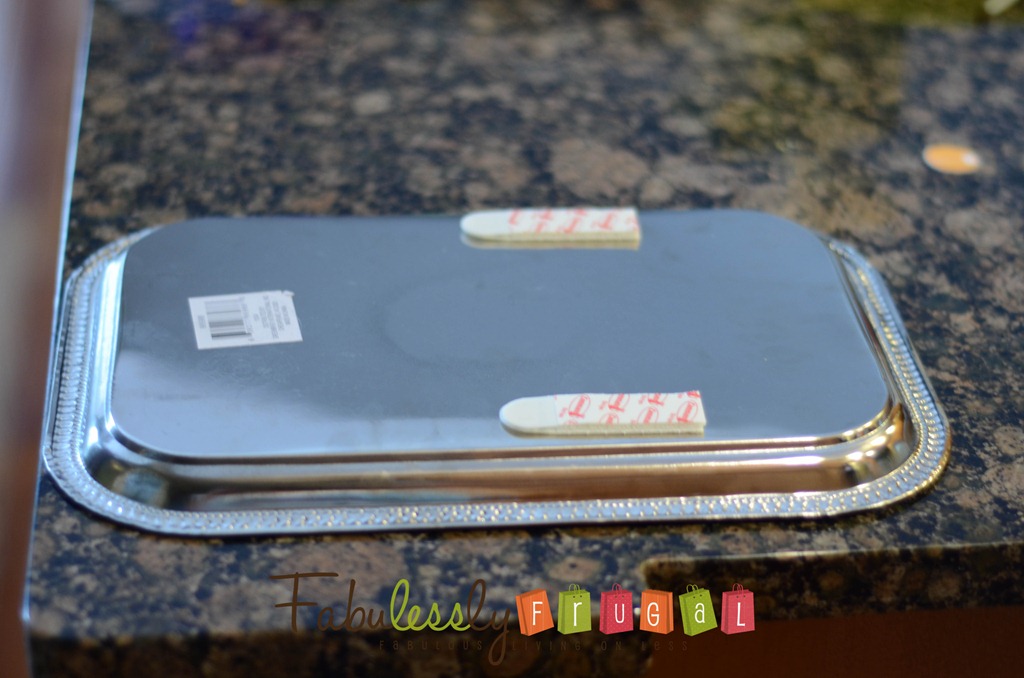
I wanted mine on the side of a cabinet in my kitchen so I could put daily reminders on it. I used my favorite 3M picture hanging strips to hang it up so I can take the chalkboard down to use for other things {like photo shoots}.

I like that it is magnetic so I can put things {like coupons} that I don’t want to forget to use on it. A fun and quick craft that you can make for just a couple of dollars!
Trending Diys

Comments
Leave a Reply
More Related Diys


Trending DIY Projects
- DIY
- Recipes
- Deals
- Blog


Report a Problem
Please select the problem you are facing with this deal:
- Price Increased
- Price Decreased
- No longer available
- Expired
- Link doesn't work
- Suggestion
- Compliment
- Other
Add more details:
Thank you for your feedback. We really appreciate it.
Enter your email address if you would like
to receive a follow up.
Please Try Again
Thanks for providing the email address.
We will reach out to you as soon as possible.


Popular
Recommended
About Us

At Fabulessly Frugal, our goal is to help you live HEALTHY, WEALTHY, and WISE! My team and I work hard to bring you the best, online deals, clean eating, DIY's, freezer meal recipes, and more! I LOVE coaching and inspiring people to improve their health in my fitness challenge! You should also check out my favorite cleanse! Learn more about me and the rest of my team.

Copyright © 2008–2026
Fabulessly Frugal: A Coupon Blog Sharing Gift Ideas, Amazon Deals, Printable Coupons, DIY, How to Extreme Coupon, and Make Ahead Meals. All rights reserved
We made these a few years ago in my MOPS group. But we used cookie sheets, and used scrapbook paper to make them a little more fancy. I love mine and use it all the time. Looks great!
This book is free for the next couple days. 🙂
https://www.amazon.com/gp/product/B004PGNNO0/ref=as_li_ss_tl?ie=UTF8&tag=mofab-20&linkCode=as2&camp=1789&creative=390957&creativeASIN=B004PGNNO0
Thanks Sarah!