Simple Make-Ahead Biscuits Recipe with Air Fryer Instructions
Simple Make-Ahead Biscuits Recipe
Homemade biscuits are a versatile delight for any meal. This make-ahead recipe allows you to freeze a batch and bake fresh, tender, and buttery biscuits anytime—ideal for breakfast sandwiches, gravy, or serving with soups and stews.
Ingredients and Supplies to Make Homemade Biscuits
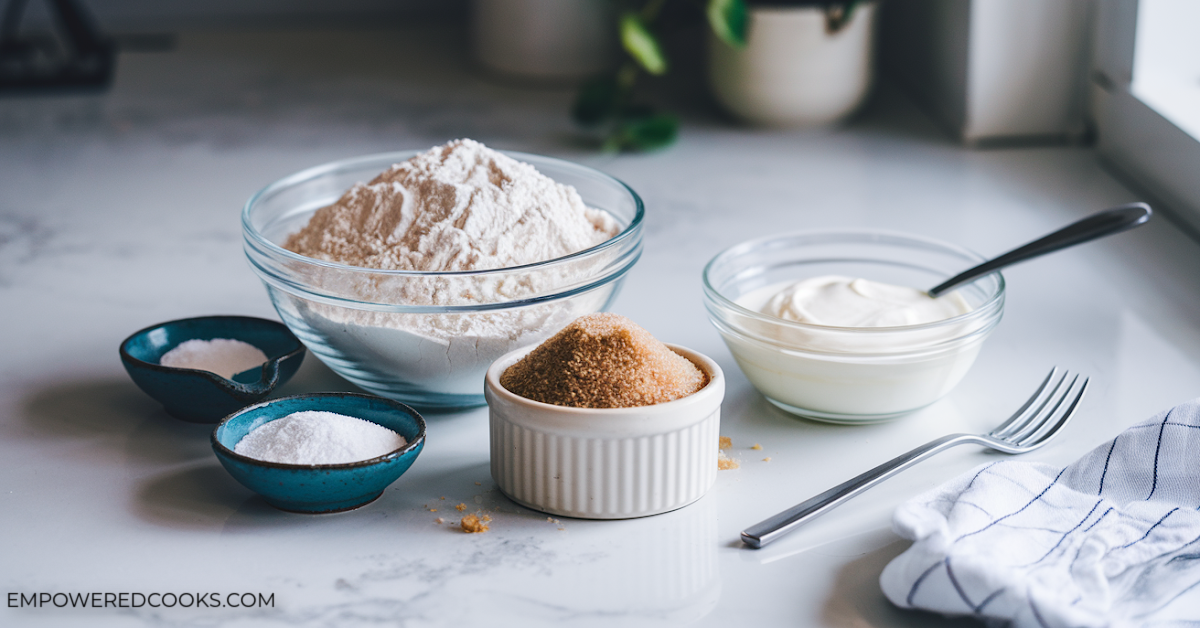
Just five simple ingredients come together to create tender, flaky biscuits – heavy cream provides richness without the need to cut in butter, while the perfect ratio of flour and leavening ensures a light, airy texture.
Ingredients
- All-purpose flour: The base of the dough, providing structure.
- Sugar: Adds a subtle sweetness to balance the flavors.
- Baking powder: Gives the biscuits their rise and fluffiness. Use fresh baking powder for optimal rising.
- Salt: Enhances the overall flavor.
- Heavy cream: Provides richness and moisture for a tender biscuit without needing butter.
Supplies
- Large mixing bowl
- Biscuit cutter or Cookie-cutter
- Sheet pan
- Air fryer (optional)
How to Make Sweet Cream Biscuits
Step 1: Prepare the Dough
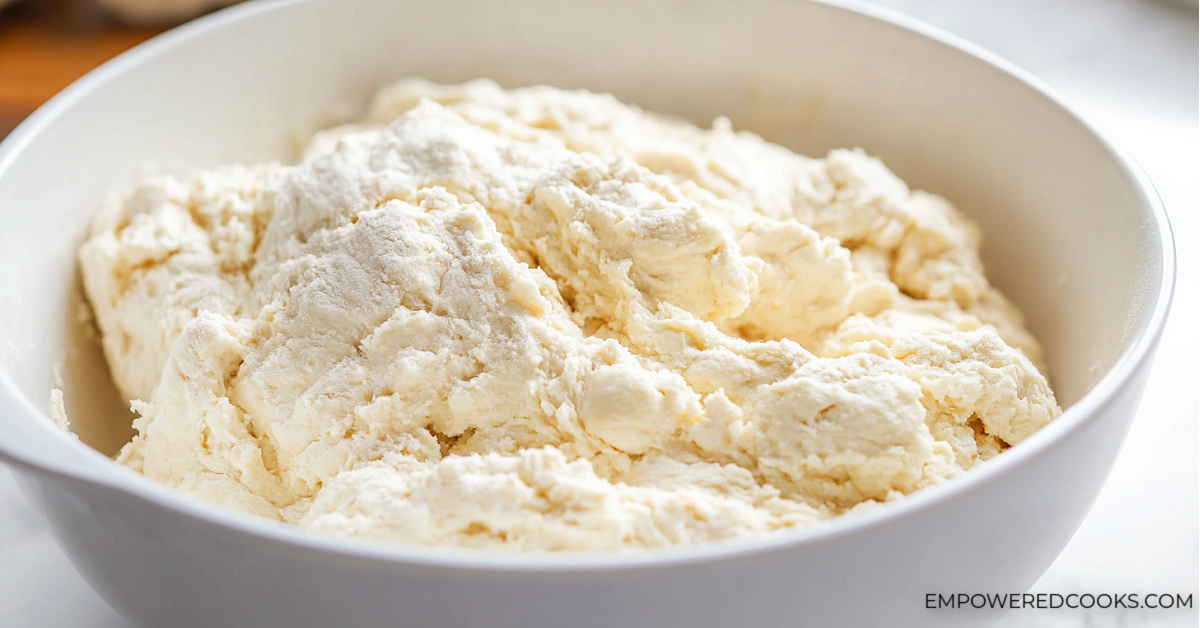
In a large bowl, whisk the dry ingredients: flour, sugar, baking powder, and salt. Slowly stir in the heavy cream. Gently fold in the flour mixture until a dough forms. Turn the dough out onto a floured surface and knead briefly until smooth. This recipe calls for minimal mixing, to reduce the risk of too much gluten development.
Step 2: Cut the Biscuits
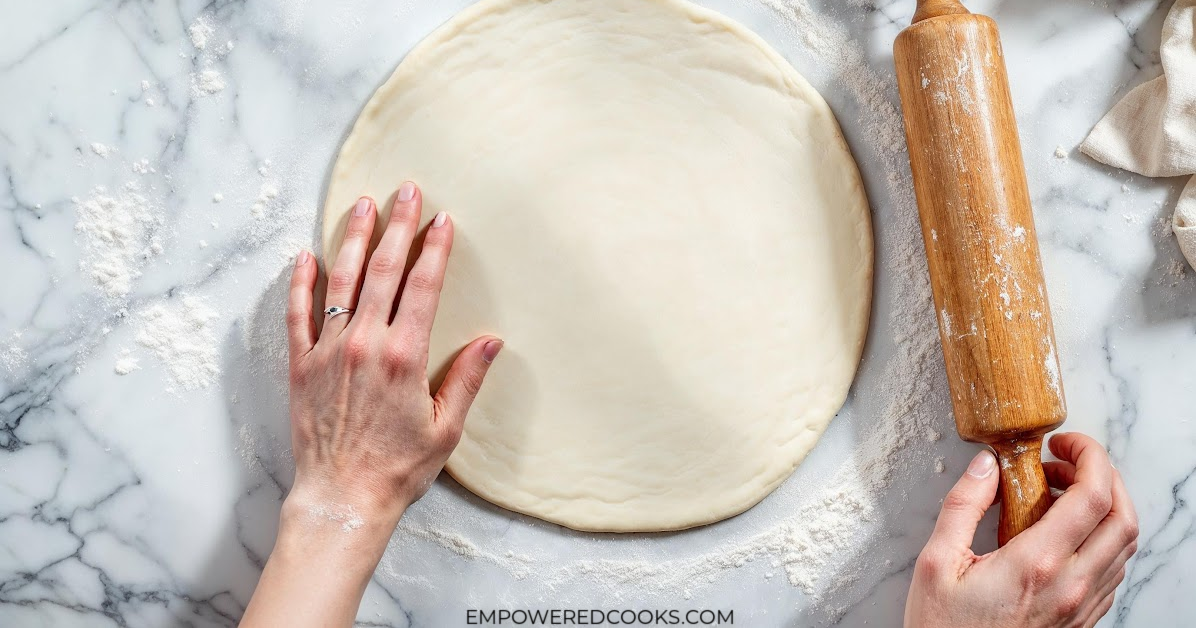
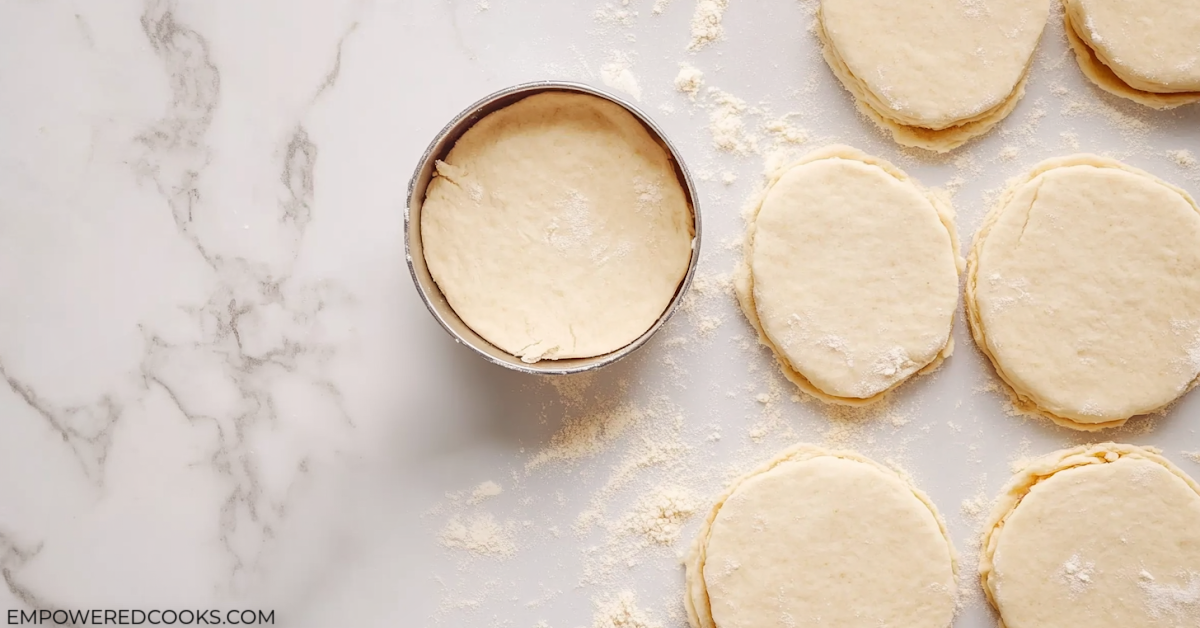
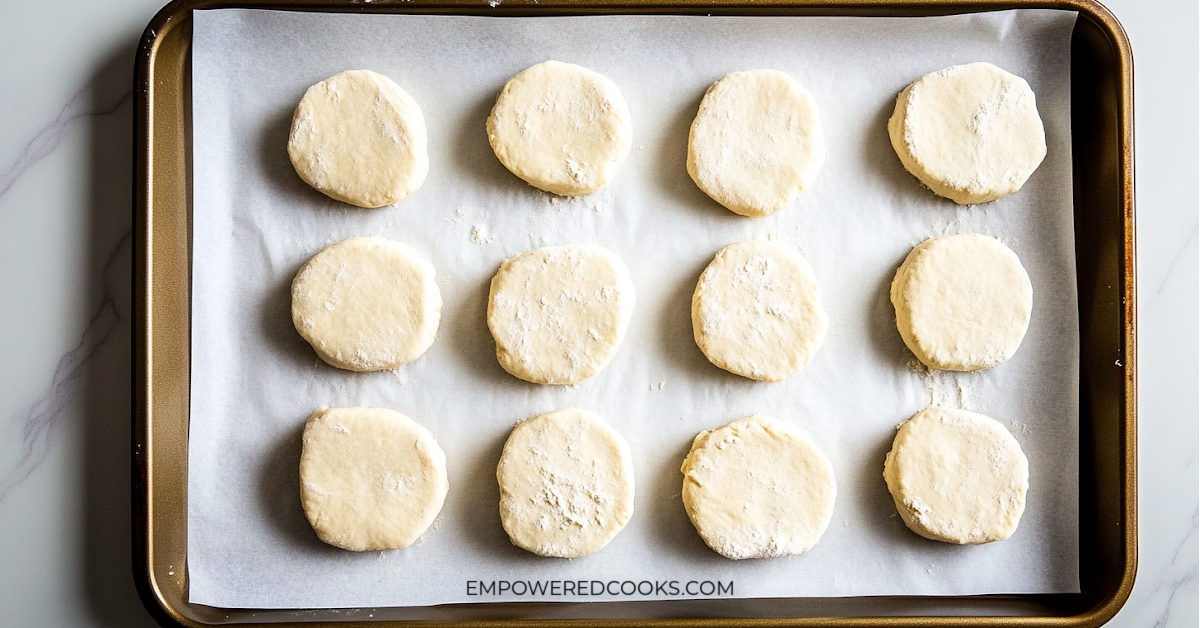
Pat the dough into a ¾ inch thick circle. Use a 2 ½ inch round cutter to cut out biscuits. Gather and re-roll scraps to cut more biscuits.
To help your biscuits to rise properly when baking, use a sharp edge to cut them out. Biscuit cutters, cookie cutters or a sharp knife are good options.
Step 3: Bake the Biscuits
Oven
- Preheat the oven to 450°F (230°C).
- Place the biscuits on a parchment-lined baking sheet, evenly spaced apart.
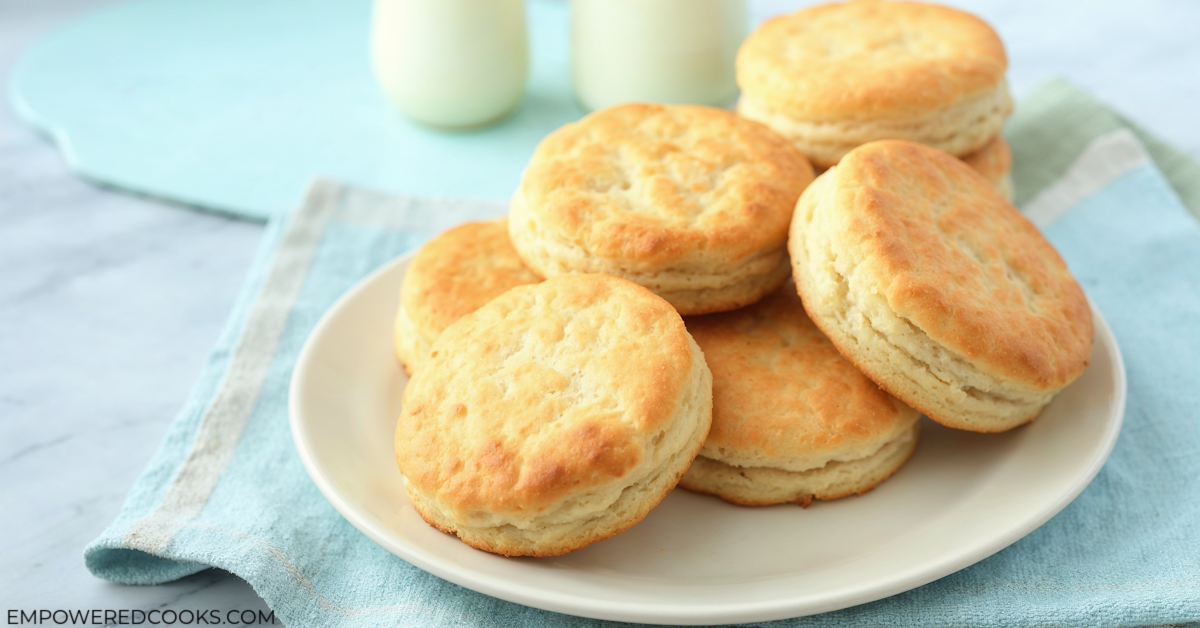
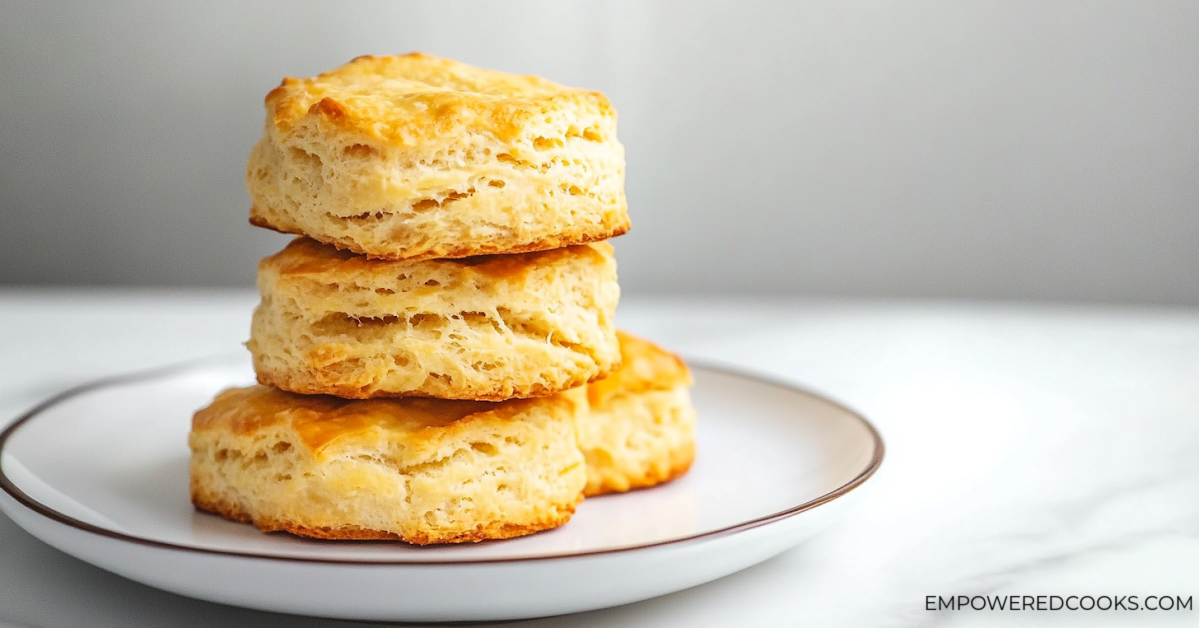
- Bake for 13-18 minutes until golden brown. The thickness of the biscuit will determine how long it takes to bake.
- If desired, brush the tops with melted butter
Stovetop
A great alternative for those without an oven or who prefer a more hands-on approach, this method produces biscuits with a golden, slightly crisp exterior and a soft interior. It is also ideal for camping or situations where an oven isn’t available.
- Use a stovetop biscuit skillet or cast-iron pan over medium-low heat.
- Grease the pan lightly with oil or butter.
- Place the biscuits in the pan and cover with a lid. Cook for 5-7 minutes on each side, ensuring they rise and turn golden brown evenly.
Air Fryer
Offers quicker cooking time and ensures even baking, making it a convenient alternative to traditional ovens.
- Preheat your air fryer to 350°F (175°C).
- Lightly grease the air fryer basket or line it with parchment paper.
- Place the biscuits in a single layer, ensuring they have enough space to expand.
- Cook for 10-12 minutes until the biscuits are puffed and golden.
Tips for Making and Storing Biscuits
How to Make Biscuits Ahead of Time
Prepare the biscuits up to the point of cutting. Place them on a baking sheet, wrap tightly with plastic wrap, label with the date to help track freshness, and freeze for up to one month. Bake directly from frozen for the best results.
To bake the biscuits from frozen:
- Preheat oven to 450°F (230°C).
- Place the frozen biscuits on a lined baking sheet, about 2 inches apart.
- Bake for about 20-25 minutes or until puffed and golden brow
How Far in Advance Can Dough Be Made?
The biscuit dough can be made up to 24 hours in advance. Simply wrap it tightly in plastic wrap and refrigerate until ready to cut and bake.
How to Keep Homemade Biscuits Fresh
Once baked, store the leftovers in an airtight container at room temperature for up to 2 days. For longer storage, freeze them and reheat as needed.
Frequently Asked Questions
Can homemade biscuits be refrigerated before baking?
Yes, you can refrigerate the biscuits for up to 24 hours before baking. Cover them tightly to prevent drying out.
What is the secret to a good biscuit?
Minimal handling of the dough is key. Overmixing can lead to dense biscuits because it develops too much gluten, which can make the biscuits tough instead of tender and flaky. Also, use fresh baking powder for the best rise.
Do frozen biscuits need to be thawed before baking?
No, frozen biscuits can be baked directly from the freezer. Preheat the oven to 450°F (230°C) and bake for 20-25 minutes until golden brown.
Serving Suggestions
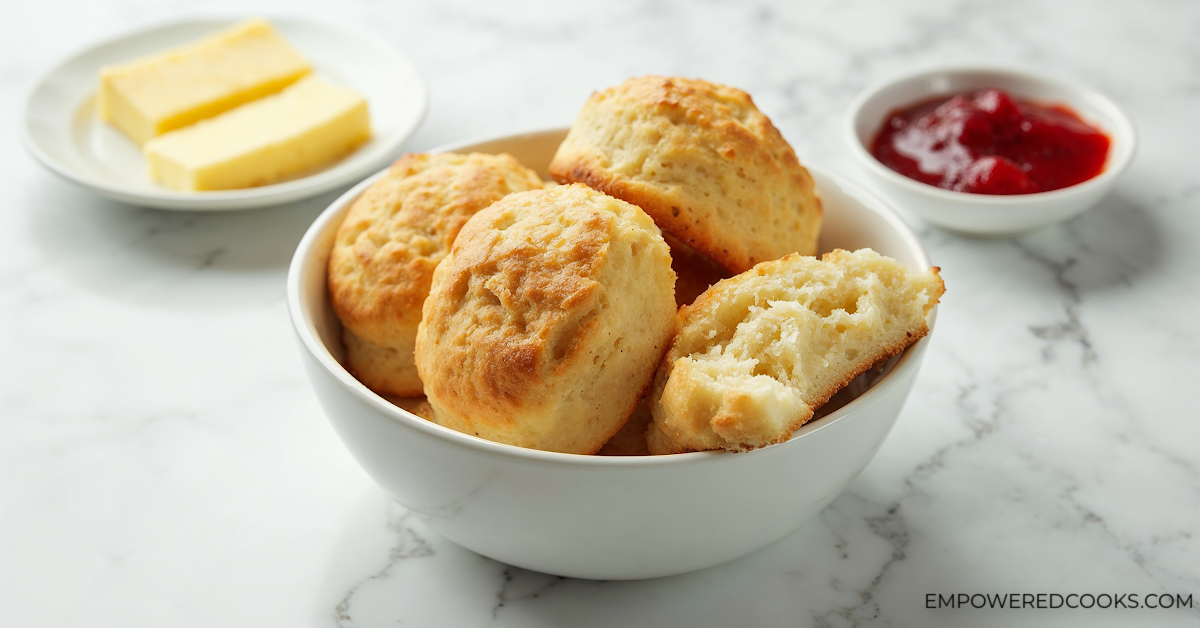
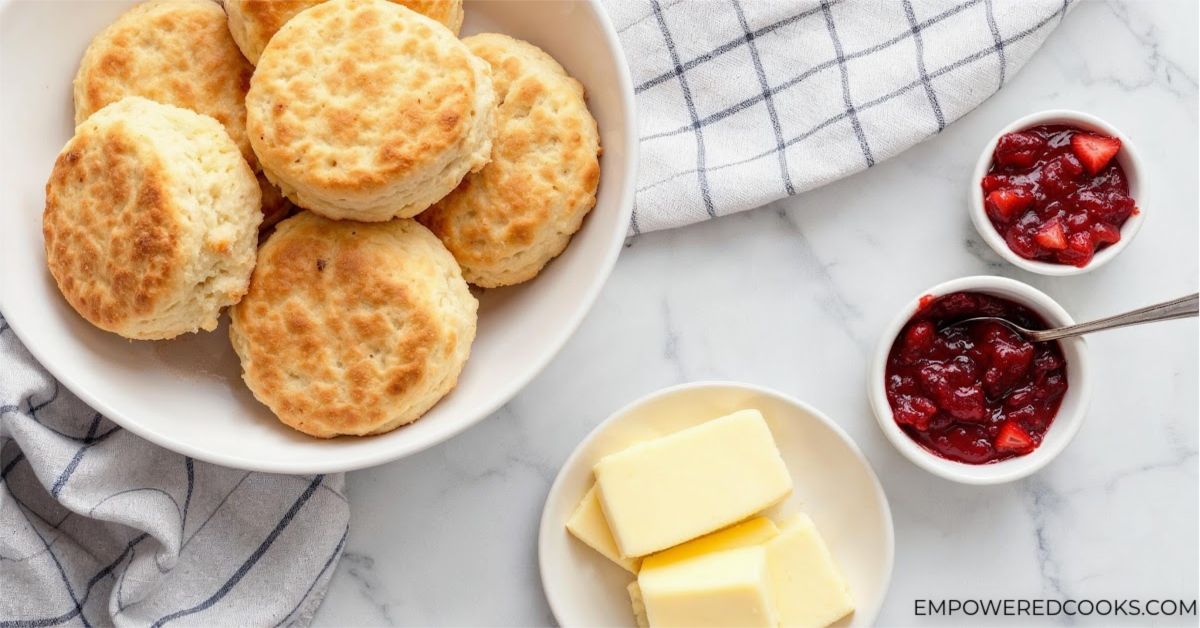
- Pair with butter and jam or honey for a classic breakfast treat.
- Used as the base for biscuits and sausage gravy for a hearty meal.
- Serve alongside Wisconsin Cauliflower Soup, or a Quick Hearty Chili for a comforting dinner.
- Create breakfast sandwiches with eggs, cheese, and bacon
More Comforting Side Dish Recipes:
- Air Fryer Cornbread Muffins
- Monkey Bread in the Air Fryer
- Air Fryer Toasted Bagel
- Air Fryer Breakfast Cookies
Simple Make-Ahead Biscuits Recipe
Ingredients
- 6 cups unbleached all-purpose flour plus extra for surface
- 2 tablespoons sugar
- 2 tablespoons baking powder
- 1 ½ teaspoons salt
- 4 ½ cups heavy cream
Instructions
- Line a baking sheet with parchment paper or a silicone baking mat.
- In a large bowl, whisk the flour, sugar, baking powder, and salt together. Stir in the cream until a dough forms, about 30 seconds.
- Turn the dough out onto a lightly floured surface and gather into a ball. Knead the dough briefly until smooth, about 1 minute.
- Pat the dough into a 3/4-inch thick circle. Cut out biscuits using a 2 1/2-inch round biscuit cutter. Cut out as many as possible. Place them on the prepared baking sheet.
- Gather scraps of dough a knead together briefly, then pat out again and cut more biscuits. Repeat until all dough is used.
Preparing For the Freezer:
- Wrap the baking sheet tightly with greased plastic and freeze the biscuits for about 6 hours.
- Transfer frozen biscuits to a large resealable bag and freeze for up to 1 month.
Prepare after Freezing:
- Do not thaw biscuits. Preheat oven to 450°F/230°C. Place frozen biscuits on a lined baking sheet, about 2 inches apart. Bake one baking sheet at a time, until puffed and golden brown, about 20-25 minutes.
To Serve Without Freezing:
- Preheat oven to 450°F/230°C. Bake one sheet at a time, for about 13-18 minutes, until puffed and golden brown.
Air Fryer
- Preheat your air fryer to 350°F (175°C).
- Lightly grease the air fryer basket or line it with parchment paper. Place the biscuits in a single layer, ensuring they have enough space to expand.
- Cook for 10-12 minutes until the biscuits are puffed and golden.













Is the recipe correct for your freezer biscuits
4 1/2 cups heavy cream and 6 cups flour?
Yep! It is correct. 🙂
PLEASE tell me that these taste like Pillsbury frozen biscuits!
Sorry, I haven’t had frozen Pillsbury biscuits before. But I can assure you that these ones are good!
OK, I was leery about a biscuit recipe that had no shortening or oil and had SO much liquid, but then I did a little research on cream biscuits. Everything I’ve read tells me that THESE are the biscuits I’ve been looking for! I’m going to try YOUR recipe because it has sugar in it, and I like just about anything that has sugar in it. 🙂 (j/k)
My baby gift for my very pregnant daughter is going to be two weeks of frozen meals. (ssshhhh…it’s a surprise!) My best friend did it for me when I had my third child and it was the BEST baby gift I ever got. Do you think these biscuits will be OK in the freezer for longer than a month?
That sounds like an awesome gift!
You could probably get away with keeping them frozen for a bit longer if you make sure that you squeeze as much air out of the bag as possible before you store them and maybe even double-bag them? You don’t want them to get freezer burn. They haven’t lasted longer than a month for me before we eat them all, so I can’t verify from personal experience. 😉
I made this recipe exactly like the instructions and was so excited about them. This was only the second time I’ve made from scratch biscuits so I had high hopes for these. They tasted great but didn’t rise for anything. I can’t figure out why.
I’m sorry they didn’t turn out for you, Lindsey! I am not sure why they didn’t rise for you either. Did you use a sharp edge to cut the dough? Were they about 3/4-inch thick? Is your baking powder old?
Could you sub the flour with Almond flour?
Good question, Rhonda. I am not very familiar with almond flour and I haven’t tried with this recipe. You might just have to give it a try! I did find these articles that might be helpful though: https://www.sheknows.com/food-and-recipes/articles/3520/cooking-with-almond-flour and https://urbanposer.blogspot.com/2012/05/baking-101-almond-flour-basics.html
Just made these tonight. They were fantastic!! First time making biscuits from scratch and they didn’t totally intimidate me.
Hooray! Good job, Jessica! I’m so glad that it worked out well for you. Thank you for your comment and review. 🙂
Have you ever used this recipe for a camping dutch oven? I would like to make the dough at home and bake at camp.
Hi, Gary! No, I haven’t tried this biscuit recipe in a Dutch oven before. If you try it out, please let us know how it goes!
Used a 12 quart deep dutch oven. 7 on bottom, 20 on top. 20 minutes, rotating every 5 minutes. Turned out exactly like the batch I made in the kitchen oven. Theses were fresh not frozen. Delicious.
That’s awesome! Thank you for letting us know that it worked and how you did it, Gary. 🙂
Melanie has anyone tried these biscuits in a air fryer. I was just curious if it could be done. Thank you.
Great question. I haven’t heard from anyone about that yet. Let us know how it goes it you try it out!
Can you use half and half instead of heavy whipping cream? That’s all I have and I don’t want to run to the store lol.
I haven’t tried a substitution for the heavy cream in this biscuit recipe before, so I can’t say for sure. It is a big part of the recipe, so it is kind of risky! 😉 However, I searched online and found these ideas that sound like they could be worth trying in a pinch: https://www.healthline.com/nutrition/heavy-cream-substitutes#section4
I make a simpler cream biscuit that freezes fabulously too. It is just two ingredients but you must have a fresh bag (for the same reason you need fresh baking powder) of Hudson Cream Self Rising Flour (found at Walmart) any brand of Heavy Whipping cream. It takes about 2 cups of heavy whipping cream and 4 cups of Hudson Cream Self-Rising Flour. Just combine with fork or pastry knife and barely knead as well or you’ll have tough biscuits. Roll out of just flatten by hand cut with biscuit cutter and lay on parchment paper on sheet pan. Freeze for about 6-8 hours and pop into Ziploc bag and bake as needed. I like this recipe as the flour already has everything it but the cream. So it’s quick, easy and tasty.