Air Fryer Mini Pumpkin Pies with Crust
Mini Pumpkin Pies in the Air Fryer (With Crust)
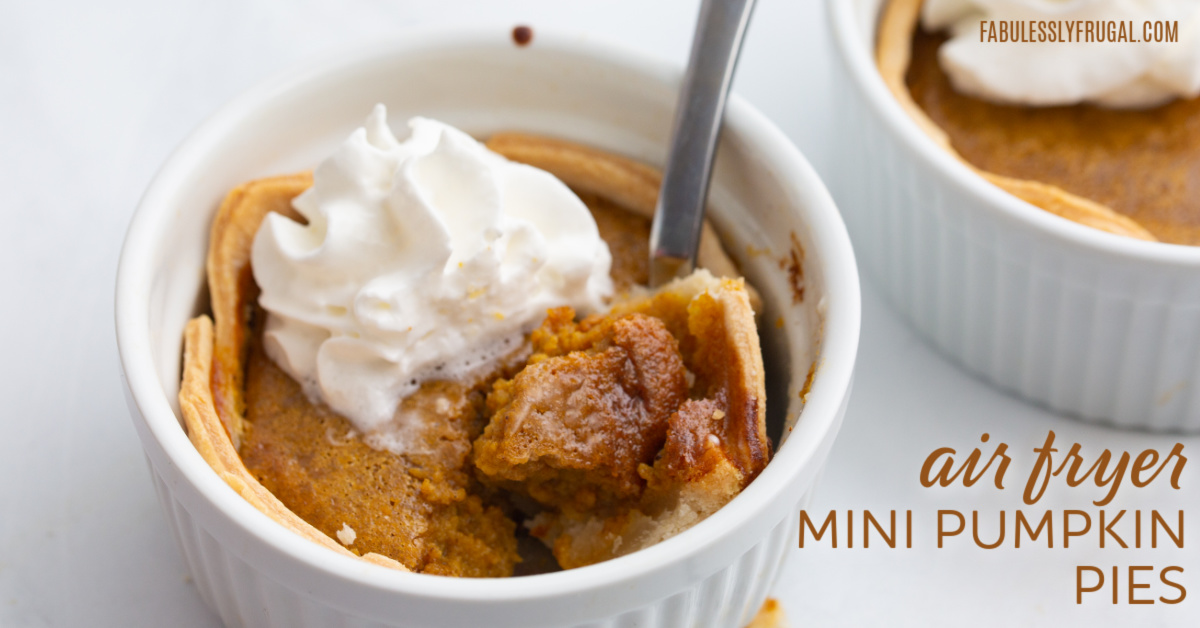
These air fryer mini pumpkin pies bake fast, set cleanly, and deliver classic “traditional pumpkin pie” flavor—with a flaky crust and no pre-baking required. Perfect for parties, dessert boards, or when you want just a couple bites of silky pumpkin custard without heating the oven.
Want more sweet inspo? Here are 5 air fryer dessert recipes to watch
Ingredients & Supplies
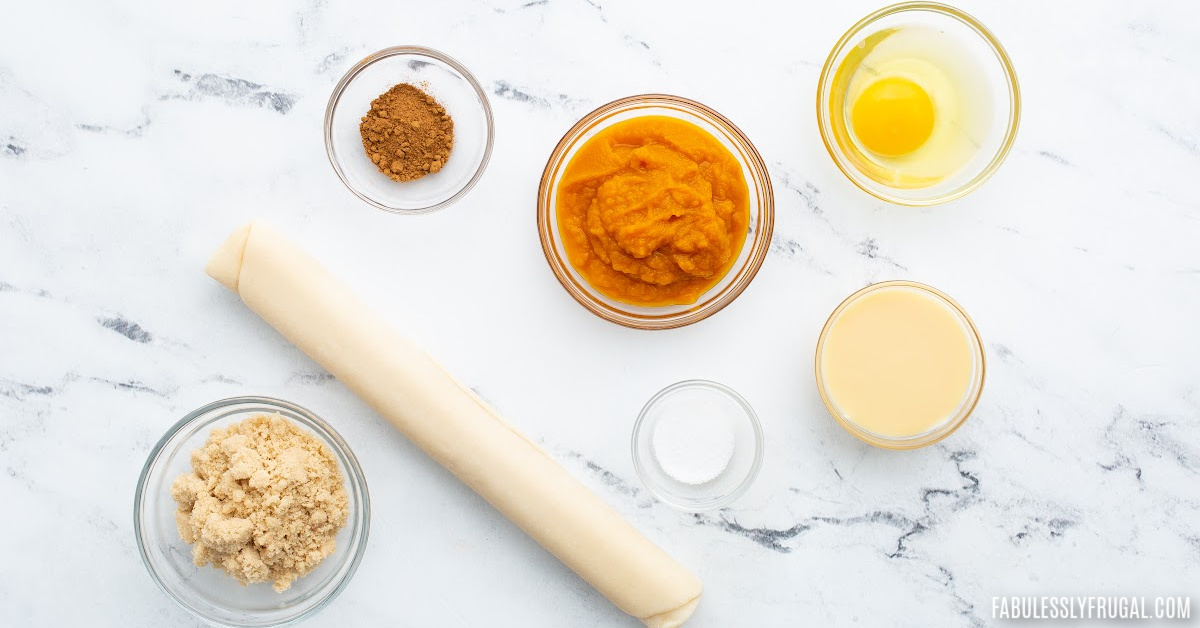
Ingredients
- Premade pie crust (Pillsbury or similar; let it come to room temp)
- Pumpkin purée (not pie filling)
- Sweetened condensed milk
- Brown sugar
- Pumpkin pie spice
- Fine salt
- 1 egg
- Whipped cream, for serving (optional)
Supplies
- Small mixing bowl + whisk
- Ramekins (3.5–4 oz) or silicone muffin liners
- Nonstick spray or oil sprayer
- Air fryer (Cosori Pro II)
- Instant-read thermometer (optional but helpful)
How to Tell If Mini Pumpkin Pies Are Done
Give a gentle shake—centers should have a slight jiggle with set edges, and crust turns lightly golden. For the most reliable check, insert an instant-read thermometer into the center of one pie: target ~175°F (79°C) for pumpkin/custard pies. :contentReference[oaicite:0]{index=0}
Can I Use Frozen Pie Crust?
Defrost first. The dough needs to be pliable so you can press it evenly into ramekins or silicone cups. Cold, stiff dough won’t shape well and can underbake while the custard overcooks.
Storage & Make-Ahead Tips
Cool completely, then refrigerate in a single layer (loosely covered) for 3–4 days. For food safety, egg- and dairy-based pies like pumpkin should be refrigerated within 2 hours of baking. :contentReference[oaicite:1]{index=1}
Freeze for up to 1 month for best quality; thaw overnight in the fridge. Top with whipped cream just before serving.
How to Make Mini Pumpkin Pies in the Air Fryer
Step 1: Mix the Custard Filling
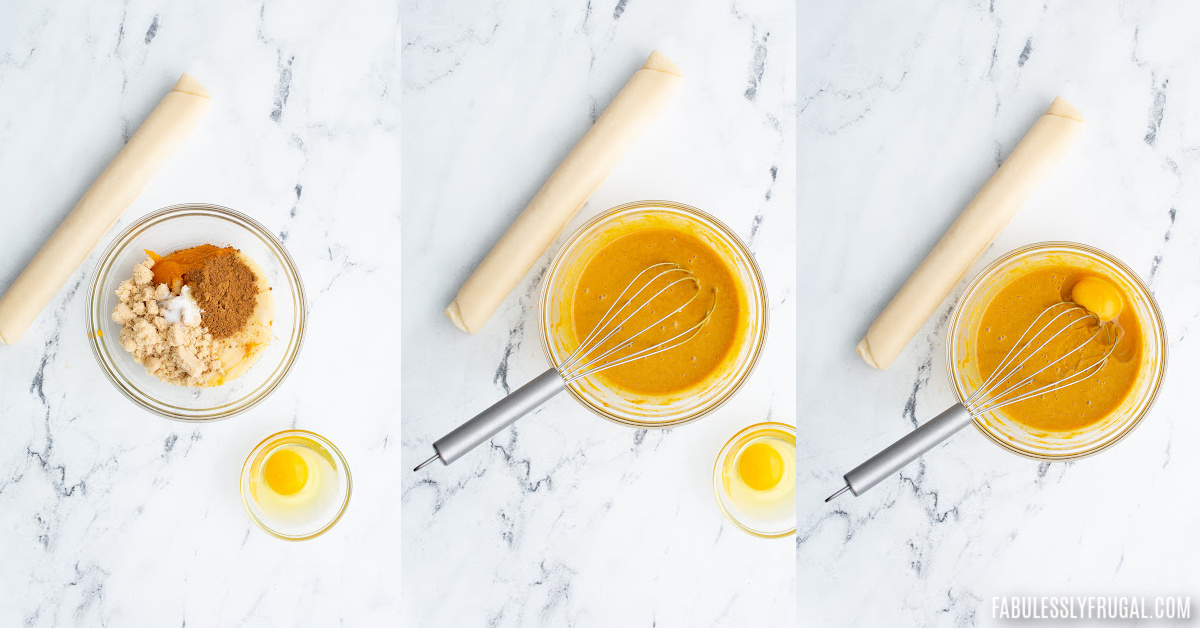
Whisk pumpkin purée, sweetened condensed milk, brown sugar, pumpkin spice, salt, and egg until smooth (no lumps).
Step 2: Cut & Fit the Crusts
On a lightly floured surface, unroll the dough. Use a ramekin or large round cutter to stamp rounds; gather and re-roll scraps as needed. Press gently into greased ramekins or silicone cups without stretching.
Step 3: Fill
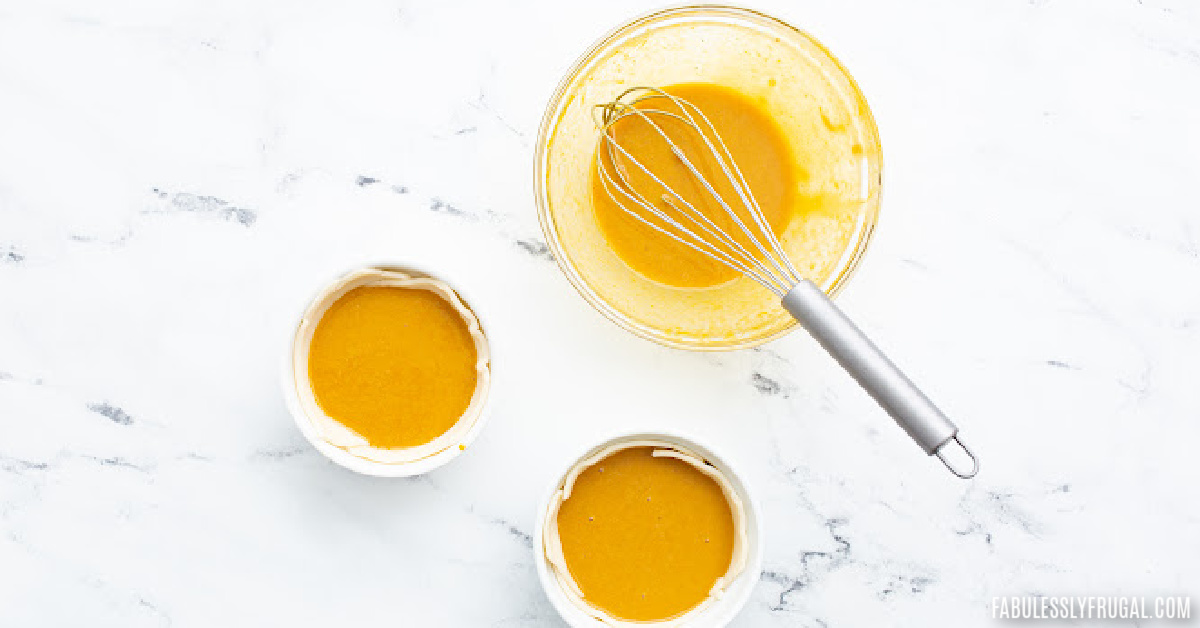
Divide filling among shells (about 1–1½ Tbsp each). Don’t overfill—custard expands slightly.
Step 4: Air Fry
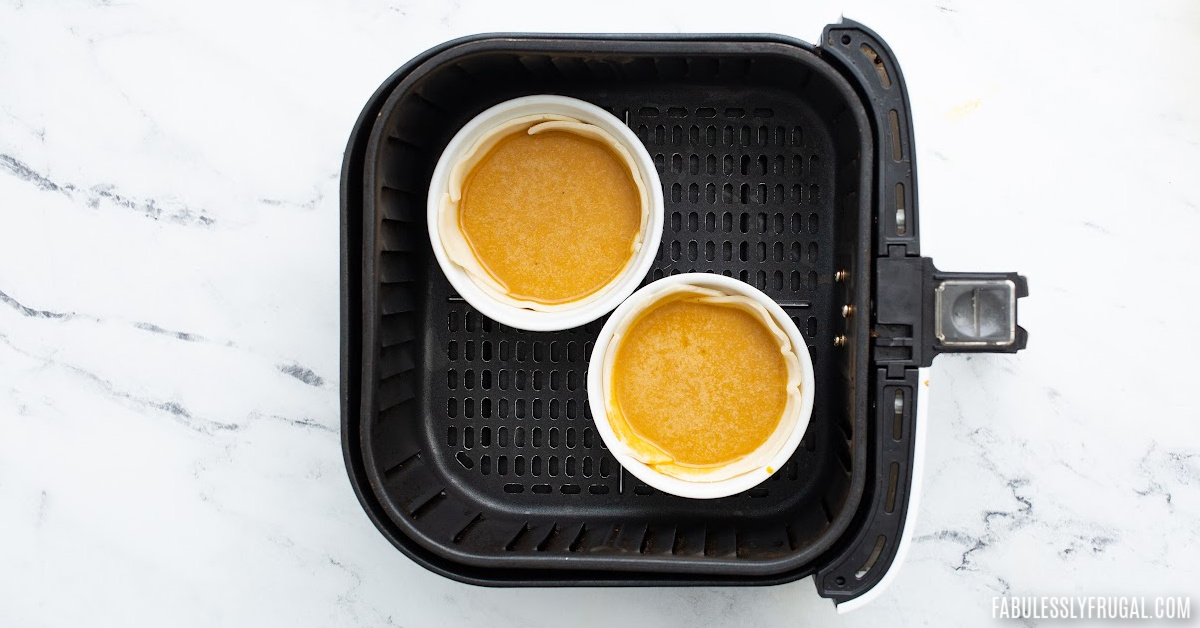
Arrange in the basket with space between (work in batches). Air fry at 330°F (165°C) for 5–8 minutes, until set at edges and barely wobbly in centers or to an internal temp of ~175°F (79°C).
Step 5: Rest & Serve
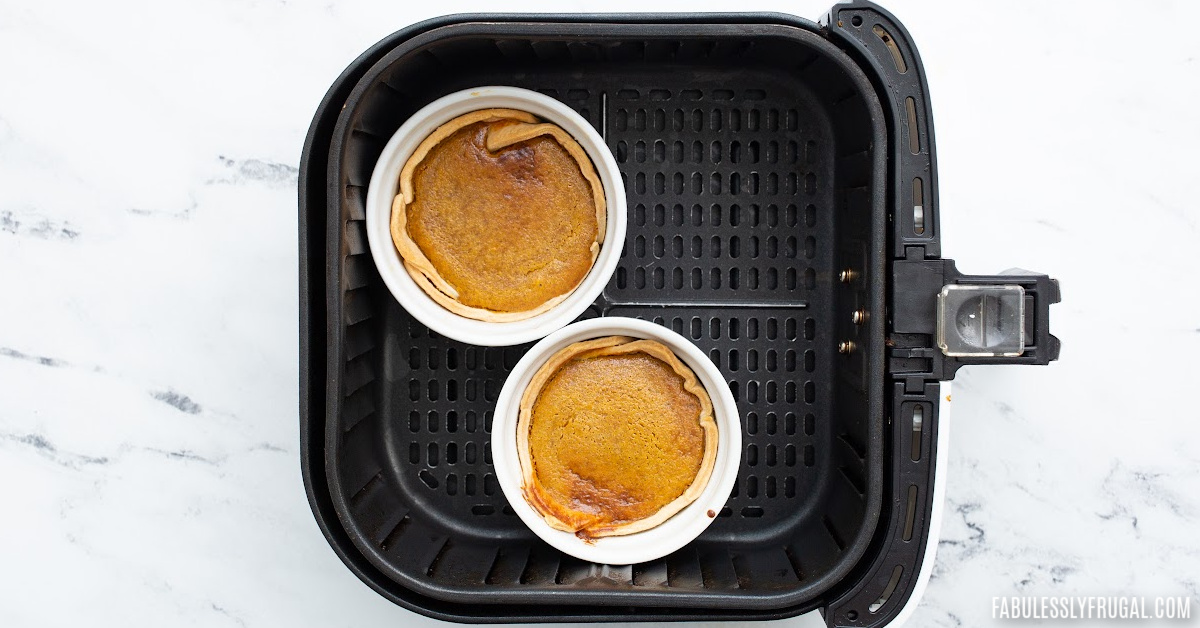
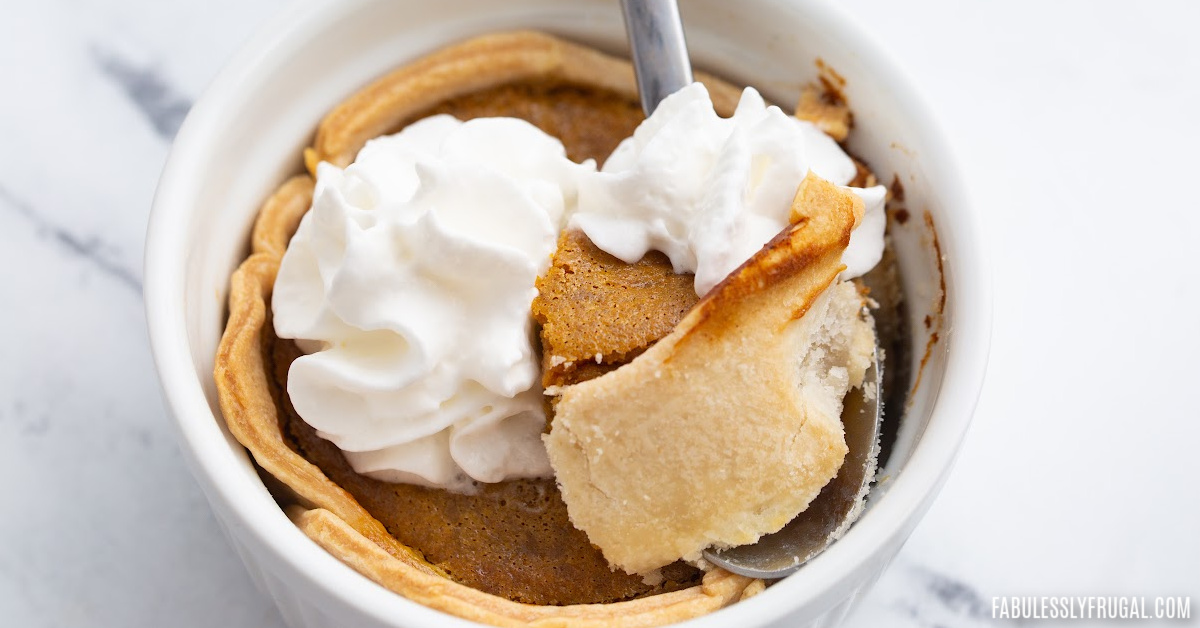
Cool in the cups for 20 minutes to finish setting. Release, top with whipped cream, and dust with cinnamon or pumpkin spice.
More Desserts to Make in the Air Fryer
- 4-Ingredient Thumbprint Cookies
- Air Fryer Apple Cinnamon Buns
- Candied Nuts in the Air Fryer
- The EASIEST 2-Ingredient Donuts
- Gooey Mini S’mores Pies
Final Thoughts
These mini pumpkin pies are everything you love about classic pumpkin pie—silky custard and buttery crust—in a fast, party-ready bite. No prebake, no fuss, just reliable results from your air fryer.
FAQ
- Want a Crustless Mini Pumpkin Pie option? You can pour custard directly into greased silicone cups for crustless minis; start checking 1–2 minutes earlier.
- Make ahead? Bake 1 day ahead, refrigerate after cooling, and add whipped cream just before serving. Refrigerate within 2 hours for safety.
Air fryer tips and tricks
- Air Fryer 101
- Learn these common Air Fryer Mistakes!
- All about the Best Air Fryer Accessories
- How to Clean Your Air Fryer
- How to Cook Any Recipe in the Air Fryer
- FREE Air Fryer Temp Chart
- Air Fryer Buying Guide
Food safety refresher: custard pies should be refrigerated within 2 hours of baking; homemade pies keep 2–3 days chilled. Source: USDA
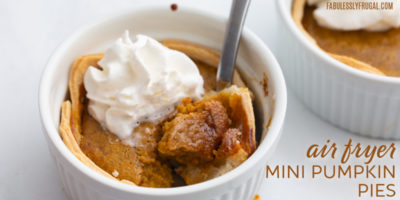
Mini Pumpkin Pies
Equipment
- Medium mixing bowl
- Ramiken or silicone muffin liner
- Nonstick cooking spray or oil sprayer
Ingredients
- 9 in Pie crust Room temperature, not frozen
- ½ cup Pumpkin puree
- ¼ cup Condensed milk
- ¼ cup Brown sugar
- 1 tsp Pumpkin spice pie blend
- ¼ tsp Salt
- 1 Egg
- Whipped cream Optional for topping
Instructions
- In a small-medium mixing bowl, whisk together the pumpkin puree, condensed milk, brown sugar, pumpkin spice, and salt. Add in the egg and whisk into smooth and even mixture. Set aside.
- Unroll the pie dough onto a silicone baking sheet. With the top of a silicone muffin liner (the larger circle), gently press into the pie dough. Depending on how hard you pressed, you can either remove each mini pie crust from the larger pie crust, or cut around it with a knife. Repeat until you no longer have dough to work with. You can reform/reroll the dough and get additional pie crusts. I've been able to get anywhere from 9-12 mini pie crusts.
- Gently press the mini pie dough into a light sprayed (with oil) silicone muffin liner. It will cover roughly half of the liner. Do not stretch the pie crust. If desired, use a fork to pleat the edges of the crust. Although this is entirely for looks and will still look and taste great if you decide to not.
- Add about 1 tbsp or more of the pumpkin pie filling into each mini pie crust.
- Place the mini pies in the air fryer basket. I can fit about 7 or 8 in my 5.8qt air fryer basket.
- Air fry at 330 °F for 7-8 minutes, or until the crust is golden to your liking. Let the pies sit in the warm air fryer basket for a couple of minutes, then remove them and let them sit for an additional 20 minutes or so to fully set.
- Serve the mini pumpkin pies warm or cold. Gently remove the mini pumpkin pies from the liners and top with whipping cream and a sprinkle of pumpkin spice blend or cinnamon.
Recipe Notes
Nutrition
Recipe Adapted From: Ahead of Thyme
Made these minis? Tap the ⭐ in the recipe card to leave a rating and helpful comment for other readers.
Follow Fabulessly Frugal on Instagram | Facebook | Pinterest | YouTube
Trending Recipes
Comments & Reviews
Leave a Review/Reply







What size remains did you use for your mini pumpkin pie reciepe?
Thank you karen
Hi Karen, either 6oz or 8oz ramekin will work fine. Just keep an eye on your pies and pull them out once they are done.