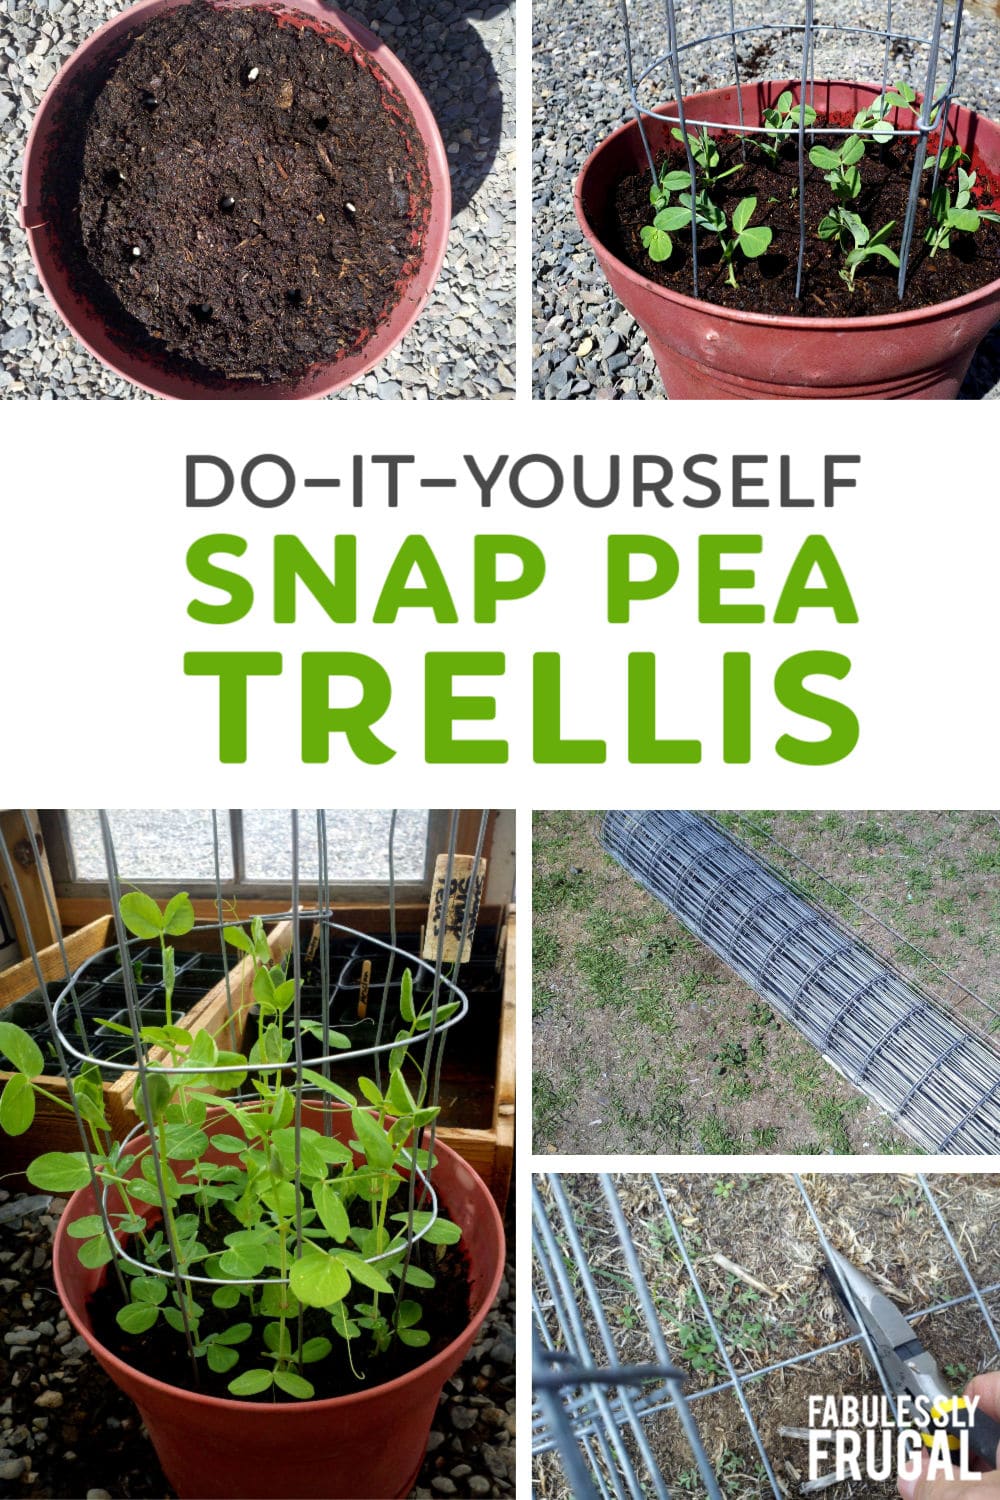
How to Make a Mini DIY Sugar Snap Pea Trellis
DIY Sugar Snap Pea Trellis Tutorial
As I was tinkering around in the greenhouse, I noticed a few extra pots I had on hand, as well as a nearly full bag of Sugar Snap Pea seeds. This gave me the thought of how neat it would be to create a mini DIY pea trellis!
A lot of my friends don’t garden (or can’t garden because of HOA’s… seriously?!?!?!?) but enjoy the benefits of fresh produce, so I thought it would be a perfect gift idea as well. I decided to whip up a couple of pots, and they turned out great!
DIY Snap Pea Trellis Supplies:
- A large pot, (use one 12″ in diameter or larger)
- Potting soil
- 1 large rock
- Sugar snap pea seeds (you could also use pole beans or any other lightweight vining vegetable or fruit)
- Field wire (or chicken wire would work too)
- Wire clippers
And because my husband and I are a bit on the “pack-rat-ty” side of things, we just happened to have all of these items on hand, which made my frugal little heart so happy!
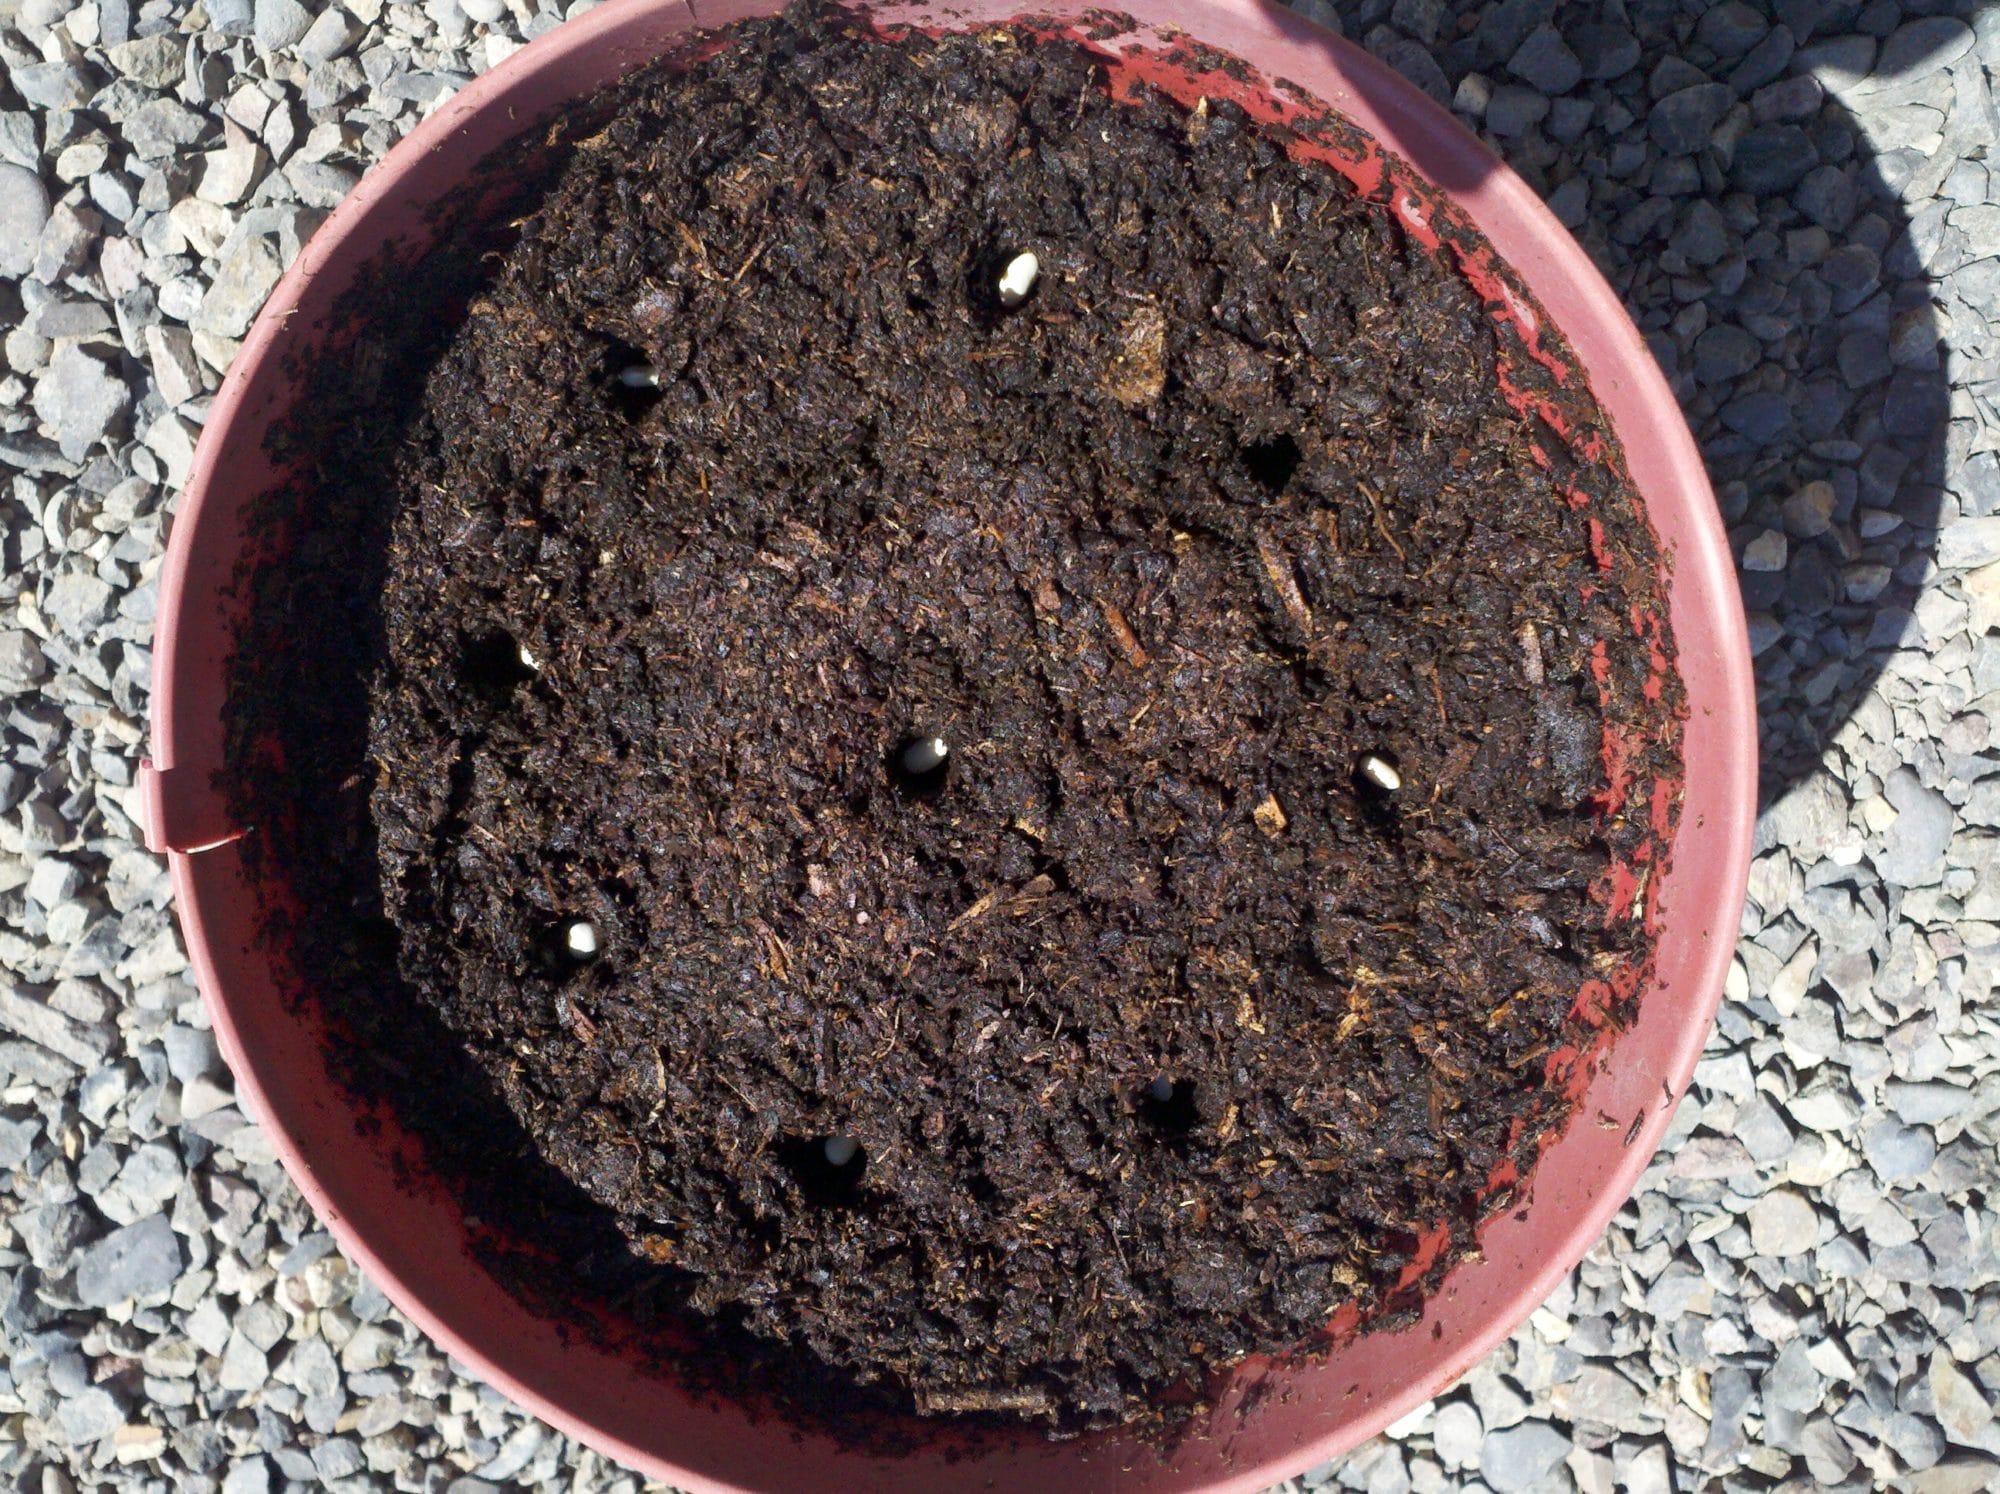
Step 1. Preparing the Soil
I started by putting my large rock in the bottom of the pot for stability and then filled it with potting soil.
Then, using the spacing directions on the back of the packet, I used the end of a sharpie marker to make the holes and then dropped the seeds right in. Then I buried them and watered them.
Step 2. Preparing the Wire
Going to my field wire, I eyeballed how much wire I would need to make a tall cylinder shaped cage (or trellis) for the peas to climb.

I then snipped it, and formed the tube shape, using the loose ends of the wire to securely attach it.
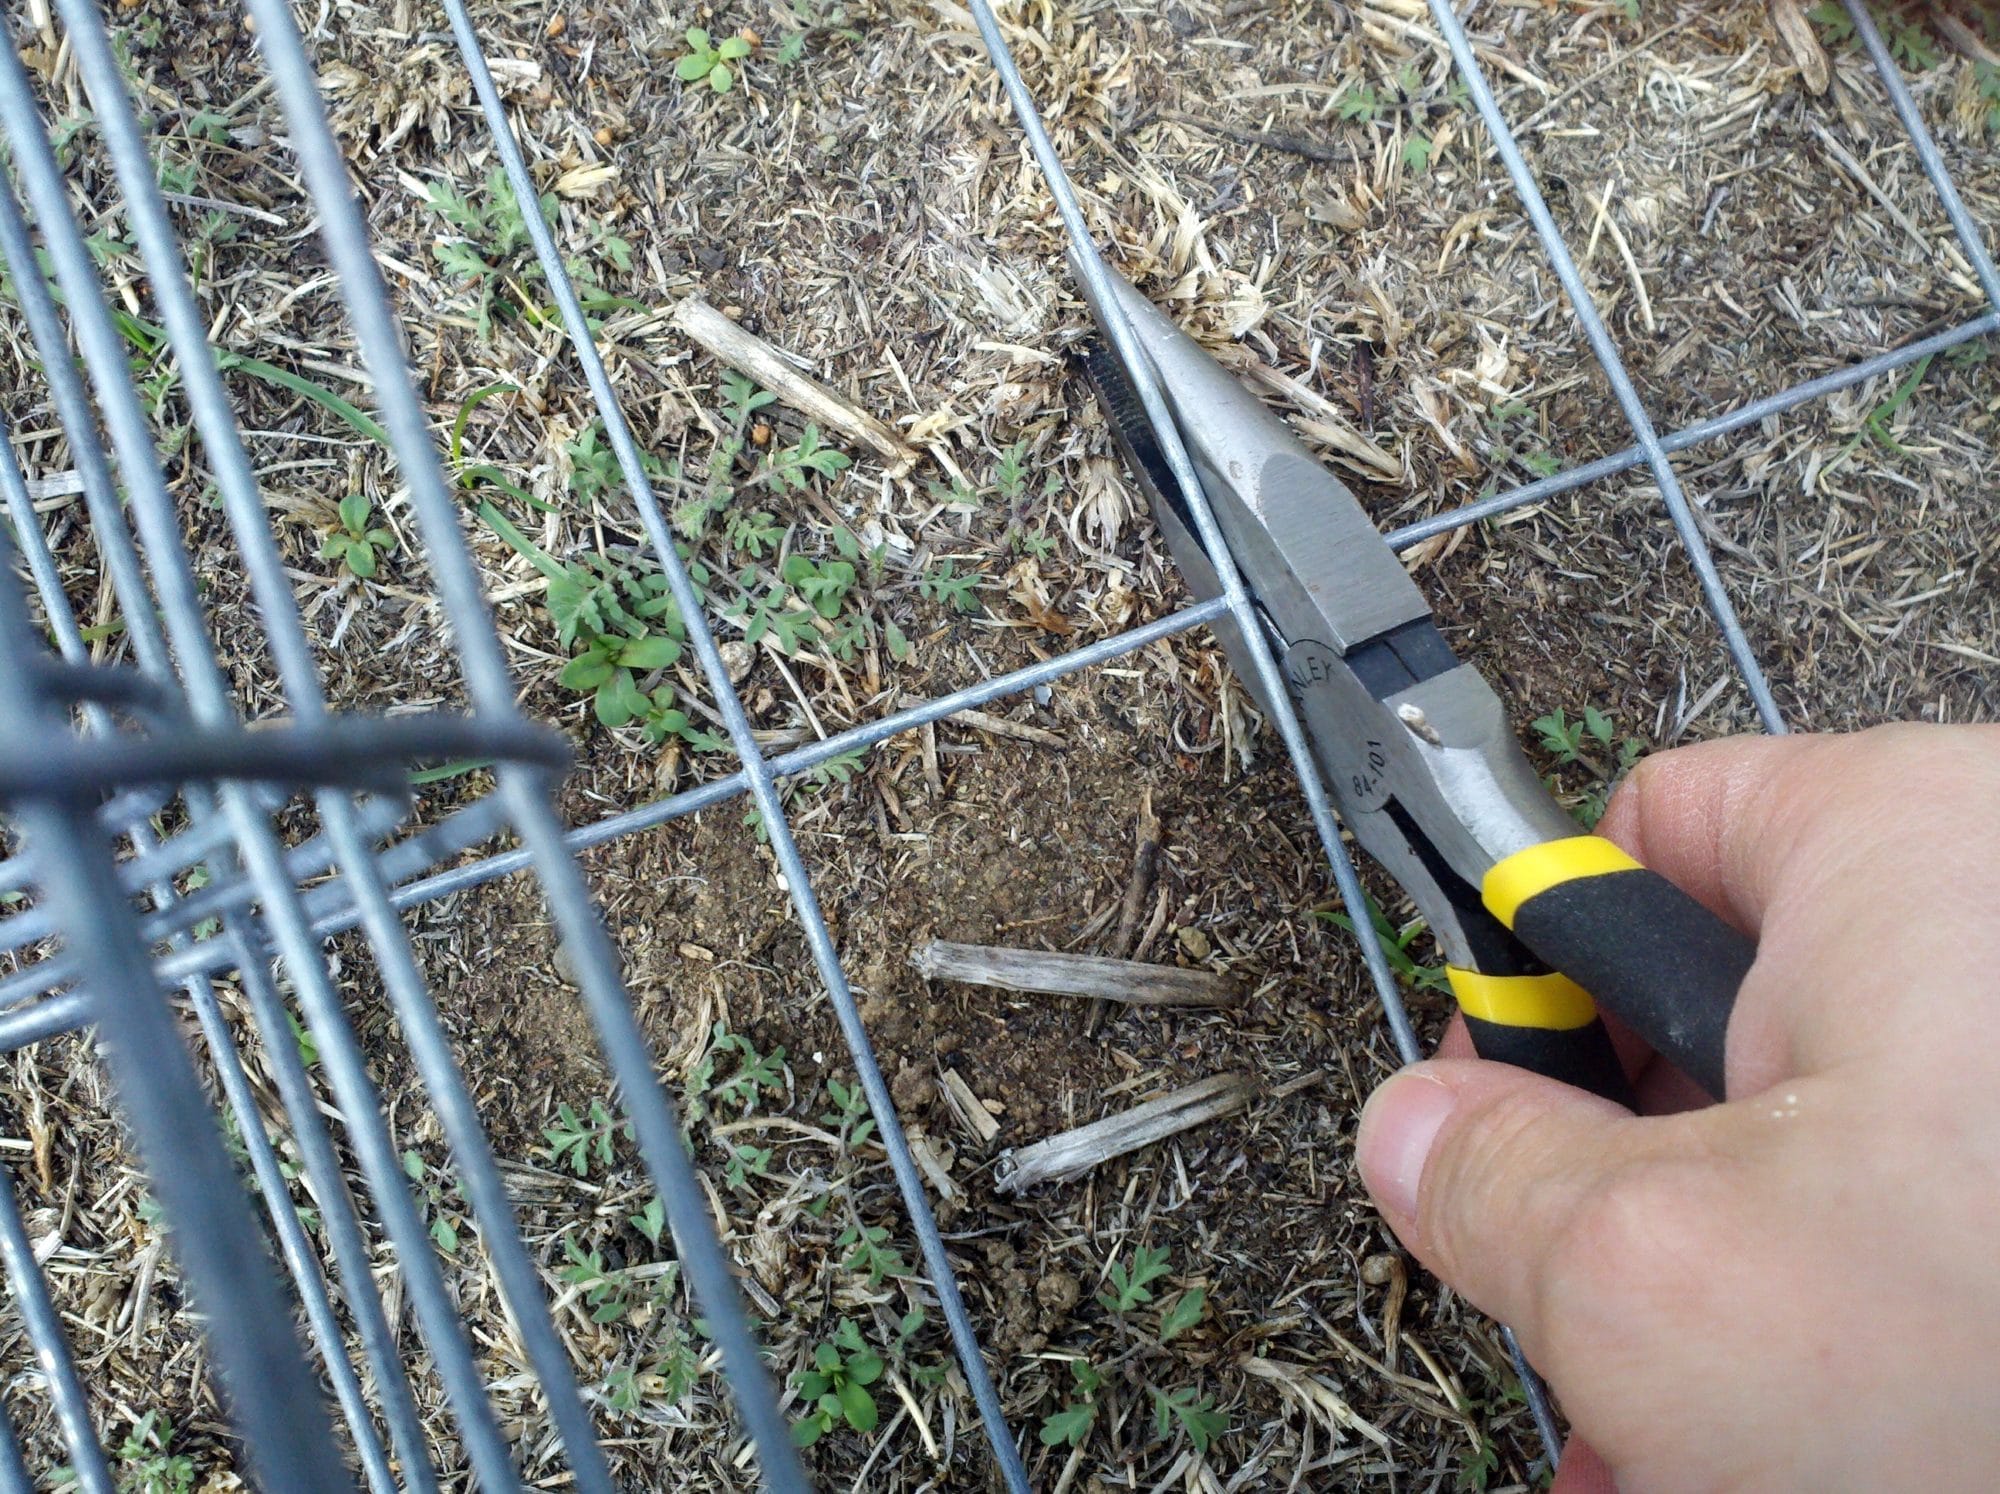
I made the trellis about 2 ½ feet tall, about the height of mature sugar snap pea plants. Then, I snipped the bottom piece of wire off the tube, making “prongs” and pressed the prongs into the dirt, making sure the trellis was nice and straight.
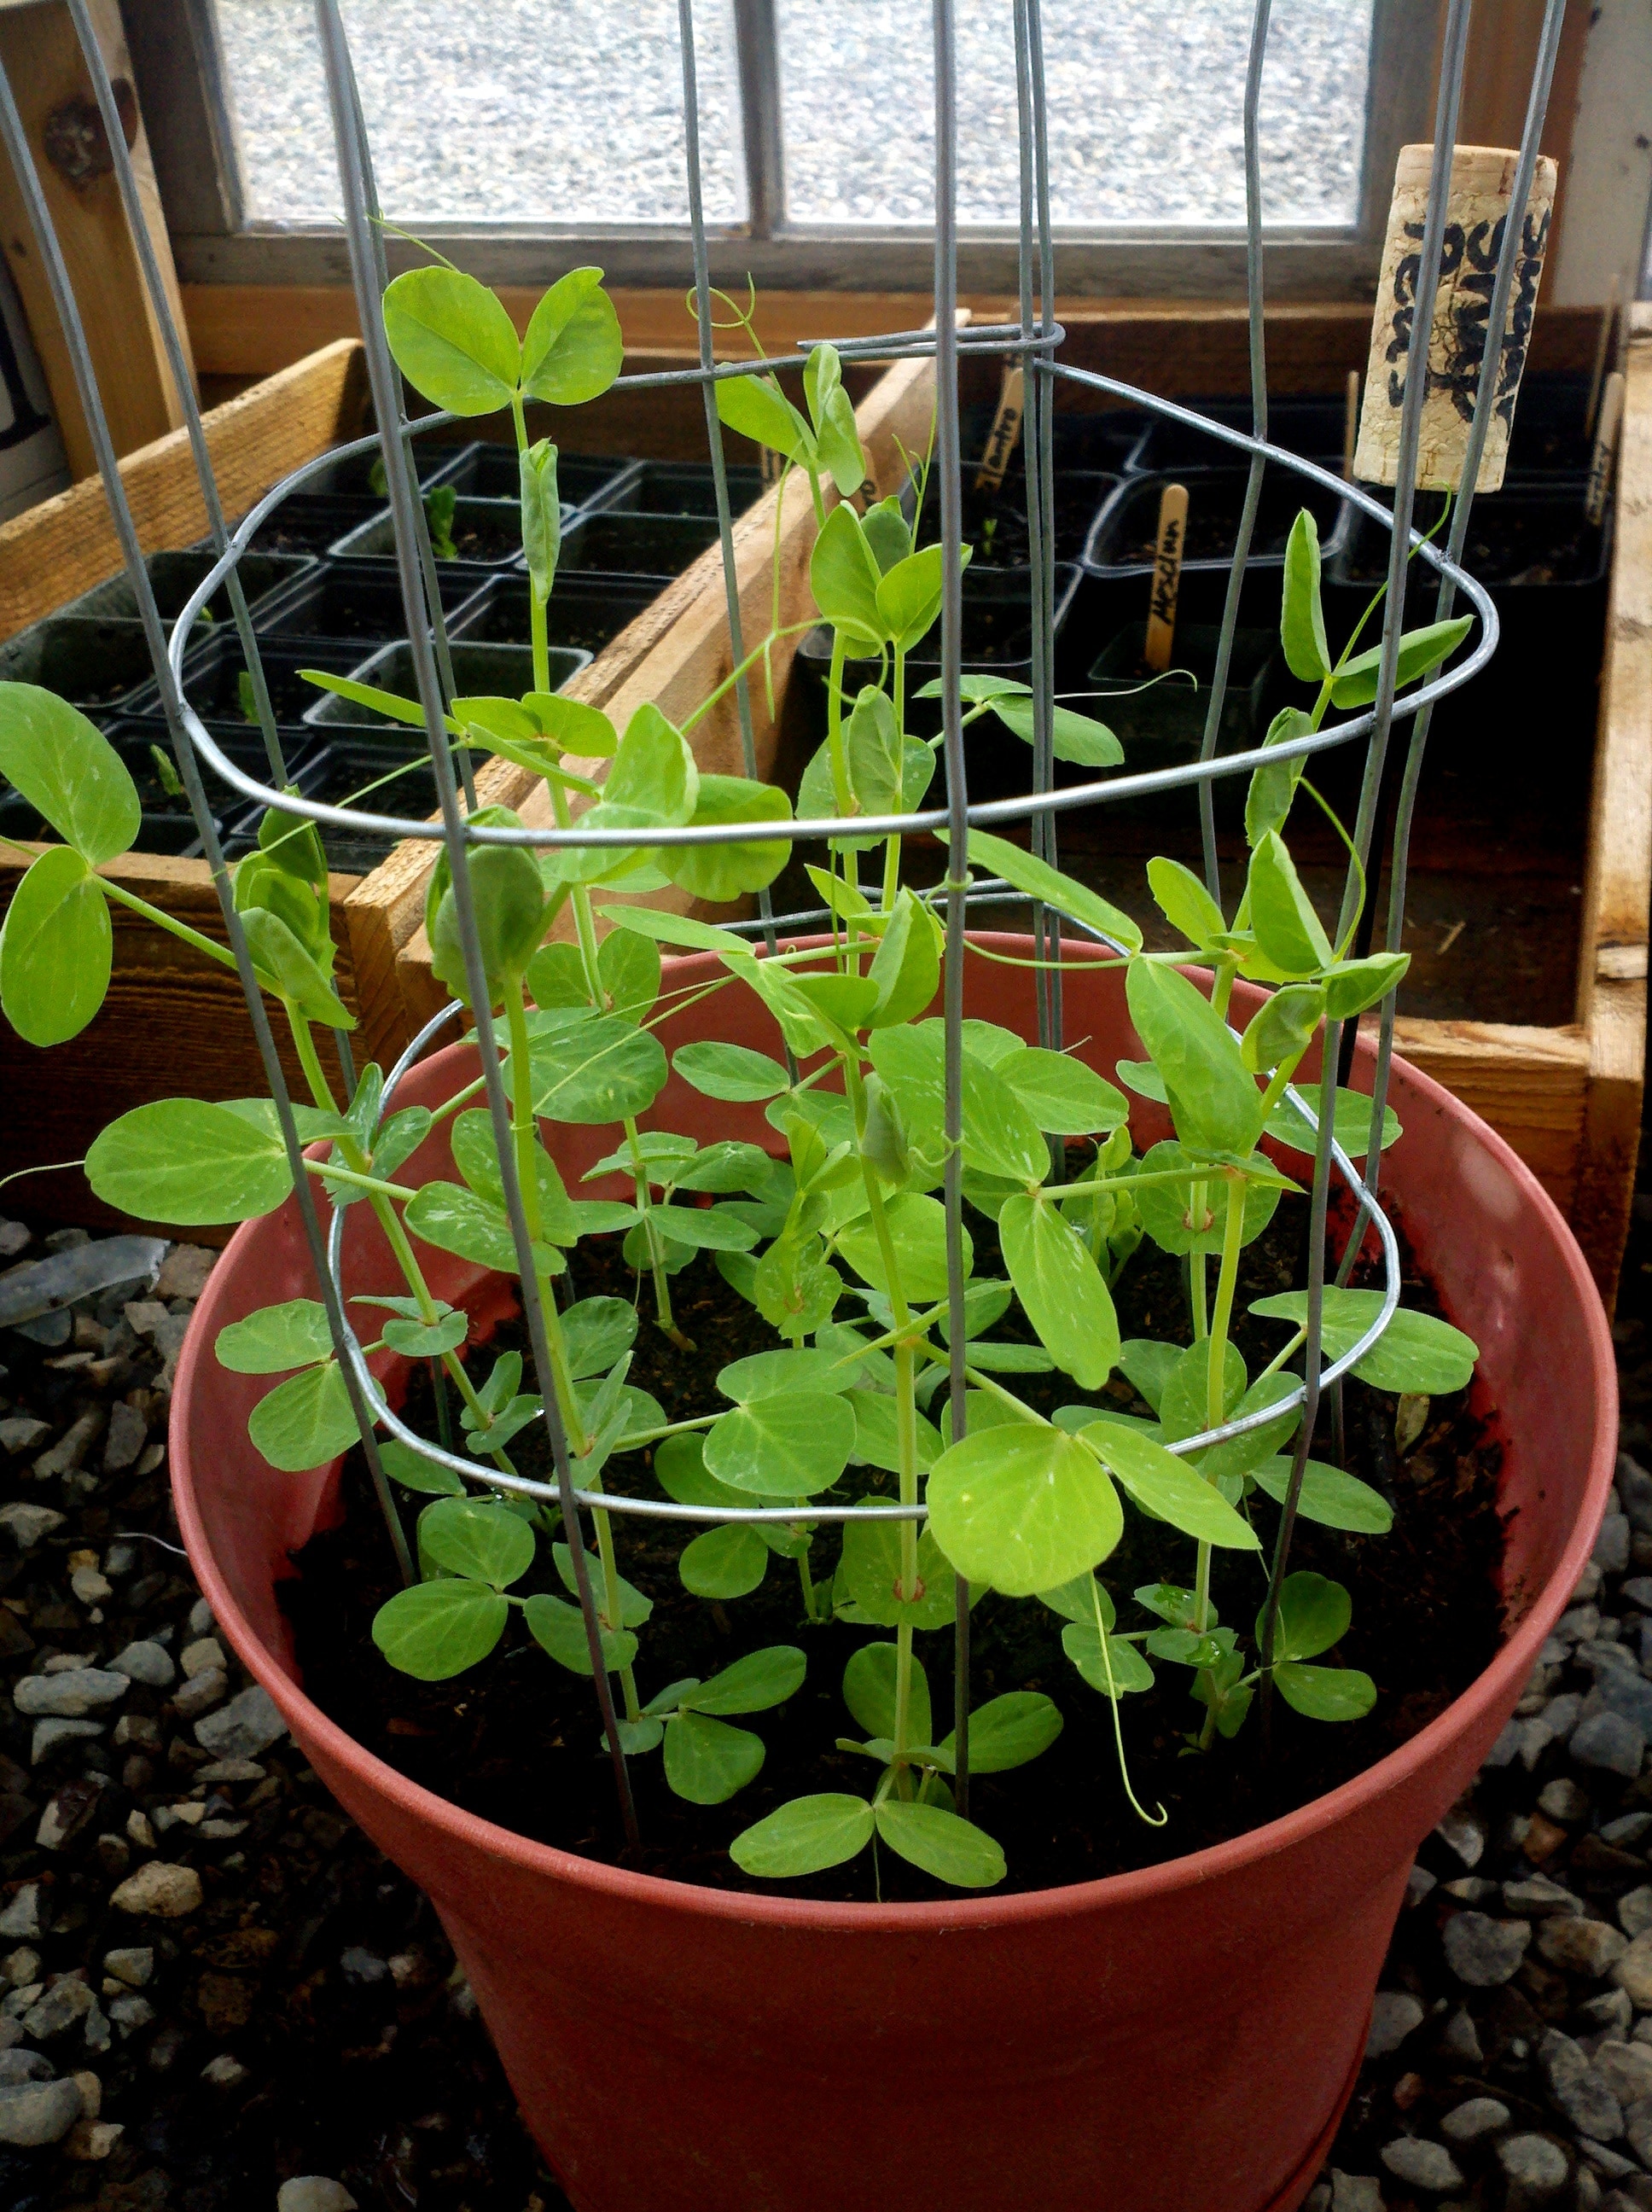
After about 10 days, this is what my DIY pea trellis looked like:
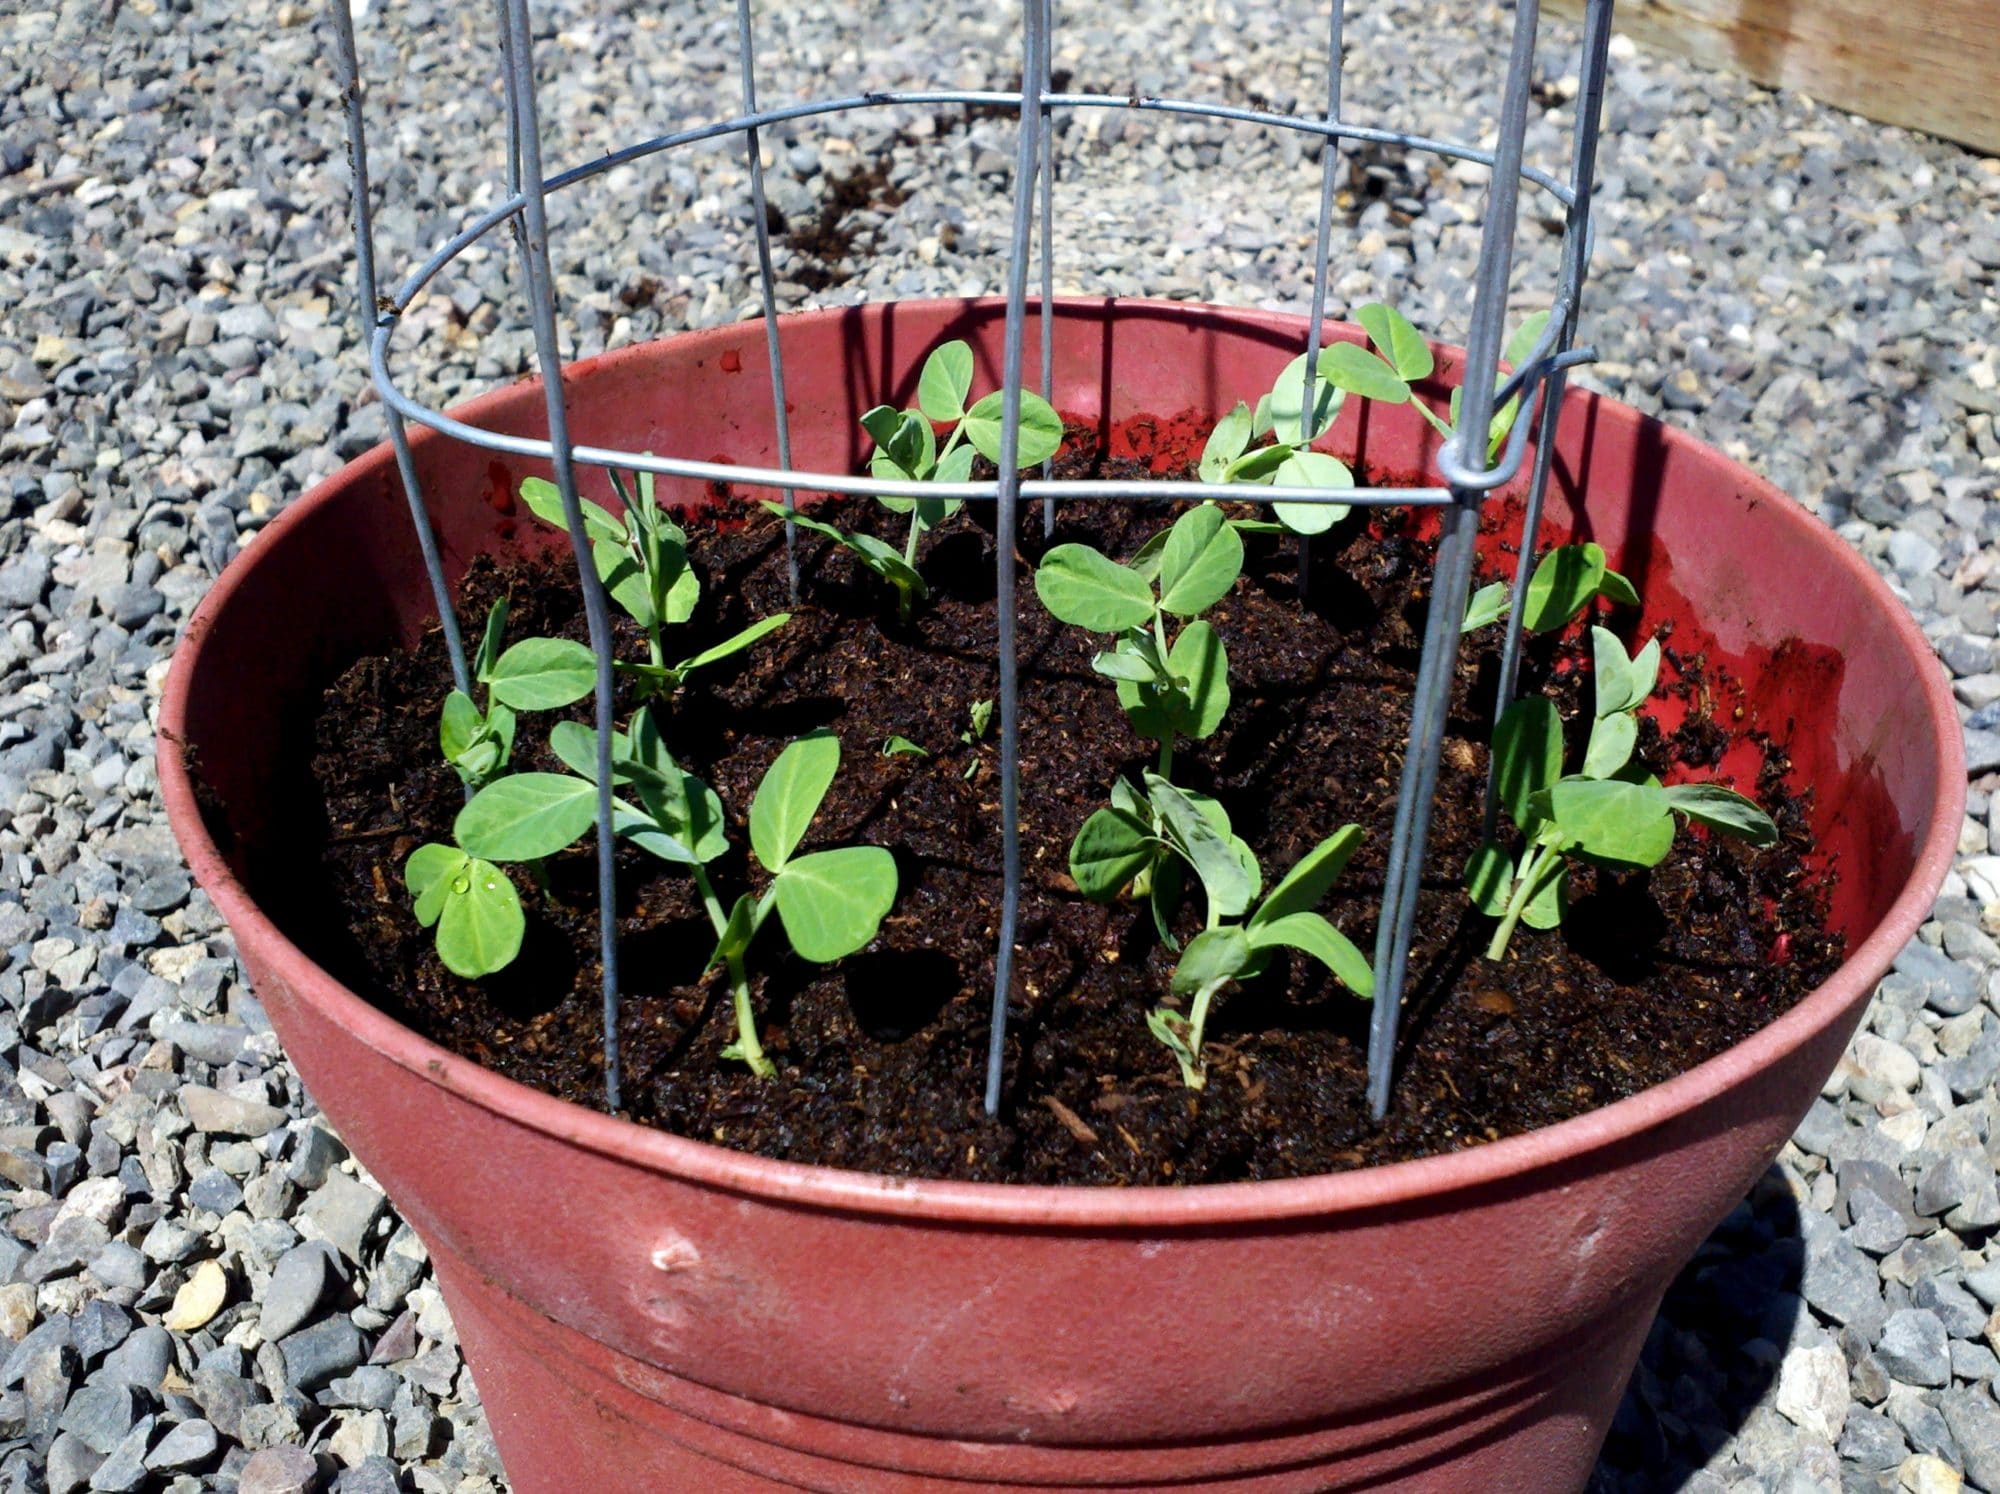
And then after about 17 days later, it looked like this:
Final Thoughts
As time goes by, the vines will continue to grow up the trellis and little peas will start to fill in. As you can see from the photo above, I also have a DIY cork plant marker so that I know what’s growing in the pot!
If you’re giving this as a gift, the recipient doesn’t even need a garden to grow this…all they need is:
- A sunny spot on the front porch, back deck, or even in a bedroom
- A little bit of water; and
- A hungry family to feed!
This is a gift that gives throughout the entire summer!
More Gardening Tips:
Trending Posts


Comments
Leave a Reply
More Related Posts


Trending Blog Posts
- Blog
- Recipes
- DIY
- Deals


Report a Problem
Please select the problem you are facing with this deal:
- Price Increased
- Price Decreased
- No longer available
- Expired
- Link doesn't work
- Suggestion
- Compliment
- Other
Add more details:
Thank you for your feedback. We really appreciate it.
Enter your email address if you would like
to receive a follow up.
Please Try Again
Thanks for providing the email address.
We will reach out to you as soon as possible.


Popular
Recommended
About Us

At Fabulessly Frugal, our goal is to help you live HEALTHY, WEALTHY, and WISE! My team and I work hard to bring you the best, online deals, clean eating, DIY's, freezer meal recipes, and more! I LOVE coaching and inspiring people to improve their health in my fitness challenge! You should also check out my favorite cleanse! Learn more about me and the rest of my team.

Copyright © 2008–2026
Fabulessly Frugal: A Coupon Blog Sharing Gift Ideas, Amazon Deals, Printable Coupons, DIY, How to Extreme Coupon, and Make Ahead Meals. All rights reserved
Would a tomato cage work the same?
Seems like it sure could!