How to Make DIY Garden Markers with Wine Corks
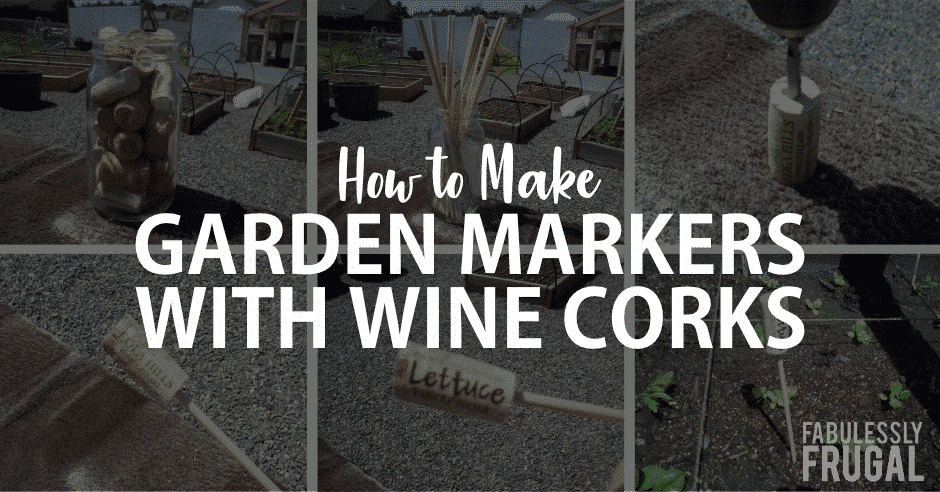
Homemade Wine Cork Plant Markers
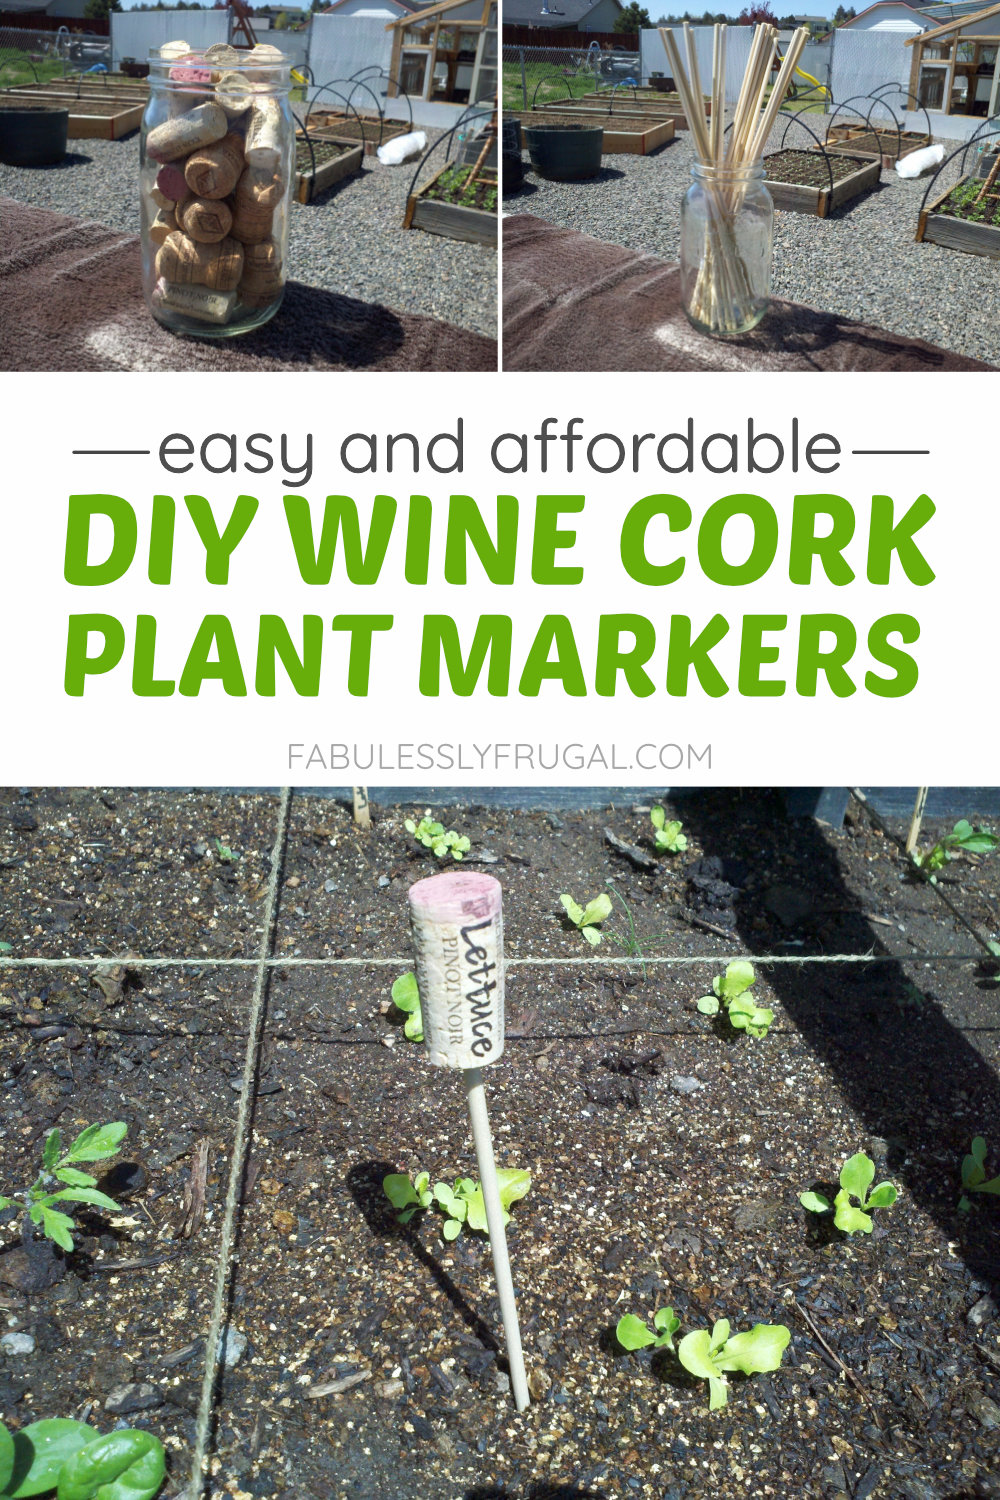
Have a small collection of unused wine corks? Always wanted to do a project with them and just wonder, “But what?” Well, here’s a fun frugal gardening project you can do today that you can plan ahead and give to mom for Mother’s Day OR keep for yourself!
Best of all, these DIY plant markers are super easy to make and they’re pretty unique too. I’ve seen some other fun DIY garden markers on Pinterest but I think these are the easiest!
P.S. Do you like the “weeds” one? I thought that was cute…
DIY Garden Marker Materials:
- a small collection of wine corks, matching or non-matching.
- wooden dowels, 3/16″, cut into 12″ lengths ($.25/3 feet at my local hardware store)
- Sharpie marker
- hand drill and 3/16″ drill bit
- polyurethane finish
Step 1: Select your corks.
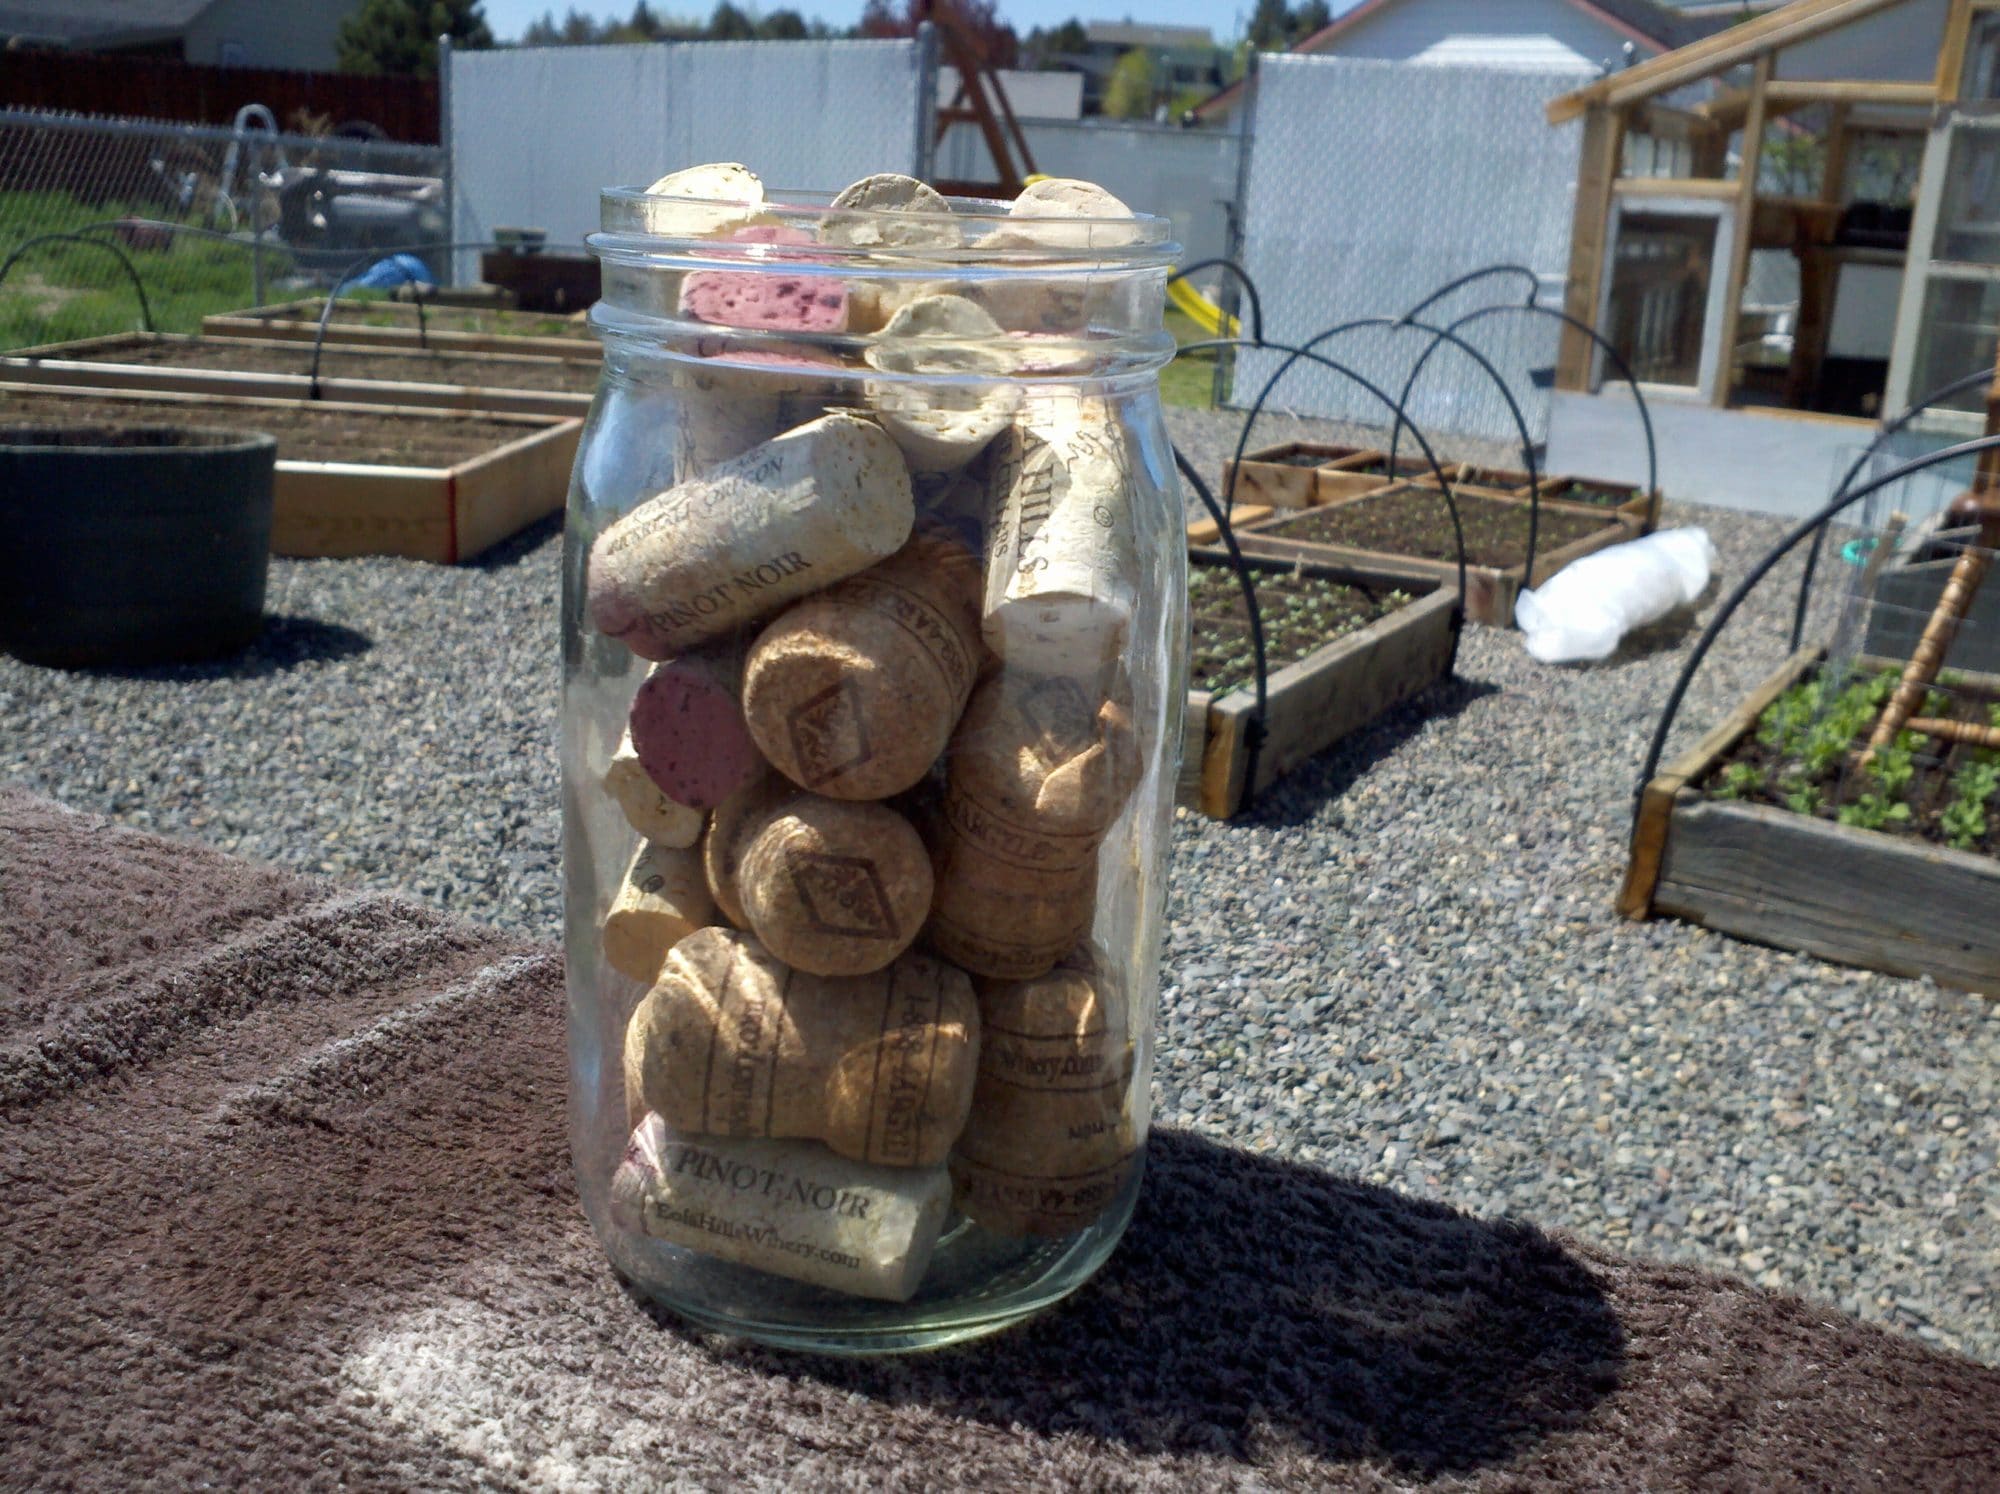
They don’t have to be fancy or anything, just regular old wine corks.
Step 2: Drill a hole in the bottom of your corks.
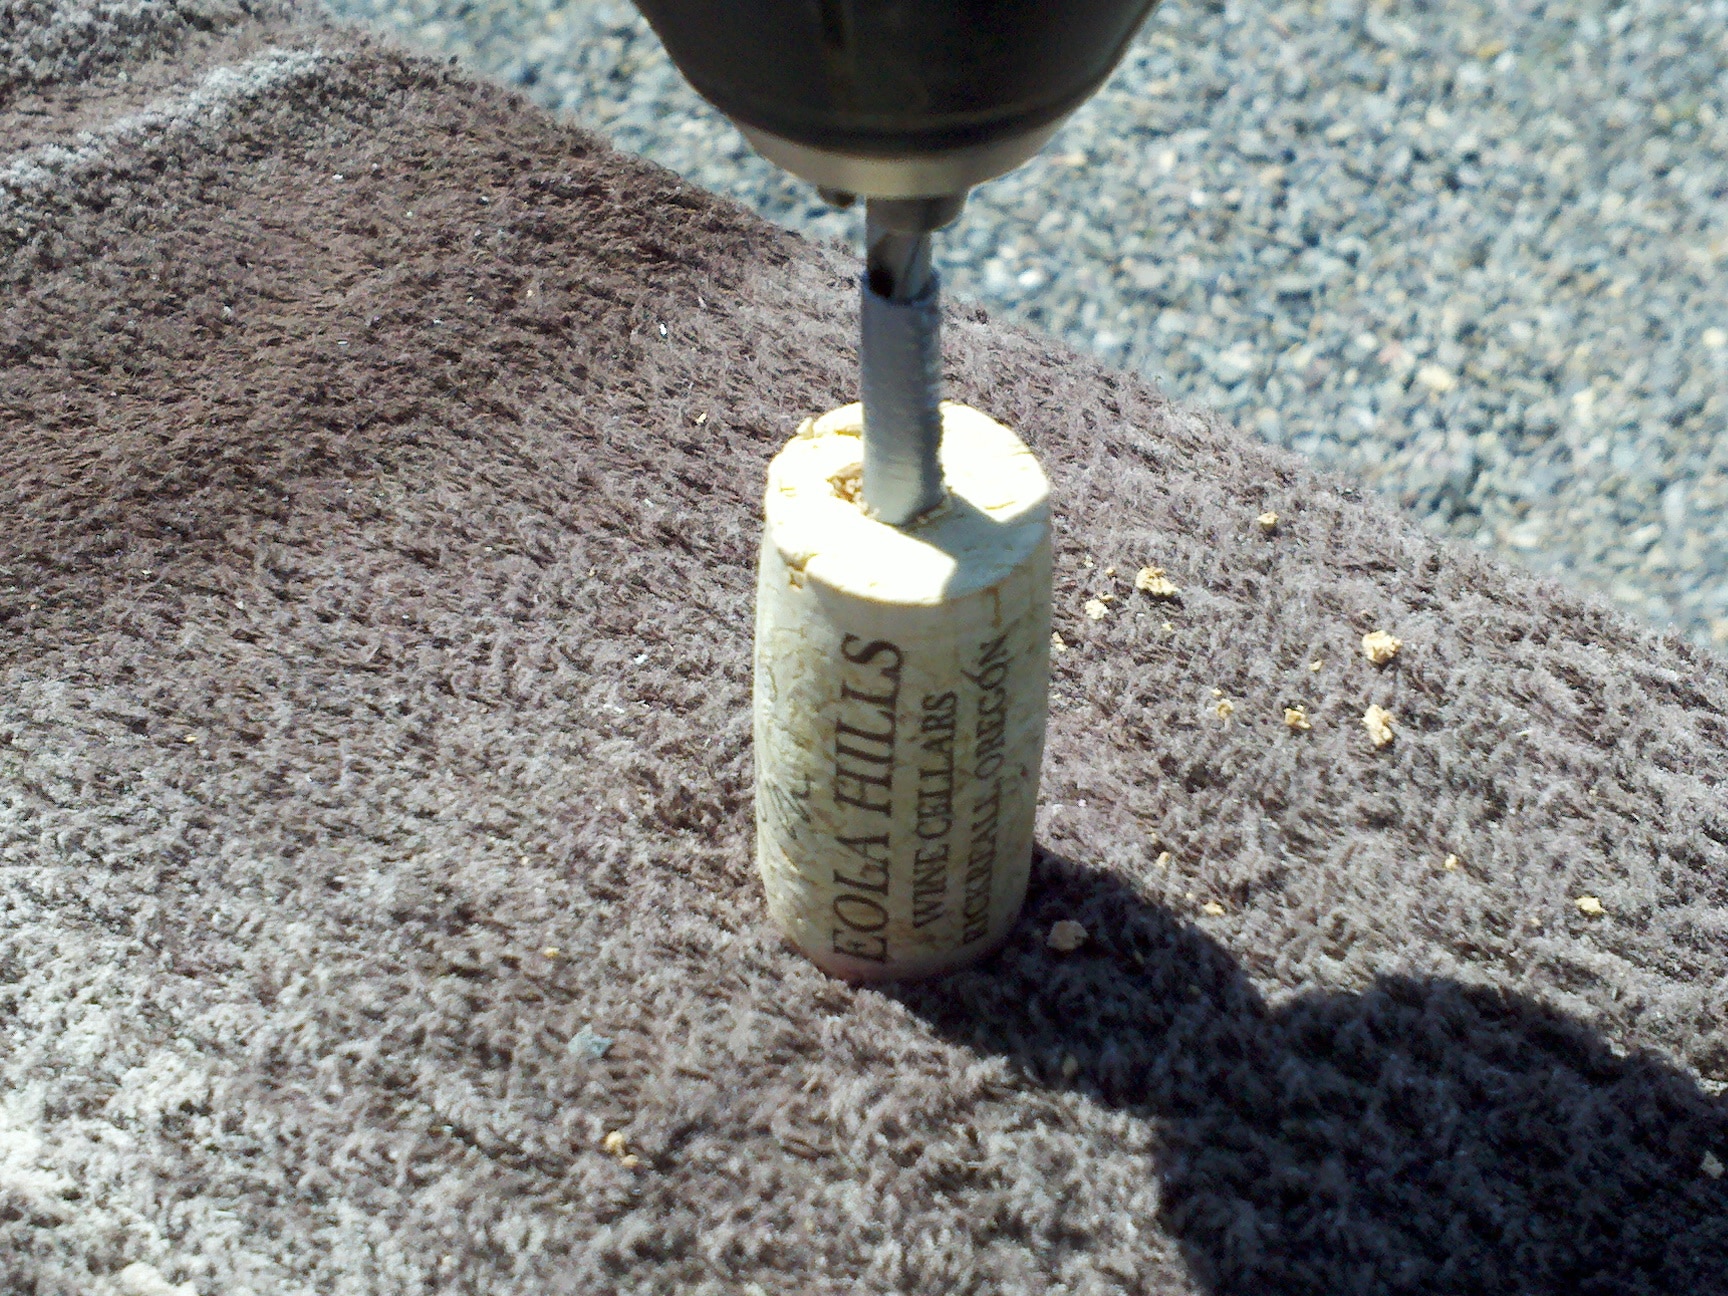
I took my 3/16″ drill bit and wrapped a small piece of duct tape on the drill bit, 1″ from the end. This helped me make sure that when I drilled, my hole was exactly 1″ deep for all of my corks.
Step 3: Cut the wooden dowels.
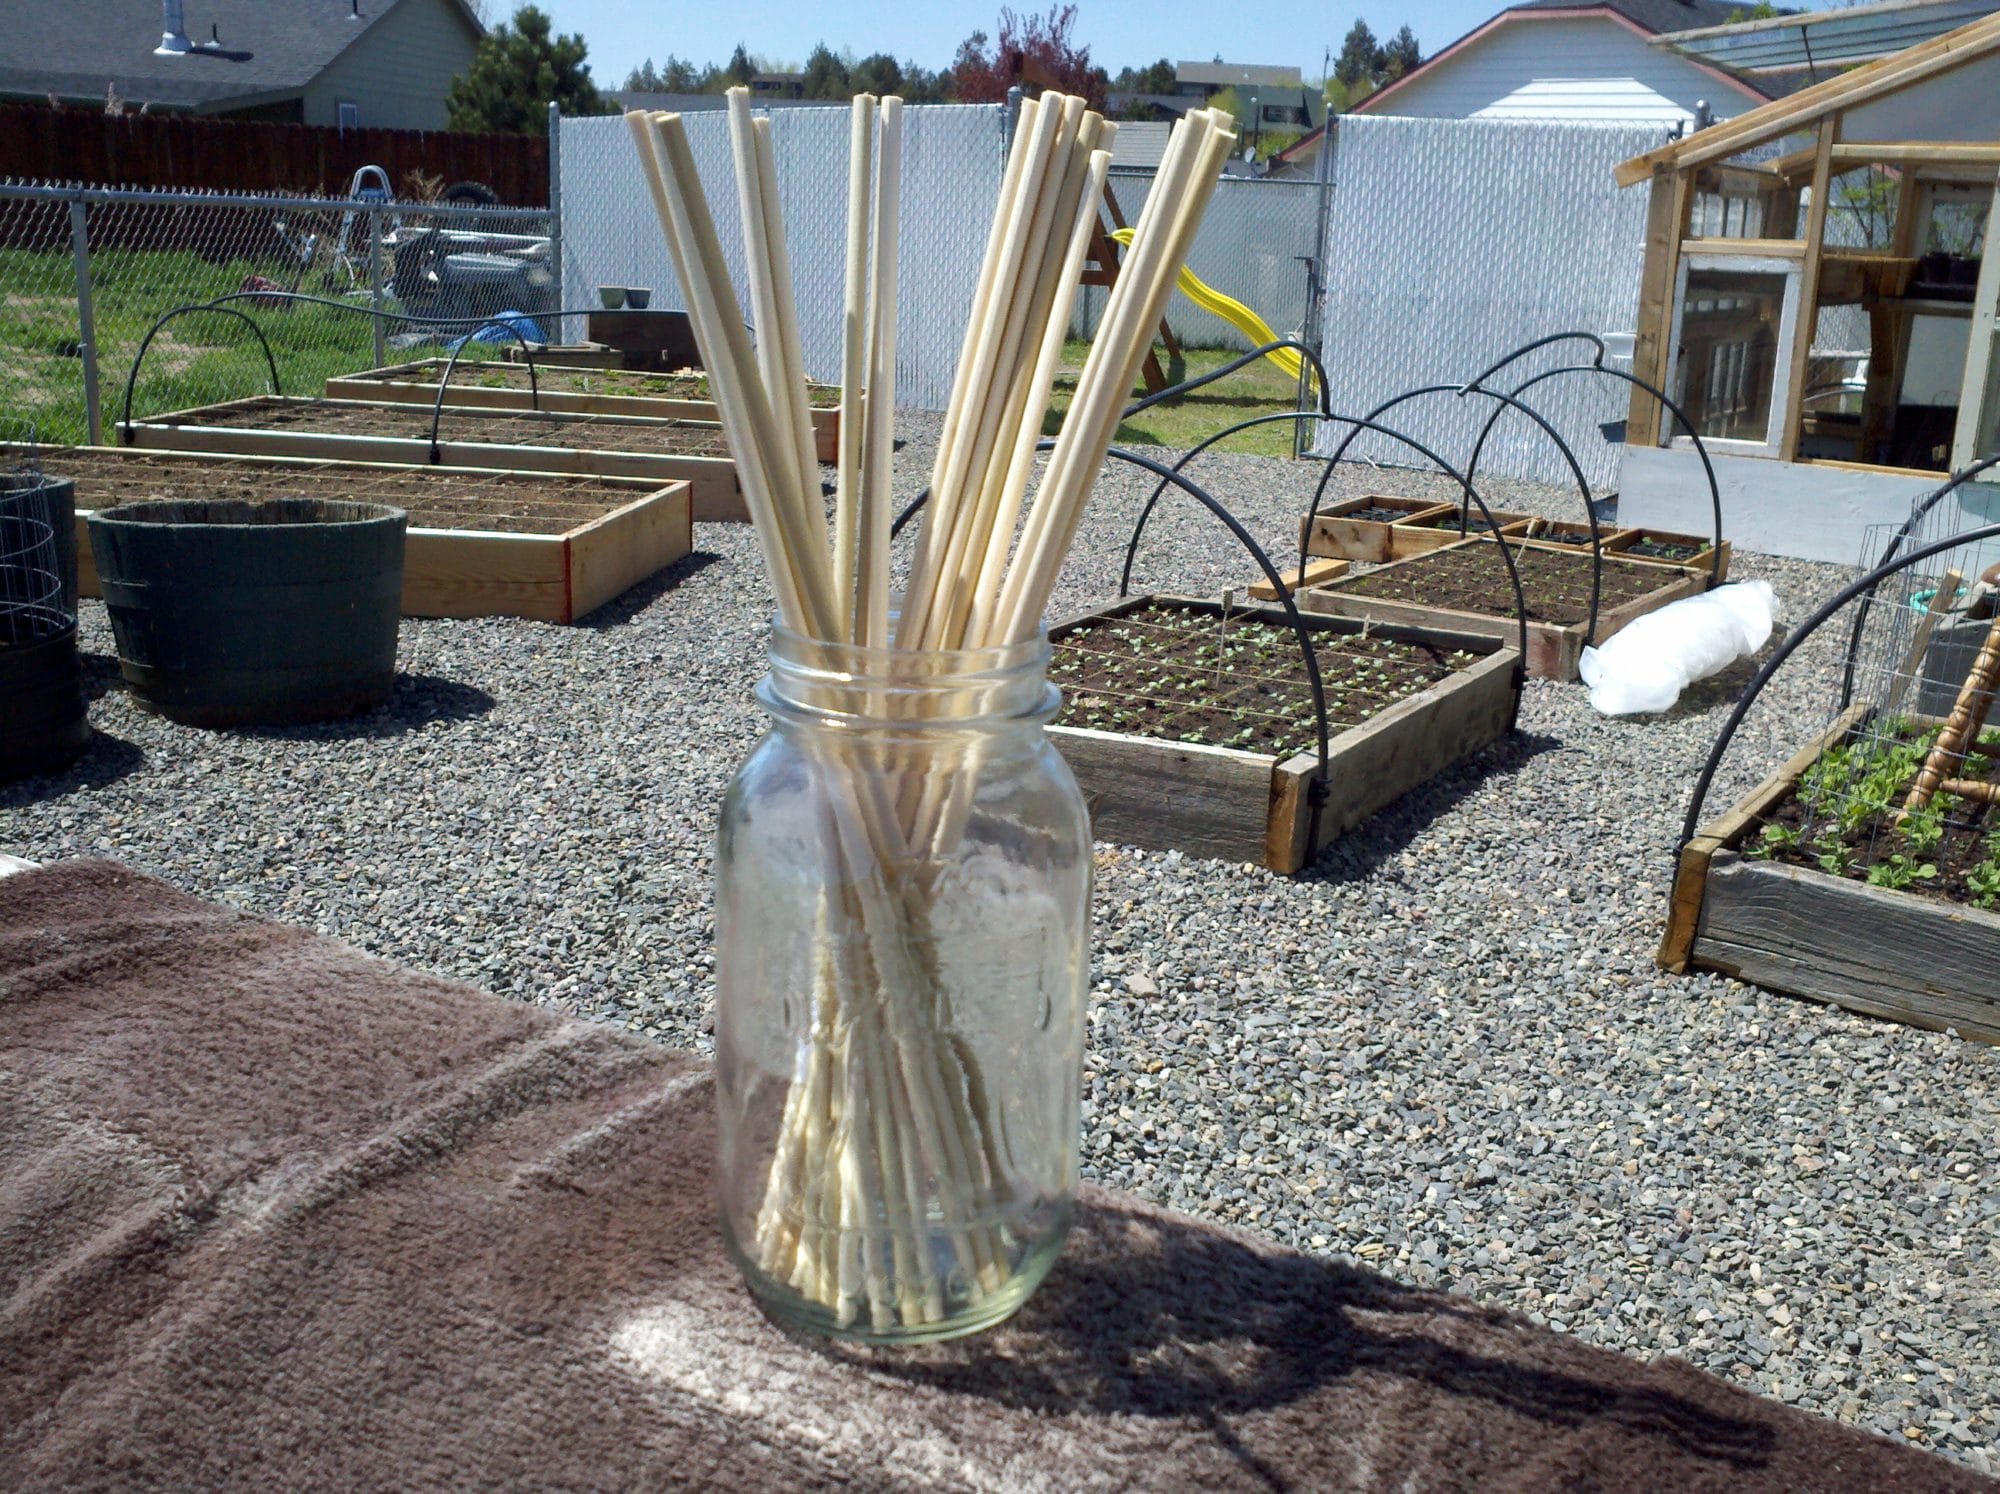
My dowels came in 3-foot sections, so I used a chop saw (a hand saw could also be used) and cut them down to 12″ each. However, if you wanted to, you could make markers for taller veggies, like tomatoes, considerably taller, even 3-4 feet.
Generally speaking, I only really need markers for the beginning of the growing season when all of the plants are small, so 12″ for all of them works well for me.
Step 4: Insert the dowels into the corks.
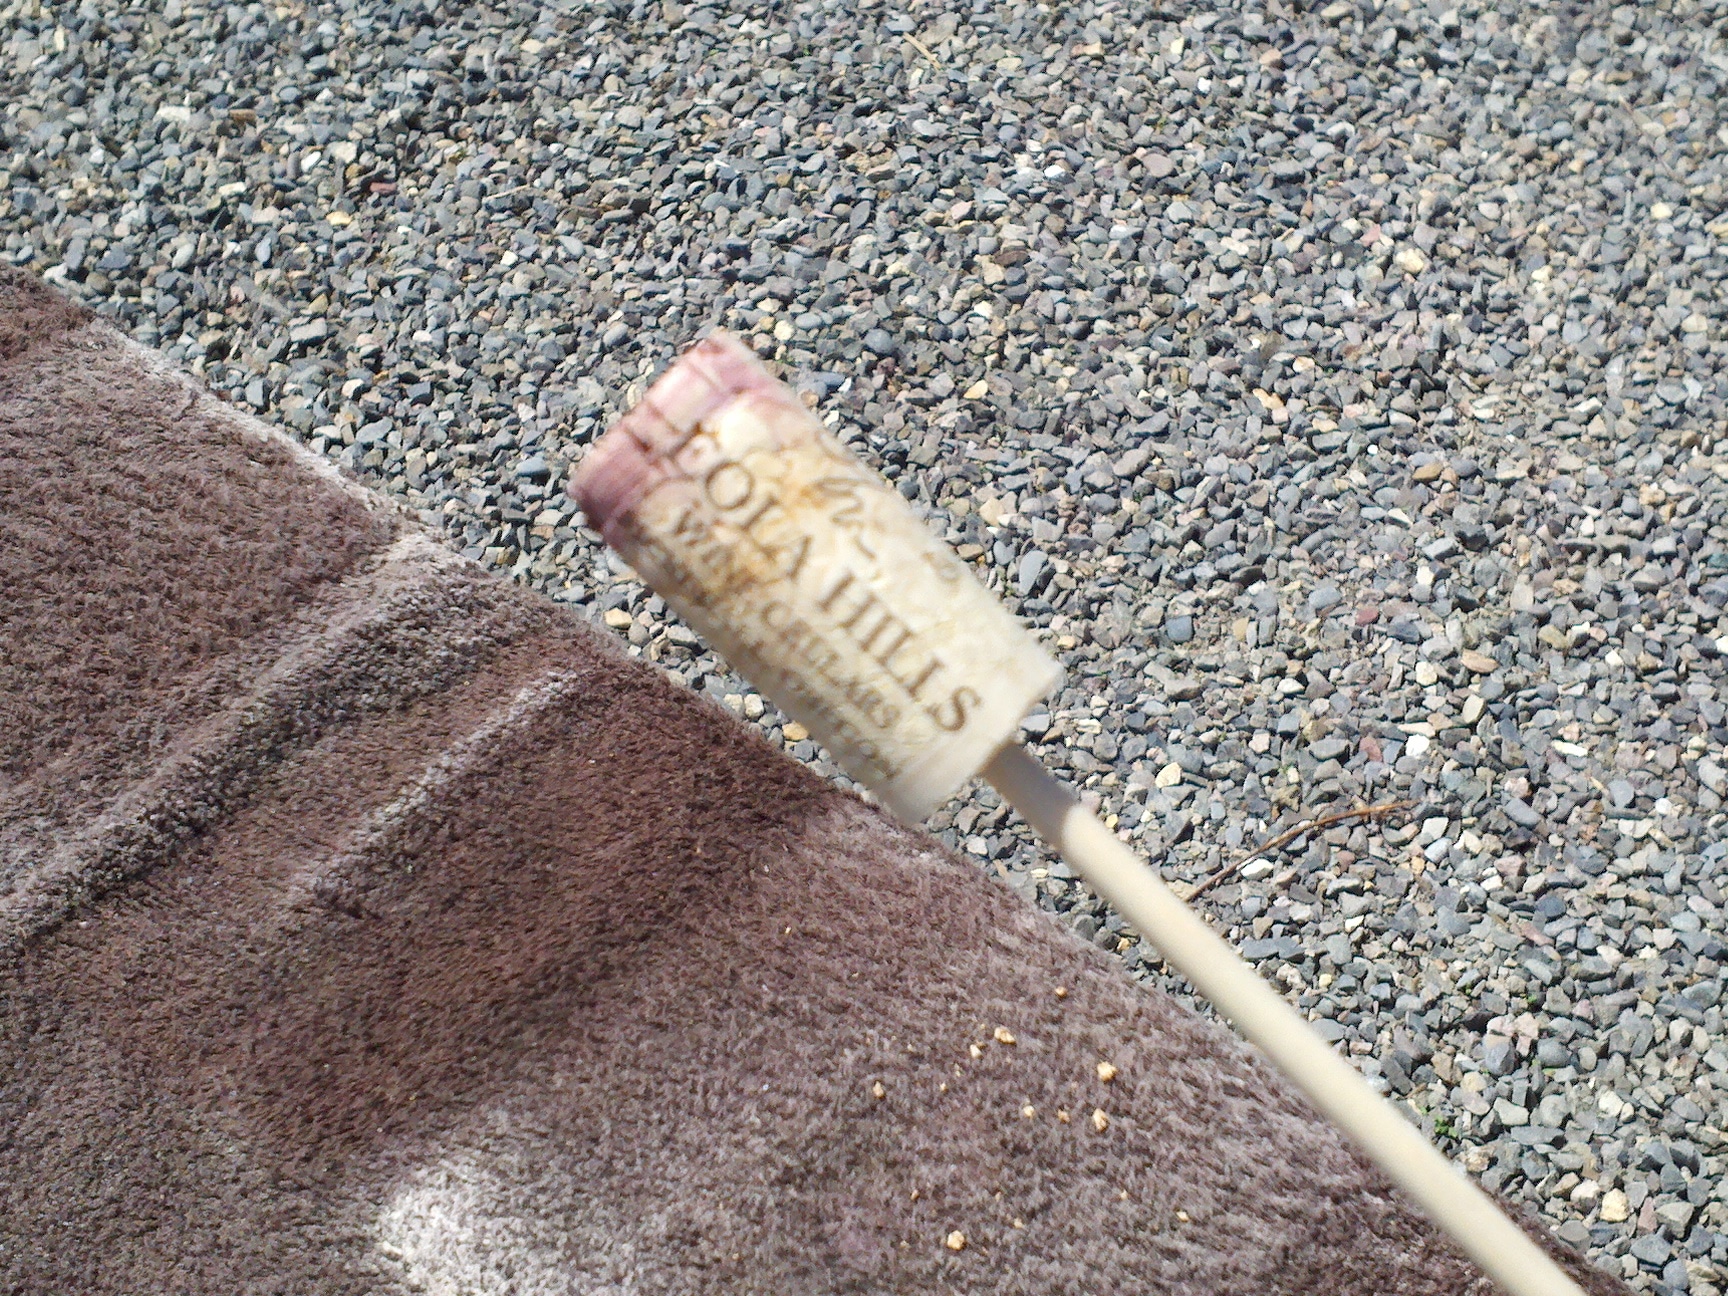
I used a hammer to gently pound my dowels into the cork holes. This was easier than trying to push them in by hand and it ensured that I got the dowel in the full 1 inch. If you wanted to, you could even use a little wood glue to make sure it stays in place.
Step 5: Write the name of the plants on the corks.
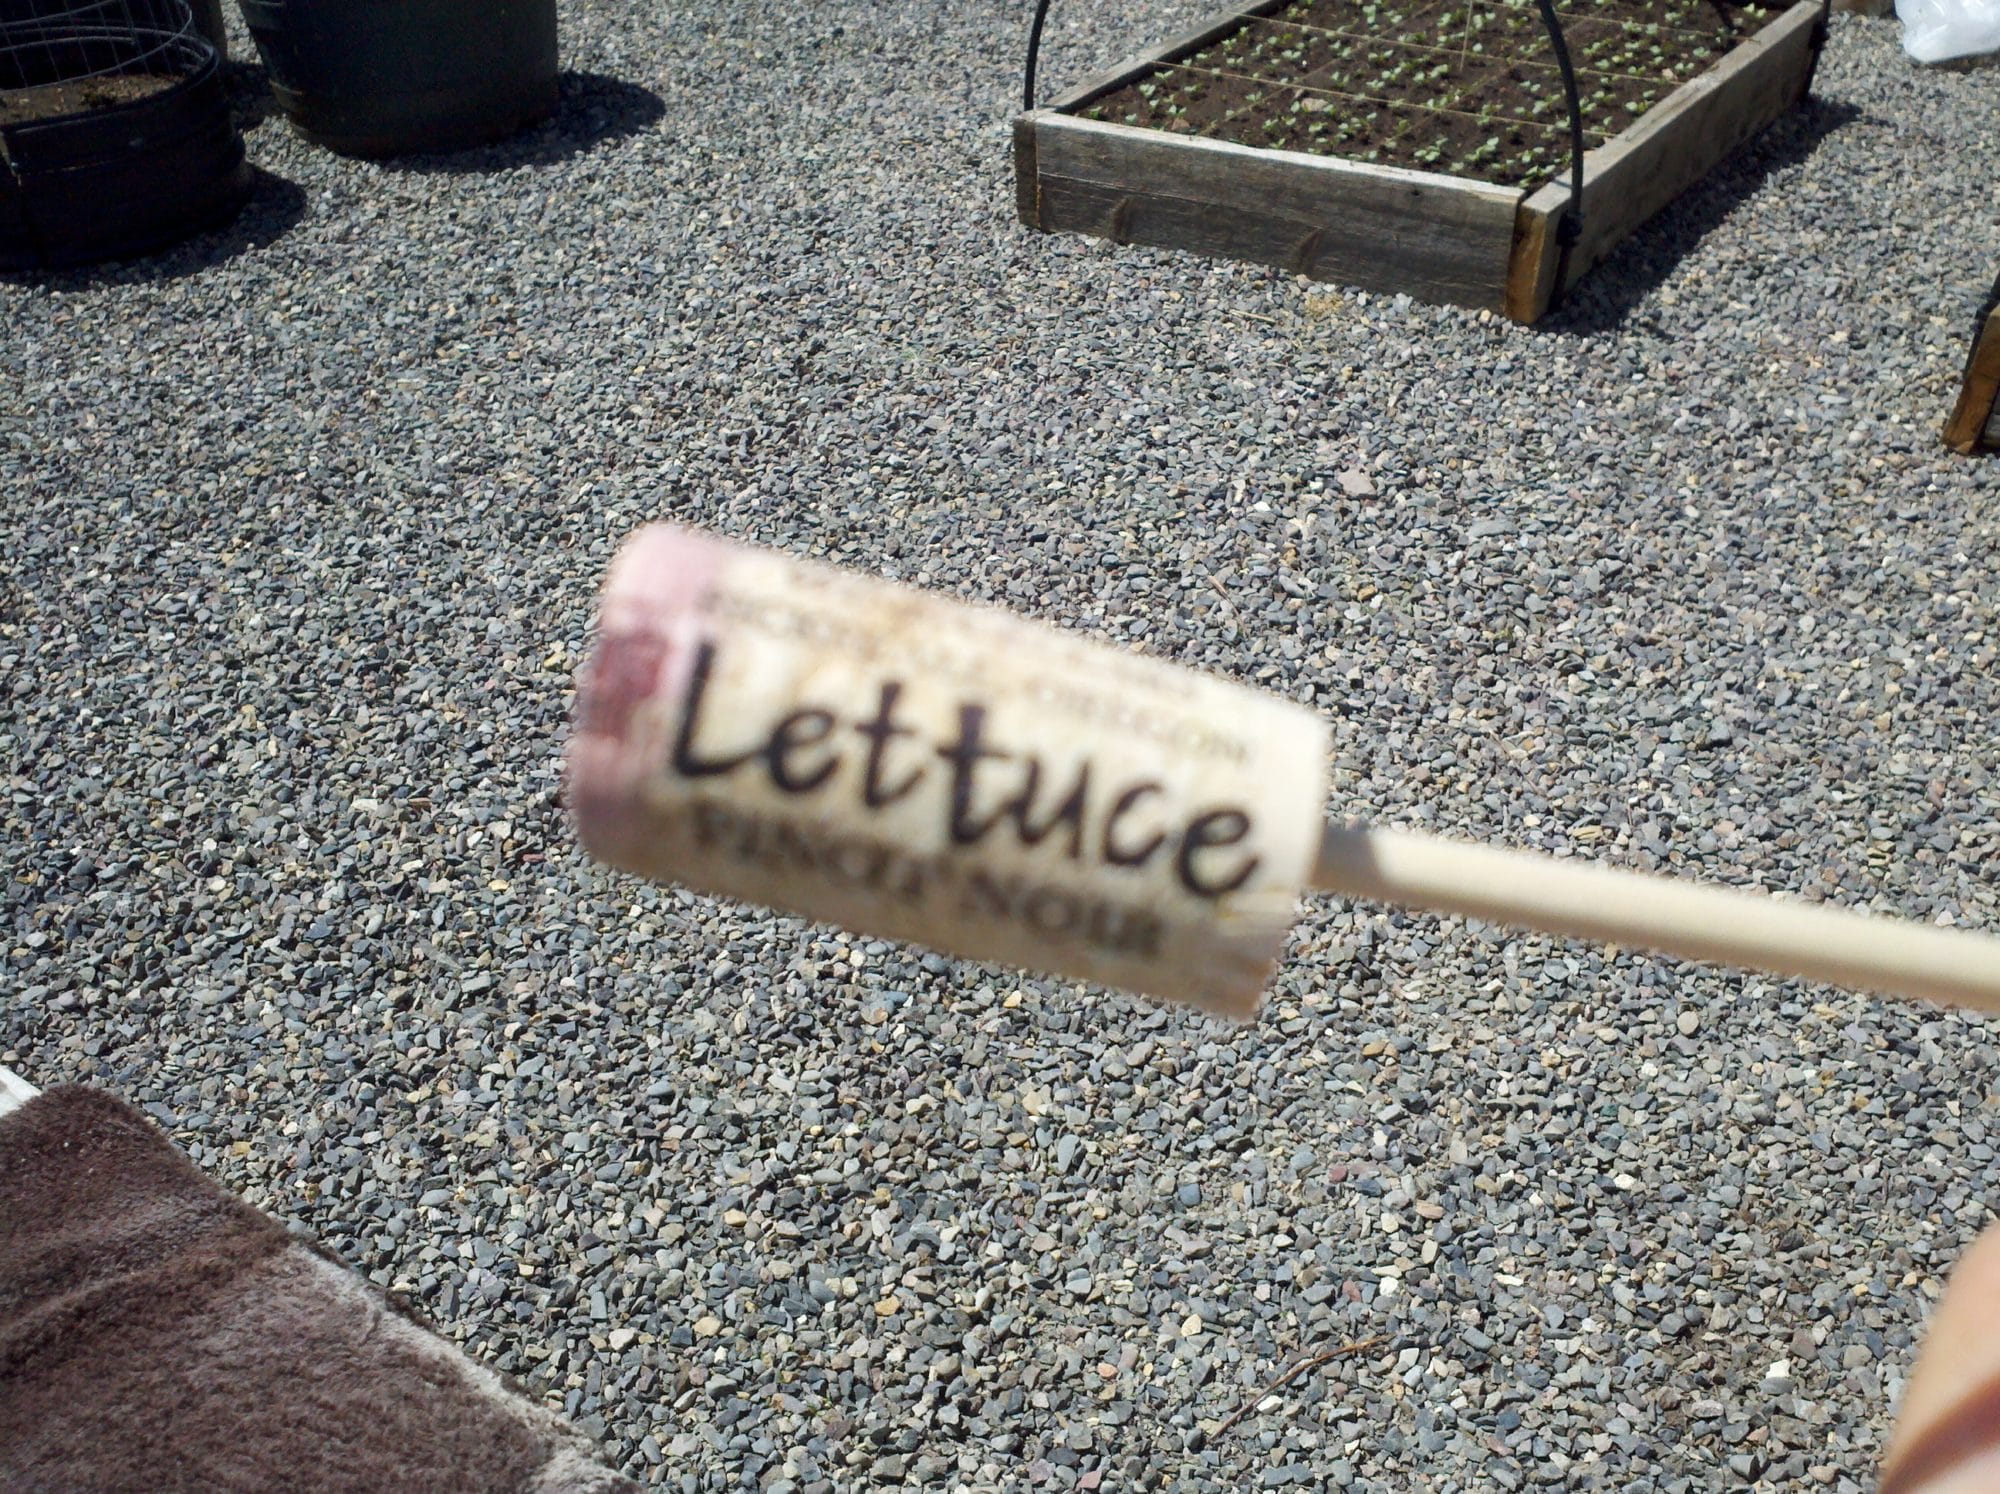
My corks have the name of the plant written twice on each cork, but once should suffice.
Step 6: Paint with a clear polyurethane coat for weatherproofing.
Adding a clear coat of poly will help your corks withstand waterings and the weather.
Step 7: Insert cork markers into the garden.
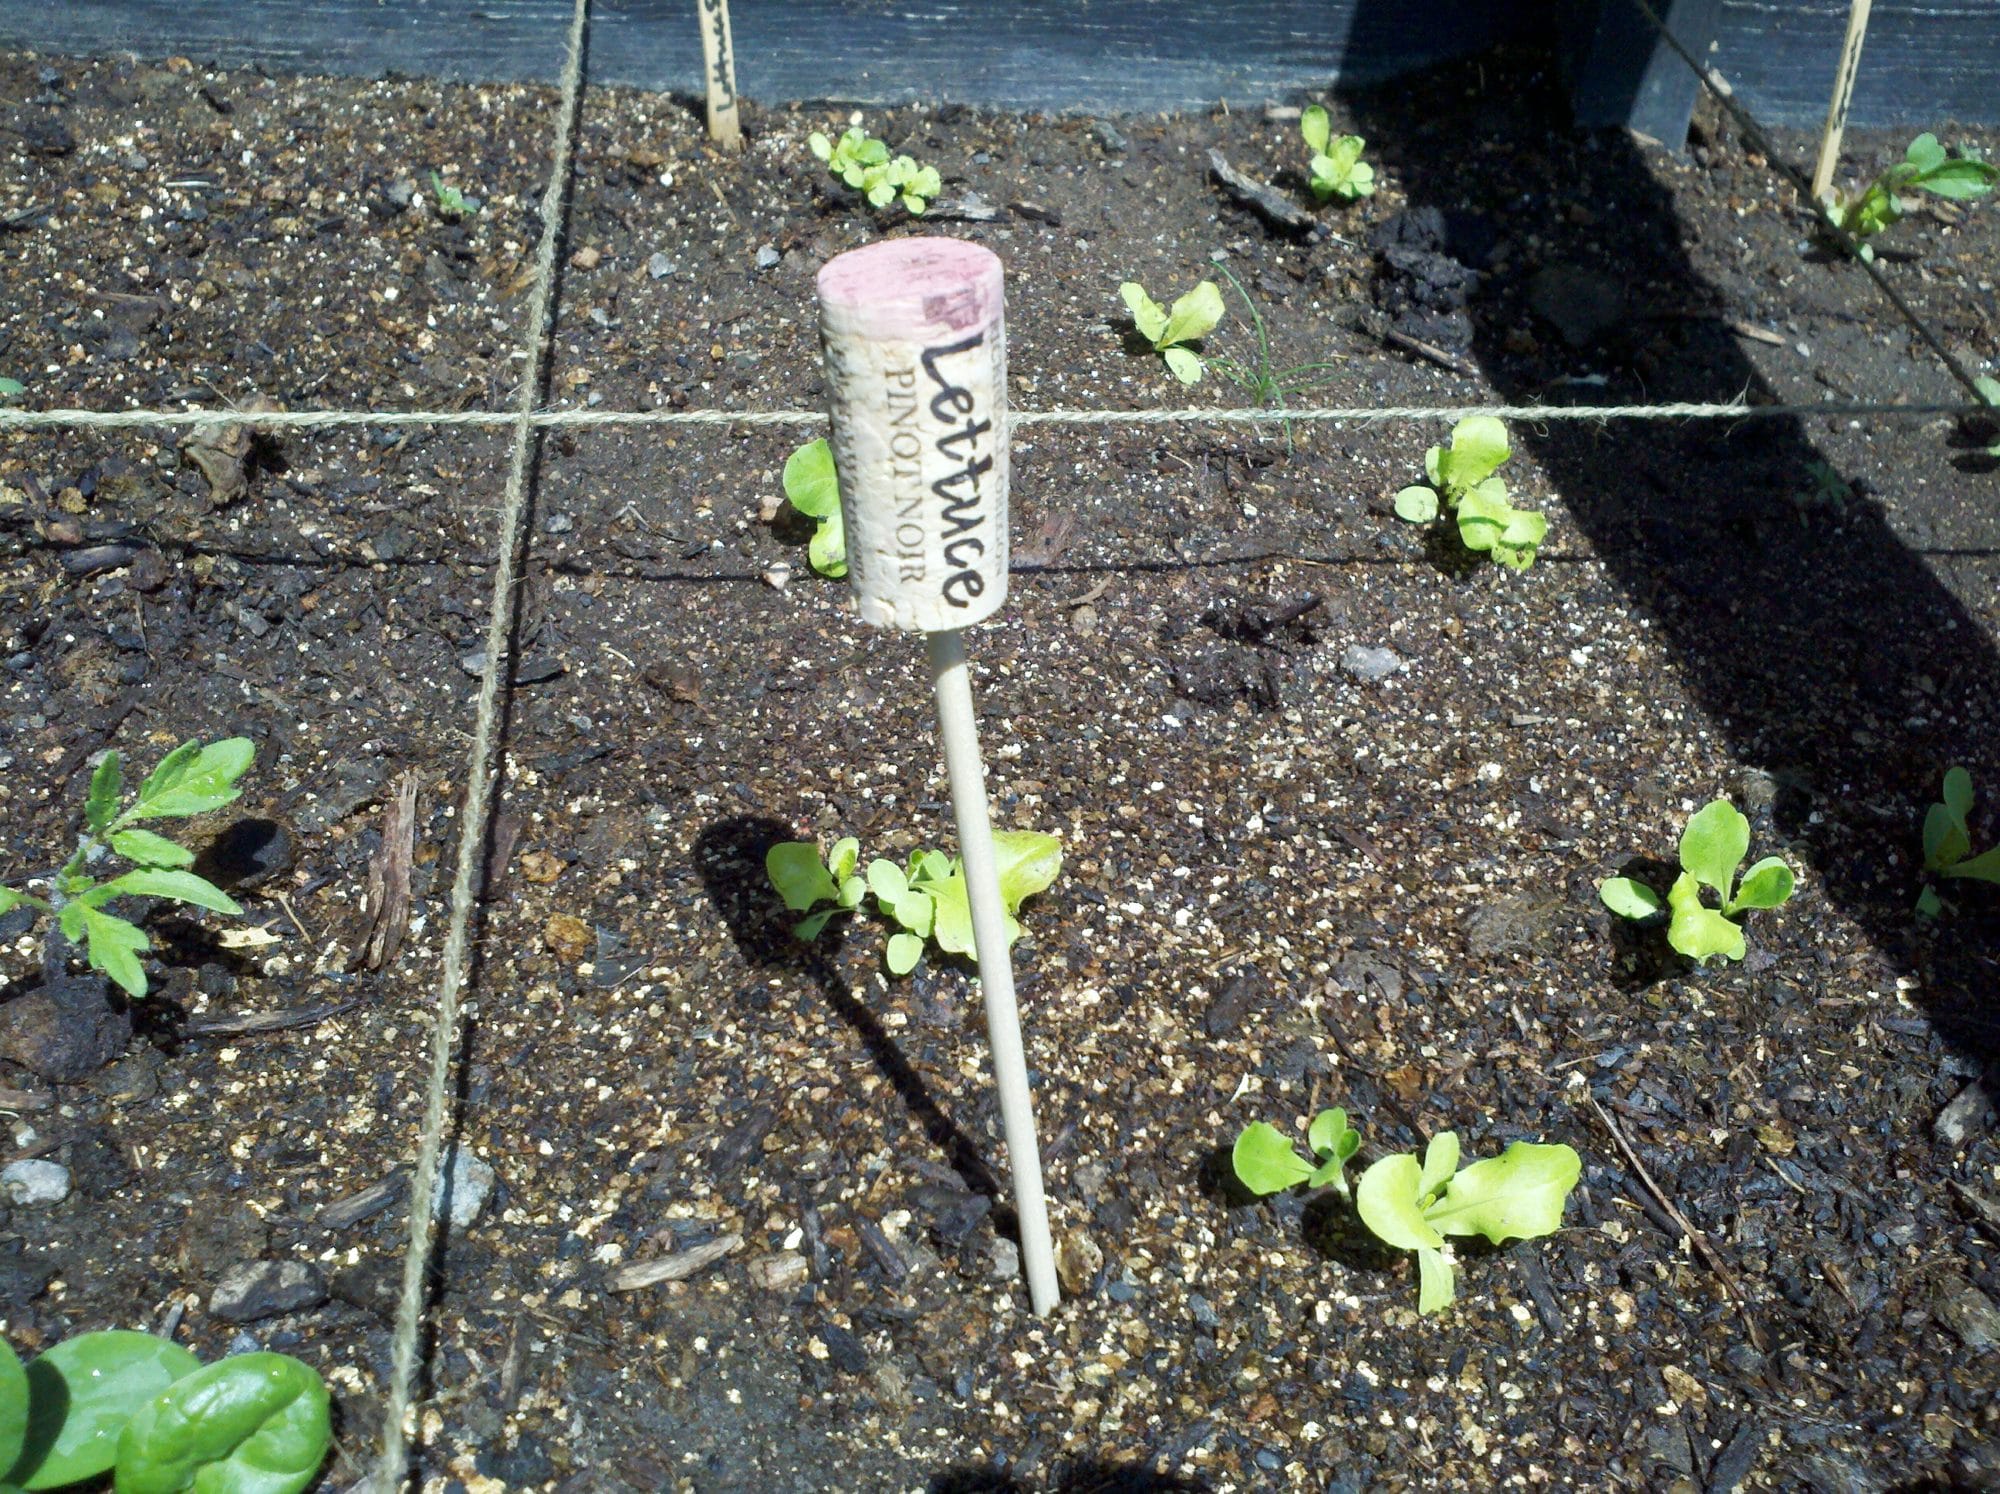
Add the corks to your raised beds, container gardens, and wherever you have plants growing. These can also be used in your flower beds and could include the scientific name on one side of the cork, and the nickname on the other side.
You’re Ready to Make Your Own DIY Plant Labels!
Even if you’re not going to start planting yet you can still get your DIY plant markers ready for when you do! This is a fun and easy project and it will get you excited to start gardening again!
When I am ready to head out to the garden and plant I always like to take a few of my most appreciated gardening tools:
After sitting on my knees for a while, I’m glad to have a bit of cushion underneath me, and gloves are my own personal necessity!
More Gardening Tips:
- How to Build a Lean-to Greenhouse for Under $100
- How to Decorate Terracotta Pots with Fabric and Paint
- How to Make a DIY Compost Bin from Pallets
See More Gardening Tips Here!
Comments
Leave a Reply
Report a Problem
Please select the problem you are facing with this deal:
- Price Increased
- Price Decreased
- No longer available
- Expired
- Link doesn't work
- Suggestion
- Compliment
- Other
Add more details:
Thank you for your feedback. We really appreciate it.
Enter your email address if you would like
to receive a follow up.
Please Try Again
Thanks for providing the email address.
We will reach out to you as soon as possible.






What kind of sharpie are you using? I have tried regular sharpie and it is too fat barely readable.
Any suggestions?