Creamy Baked Chicken Taquitos Recipe
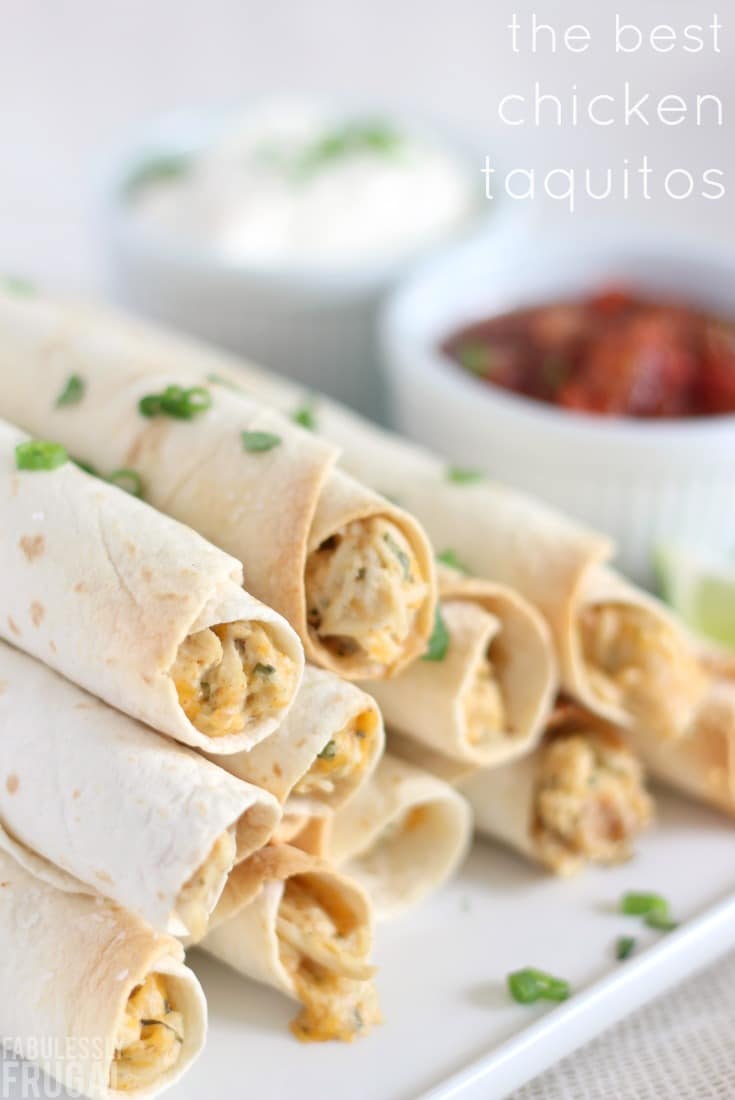
Baked Chicken Taquitos Recipe with Cream Cheese
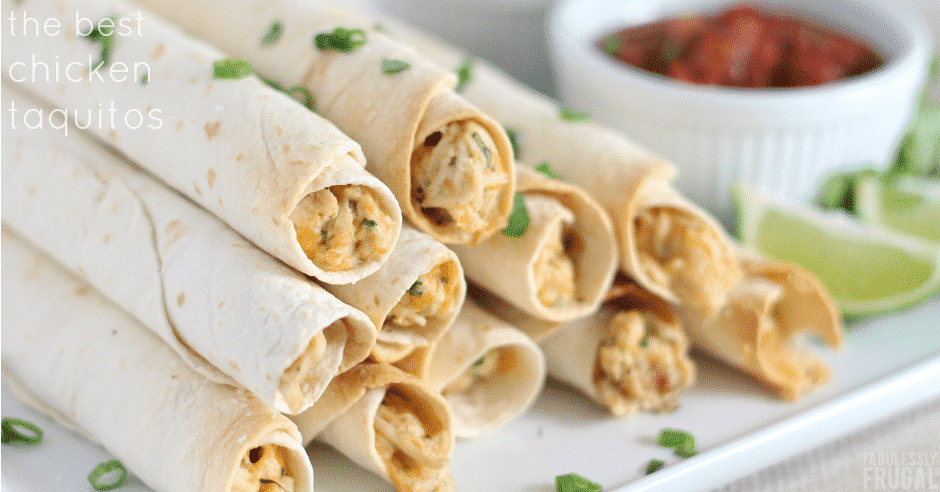
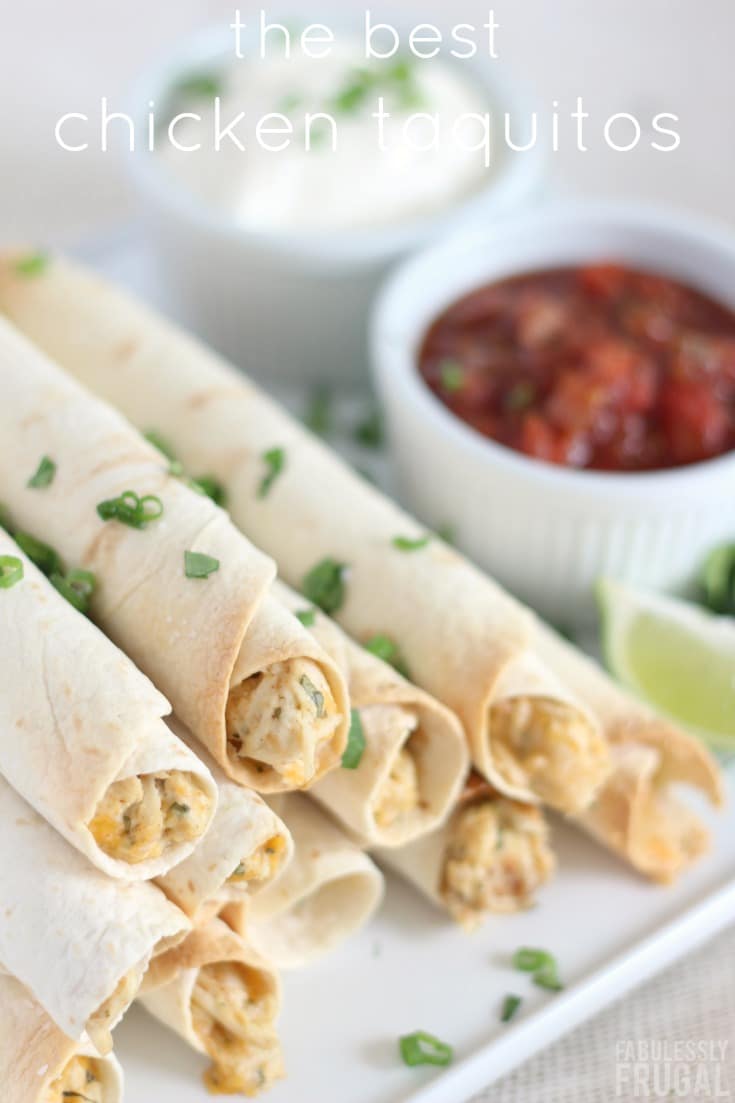
It is super easy to make these baked chicken taquitos and everyone in my family loves them! They are also an excellent freezer meal. I like to double the recipe and freeze some for my own fam and take them to other families that could use a delicious, quick meal to stash in the freezer.
I’m guessing the ladies at Our Best Bites didn’t know this recipe would become one of their most popular recipes ever, but there’s a good reason why! They really are so easy and so delicious!
Start with the Chicken
The first thing you need is some cooked chicken. It doesn’t matter how you cook it – pressure cooker, slow cooker, grill, stove top, etc.
You’ll need about 1 pound of boneless skinless chicken breast to get about 2 cups shredded chicken. Rotisserie chicken is a super easy option that tastes great too!
Making the Filling
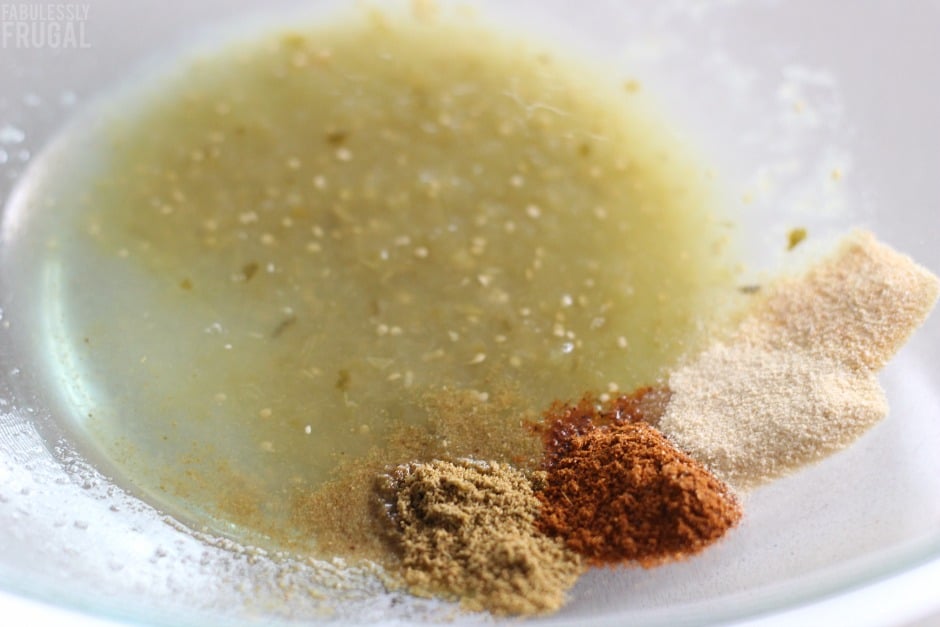
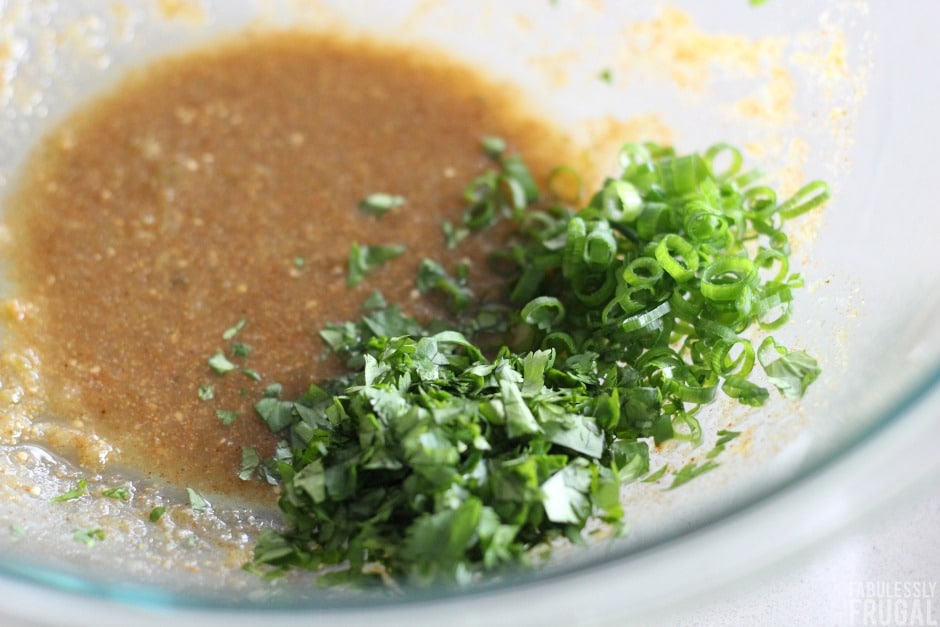
Then mix together the seasonings, salsa, cilantro, and green onions. A medium-large bowl works great so you can just keep adding the filling ingredients to that same bowl as you go.
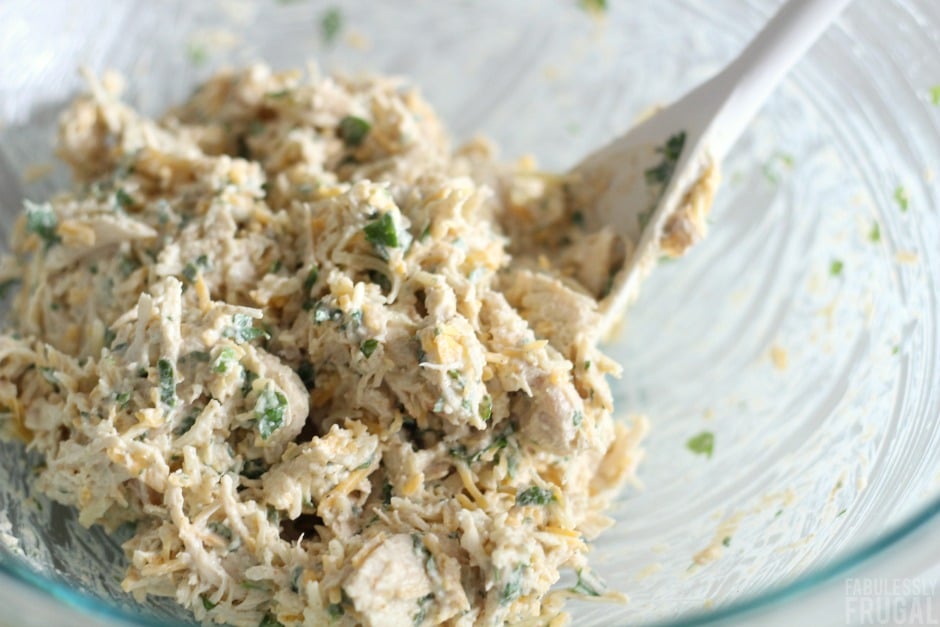
Mixing it All Together
Once your filling ingredients have been mixed you can combine the chicken into it all. You end up with this creamy, cheesy, chicken goodness.
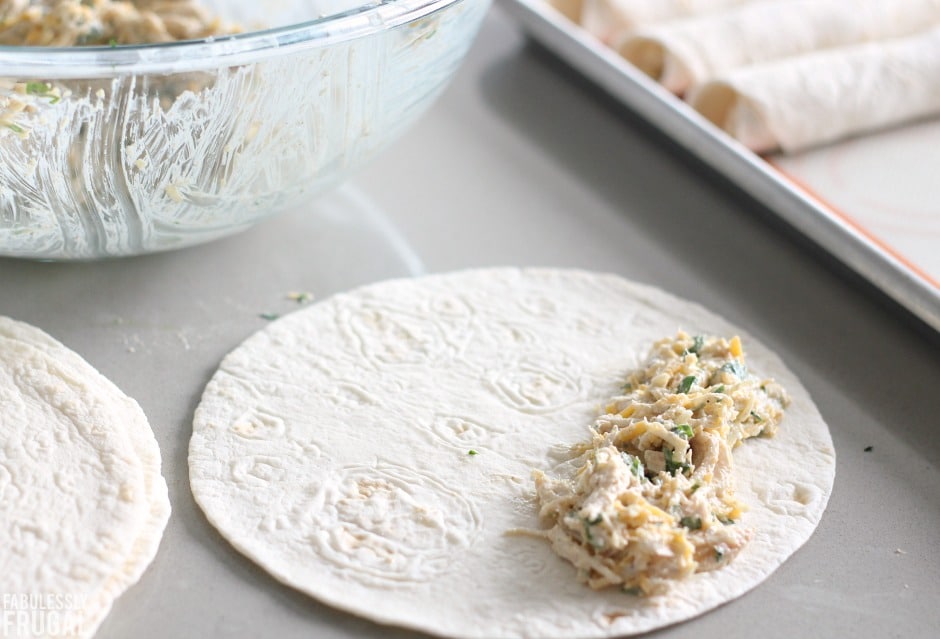
Rolling the Taquitos
Just so you know, some people get 12 taquitos from one batch, some people get 11. Of course, doubling the recipe is always a good idea because you can just freeze the extra filling or the rolled taquitos for later.
You can opt to use corn tortillas instead and warm them a bit before rolling. I personally prefer the flour tortillas though. You could also make your own tortillas.
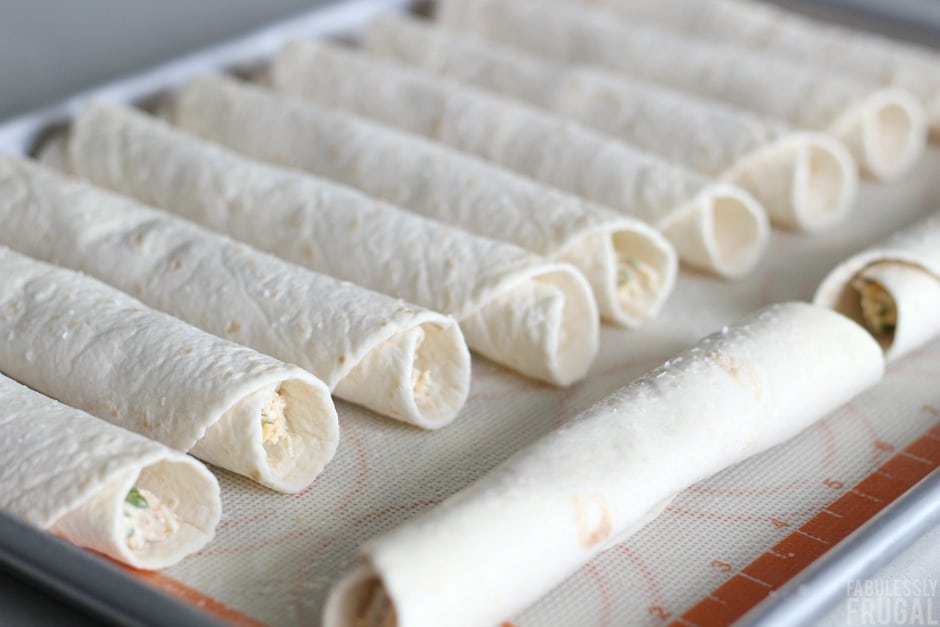
Baking the Chicken Taquitos
Before baking, I always like to add some kosher salt to my taquitos. I use cooking spray or olive oil so that it stays on. This adds a nice touch of flavor.
Serving Tips
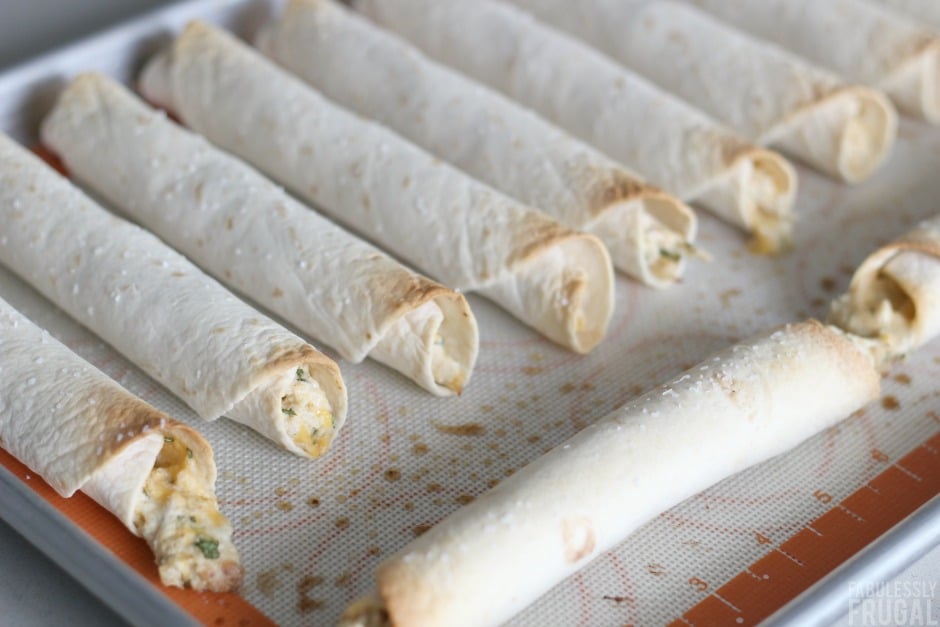
The ends of the chicken taquitos will start to turn golden brown when they are done baking. Try not to let them burn though! (Talking from past experience.) 😉
For serving, these taquitos have great flavor so you don’t really need to add anything. However, if you still want to add some extra flavor, try dipping them in your favorite salsa.
If you haven’t made these chicken taquitos yet, I strongly encourage you to give them a try! Enjoy!
Would you like to see more of our favorite recipes? Subscribe to our recipe email.
Creamy Baked Chicken Taquitos Recipe
Equipment
- Oven
Ingredients
- ¼ cup green salsa
- 1 tablespoon lime juice
- 1 teaspoon chili powder
- ½ teaspoon cumin
- ½ teaspoon onion powder
- ¼ teaspoon garlic powder or 2 cloves minced
- 3 tablespoons chopped cilantro
- 2 tablespoons sliced green onions
- 3 ounces cream cheese softened
- 2 cups shredded cooked chicken
- 1 cup shredded Mexican style cheese
- 11 to 12 flour tortillas
- olive oil or cooking spray
- kosher salt
Instructions
- Preheat your oven to 425˚F/218˚C. Line a baking sheet with parchment paper or silicone baking mat.
- In a large bowl, stir together the salsa, lime juice, chili powder, cumin, onion powder, and garlic powder. Stir in the cilantro and green onions. Add the chicken, soft cream cheese, and shredded cheese; mix thoroughly. (This filling mixture can be made in advance and refrigerated or frozen for later use.)
- (Refrigerated flour tortillas will roll better if they are warmed in the microwave first.) Spoon 2 to 3 tablespoons of the filling mixture onto the lower third of a tortilla. Roll the tortilla as tightly as you can and place seam-side-down on the baking sheet, not touching other taquitos. Repeat with remaining tortillas until the mixture is gone.
- Spray the tops lightly with cooking spray or brush with olive oil, and sprinkle with kosher salt. (You can place the baking sheet in the freezer at this point. Once the taquitos are frozen through, transfer to a freezer bag and store in the freezer.)
- Bake for 15-20 minutes, until crisp and ends are golden brown. (If cooking from frozen, bake for 20-25 minutes.)
- Serve with salsa, sour cream, Ranch dressing, or guacamole.
Air fryer cooking instructions:
- After preparing the taquitos, cook at 380F/190C for 5 minutes. I was able to put 6 in the air fryer basket. Lightly spray the tops of the taquitos with oil.
- With remaining chicken mix, either store in a container for later or repeat to make more taquitos.
- Flip the taquitos, lightly spray with oil and cook for an additional 2-3 minutes, until the tortilla reaches desired crispiness.
Nutrition
Recipe Source: Our Best Bites






This sounds super yummy to me. I crave Mexican food all of the time. What size tortillas do you use?
I am in love with so many of your recipes! They all look so amazing, my only complaint is not having an idea of how many servings something will make, that way I can decided if I need to double or triple it. I have a family of 6 with a couple big eaters!
Thanks. I have a family of 7 and I double it. They keep well in the refrigerator if there are too many.
servings it says 11 – 12.
I’ve made these several times now! SO good! We use a medium size tortilla shell and add more meat filling – making one “taquito” more of a serving in and of itself. One batch of meat equals makes about 5 this way, give or take a little.
Side note: We happen to have a NuWave oven and these are great to make in that. We brush lightly with oil resulting in a “fried” taste/texture without the deep frying! And if we are feeling really indulgent we’ll melt a little extra cheese on top at the end too.
And finally, just for fun, during my last freezer cooking session I tried one batch of this recipe with shredded beef subbed for the chicken. It is still in the freezer for now but I do not anticipate we will be anything but pleased when the time comes to make that batch up!
Thank you for a great recipe!
Those are some great tips! I’d love to hear how the beef ones turn out!
The beef ones turned out AWESOME! DH said he liked it even better than the chicken but I think they are both very good! Put two batches of the chicken version and two batches of the beef version in the freezer yesterday!
Ya! I’m so glad you love them as much as we do!! And don’t you just slove having dinner in the freezer?
Whats the best way to freeze them?
I assemble and bake, then freeze them individually on parchment paper overnight. The next day I combine them in a freezer bag and put them back in the freezer. The kids like to pull a few out for a quick after school snack! Just reheat in the microwave or oven until they are as hot as you like them!