How To Make An Easter Egg Pinata (Picture Tutorial)
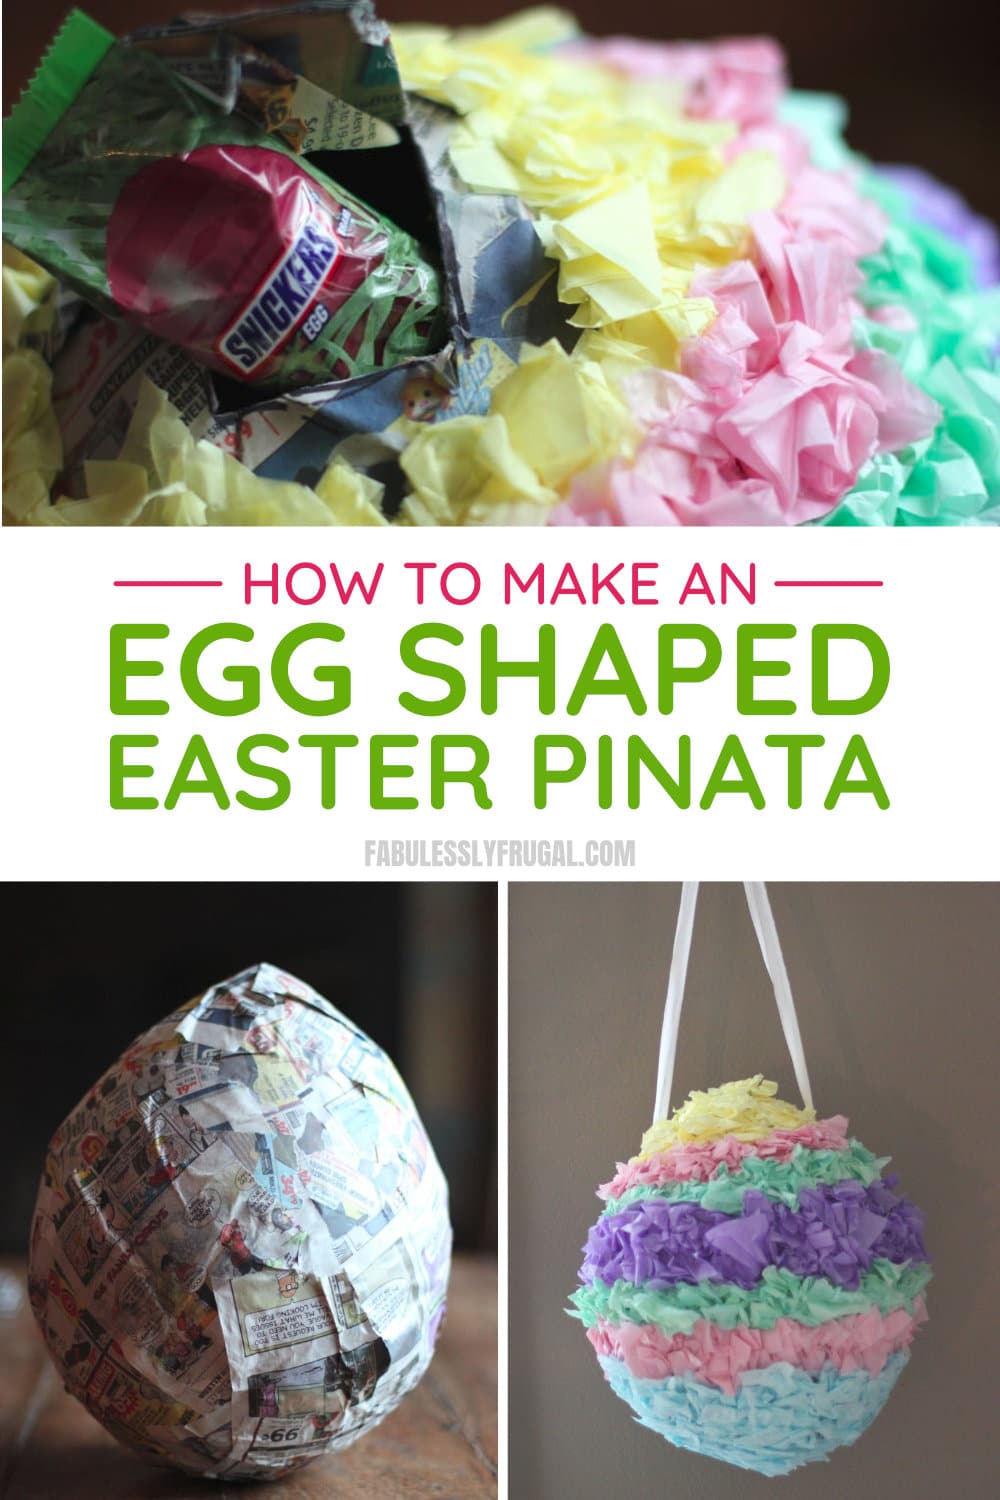
Fun DIY Easter Pinata
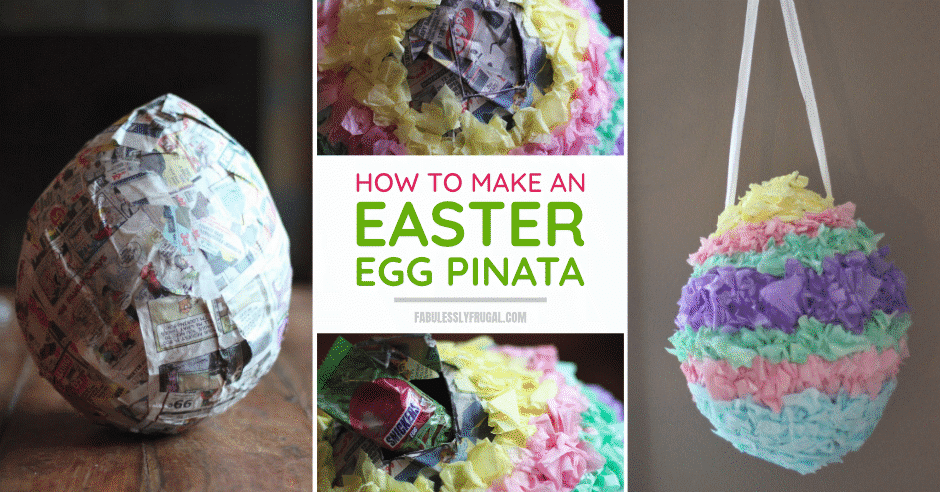
If you want to start a new Easter tradition this year, you can’t go wrong with an Easter egg pinata. This is basically the ultimate Easter decoration – it looks amazing, and the kids can smash it open on Easter morning to find it filled with treats!
Don’t worry about it being hard to make either, it’s actually really easy! We’ve broken down how to make a pinata with simple, clear pictures and steps, so just follow along and enjoy!
Easter Pinata Supplies:
- Glue
- Water
- Balloon
- Old Newspaper
- Tissue Paper
- Scissors
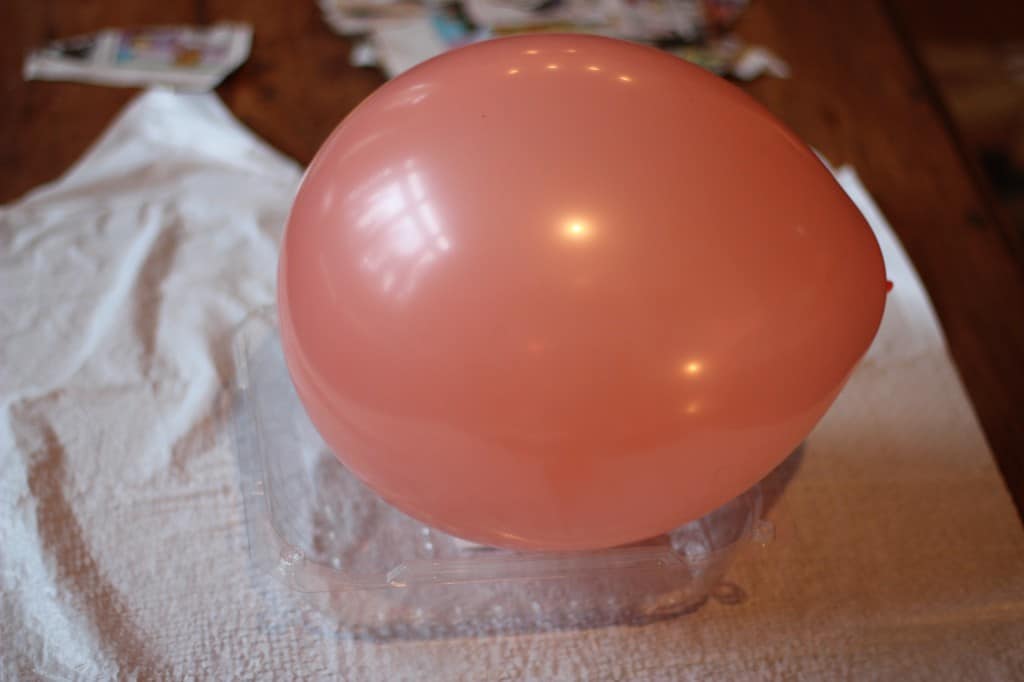
Step 1. Blow up a balloon
It doesn’t have to be a certain type of balloon or a certain size or anything, just go with whatever you’d like!
Step 2. Get some newspaper
Tear a few sections of the newspaper into 3″ by 4″ strips. You don’t have to be exact, but 3″ by 4″ size strips are just easier to work with.
Step 3. Mix the glue
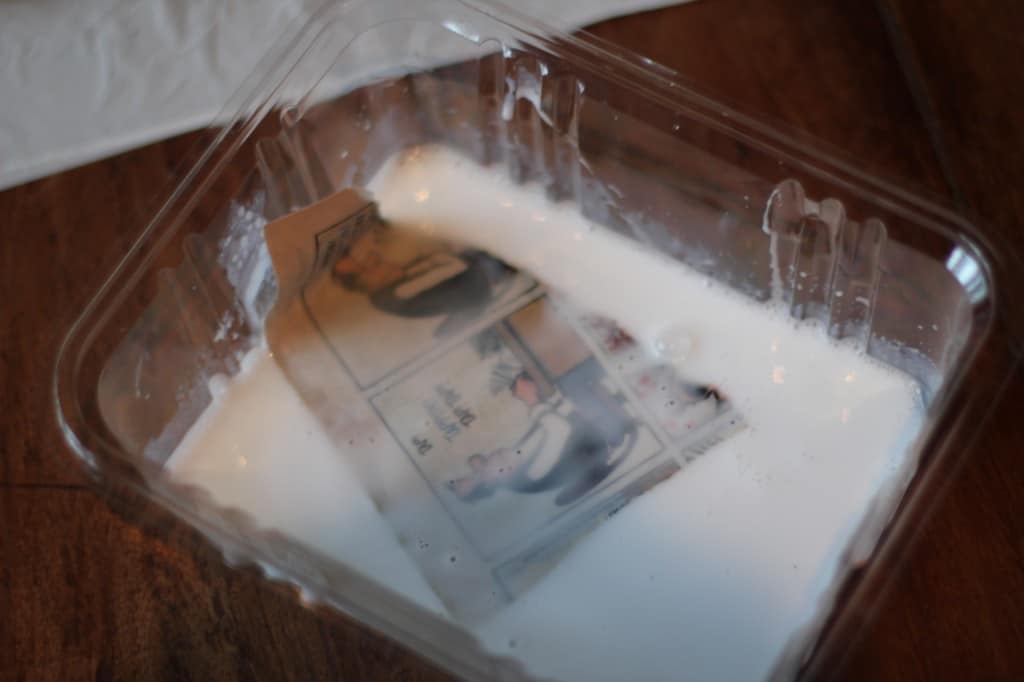
You will want your work area to be protected so put some plastic or paper over your table or work area. Then, in a leftover plastic container, mix 1 part glue to 2 parts warm water and mix well.
Step 4. Start covering the balloon
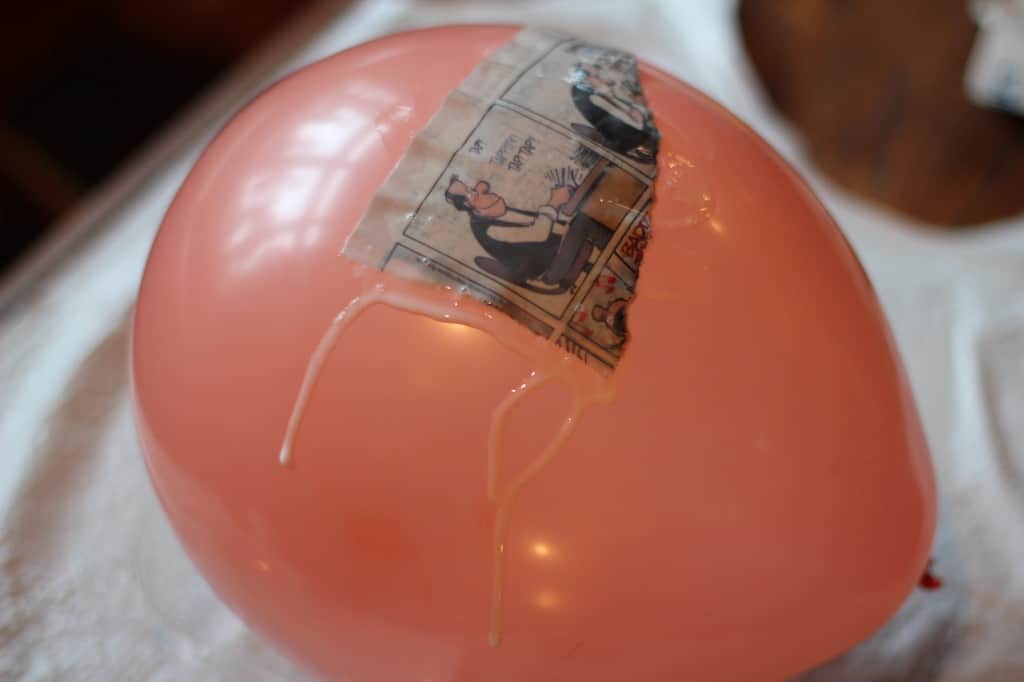
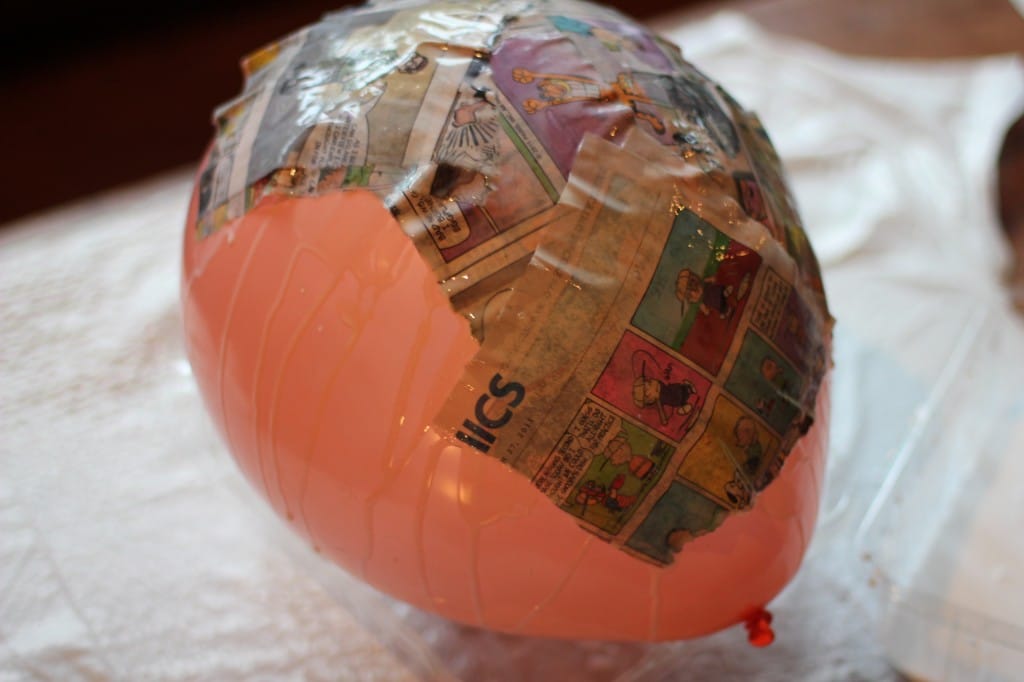
Dip a piece of torn newspaper into the glue and cover it with the glue mixture. Then, apply the newspaper strip to the balloon.
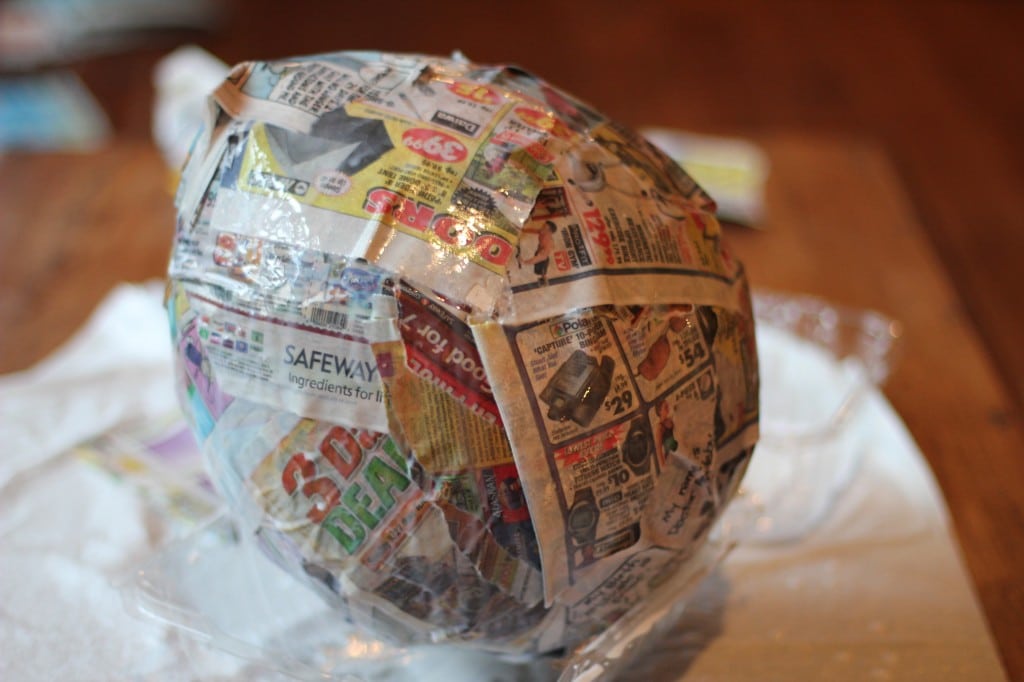
Continue adding glue covered strips until the balloon is completely covered.
Note: Be sure and prop your balloon up on some sort of container so it doesn’t roll off and make a mess.
Step 5. Let it dry
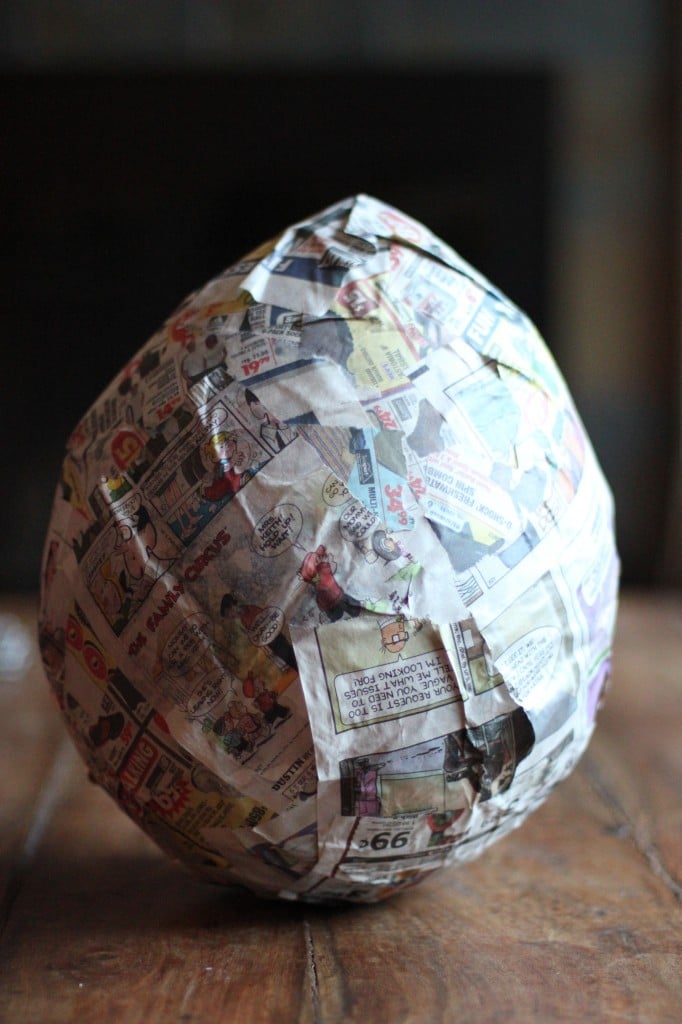
Once you’ve fully covered your balloon, let the paper/glue dry overnight. Repeat this step 3 or 4 times so you have a few newspaper layers on the balloon.
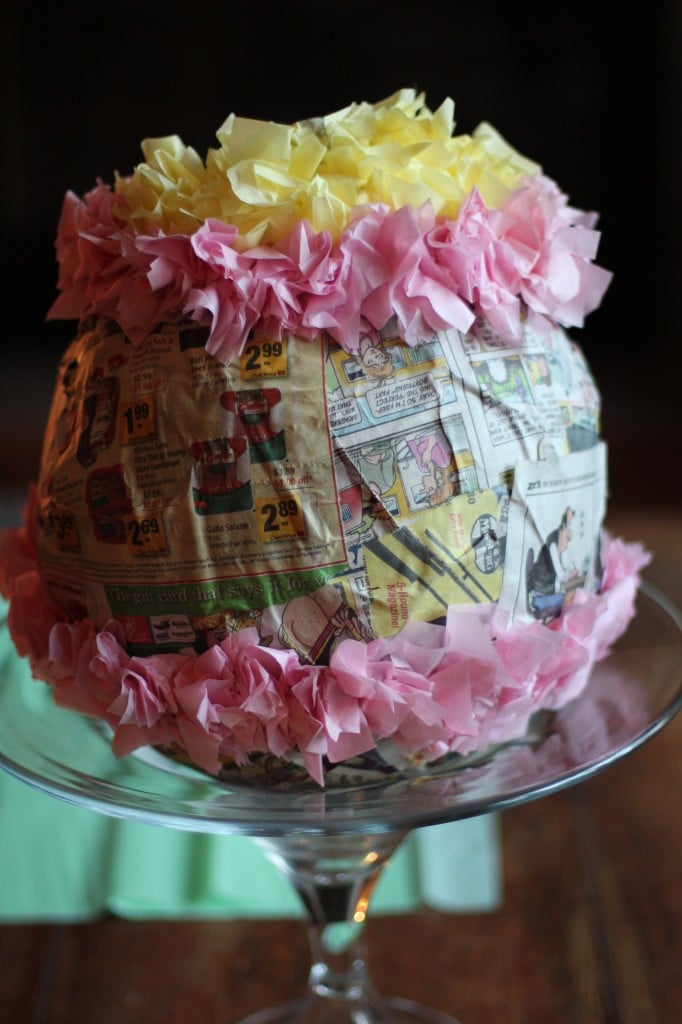
Would you look at that? It’s looking like an egg already.
Step 6. Prepare some colored tissue
Cut some colored tissue paper into 2″ strips. I was able to find a 40 sheet pack at the dollar store!
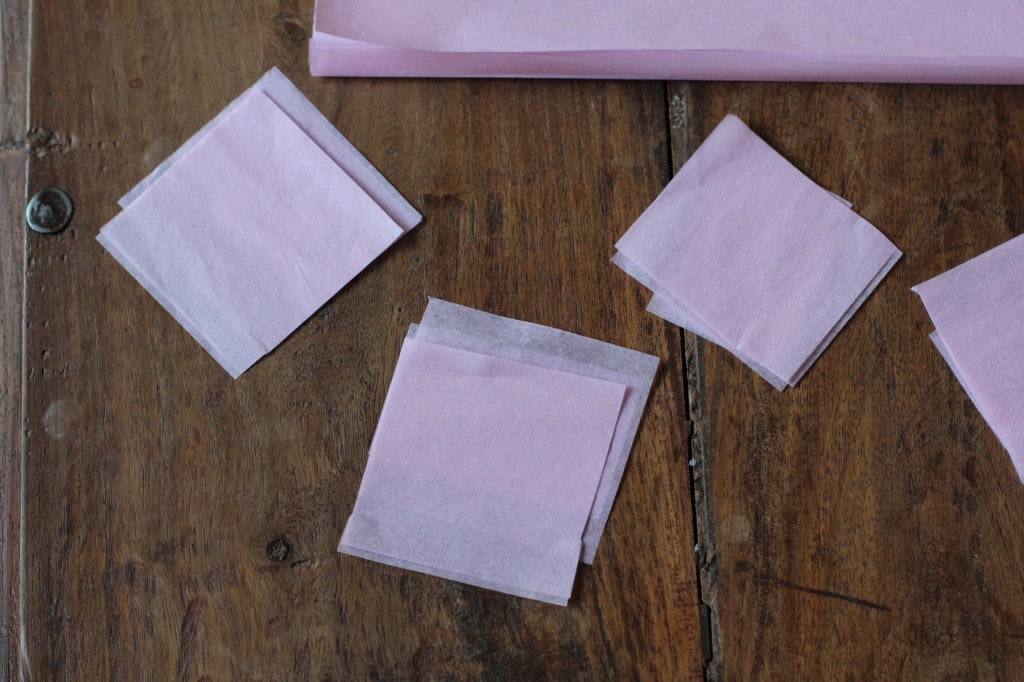
Step 7. Cut your tissue paper into 2″ squares.
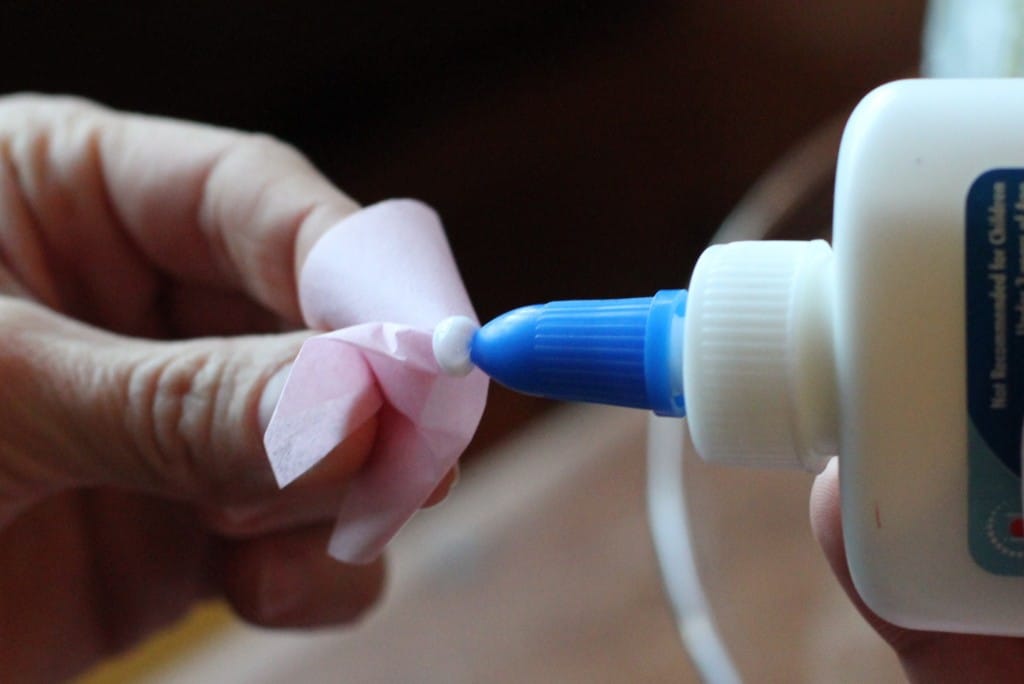
Step 8. Scrunch the tissue and add a big drop of glue.
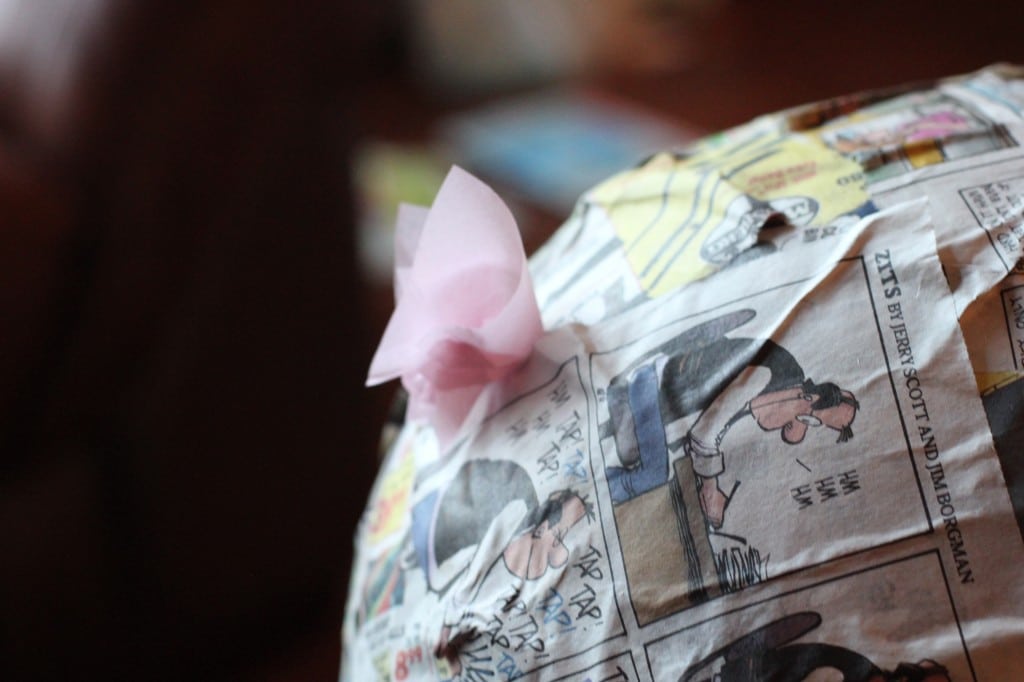
Step 9. Attach the tissue square to the egg.
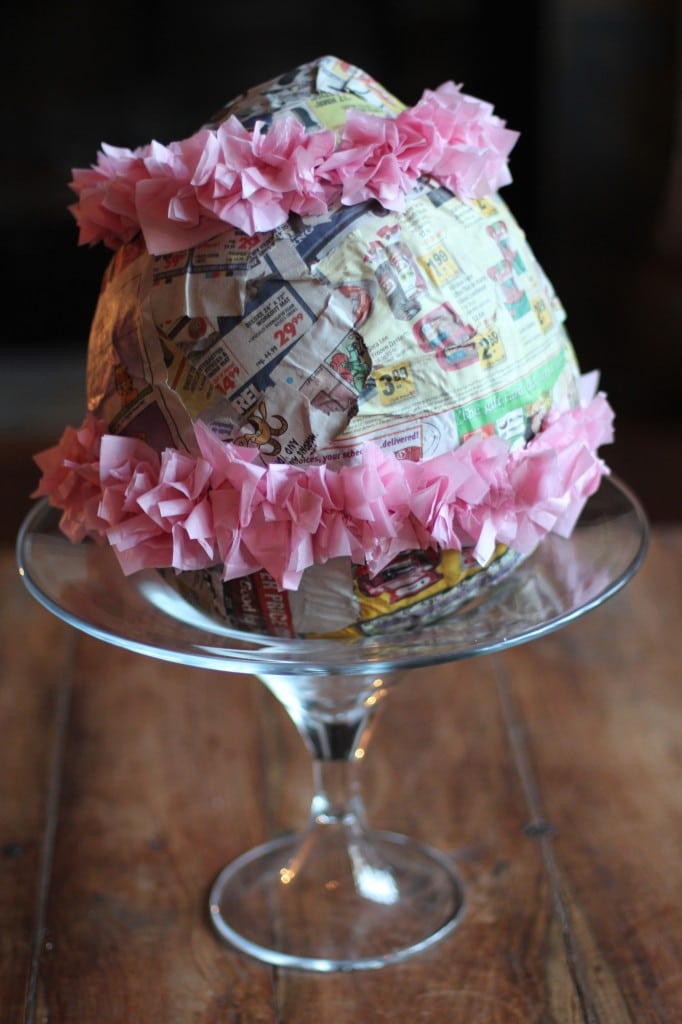
Step 10. Continue to add more tissue.
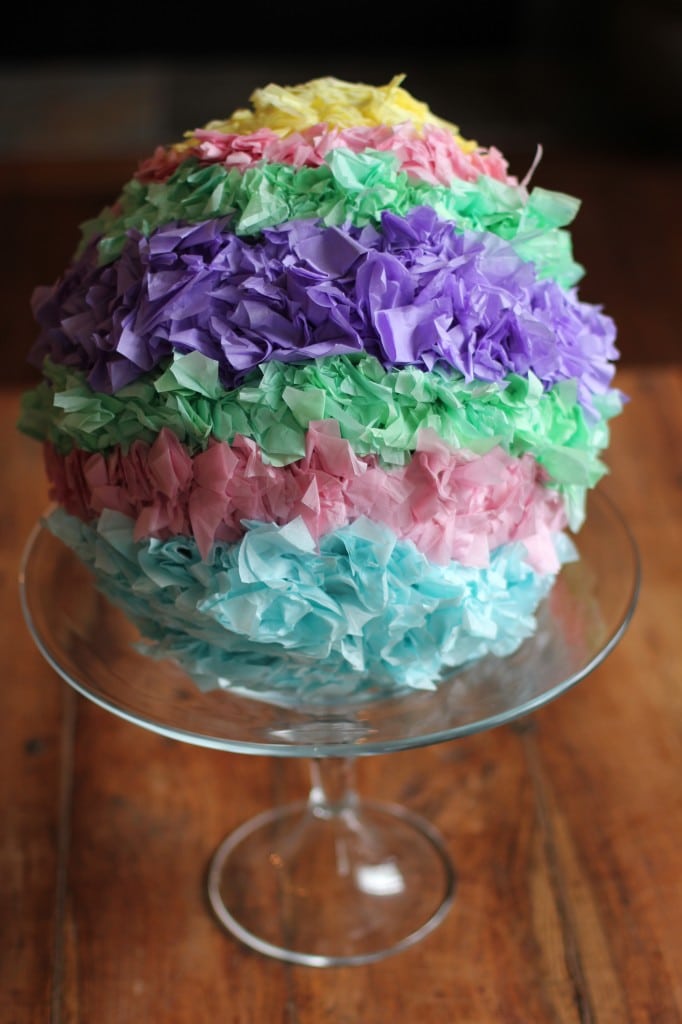
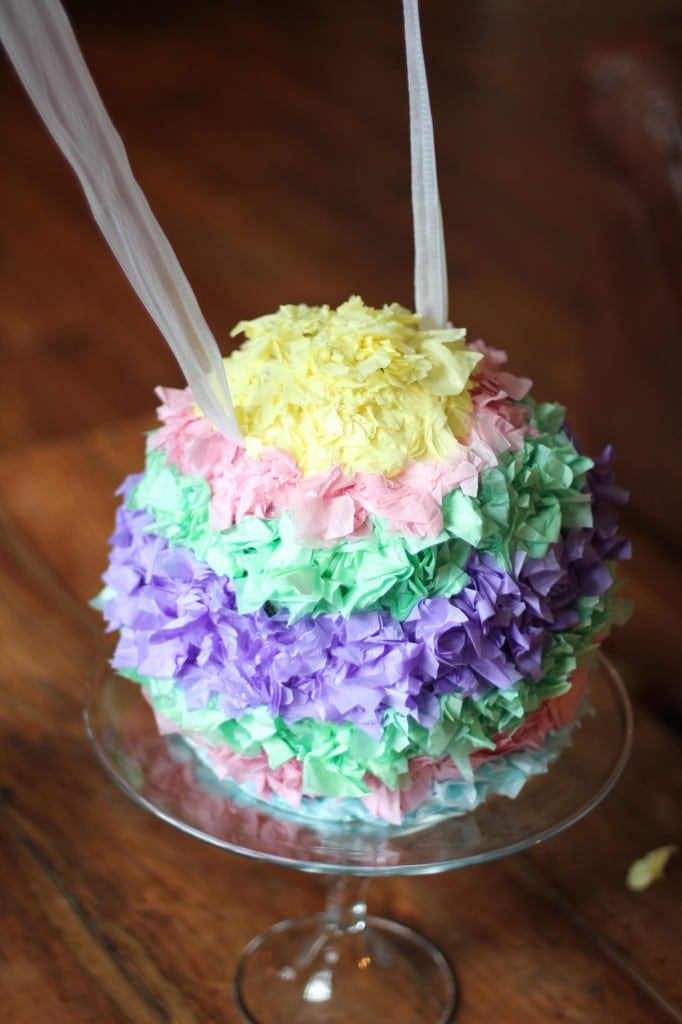
Add different colors…
Until your Easter pinata is almost fully covered…
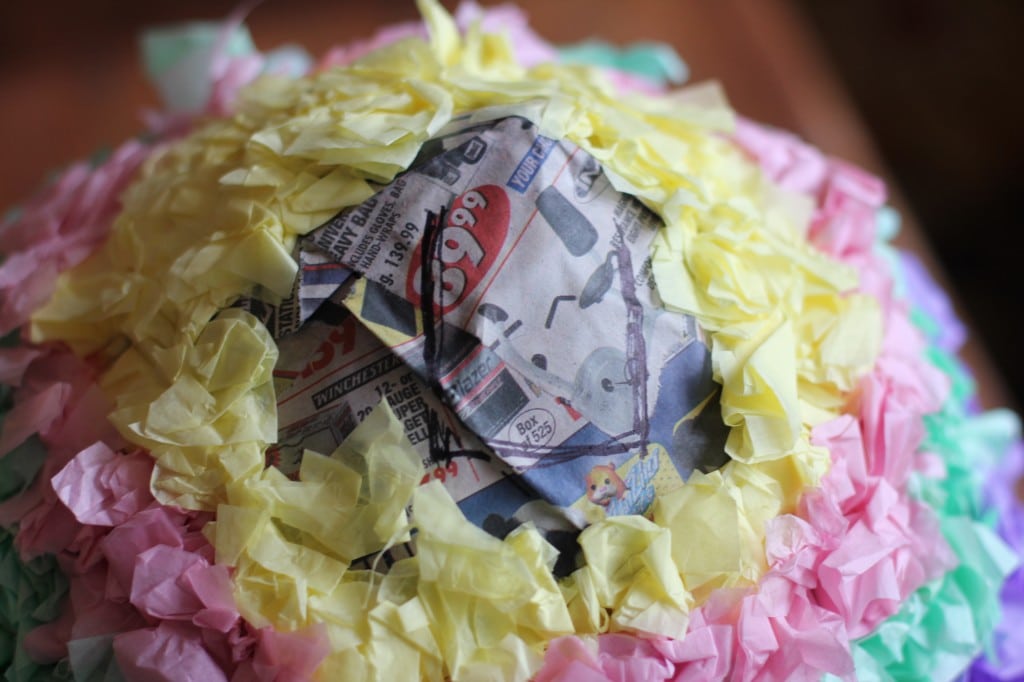
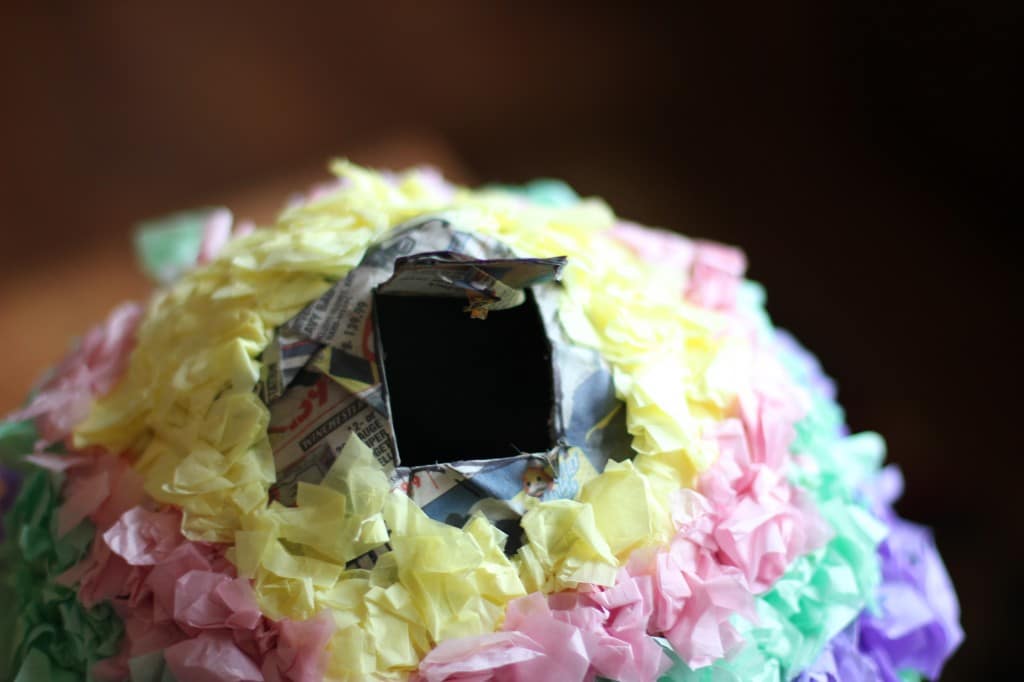
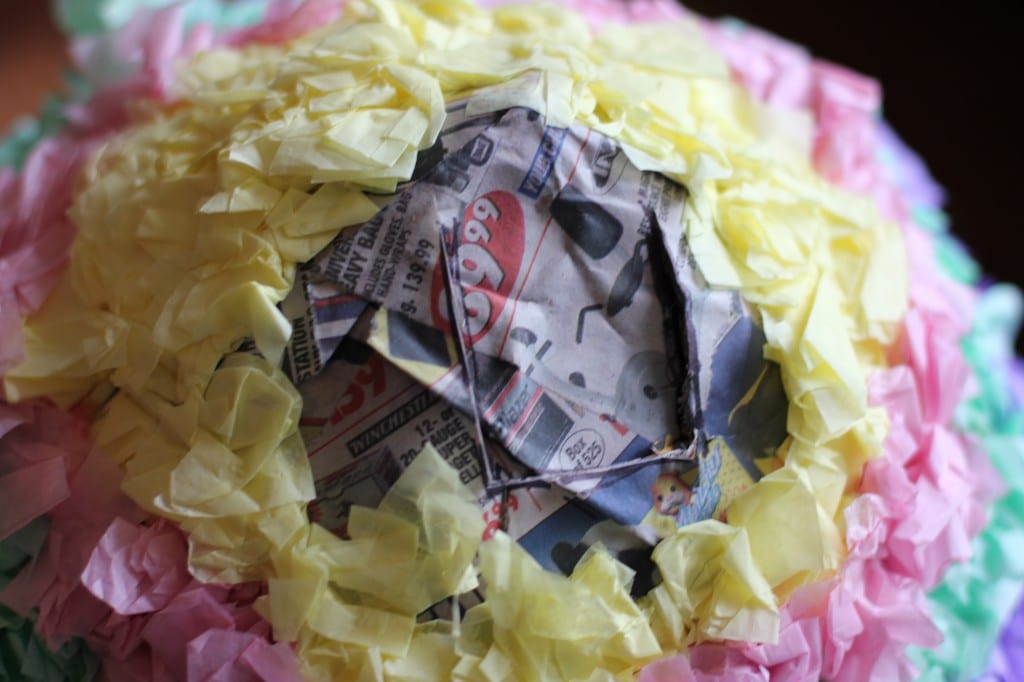
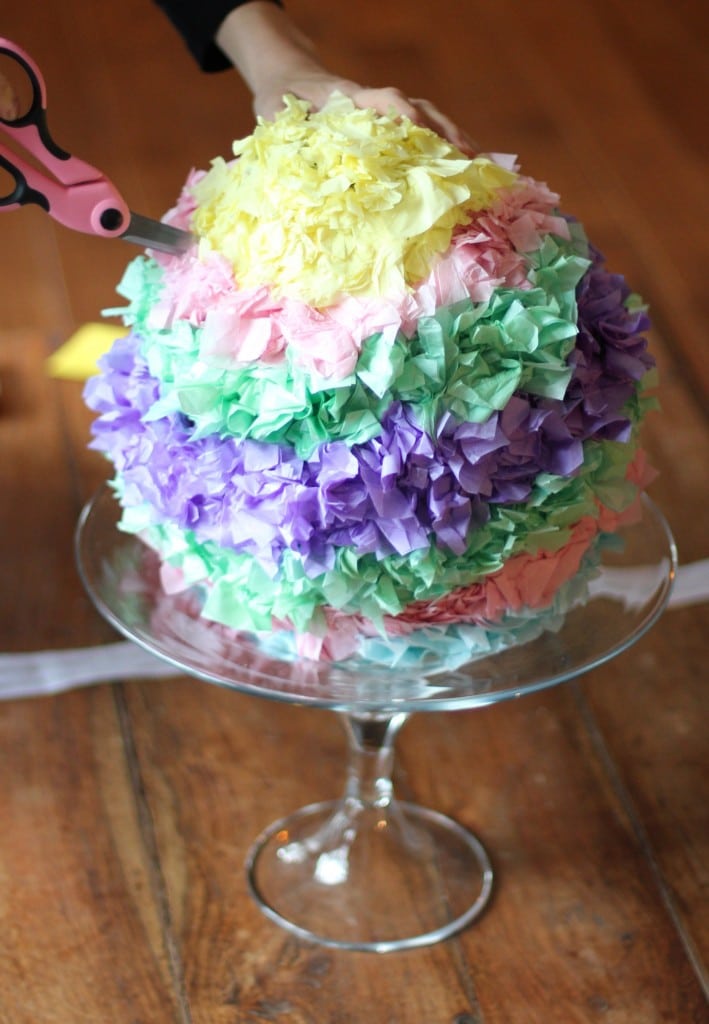
Step 11. Leave a space on top so you can cut an opening.
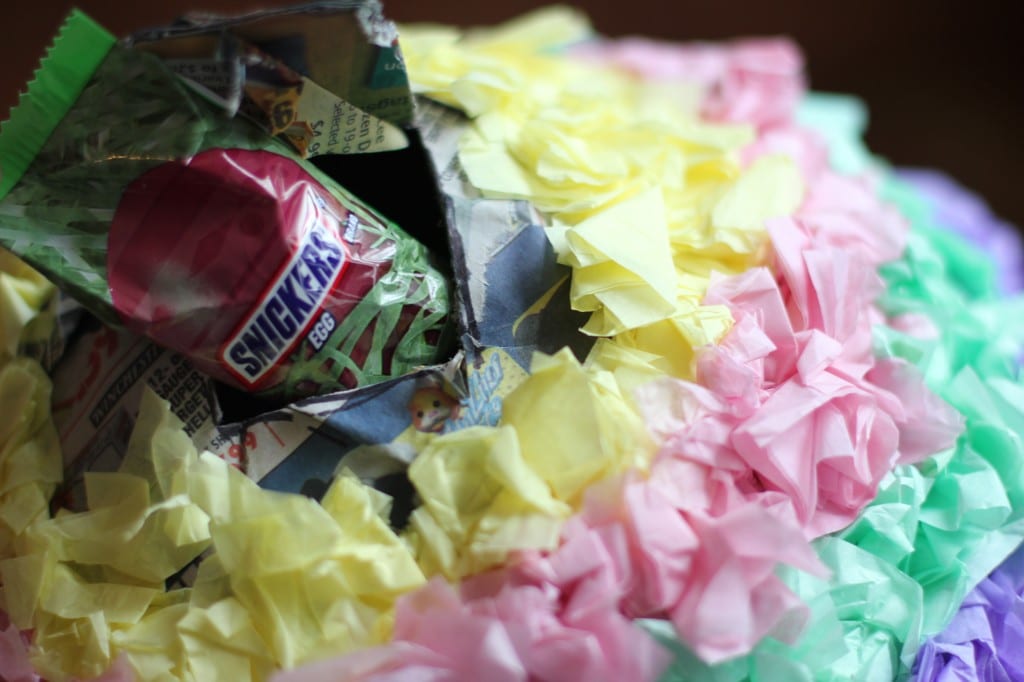
You’ll need a nice sized opening so that you can fill the egg pinata with toys or candy!
Step 12. Fill the Pinata!!!
Step 13. Close the opening and cover with tissue.
Step 14. Poke some holes in the pinata
Grab your scissors and poke a hole on the opposite sides of the egg towards the upper 1/3 of the pinata. This is where you’ll attach a rope or ribbon.
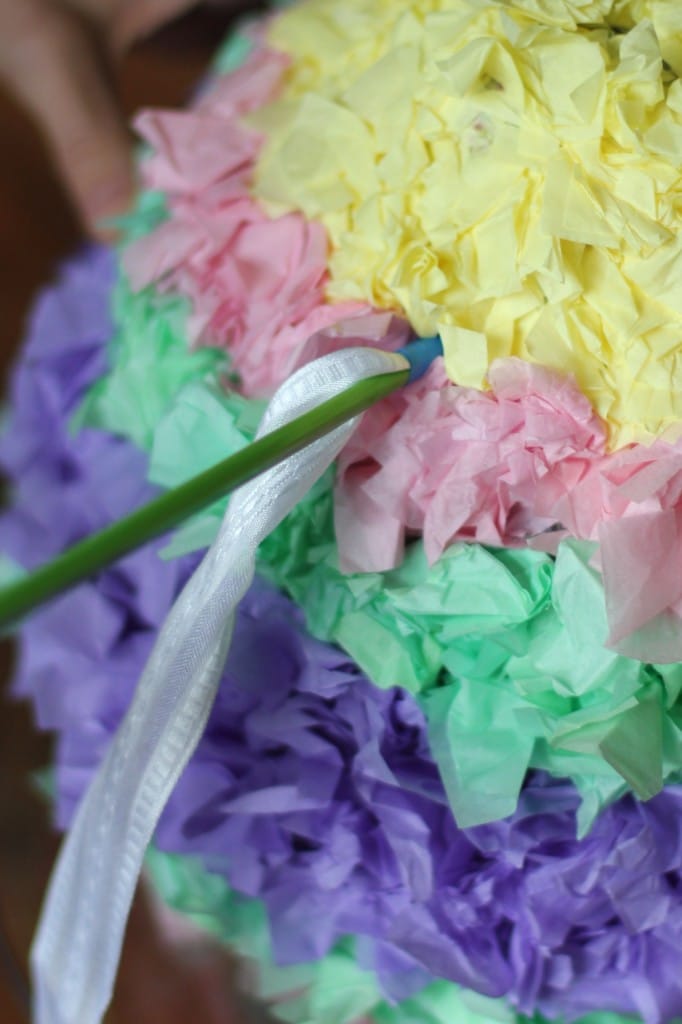
Step 15. Tape a recycled ribbon onto a chopstick and thread your ribbon through the pinata.
Like this…
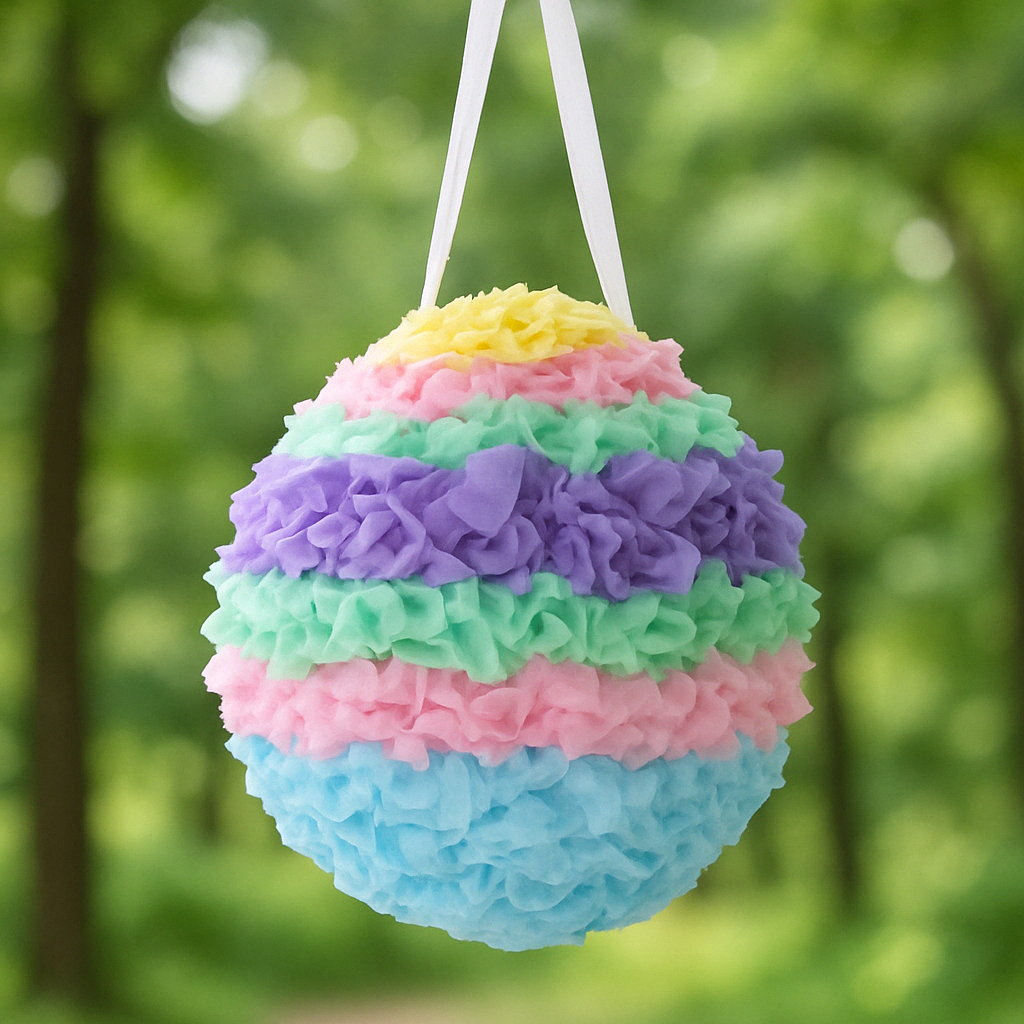
That’s How to Make an Easter Egg Pinata!
It may seem a bit overwhelming at first, but this egg pinata craft is really easy once you get started! Plus, it’s totally worth the time and the kids will have a blast with it on Easter morning.
Oh yeah, and the cost of making this Easter pinata? Under $3!
More Easter Ideas:
- How to Make Shaving Cream Easter Eggs (Marbleized)
- 13 Jelly Bean Treat Ideas for Easter
- 90+ No-Sugar Easter Basket Filler Ideas!
- 10 DIY Easter Decoration Ideas
- Easy Easter Crafts That Kids Can Do
- 16+ Easter Recipes
Find all of our Easter posts, deals, and recipes here!
Here are some great Easter books you might enjoy reading while you’re waiting for the glue to dry:
The Night Before Easter
The Berenstain Bears and the Easter Story
The Easter Egg
Trending Diys
Comments
Trackbacks
-
[…] you still wanted to include a bit of candy on Easter for them, you could make this fun Easter Egg Pinata. For more Easter ideas make sure to check out our Easter hub where you’ll find Easter […]
Leave a Reply
Report a Problem
Please select the problem you are facing with this deal:
- Price Increased
- Price Decreased
- No longer available
- Expired
- Link doesn't work
- Suggestion
- Compliment
- Other
Add more details:
Thank you for your feedback. We really appreciate it.
Enter your email address if you would like to receive a follow up.
Please Try Again









So cute!! Can’t wait to try this when my little one gets older!
Don’t be surprised when the balloon pops at some point… probably when cutting the opening 🙂
That is so cute. I can’t believe I have never made an egg pinata. I have made easter baskets….I honestly can’t remember how I did it anymore but I think the pinata sounds way more fun and I do have a lot of free candy.
I love your posts. They are just fun and inspire me to be creative and crafty. Keep up the good work 🙂
Fun! I WILL have to make one with my boys they would love it!
Hint from a first grade teacher: when putting on the tissue paper, wrap the 2×2 piece around the eraser end of a pencil and dab it on the top of a glue stick. Then just stick it right onto the egg. So much easier than messy white glue 🙂
Sometimes these ideas SCREAM at me that “yes you will do this” LOVE this one, so putting it together my 3 year old would love this to death and his 1 year old sister would jump right in to. Thanks for the idea, LOVE IT!!!
Nice one!
use a pencil instead of your finger and it is much easier and cleaner and they are smaller so you can get them really tight together:-)
I am planning on making one of these tonight, when it says to let dry overnight and then repeat the newspaper steps 3 or 4 times, does that mean this would take 4 days until it’s finished? Thanks
Yes… or you could use more glue and less water and get away with doing 3 layers.
I do 4 or 5 layers at once and it dries in 24 hours. I made my kid’s baskets like this only covering about half of the balloon!