
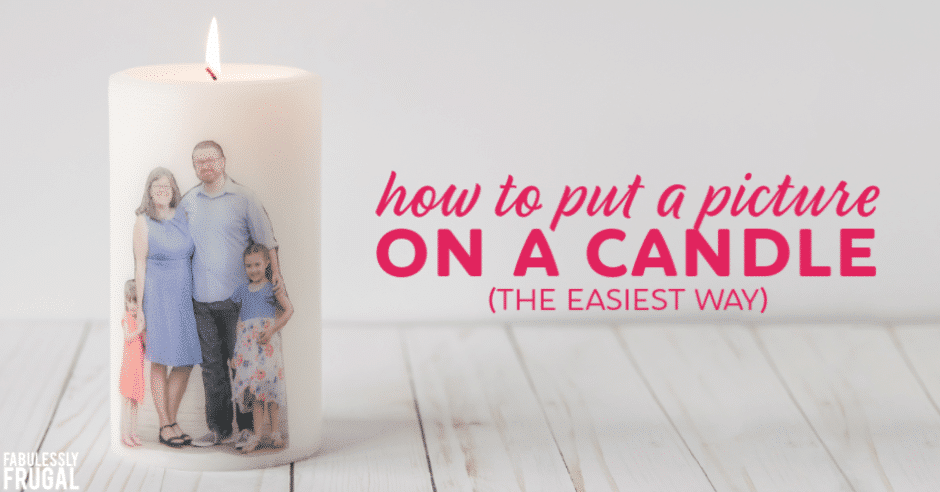
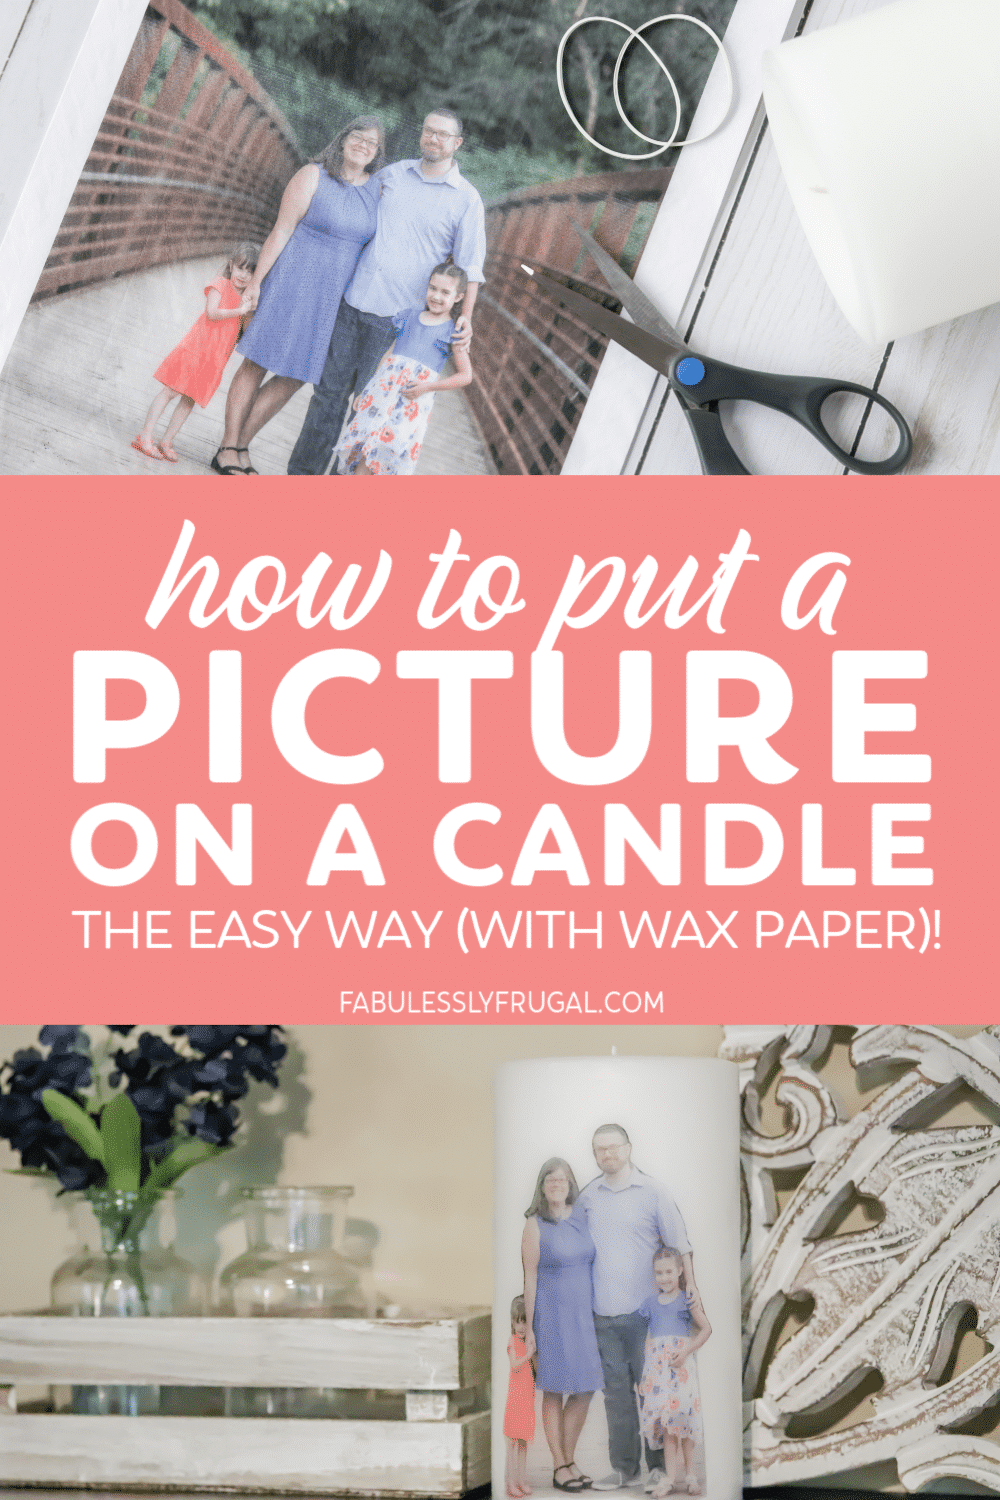
How to Put a Picture on a Candle with Wax Paper
DIY Personalized Candles
Years ago I decided that personalized gifts are more meaningful then random “stuff”. In fact, I’ve decided it’s the perfect gift, especially for that person who seems to have everything and need nothing else? I think personalized gifts are so much more meaningful!
Awhile ago, my friend showed me how to put a picture on a candle, and I loved the project so much that I decided to recreate it for you! This makes a perfect Mother’s Day gift or even Christmas gift for a family member, friend, or loved one!
I think you’ll love how smooth it is to create these DIY picture candles… it’s surprisingly easy to do and a very quick project!
DIY picture Candles:
Candle Image Transfers Supplies:
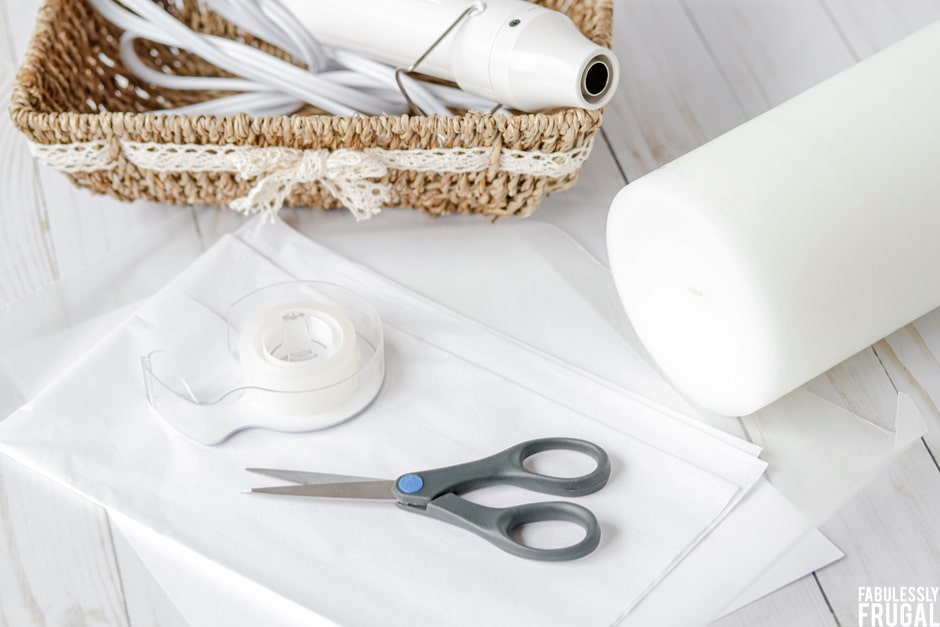
These are the supplies you need for Candle Image Transfers! You probably have most of these on hand!
- Pillar Candle: I used a 7 x 4 pillar candle (it did have a slight bit of texture, but doesn’t end up mattering since you smooth the area out with the heating tool anyway). You can use a smaller candle, just make sure your picture doesn’t fill the entire printer paper.
- Digital Photo (if this is a surprise for a loved one, go find a great picture on the person’s Facebook account). I recommend you do a test print in black and white to make sure it prints at the best size for the candle. If not, either get a bigger candle or use your printers settings and make the picture smaller.
- White Gift Tissue Paper (go to the dollar store if you don’t already have some)
- Wax Paper (NOT parchment paper!) – the two are often confused, but parchment paper is nonstick and heatproof and won’t work for this project. Wax paper has a waxy side that will melt (and bond with the candle).
- Heating tool or a lighter. A heating tool is going to work best. If you don’t have one, see if a friend or neighbor does that you can borrow from. OR use a 40% off coupon from Michaels and buy one. There are also some fairly low priced ones on Amazon. I recommend not paying more than $20 for one)
- Printer, Plain Printer Paper, Tape, Scissors
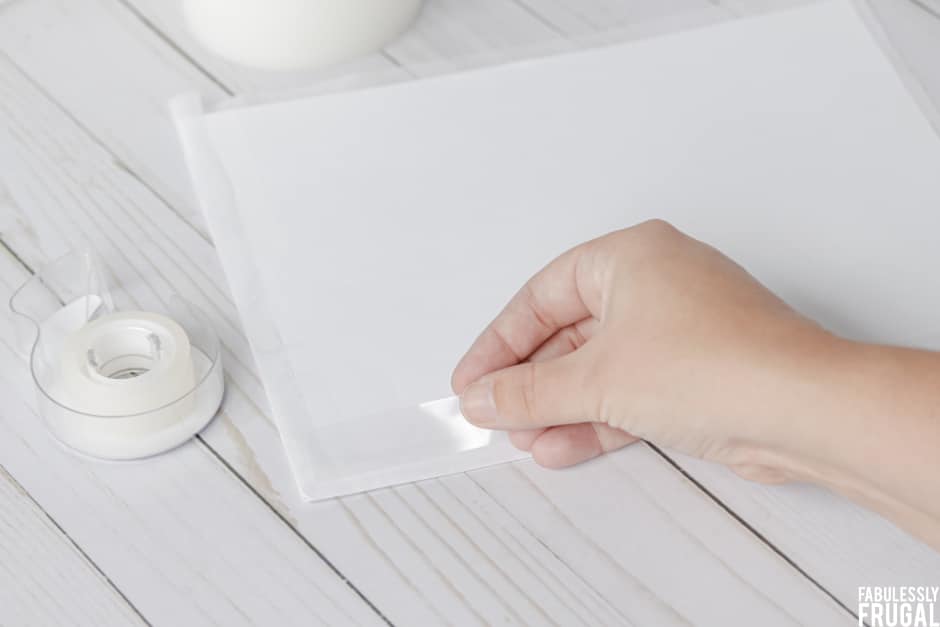
Step 1: Select Photo & Prepare Paper:
Once you have your picture picked, simply take a piece of white tissue paper and cut it so just a bit larger than 8×11 (or whatever size of paper you’re using in your printer).
Fold the tissue over the printer paper and tape the excess tissue paper to the back of your printer paper, like so:
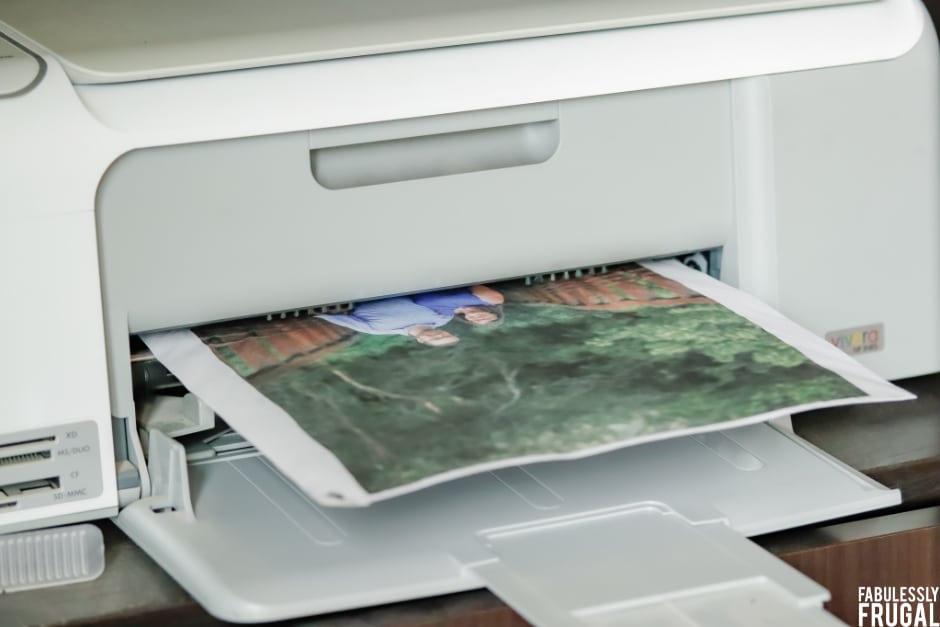
Step 2: Print Image on Tissue Paper:
Once your paper is taped, place it into the printer. Make sure the tissue paper is the side that gets printed on. If you aren’t sure which way to place the paper in your printer, do a test run by marking a plain piece of paper with a star. After the paper prints, you’ll be able to figure out which side the tissue paper needs to be facing on.
PRINTING TIP: Set the printer paper properties to “transparency film” as this setting prints perfectly on tissue paper.
Step 3: Trim
Sweet! That looks so great, right? Next step is to trim your image down so it fits the candle nicely. Simply trim the background away.
Be sure to cut the edges precisely… especially if your subject is on a dark background. When the picture is bonded to the candle, every little mis-cut will show up.

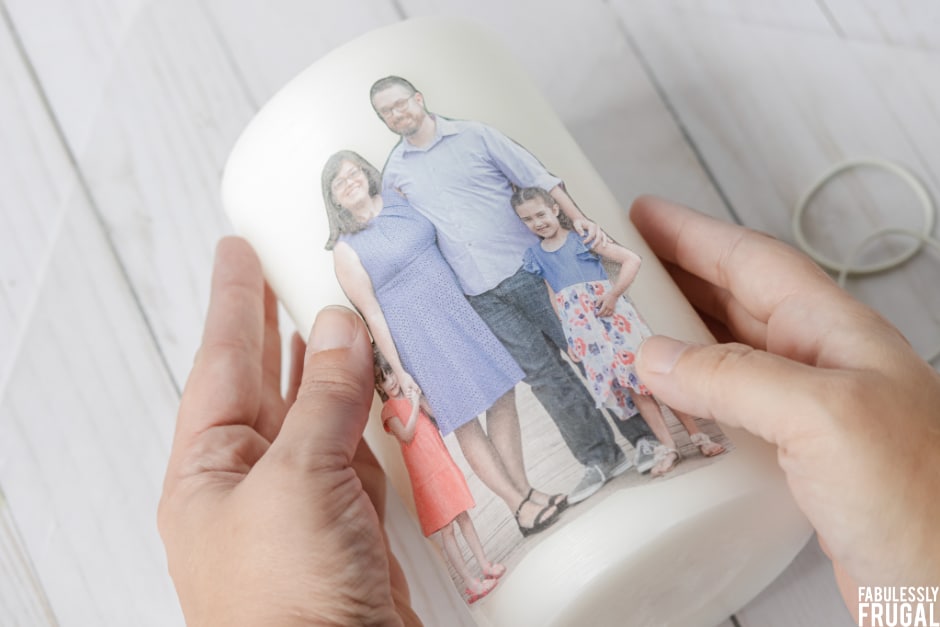
Step 4: Add the Wax Paper Layer
Once your image is trimmed, place it onto the pillar candle, ink side up. Your tissue paper may even have a bit of static, which will help it stay placed on the candle.
Next take a piece of wax paper and wrap it around your candle. Make sure the waxy side is touching the tissue paper.
Pro Tip! Use extra wax paper! This will give you a little extra that you can hold on to, which will help with the next step. You can cut off any remaining wax paper. 🙂
Step 5: Heat Wax Paper to Transfer Image to Candle
This step moves quickly! Be sure you are using that extra wax paper and pulling the wax paper very tight and smooth. You could either use your hands OR rubber bands. Just make sure it’s tight, so you don’t have any air bubbles or wrinkles.
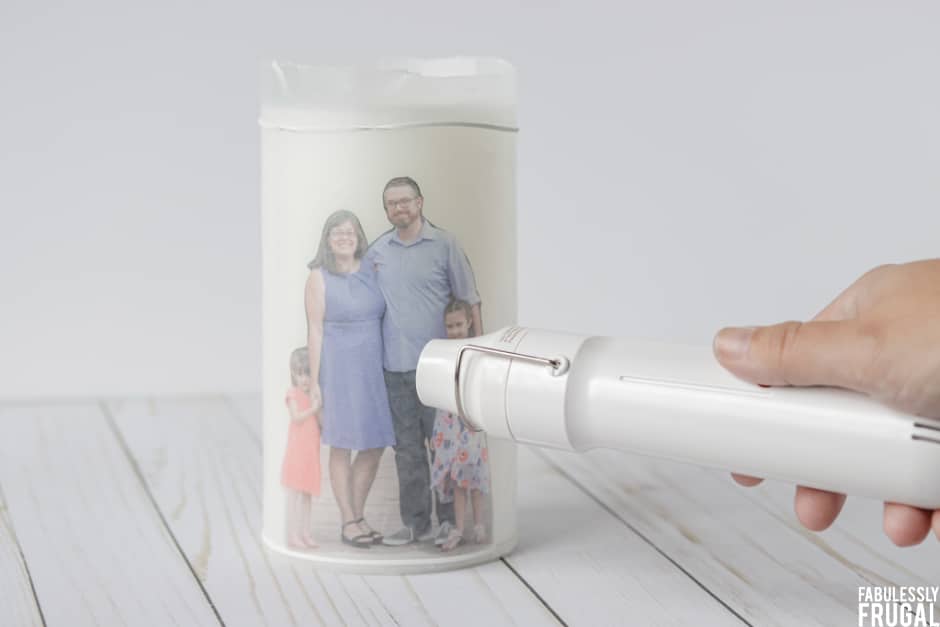
Carefully heat the wax paper with your heating tool. You’ll see it start to melt over your photo (this will take a minute or less to do). Be sure to constantly move the heat tool evenly, side to side, to avoid overmelt.
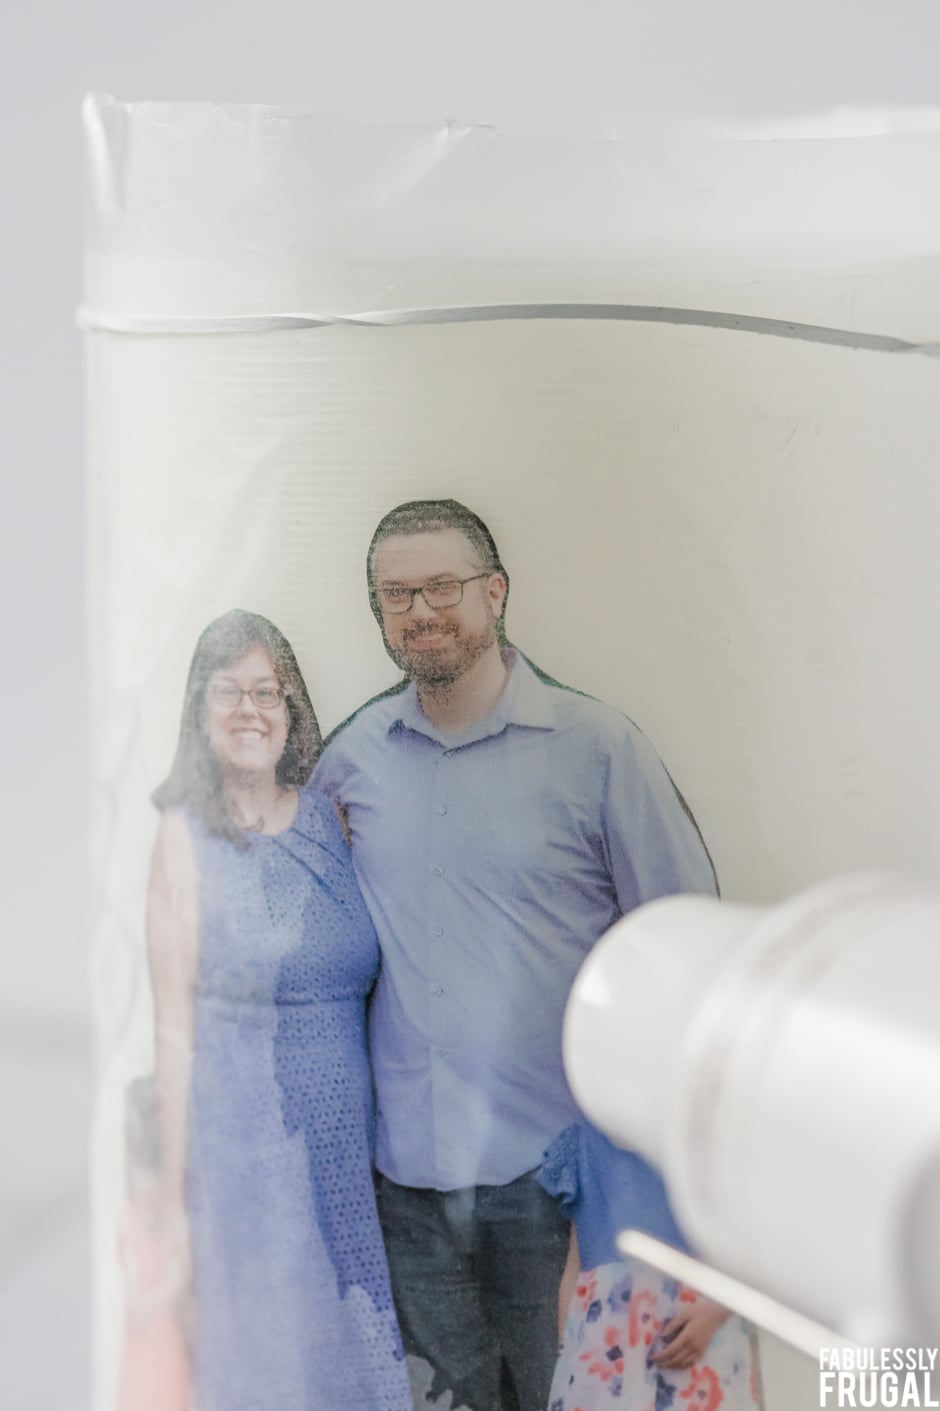
Once the wax paper begins to melt, you’ll begin to see your image come through the paper. Stop heating once you can clearly see the image.
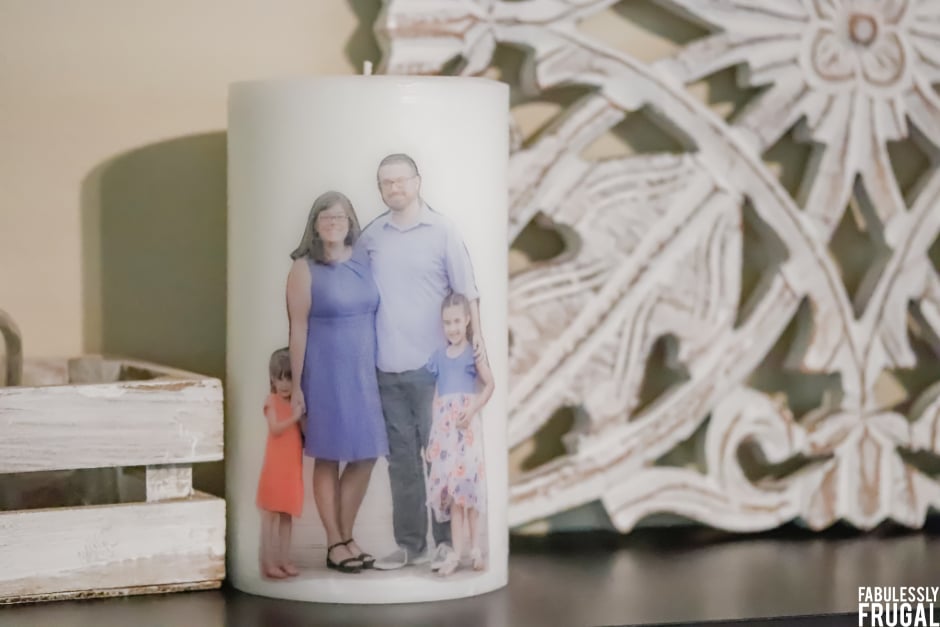
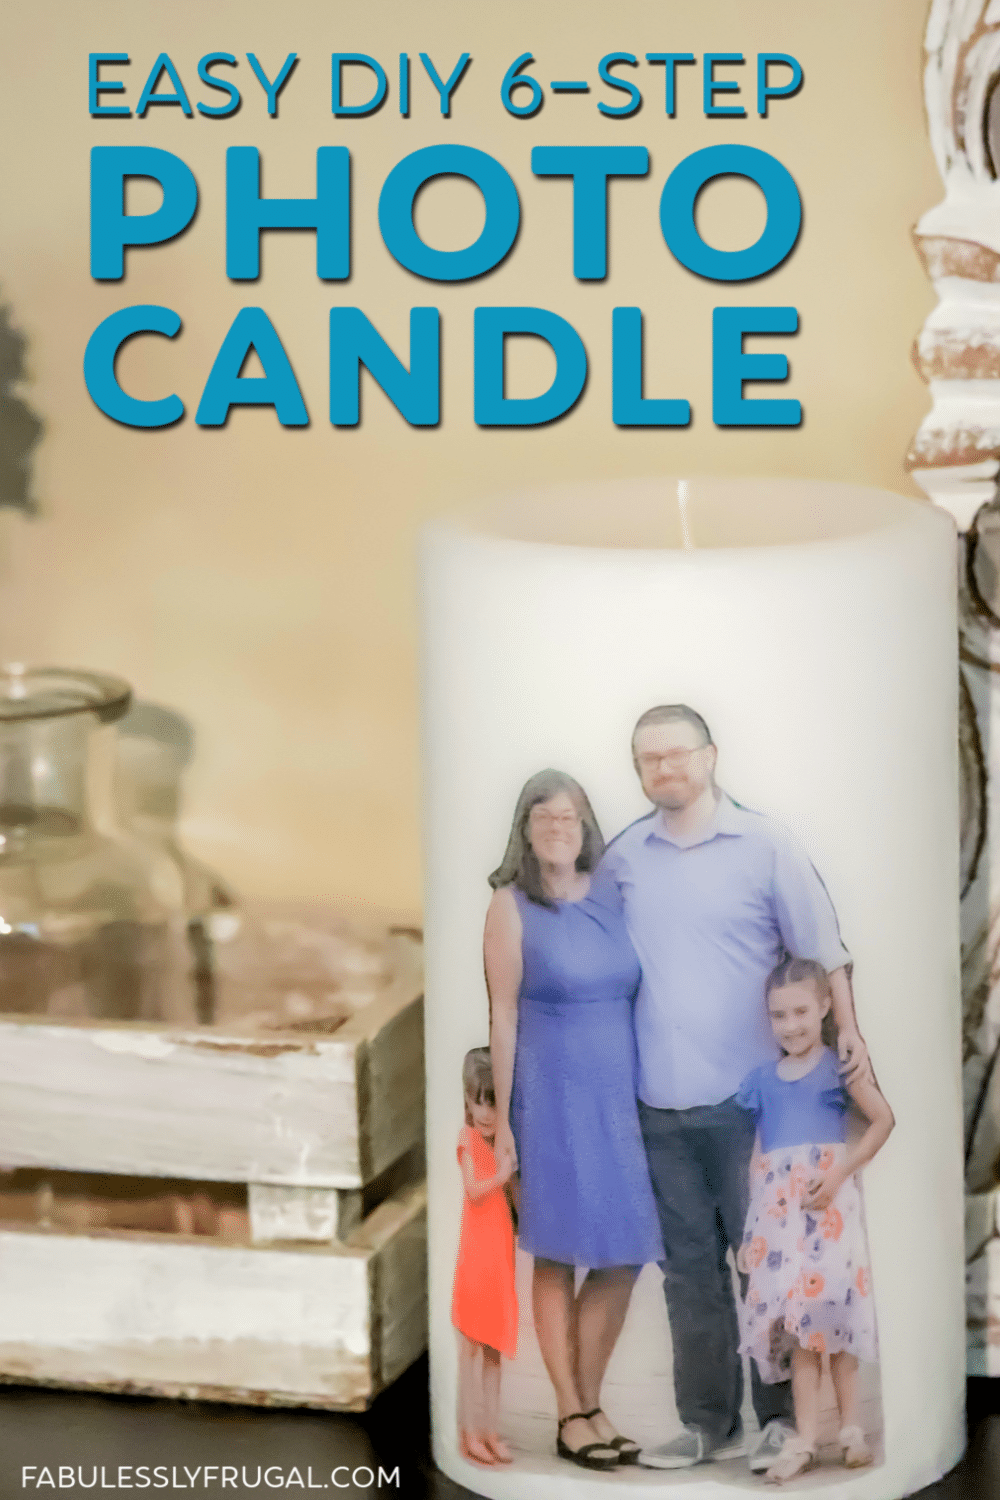
Step 6: Peel Away the Wax Paper
Slowly peel the wax paper away from the candle. And then admire your beautiful handiwork!
Note: If you see some inconsistencies in the wax coverage, quickly go over the picture (about 10 seconds, side to side) with the heat tool again to smooth it out. DO NOT DO IT TOO LONG! Otherwise the wax will begin to drip!
Final Thoughts
So simple, right?
If you see any bits of wax out of place, simply use your finger to lightly pat down or wipe away the flakes.
It is NOT recommended to burn this candle down to the picture, though. Although I’m not sure who would want to do that? Ha ha.
The Perfect Gift Idea
This would definitely make a unique gift to a grandparent or for Mother’s day, as a tribute to a passed loved one/pet, at a memorial service, a baby shower gift or rehearsal dinner or wedding table centerpieces. The uses are limitless!
I hope you enjoy making these candle image transfers yourself! If you try this DIY at home, let us know how it goes by leaving a comment below!
More DIY Ideas:
- 25 Homemade Gift Ideas Perfect for Any Occasion
- DIY Body Wash
- Top 5 Gifts for Father’s Day
- Frugal and Creative Gift Wrapping Ideas
- 20 Easy Homemade Mother’s Day Card Ideas for Kids
- 30 Easy Sock Crafts & Uses for Old Socks
How to Put a Picture on a Candle with Wax Paper

Ingredients
- Pillar Candle
- Digital Photo
- White Tissue Paper
- Plain Printer Paper
- Wax Paper
- Heating tool
- Tape
- Scissors
- Printer
Instructions
- Pick the photo you want to work with and prep your paper.
- Place a piece of white tissue paper and cut it so that it's just a bit larger than a plain piece of printer paper. Fold over and tape the excess tissue paper to the back of your printer paper. Place it into your printer so that the tissue paper is the side that gets printed on. *Make sure to set your printer paper properties on transparency film! This setting prints perfectly on tissue paper!
- Remove the tissue paper from the printer paper and trim your image.
- Place the image onto your pillar candle ink side up.
- Take a piece of wax paper (larger than your candle) and wrap it around your candle, with the waxy side touching the tissue paper. Use the excess wax paper as a place to grab on to so you can hold the wax paper on the entire time.
- Use heating tool and gently heat the wax paper so it melts over your image.
- Once you see your image come through the paper clearly, stop heating and slowly peel the wax paper away from the candle.
- If you happen to see any bits of wax sticking up, use your finger to lightly pat down (or wipe away) the flakes.
Notes
See blog post for detailed instructions, photos, and tips for a successful DIY project!
Trending Diys


Comments
Trackbacks
-
[…] How to Put a Picture on a Candle with Wax Paper – Fabulessly Frugal […]
-
[…] Cara Memasang Gambar di atas Lilin dengan Kertas Lilin – Sangat Hemat […]
-
[…] Πώς να βάλετε μια εικόνα σε ένα κερί με χαρτί κεριού ̵… […]
-
[…] How to Put a Picture on a Candle with Wax Paper – Fabulessly Frugal […]
-
[…] How to Put a Picture on a Candle with Wax Paper – Fabulessly Frugal […]
-
[…] How to Put a Picture on a Candle with Wax Paper – Fabulessly Frugal […]
-
[…] How one can Put a Image on a Candle with Wax Paper – Fabulessly Frugal […]
-
[…] How to Put a Picture on a Candle with Wax Paper – Fabulessly Frugal […]
-
[…] How to Put a Picture on a Candle with Wax Paper – Fabulessly Frugal […]
-
[…] To get started, check out our tutorial on how to put a picture on a candle. […]
Leave a Reply
More Related Diys


Trending DIY Projects
- DIY
- Recipes
- Deals
- Blog


Report a Problem
Please select the problem you are facing with this deal:
- Price Increased
- Price Decreased
- No longer available
- Expired
- Link doesn't work
- Suggestion
- Compliment
- Other
Add more details:
Thank you for your feedback. We really appreciate it.
Enter your email address if you would like to receive a follow up.
Please Try Again
Thanks for providing the email address.
We will reach out to you as soon as possible.


Popular
Recommended
About Us

At Fabulessly Frugal, our goal is to help you live HEALTHY, WEALTHY, and WISE! My team and I work hard to bring you the best, online deals, clean eating, DIY's, freezer meal recipes, and more! I LOVE coaching and inspiring people to improve their health in my fitness challenge! You should also check out my favorite cleanse! Learn more about me and the rest of my team.


Copyright © 2008–2026
Fabulessly Frugal: A Coupon Blog Sharing Gift Ideas, Amazon Deals, Printable Coupons, DIY, How to Extreme Coupon, and Make Ahead Meals. All rights reserved
Question what side of the waxed paper do you use or does it not matter?
Other questions do the results turn out on any color candled? I have some I got that are a cranberry color and with that said I would like to do some for Christmas favors for the ladies. Then I would add members that have passed to their candles. D
What a fantastic gift. I am not crafty by no means. (Though I do try) This was one of the easiest crafts I have ever done. I will make this gift again soon. I have a Wedding coming up and I now have a unique gift made with my hands with love. Thank you!
One tip for first timers like myself. The transfer time is very quick. My candle melted a bit but nothing that I was not able to fix with the Wonderful tips offered.
I see you never replied. I have a few questions above. Help please.
Hi Diane, sorry about that! The original author of this post from years ago is no longer here and I guess my team missed your question last year! You’ll definately want the waxy side of the wax paper touching the image. As far as using your dark candles, I’m not sure that you’d be able to see the image on them. Since the image is more transparent when printed on tissue paper, if you put that over a dark colored candle, I don’t think it will show up as well. I think you’d be much happier with the results if you did white or ivory colored candles. Let me know how it turns out! It sounds like a beautiful gift idea for your friends!
As far as tissue paper goes, just regular gift wrap tissue paper? And just 1 layer? Yalls looks really thick
Yep, just tissue paper… one layer. Some of the cheaper stuff is super thin, so you might want to get slightly nicer tissue paper. Good luck!
Question: does the printer have to be inkjet or would a laser printed image work too?
Laser should work just fine!
Could you use a hairdryer as a heating tool?
Give it a try Betty… it might take a little longer, but it could work! 🙂
Hairdryer does work just take your tame the candle has more chance of melting as it takes longer
Is the “tissue paper” you use actually parchment paper ?
No Arlene , 2 different papers
does the tissue paper affect how the the candle burns? does the tissue paper catch fire?
I wouldn’t burn the candle past the point of the picture.
Has anyone outside the Fab Frugal team tried this process? How has it worked for ya’ll? And to the team, would “painting” an extra layer of wax mar the end result?
Thanks
Hi Randy… you’re asking if you can paint after you’ve added the picture to the candle?
Random question: do you think this would work on a potato? I’m having my wedding on a potato farm and I thought a funny favor would be to have potatoes with each of the guests photos printed on them. Would welcome any other suggestions if you don’t think the wax paper would work!
Can we use butter paper instead of wax paper?
I really don’t think so. I think the wax on the paper is necessary for the process to work.
I have tried to do this twice, although with a hairdryer as I do not own a heat gun, and nothing appeared on the candle. I’m not sure what I’m doing wrong. I used ordinary
white tissue paper (like you’d use for gift wrapping), and a sheet of wax paper. I couldn’t tell which side was the waxy side. Is there a special kind of wax paper you need for this please? Can you recommend one? The image went dark both times but didn’t transfer and the tissue paper didn’t stick to the candle. The candle was melting by the time I gave up! Please help, thank you.☺️