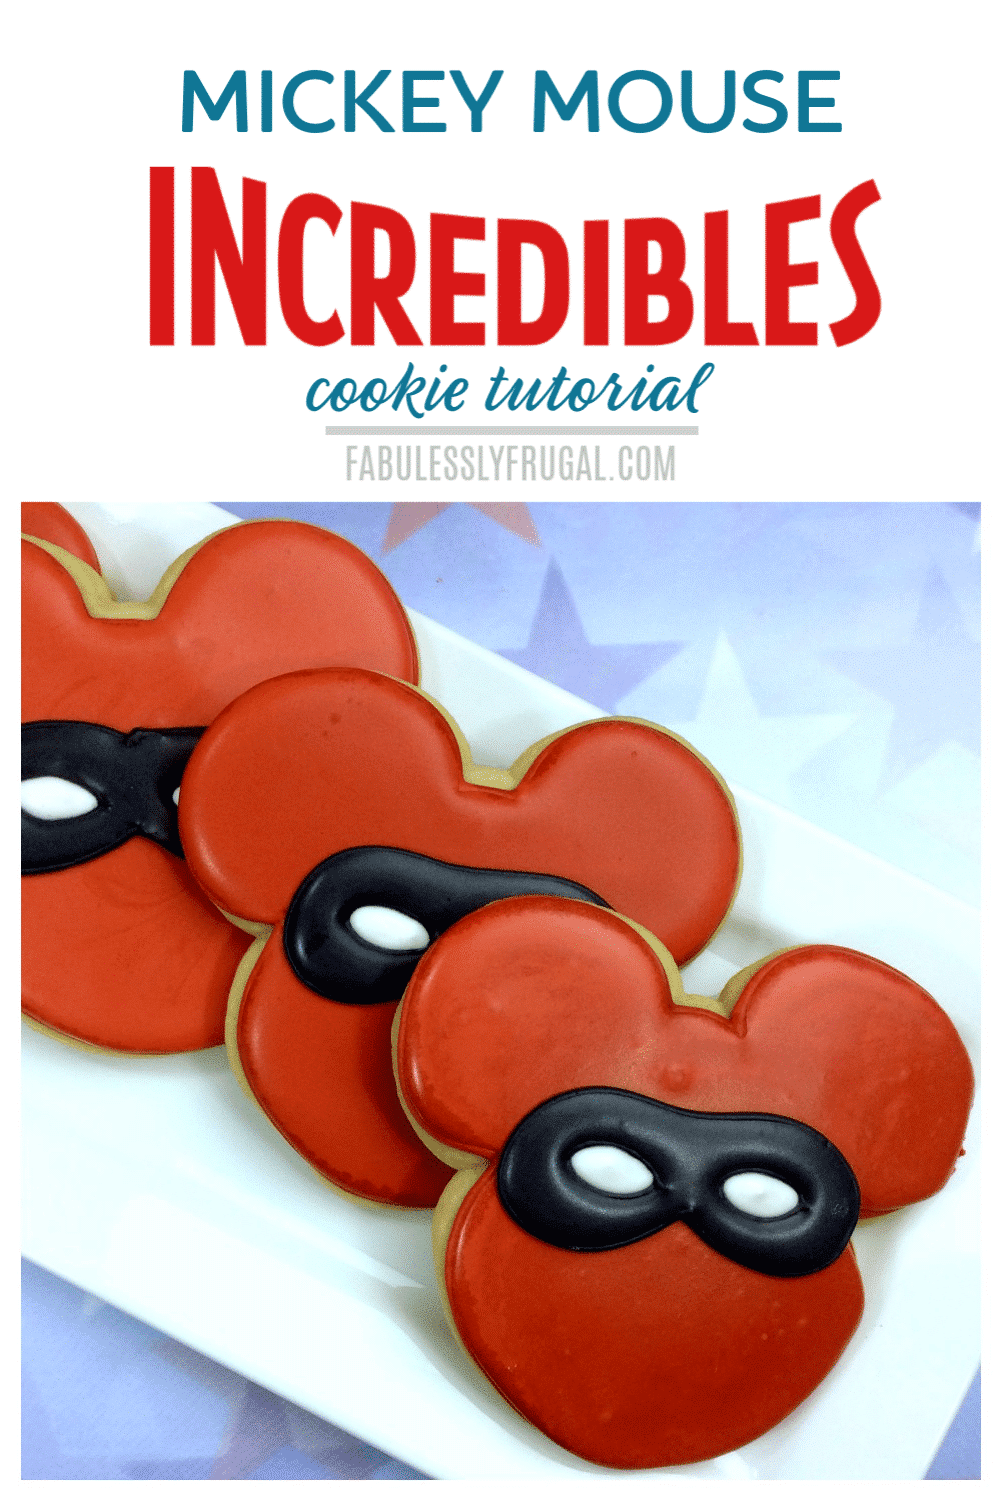
How to Make Mickey Mouse Sugar Cookies (With a Twist)
Make and Decorate Mickey Mouse Sugar Cookies!
Feeling a bit crafty and want to make something fun and delicious? It might be even easier than you think to make these fancy iced Mickey Mouse sugar cookies. The kids will totally love making and eating these too!
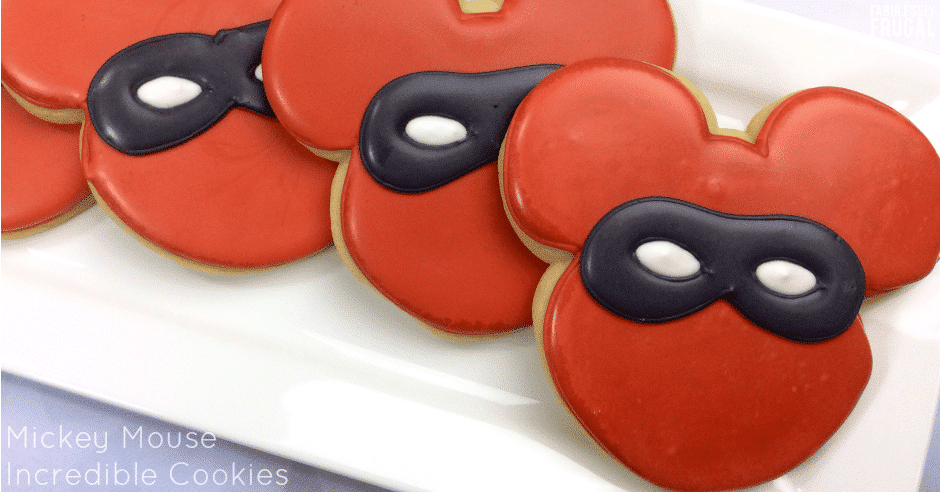
We decided to design our Mickey Mouse cookies with the classic Incredibles colors and mask, but you can design your Mickey cookies however you want! You could do a standard Mickey Mouse, Minnie Mouse, or you could do something else!
Since we made our Mickey Mouse cookies recipe for an Incredibles movie night, we thought this theme was pretty suiting. Want to know how to make your own? Let’s get started!
Step 1. Making the Mickey Mouse Cookies
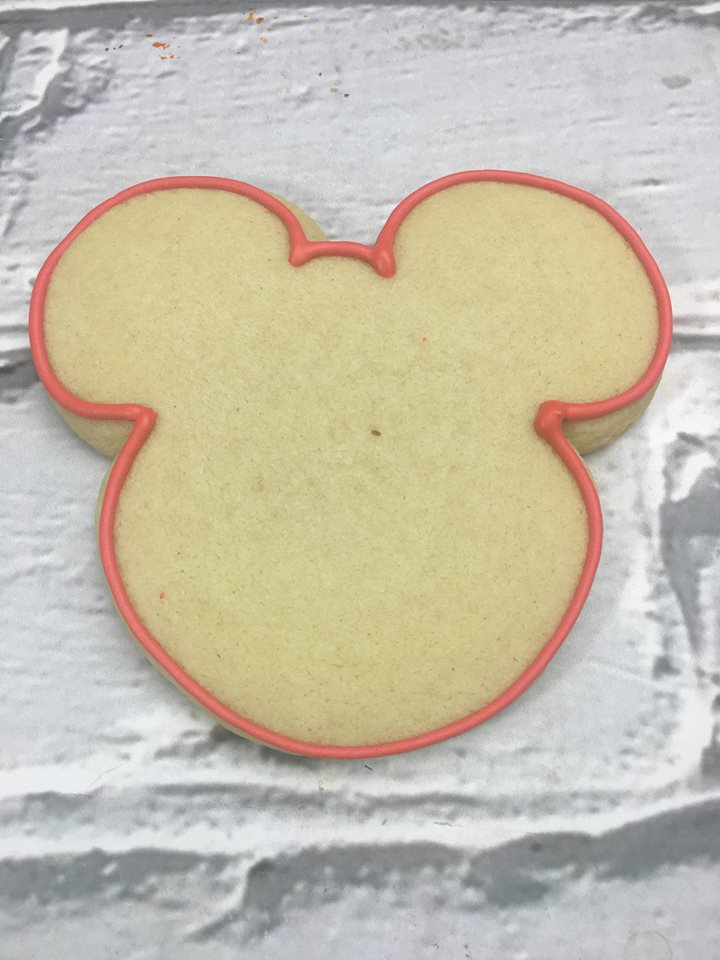
First you get to make the sugar cookies. My kids always love to help cut out the cookie shapes! There are lots of Mickey Mouse cookie cutter options available on Amazon if you don’t already have one.
Once the cookies are baked and cooled, it is time to start icing them. It works well to use 3 disposable piping bags fitted with a number 2 round tip. Quick and easy clean up! Start with a red icing outline. This will help the thinned red icing to stay in place.
Step 2. Filling the Mickey Cookies
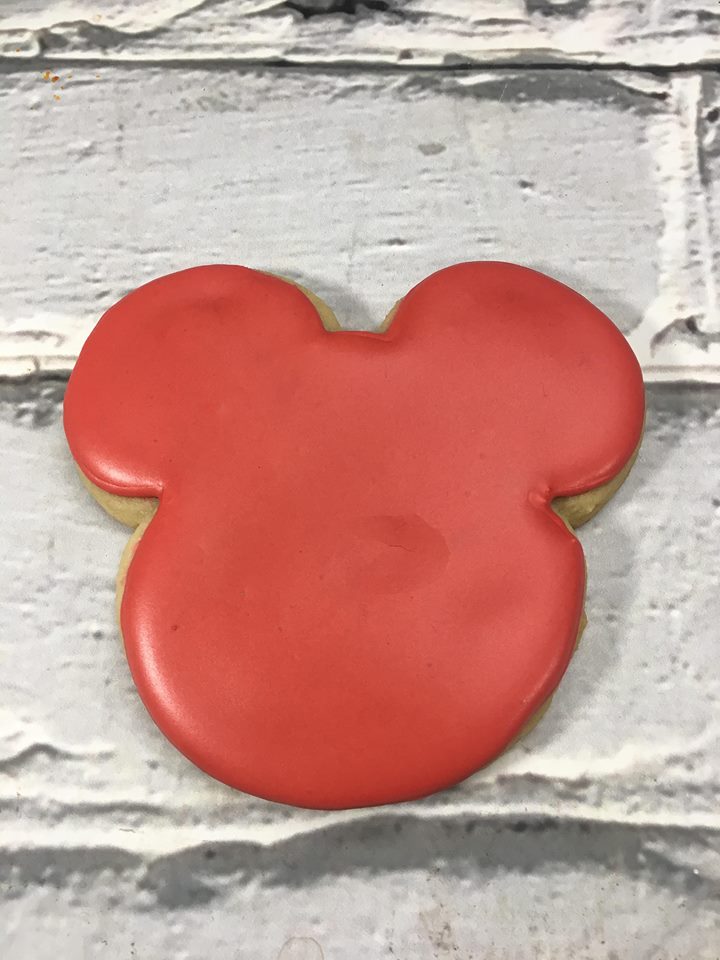
Once the outline is in place, use a squeeze bottle to fill in the Mickey head shape with the thinned red icing. Then let the iced cookies dry overnight, or until completely dry.
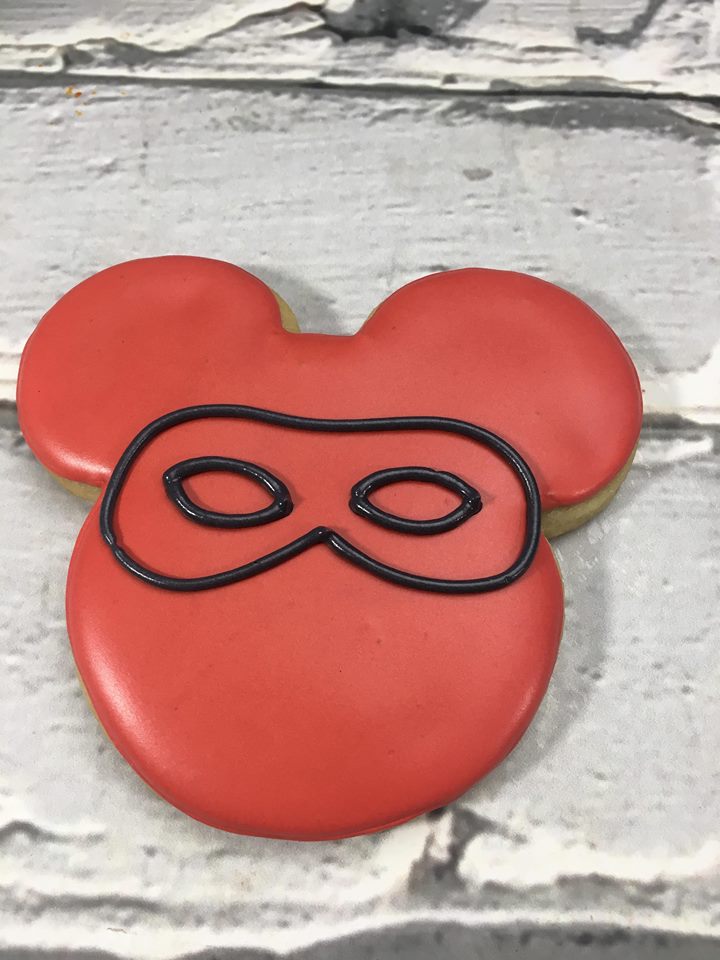
Step 3. Adding the Incredibles Mask
When the red icing has dried, the black icing comes into play for the outline of the mask and eyes.
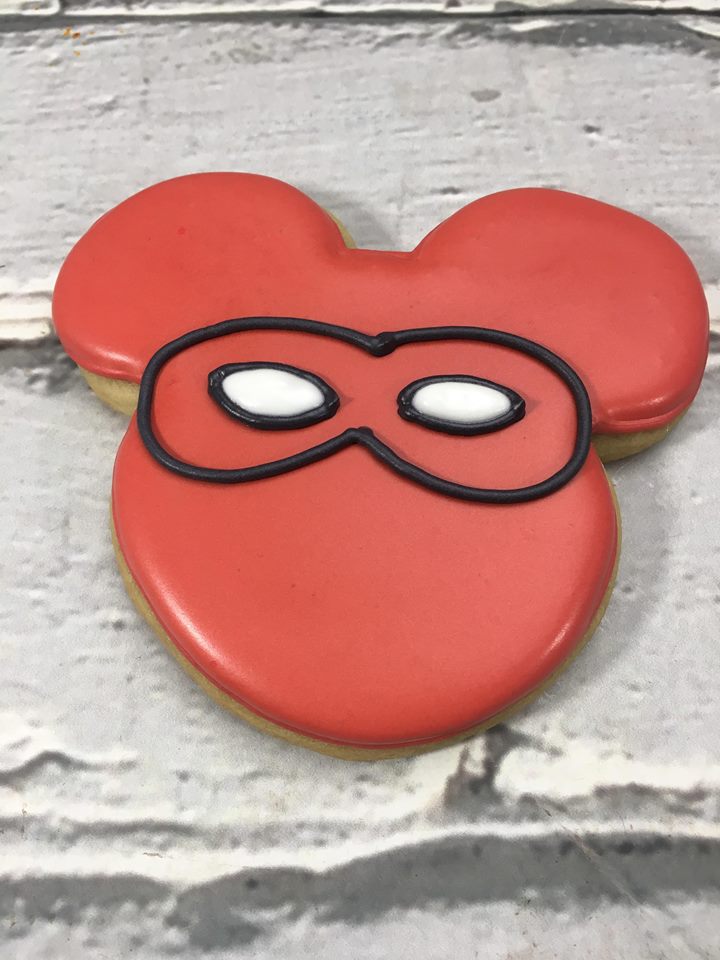
Step 4. Filling in the Eyes
Then fill in the eyes with the white icing. Of the three different colors of icing, you’ll definitely need the least amount of the white since it’s just for the eyes!
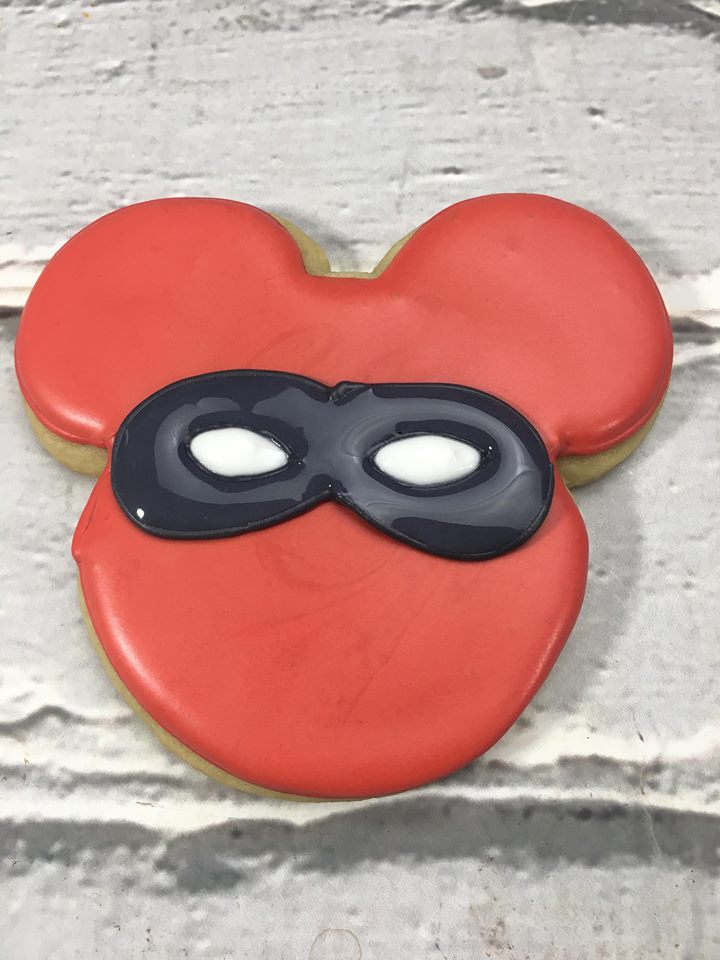
Step 5. Filling in the Mask
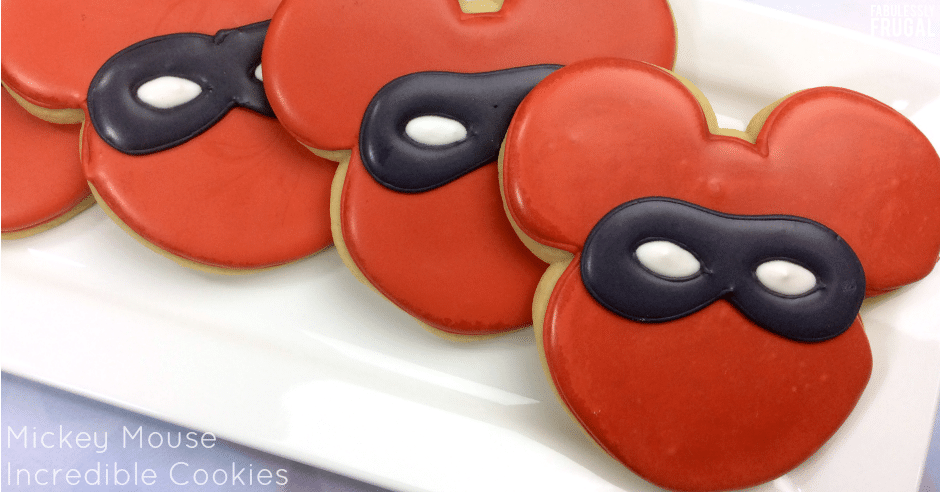
To finish off all of the decorating fun, fill in the mask with the black icing. Let the icing dry completely, about 3 hours. Then show the cookies off a little and enjoy eating them with friends and family!
Final Thoughts
I absolutely love how these Mickey Mouse sugar cookies turned out! Not only do they look incredible (pun intended), but they taste incredible too!
I will admit though, these Mickey Mouse cookies a bit hard to eat at first because they’re basically pieces of art. After all that hard work you may be reluctant to eat one too, but just do it! You deserve it! Let us know how your Mickey cookies turn out in the comments below!
More Cookie Recipes:
- The Best Chocolate Cookies Recipe Ever
- Heath Toffee Bits Cookies Recipe
- Lemon Cream Cheese Cookies Recipe (Soft & Light)
Would you like to see our favorite recipes? Subscribe to our recipe email.
How to Make Mickey Mouse Sugar Cookies (With a Twist)
Equipment
- Mickey Mouse head cookie cutter
- Disposable piping bags fitted with number 2 tip
- Squeeze bottle
Ingredients
- 1 cup unsalted butter
- 1 ½ cups powder sugar
- 2 teaspoon vanilla
- 1 large egg
- 2 ½ cups all-purpose flour
- 1 teaspoon cream of tarter
- 1 teaspoon baking soda
- 1 Mickey Mouse head cookie cutter
Royal icing
- 3 egg whites
- 1 teaspoon cream of tarter
- 1 teaspoon vanilla
- 4 cups powder sugar
- 3 disposable piping bags fitted with number 2 tip
- 1 squeeze bottle
- red and black food coloring
Instructions
- Preheat oven to 350°F/175°C. Line cookie sheet with parchment paper or baking mat.
- Using a standing mixer, cream together the butter, powder sugar, vanilla and egg together until creamy and combined.
- In a large bowl, mix together the flour, cream of tarter and baking soda. Gradually mix the flour mixture into the wet ingredients until combined and a dough forms.
- Once the dough is formed, sprinkle about 3 tablespoons flour onto surface. Place the dough onto the floured surface and sprinkle some flour onto the dough. Roll out the dough to about 2 inches thick. Cut out your cookies and place onto the cookie sheet.
- Bake for about 8-10 minutes. Let them cool completely.
Royal icing directions:
- Using a standing mixer, combine all icing ingredients and mix on medium to high speed until thick and stiff with peaks about 6-7 minutes. If your icing looks like yellow soup, add another cup of powder sugar.
- Scoop some white icing into one piping bag and set aside.
- Scoop some icing, about 3/4 up, into a bowl and add black food coloring and mix until combined. Scoop the black icing into piping bag.
- Using the remaining icing, add in red food coloring and mix until combined. Add in a few more drops of red food coloring to get the shade you want. Scoop a small amount into the piping bag and set aside. Mix in 2-3 tbsp of water into the remaining red icing and mix until combined. Pour into the squeeze bottle.
Decorating directions:
- Using the red icing, outline the mickey heads. Fill in the cookies with the thinned red icing. Let them dry completely over night.
- Once they have completely dried, use the black icing to pipe on the outline of the mask and the eyes.
- Using the white icing, fill in the eyes.
- Using the black icing, fill in the mask.
- Let completely dry for 3 hours before enjoying!
Nutrition
Trending Recipes


More Related Recipes


Trending Recipes
- Recipes
- DIY
- Deals
- Blog


Popular
Recommended
About Us

At Fabulessly Frugal, our goal is to help you live HEALTHY, WEALTHY, and WISE! My team and I work hard to bring you the best, online deals, clean eating, DIY's, freezer meal recipes, and more! I LOVE coaching and inspiring people to improve their health in my fitness challenge! You should also check out my favorite cleanse! Learn more about me and the rest of my team.

Copyright © 2008–2026
Fabulessly Frugal: A Coupon Blog Sharing Gift Ideas, Amazon Deals, Printable Coupons, DIY, How to Extreme Coupon, and Make Ahead Meals. All rights reserved