
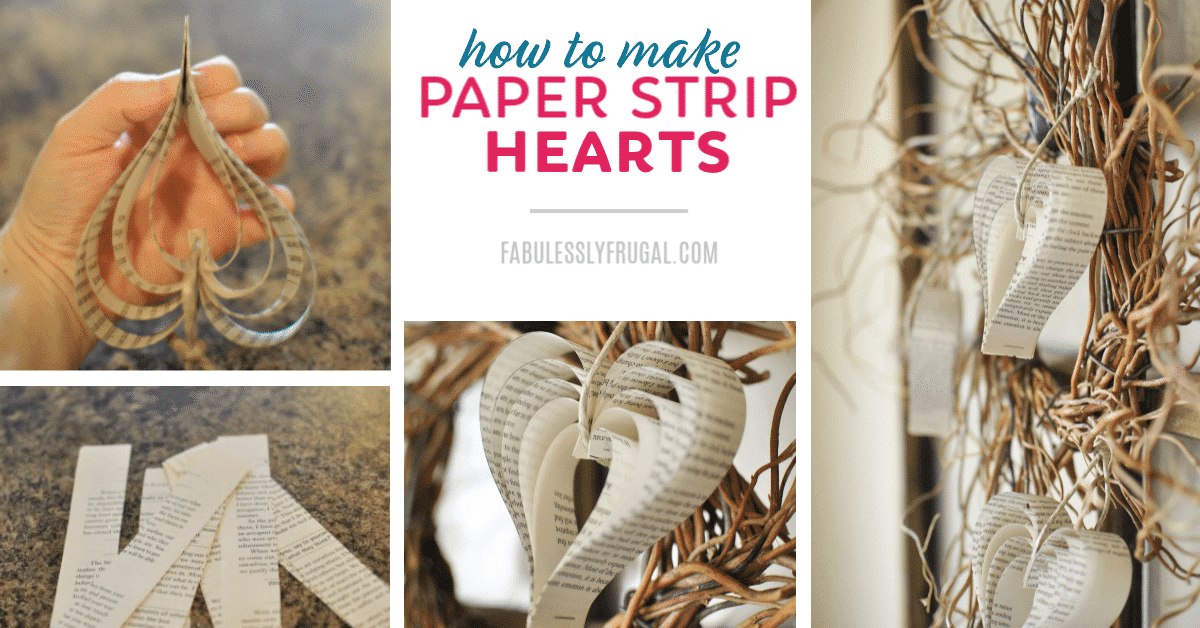
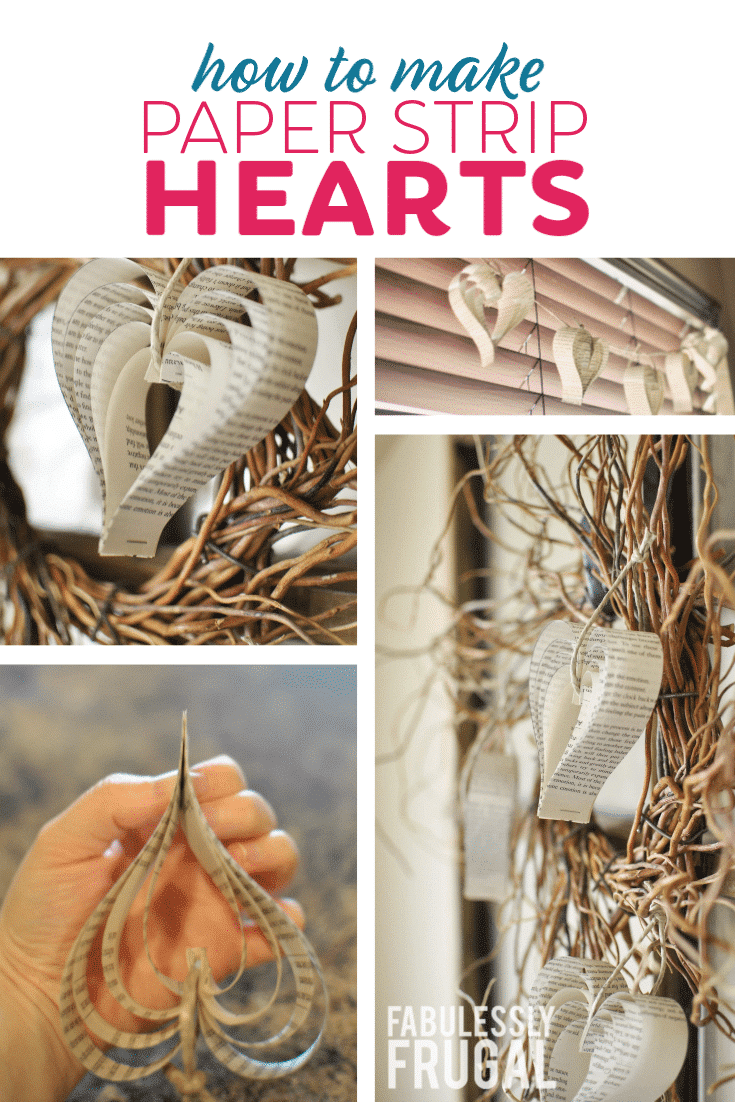
How to Make Paper Hearts From Old Book Pages
It’s Easy and Fun to Make These Paper Book Hearts
Updated for 2026 with clearer steps, sturdier options for events, and fresh display ideas.
Easy DIY Paper Heart Craft (Using Old Book Pages)
Looking for an easy and inexpensive way to decorate for Valentine’s Day? These paper hearts made from old book pages are simple to make, budget-friendly, and perfect for banners, wreaths, or shelf decor. This project uses basic supplies you probably already have at home—and the finished hearts look charming in farmhouse, vintage, and romantic spaces.
If you don’t have a book you want to tear up, no worries—thrift stores are full of inexpensive books that work great for this. And if you’re crafting with kids or need something sturdier for an event, I included a couple of easy upgrades below.
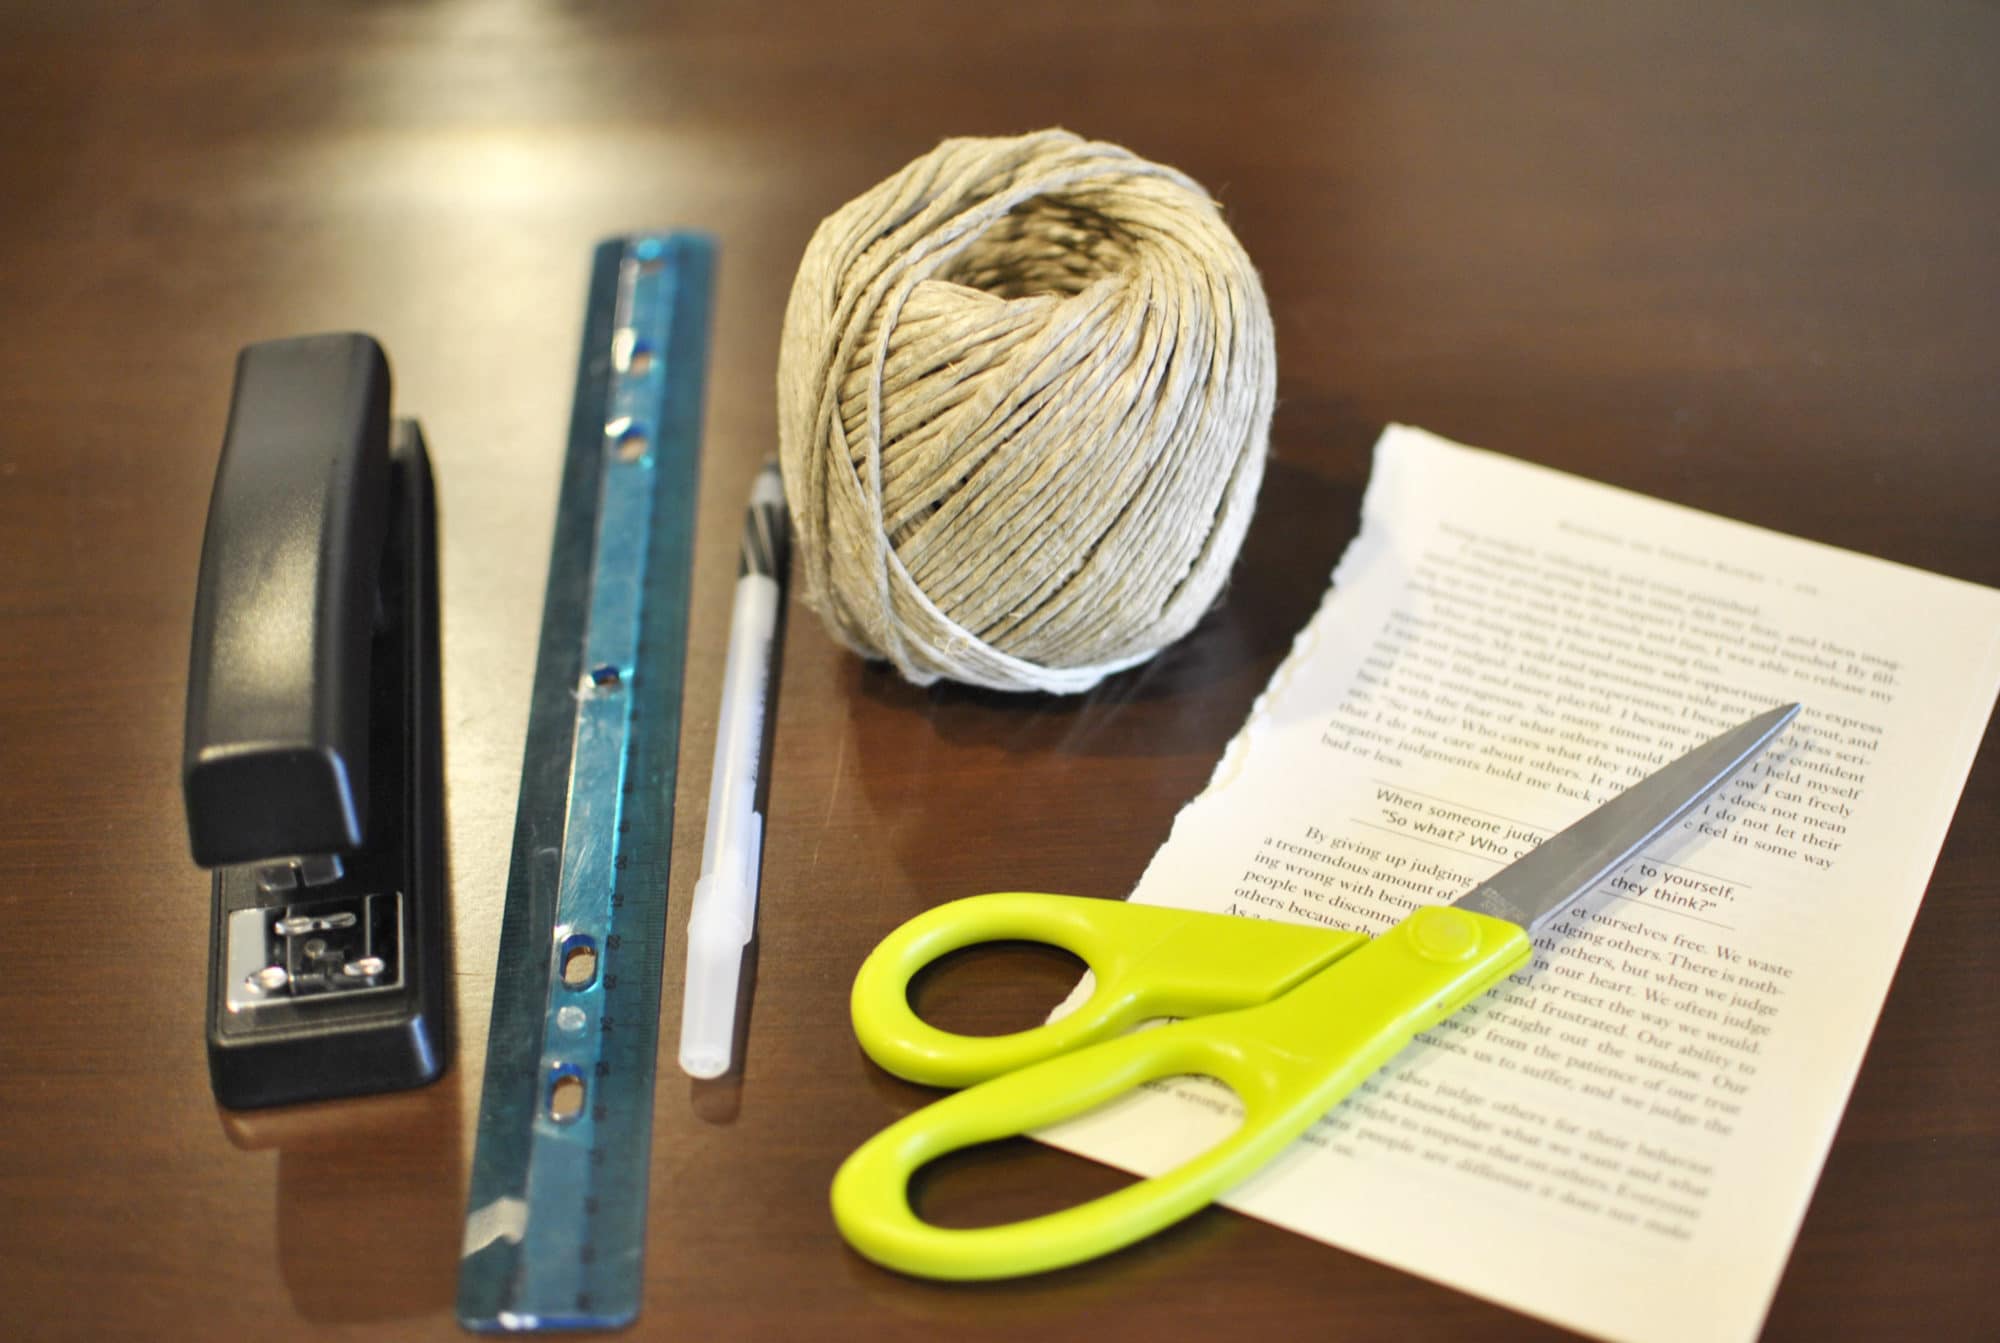
Supplies
Supplies for Heart Shaped Paper Craft
- Stapler
- Book or craft paper of your choice (thrift store books work great)
- Ruler
- Hemp or ribbon (I bought my hemp in the craft area at Walmart)
- Scissors
Why This Craft Works
- Budget-friendly: It uses inexpensive materials and makes a big visual impact.
- Eco-friendly: It’s a fun way to reuse old or damaged books before tossing them. (EPA also recommends prioritizing reducing and reusing whenever possible.) Learn more about reducing and reusing.
- Beginner-friendly: No fancy tools—just measure, cut, staple, and shape.
- Customizable: Make them tiny, oversized, neutral, colorful, or themed for events.
Step-by-Step Instructions
Step 1
Begin by tearing out a few pages from your book. Then, measure ruler length (should be 1″) across the book page and mark with a pen or pencil.

Step 2
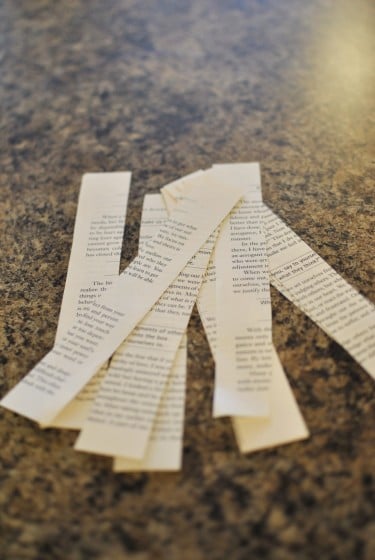
Once you have measured across your page, cut the page into strips.
Step 3
Each heart is made from layered strips that gradually increase in length to create that rounded heart shape.
You should have at least seven 8″ strips (you can do more if you want fuller hearts).
- Take one strip and measure it in half (should be 4″), mark it, and cut.
- Take two more strips (stacked together so they match) and measure at 5″, mark and cut.
- Take two more strips and measure at 6″, mark and cut.
- Take two more strips and measure at 7″, mark and cut.
- If you want a larger heart, add two more strips at 8″.
Measure about 11″ of hemp and make a knot at the end.
Step 4
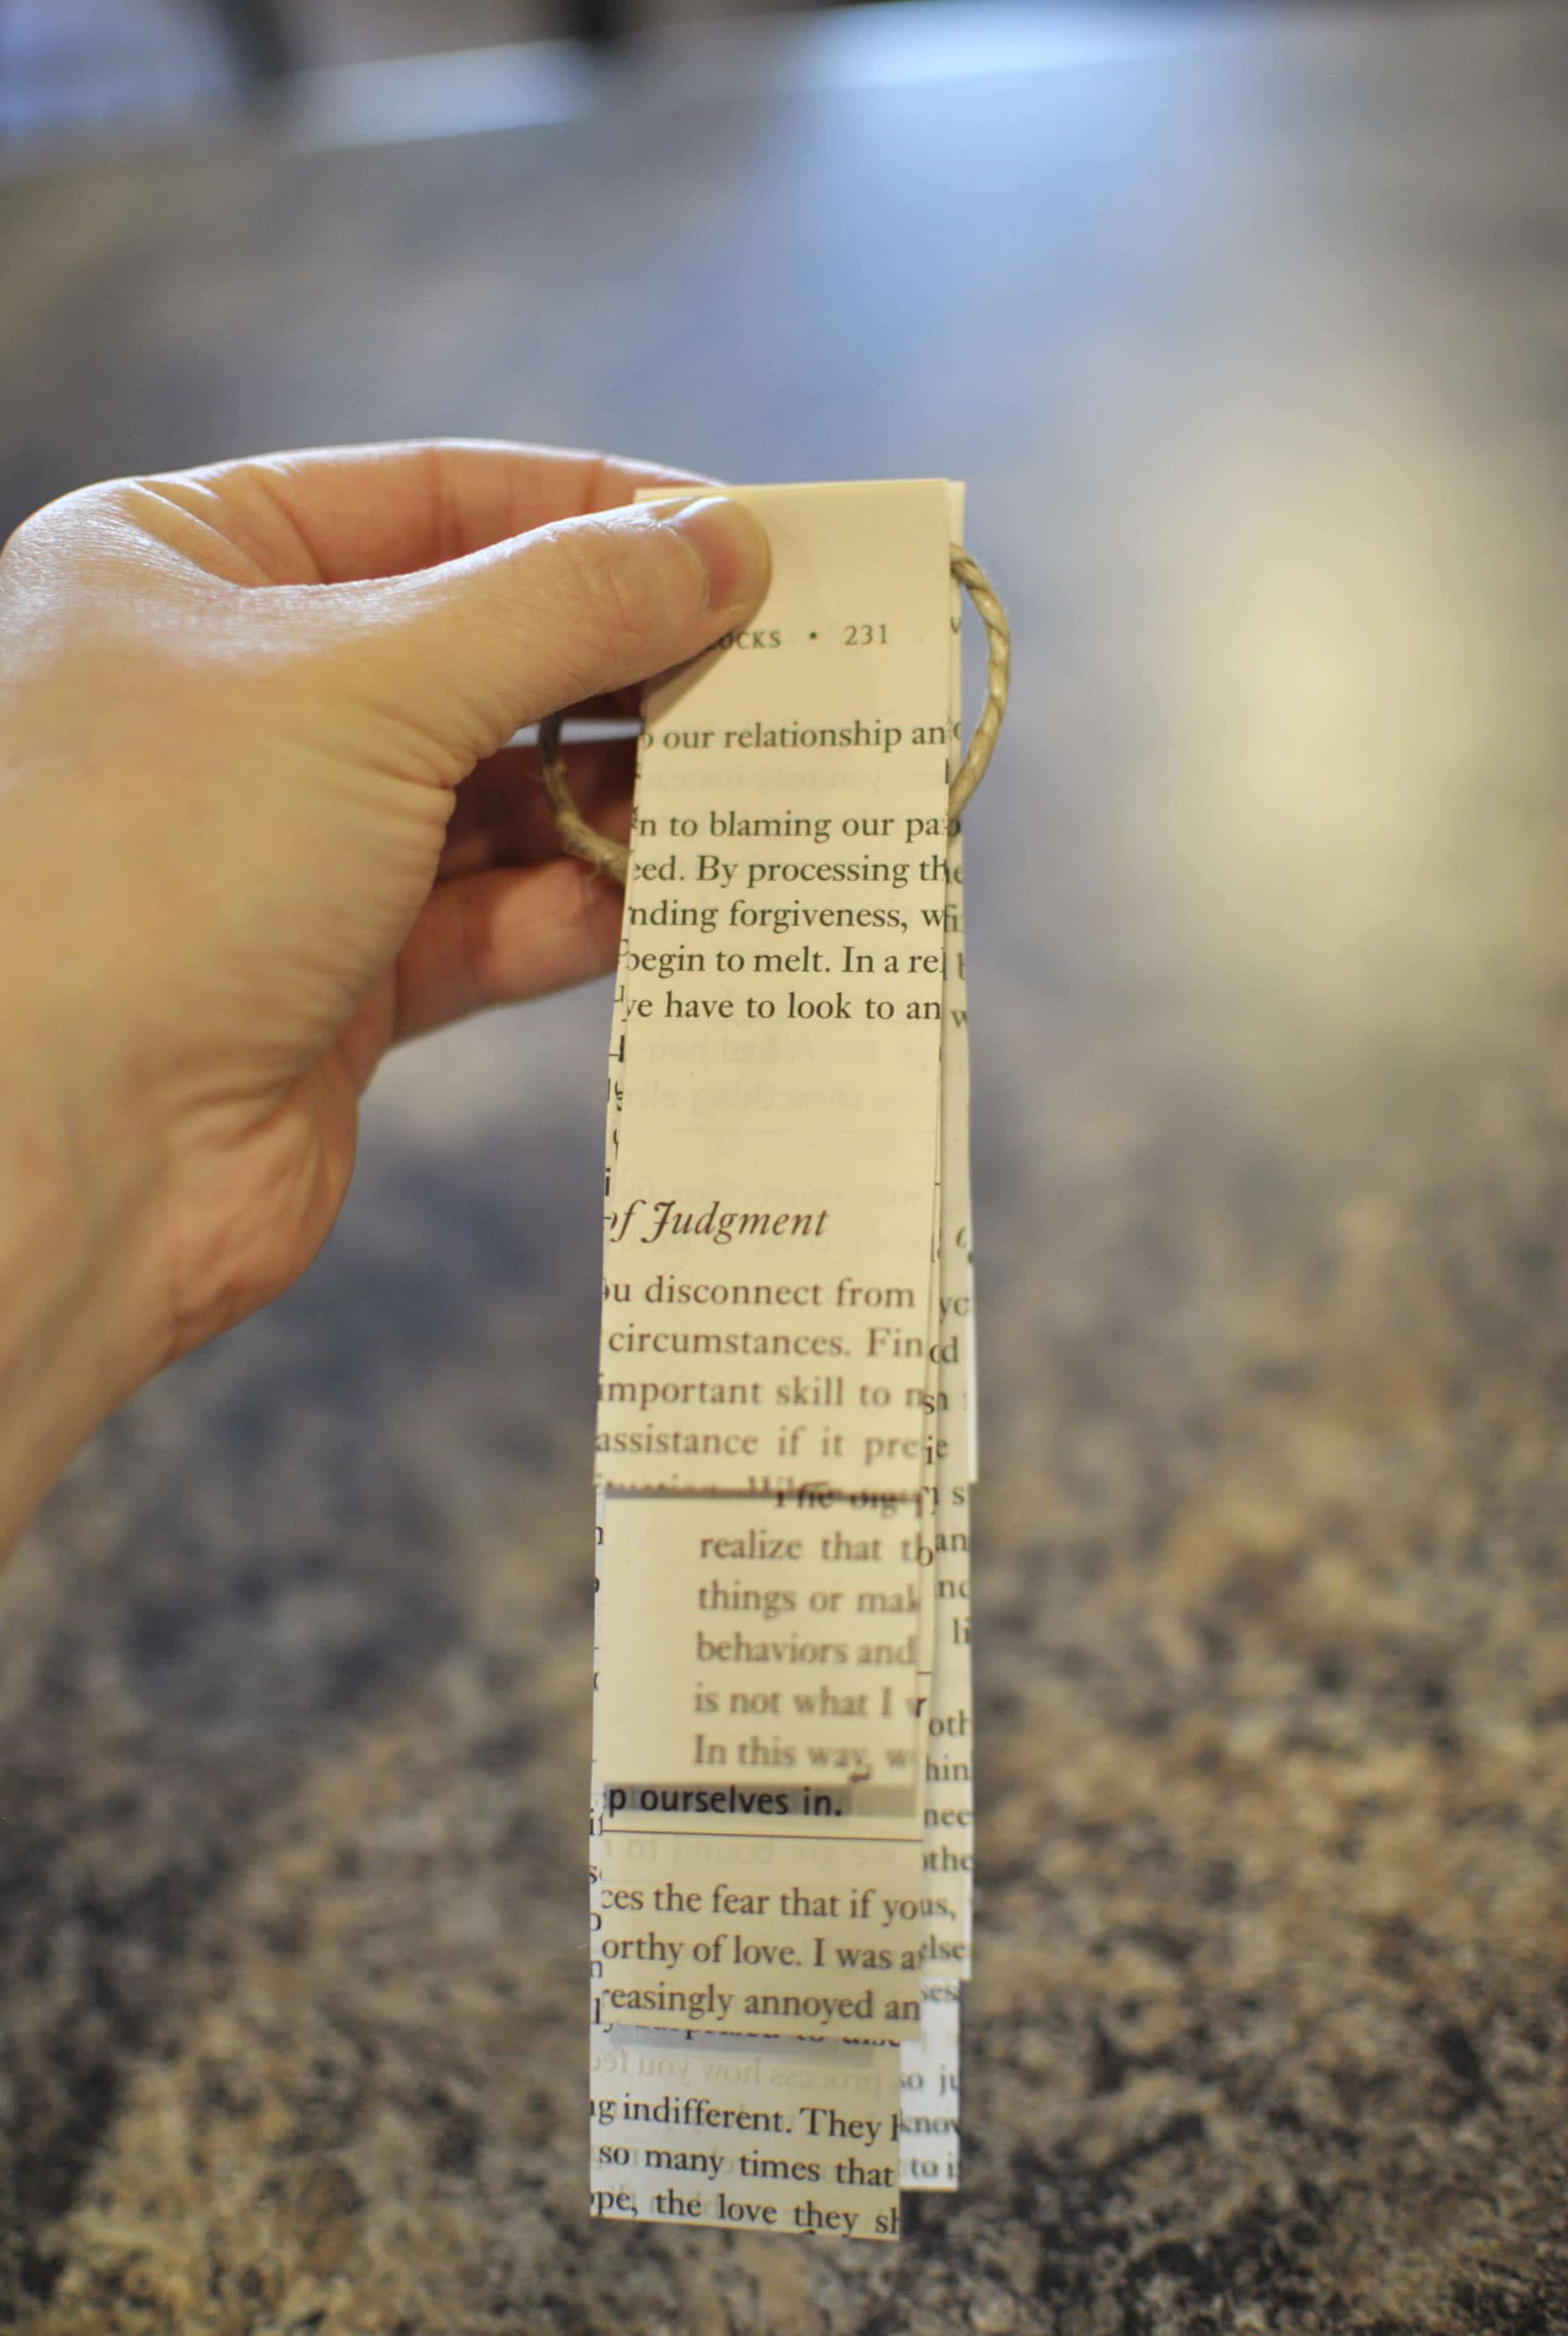
Make two piles of your cut book pages. Each pile should contain one piece of each size. Once that is done, sandwich your knotted hemp in the middle (knot should be facing towards the bottom).
Step 5
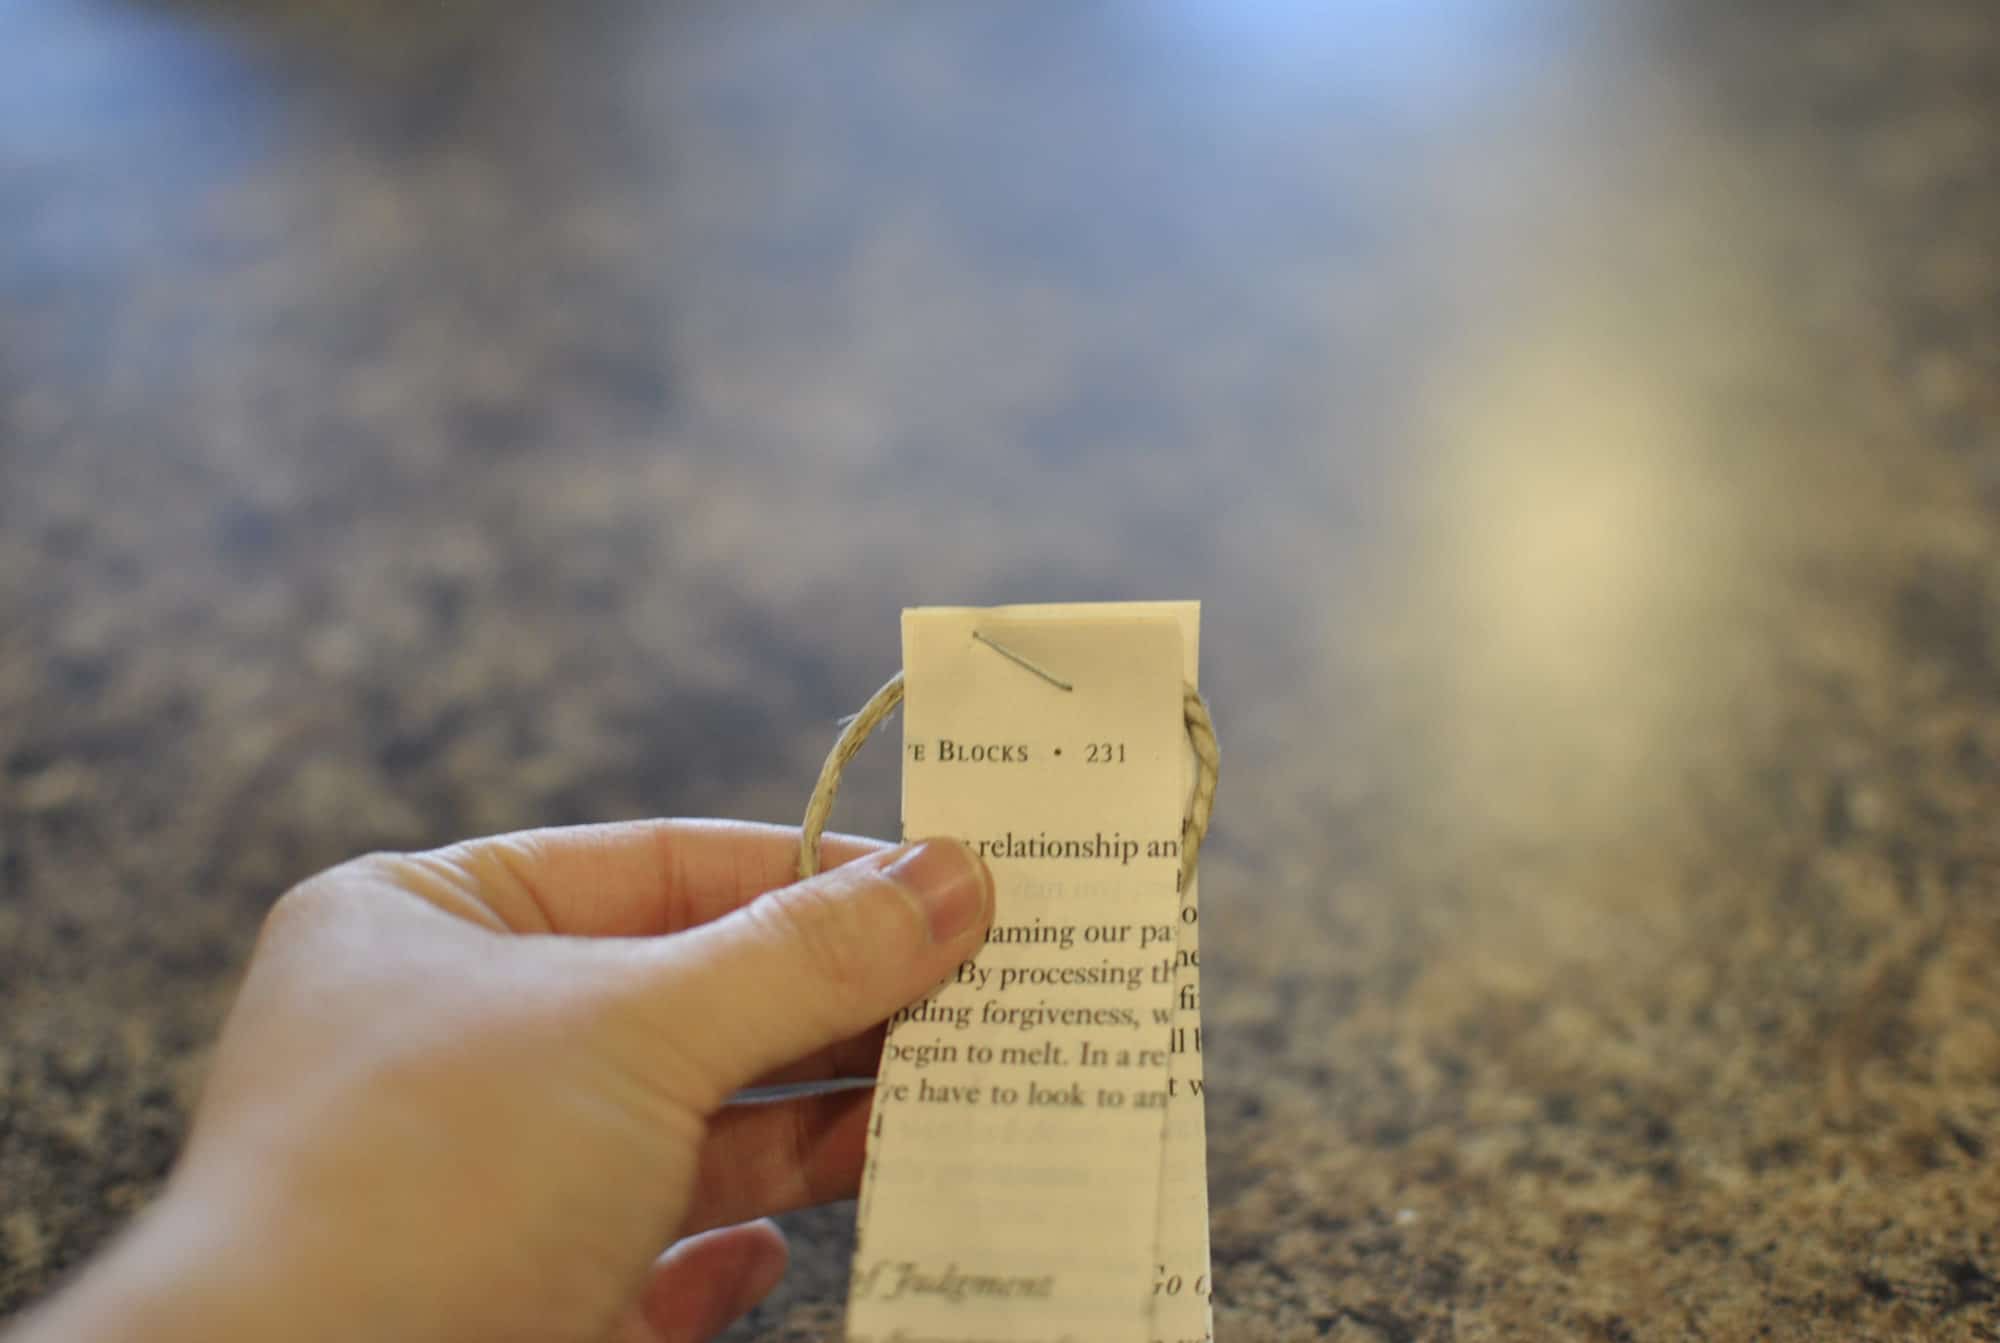
Staple (make sure your knot is stapled along with the paper—this may require two staples).
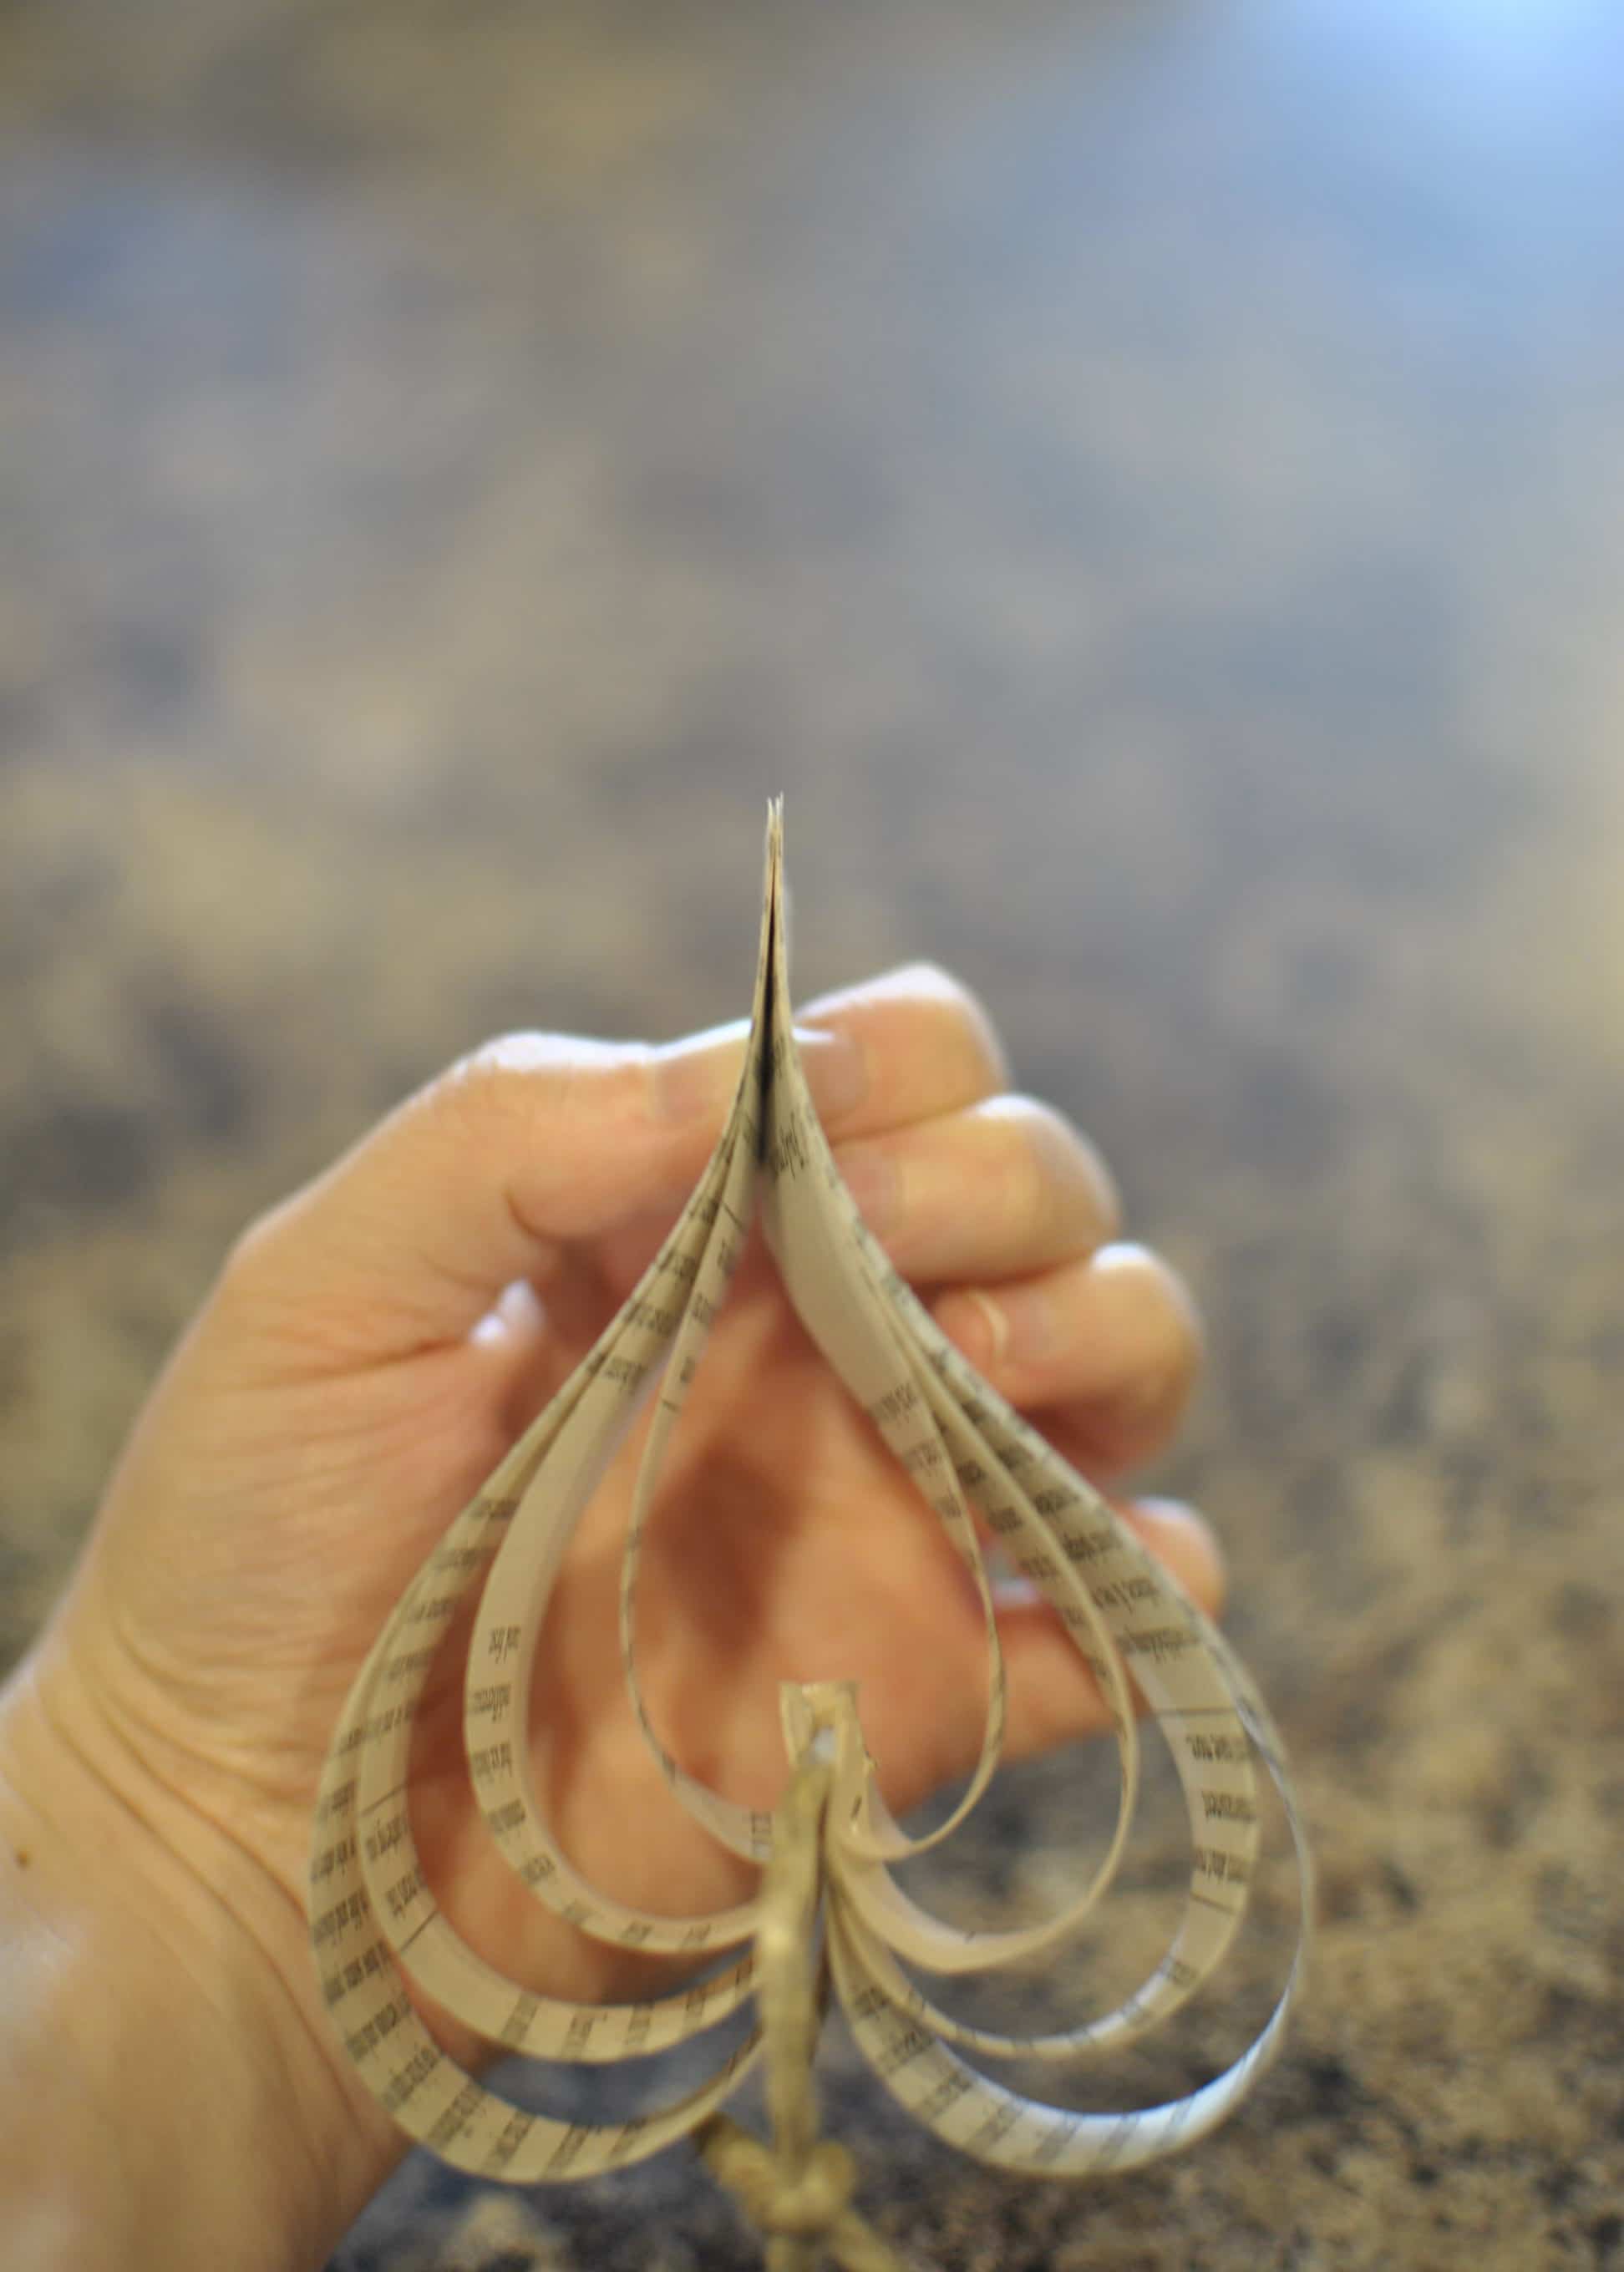
Step 6
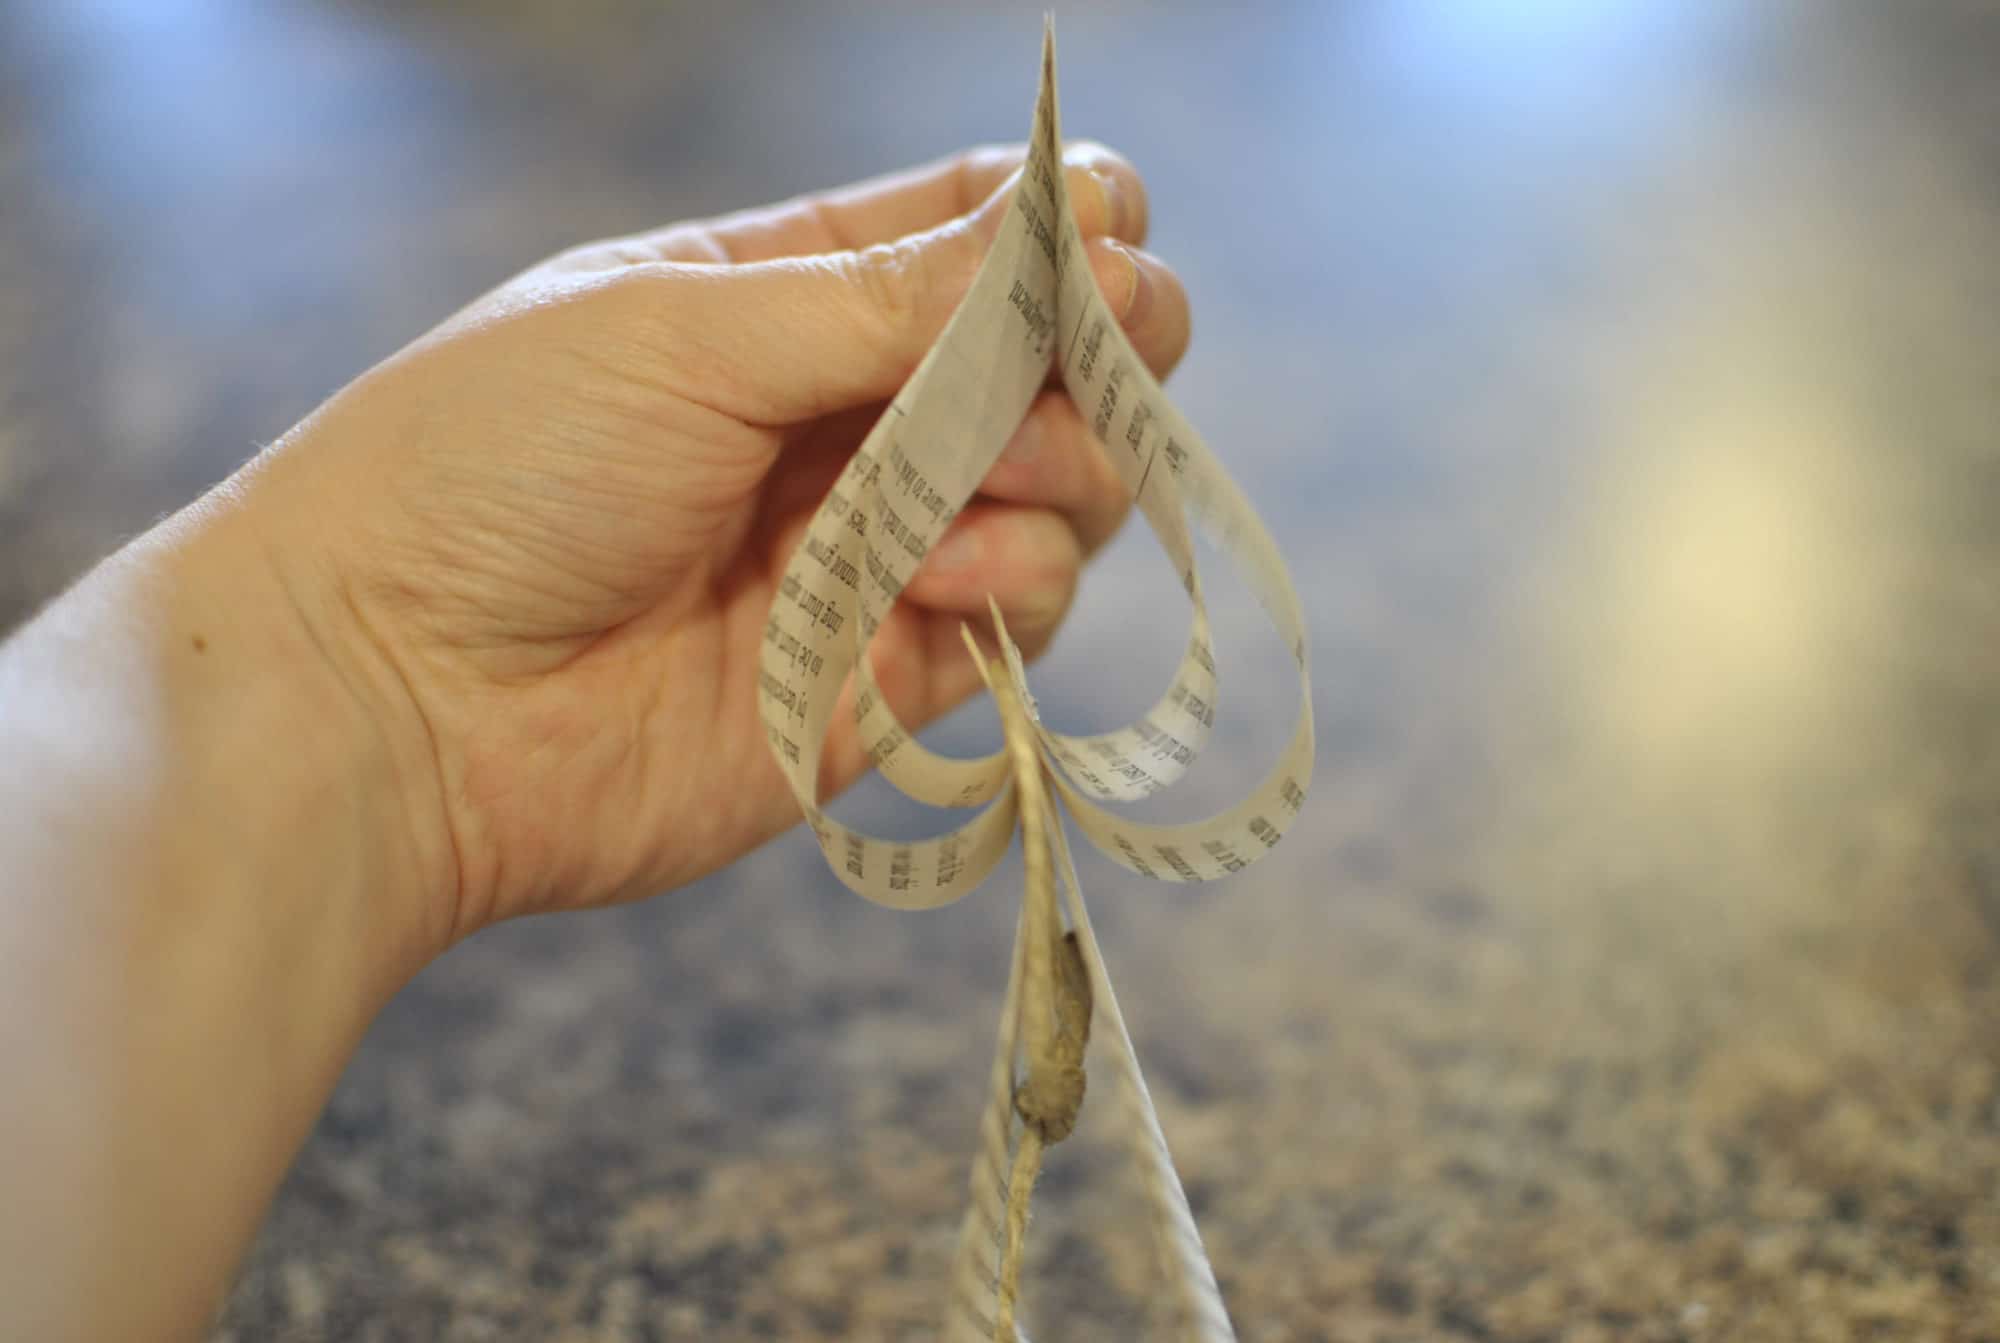
Begin gathering each cut book page up to the center. Hold with your fingers until they are all gathered together.
Keep going…
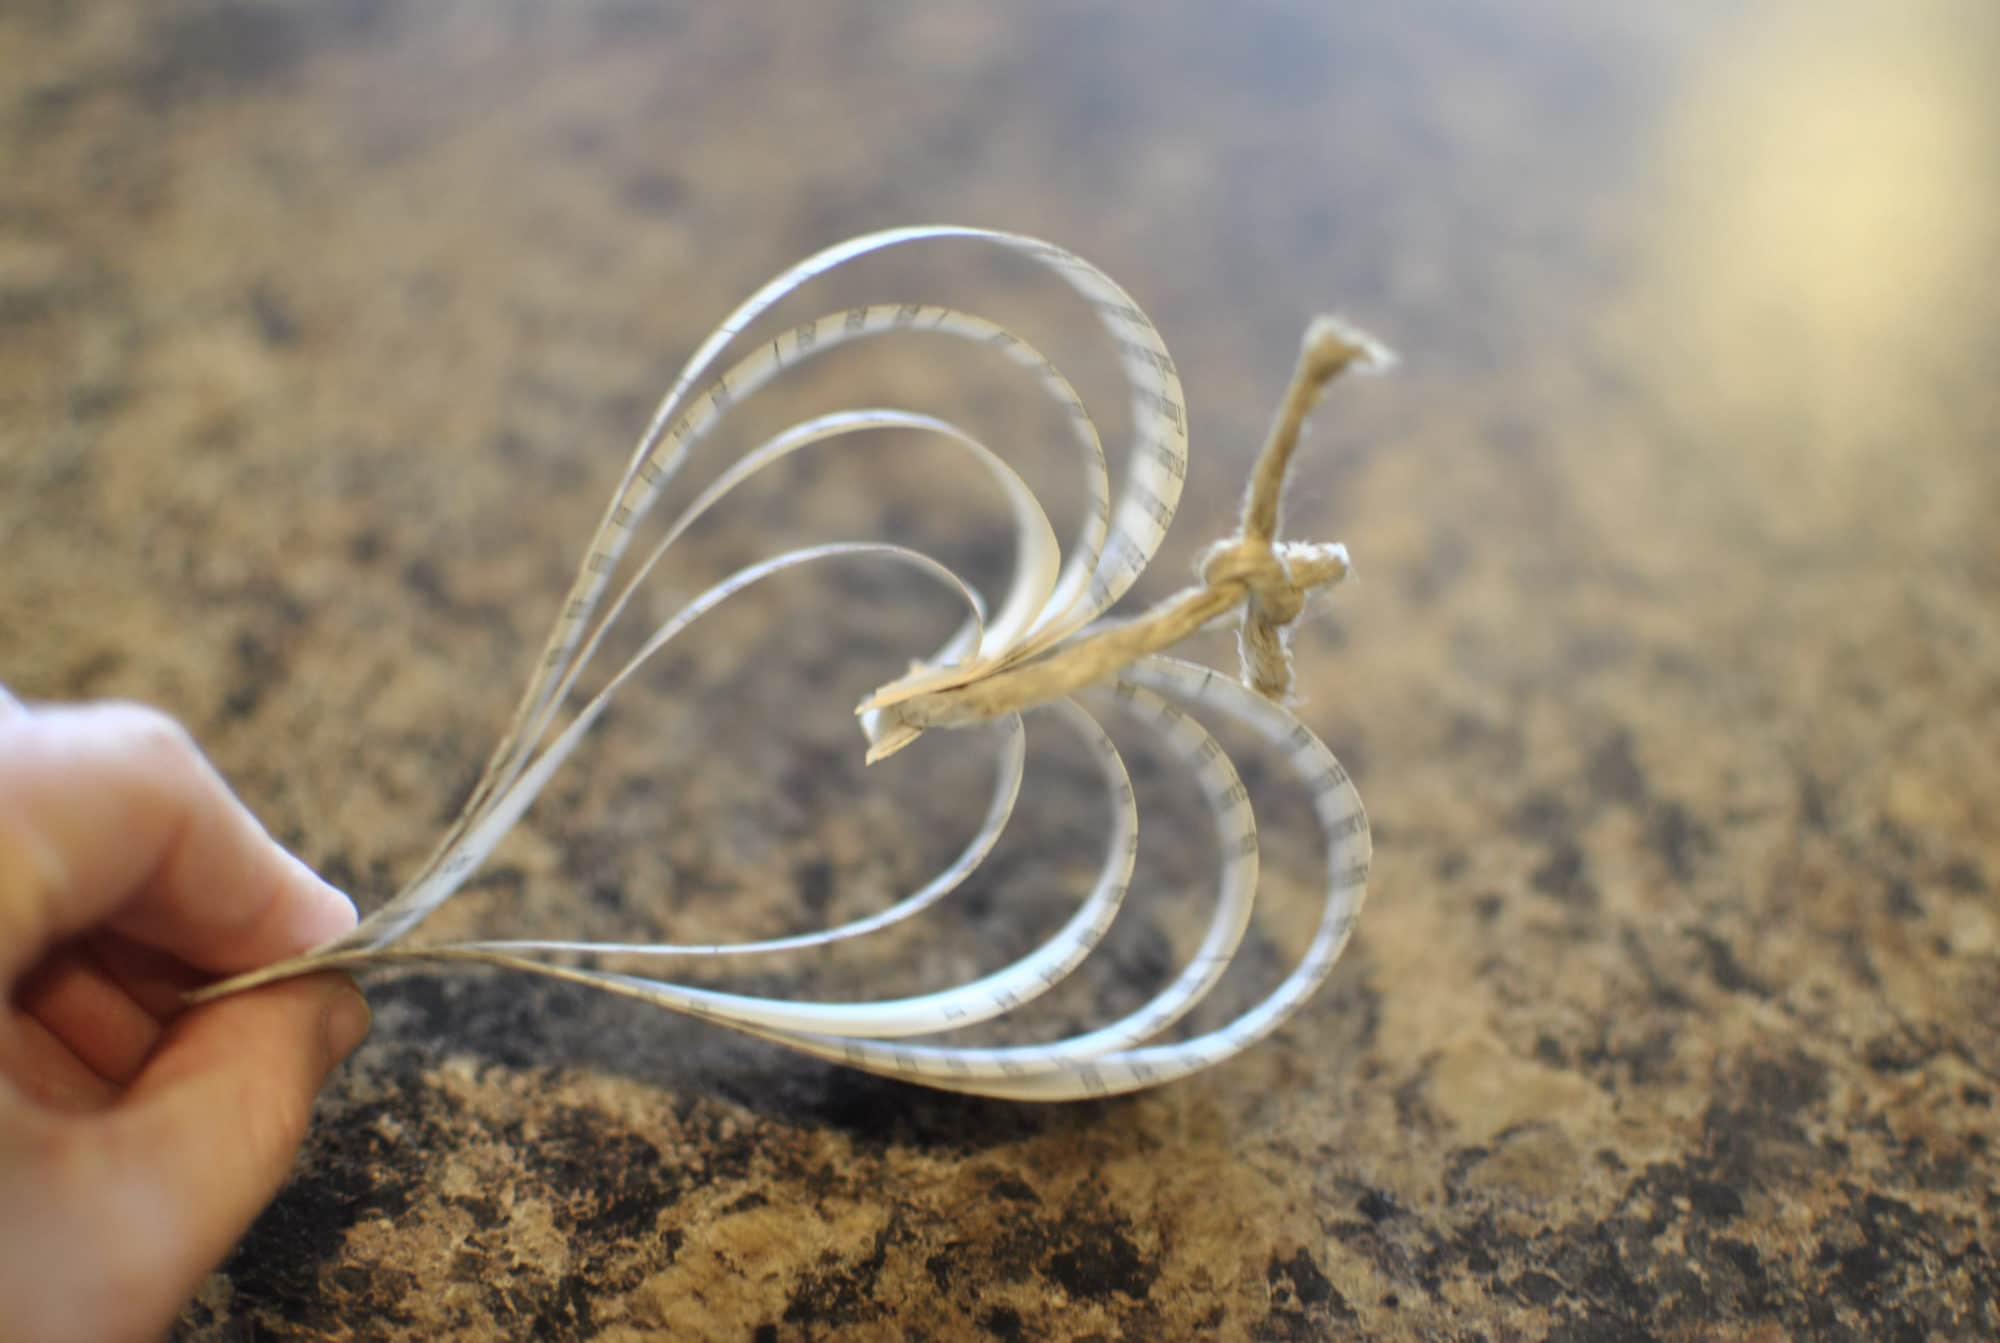
Step 7
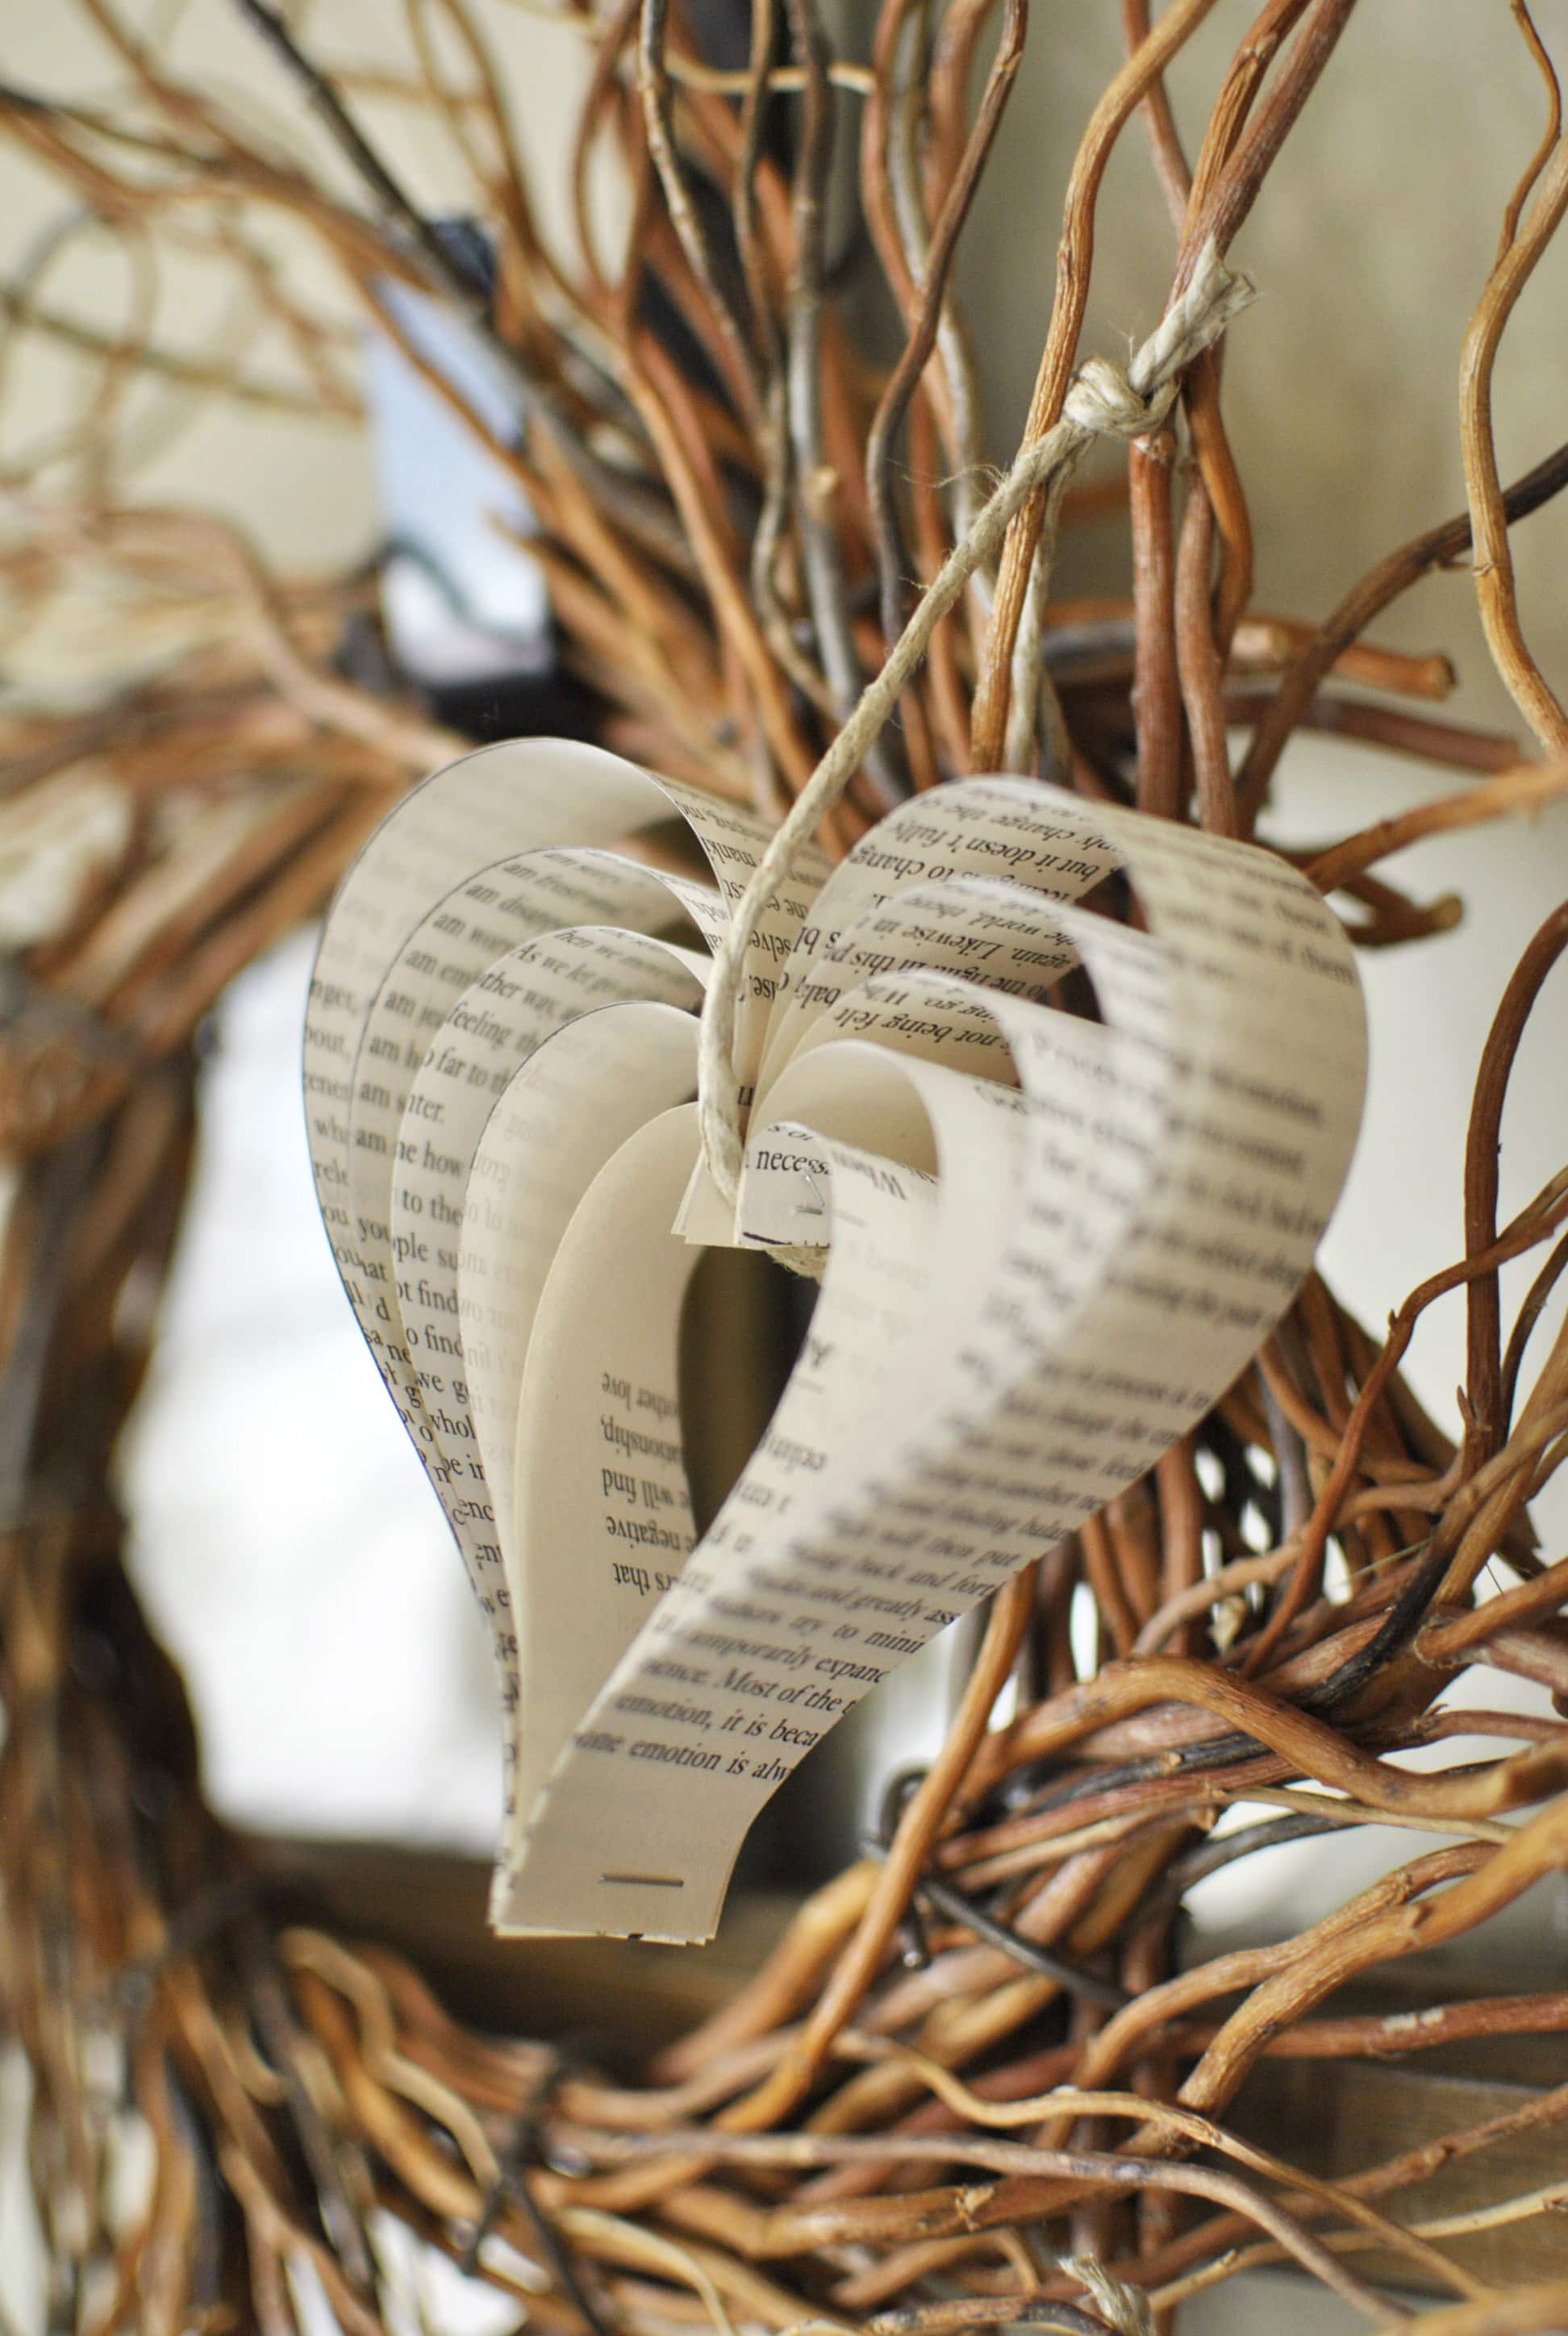
Staple all of the pages together at the end and you are done with one paper heart! Repeat until you have as many paper hearts as you need.
Make It Your Own
- Use sheet music, maps, or scrapbook paper instead of book pages.
- Add mini clothespins to turn hearts into photo holders.
- Lightly brush on a thin layer of craft glue for extra stiffness (let dry completely).
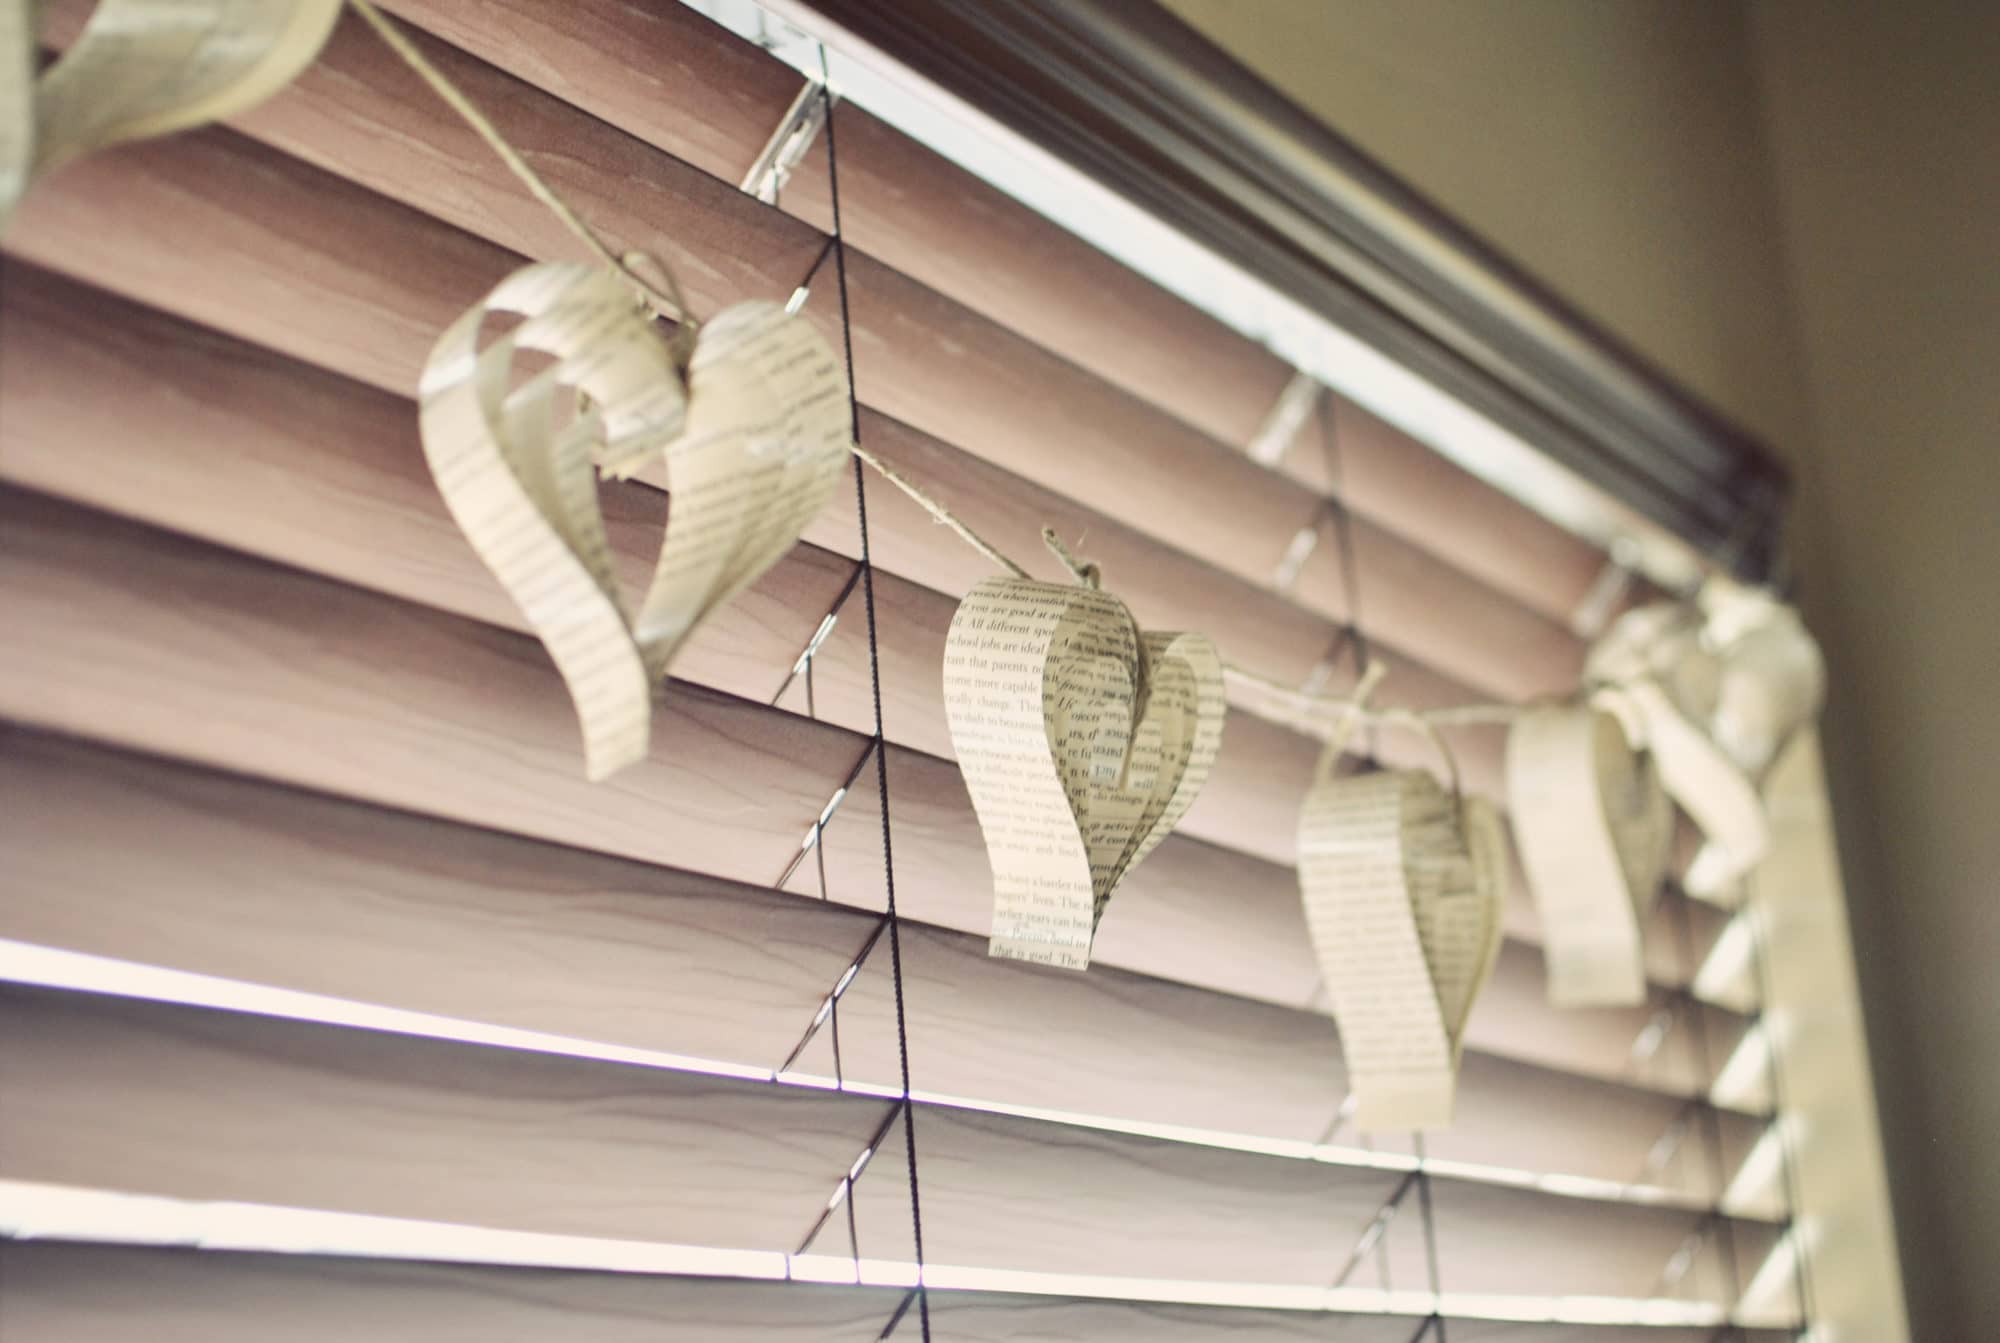
- String multiple hearts together to make a Valentine’s Day garland.
- Kid-friendly option: Swap book pages for construction paper or cardstock when crafting with kids.
Using Paper Book Hearts for Weddings & Events (Make Them Sturdier)
If you plan to hang these paper hearts from rafters, arches, or ceilings for a wedding or event, a little reinforcement goes a long way—especially for transportation and setup. (Book-page heart garlands are a popular wedding/party decoration idea, too.)
- Use heavier paper: Print book-style text onto heavier cardstock or craft paper for the same look without being super flimsy.
- Double the layers: Add one extra strip per size to make the heart fuller and more structured.
- Staple + glue: Add a tiny dot of hot glue over the staple to prevent shifting during transport.
- Transport tip: Lay hearts flat in shallow boxes with tissue paper between layers to avoid creasing.
These simple tweaks keep the vintage look while making the hearts more durable for hanging displays and event décor.
Display Tips
There are several ways you can display these cute paper hearts. Here are some ideas:
- As a banner
- On a wreath
- Hung from rafters or ceilings for weddings and special events
- Displayed on branches from your yard in a container or vase
There are so many possibilities—I’d love to hear where you’re going to display your paper hearts. Tell me in the comments!
Frequently Asked Questions
How do you strengthen paper hearts so they don’t get crushed?
For sturdier hearts (great for weddings/events), use heavier paper like cardstock, add extra layers, and place a small dot of glue over the staple. For transport, lay them flat in a shallow box with tissue paper between layers.
What paper works best for paper strip hearts?
Old book pages give the prettiest vintage look, but they can be delicate. Cardstock, construction paper, or kraft paper holds its shape better—especially if you’re making these with kids or hanging them in high-traffic areas.
Can I make these paper hearts without a stapler?
Yes. You can use hot glue or strong craft glue. Stapling is simply the fastest way to secure the layers, but glue works well if you hold the pieces in place until fully set.
More Valentine’s Day Ideas
- Homemade Valentine’s Day Crafts and Decorations
- DIY Valentine’s Day Crafts
- Valentine’s Day Recipes
- Non-Candy Valentine Ideas
More Easy DIY Ideas
If you love thrifty crafts and simple home ideas, make sure you’re on our email list so you don’t miss the good stuff.
How to Make Paper Hearts From Old Book Pages

Ingredients
- Stapler
- Book or craft paper of your choice (if you don't have a book you want to rip up, you can purchase inexpensive ones at a thrift shop)
- Ruler
- Hemp or ribbon ( I bought my hemp in the craft area at Walmart, it was about $3.75 for the entire spool)
- Scissors
Instructions
- Tear out a few pages from a book.
- Measure ruler length (should be 1") across the book page and mark with a pen or pencil.
- Cut the pages into at least seven 8" strips
- Take one strip and cut it in to two equal 4" strips
- Take two more strips & mark and cut them 5" long
- Take two more strips & mark and cut them 6" long
- Take two more strips & mark and cut them 7" long
- If you want a larger heart add two more strips at 8"
- Measure 11" of hemp/string/ribbon/jute and make a knot at the end.
- Make two piles of your cut book pages. Each pile should contain one piece of each size.
- Sandwich your knotted hemp in the middle (knot should be facing towards the bottom).
- Staple (make sure your knot is stapled along with the paper, this may require two staples).
- Begin gathering each strip to the center, hold with your fingers until they are all gathered together
- Staple at the end and you are done!
- Display these cute hearts as a banner, on a wreath, or hang from branches... there are so many possibilities!
Trending Diys
Comments
Leave a Reply
More Related Diys


Trending DIY Projects
- DIY
- Recipes
- Deals
- Blog

Report a Problem
Please select the problem you are facing with this deal:
- Price Increased
- Price Decreased
- No longer available
- Expired
- Link doesn't work
- Suggestion
- Compliment
- Other
Add more details:
Thank you for your feedback. We really appreciate it.
Enter your email address if you would like to receive a follow up.
Please Try Again
Thanks for providing the email address.
We will reach out to you as soon as possible.


Popular
Recommended
About Us

At Fabulessly Frugal, our goal is to help you live HEALTHY, WEALTHY, and WISE! My team and I work hard to bring you the best, online deals, clean eating, DIY's, freezer meal recipes, and more! I LOVE coaching and inspiring people to improve their health in my fitness challenge! You should also check out my favorite cleanse! Learn more about me and the rest of my team.


Copyright © 2008–2026
Fabulessly Frugal: A Coupon Blog Sharing Gift Ideas, Amazon Deals, Printable Coupons, DIY, How to Extreme Coupon, and Make Ahead Meals. All rights reserved
Oh my goodness – these are SO cute + thrifty! Love your creativity. Thanks for this idea.
Sooo cute & easy! My 4-yo & I made a whole bunch this afternoon using construction paper!!!
Hi,
I love this idea and would like to have them hanging from rafters at my wedding. I have made one but it seems very flimsy and I think will get quite squashed and creased in transportation. Is there any way you can recommend to strengthen the pages please?
TYIA
Julie.
Perhaps print out “book pages” on heavier card paper (and use different shades of paper?). That would give the same look without being super flimsy. Congrats!