

Browsing All Recipes

Broccoli Cheese Soup Recipe
Main Dish|Fall|Egg Free
How to make creamy broccoli cheese soup from scratch! Talk about comfort food - creamy, cheesy, and delicious broccoli cheese soup! Take it to the next level by serving it in bread bowls or with fresh rolls. (Check out my favorite roll recipe.) Even without the bread, this creamy broccoli cheese soup is sure to satisfy! Adding the flour to the butter mixture, then cooking while whisking makes a simple roux, which is what helps the soup to thicken later. Check out the... Read this post

The Best Zupas Copycat Yucatan Chicken Tortilla Soup
Main Dish|Fall|Egg Free
This Yucatan Chicken Tortilla Soup Is Pure Comfort 🍲 Zupas Copycat – Yucatan Chicken Tortilla Soup Table of Contents – Yucatan Chicken Tortilla Soup Why We Love This Soup Ingredients & Tips Cooking Style Topping Ideas ... Read this post
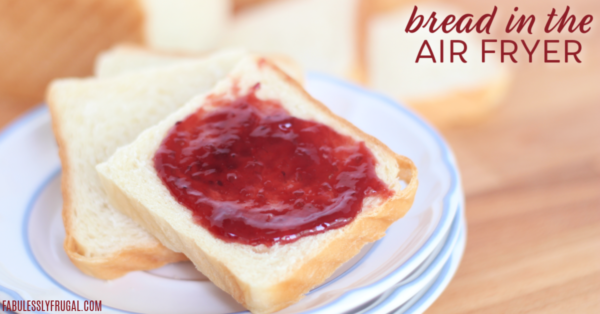
How to Bake Easy Air Fryer Bread
Air Fryer|Salt|Meatless
Yes, You Can Make Homemade Bread in the Air Fryer The Easiest Homemade Bread in Your Air Fryer (No Oven Needed) Summary How To Make Homemade Bread in the Air Fryer How do you make air fryer bread? Mix flour, milk, water, butter, sugar, salt,... Read this post
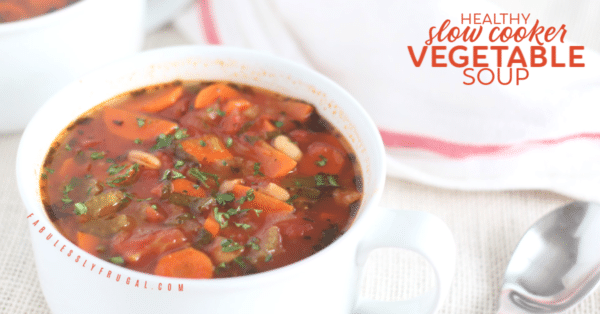
The Best Slow Cooker Vegetable Soup (Hearty & Healthy)
Main Dish|Fall|Egg Free
Make This Easy Crock Pot Vegetable Soup How to Make Hearty Vegetable Soup in a Slow Cooker This easy crock pot vegetable soup is loaded with colorful veggies, pantry staples, and cozy flavor — the kind of “set it and forget it” dinner that makes... Read this post

Air Fryer Vegetarian Enchiladas
Air Fryer|Main Dish|Salt
Boy are you going to absolutely die once you get a bite of these downright delicious Air Fryer Vegetarian Enchiladas. While they might not have meat, they are still super filling and bursting with those tasty Mexican flavors that we all know and... Read this post
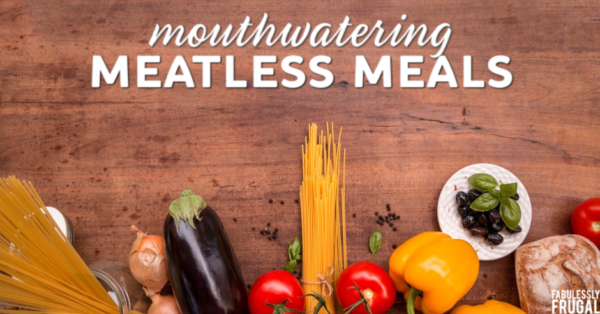
30 Easy Meatless Meals (Vegetarian Dinners + Sides)
Spring|Meatless|Vegetables
Meatless Meals: 30 Easy Vegetarian Recipes (Mains, Sides, Breakfast & Desserts) 30 Easy Meatless Meals You’ll Actually Want to Eat Whether you’re doing Meatless Monday, cooking for Lent, or just trying to stretch groceries without sacrificing... Read this post
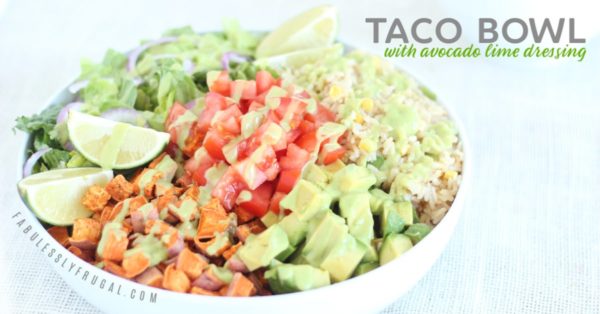
Healthy Taco Bowl Recipe with Avocado Lime Dressing
Main Dish|Egg Free|Healthy
Tasty Avocado Taco Bowl Recipe This healthy taco bowl recipe is awesome! My husband even said this meal is probably in his top 5 favorite meals now! Whaa?! That's a big deal. I have made a lot of different recipes over the years. The healthy aspect... Read this post
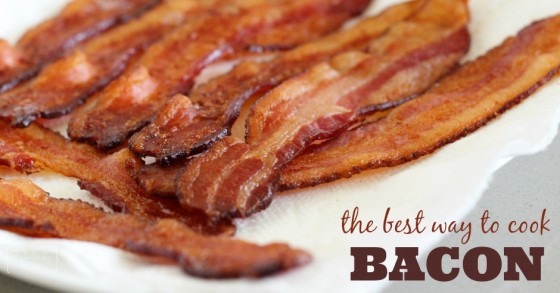
Easy Microwave Bacon + 3 Rookie Mistakes You Don’t Want to Make!
Egg Free|Meat and Poultry|Back to School
Bacon is glorious. But it sometimes there just isn't time to sit and fry bacon on the stove. Plus that's quite the mess and you'll be smelling like bacon grease for hours. Let me change your life right now people. Microwave Bacon, results in some fast... Read this post
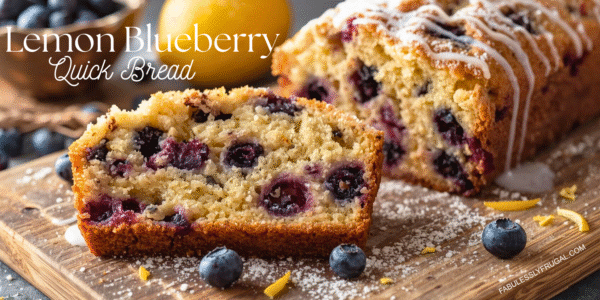
Lemon Blueberry Quick Bread – Easy Cake Mix Recipe
Summer|Meatless|Desserts
Easy to Make Lemon Blueberry Bread Cake Mix Lemon Blueberry Bread That Tastes Bakery-Fresh If you’ve been searching for a lemon blueberry quick bread that’s soft, moist, and basically impossible to mess up—this is your recipe. We’re using... Read this post

Cupid’s Crunch Recipe (Easy Valentine’s Day Popcorn Mix)
Egg Free|Desserts|Finger Food and Dips
Make Cupid’s Crunch Popcorn With This Easy Valentine's Recipe What is Cupid’s Crunch? Cupid’s Crunch is a sweet-and-salty Valentine’s Day popcorn mix made with popcorn, pretzels, festive candy, and melted chocolate. It’s quick to make,... Read this post

Ham and Scalloped Potatoes Freezer Meal (Easy Make-Ahead Dinner)
Main Dish|Salt|Meat and Poultry
Ham and Scalloped Potatoes Recipe (Freezer Meal Friendly) Easy Ham & Scalloped Potatoes Freezer Meal (Cook Fresh or Later) This ham and scalloped potatoes freezer meal is a classic comfort-food dinner that saves both time and money. Creamy sauce,... Read this post


Trending Recipes
- Recipes
- DIY
- Deals
- Blog


Popular
Recommended
About Us

At Fabulessly Frugal, our goal is to help you live HEALTHY, WEALTHY, and WISE! My team and I work hard to bring you the best, online deals, clean eating, DIY's, freezer meal recipes, and more! I LOVE coaching and inspiring people to improve their health in my fitness challenge! You should also check out my favorite cleanse! Learn more about me and the rest of my team.


Copyright © 2008–2026
Fabulessly Frugal: A Coupon Blog Sharing Gift Ideas, Amazon Deals, Printable Coupons, DIY, How to Extreme Coupon, and Make Ahead Meals. All rights reserved