
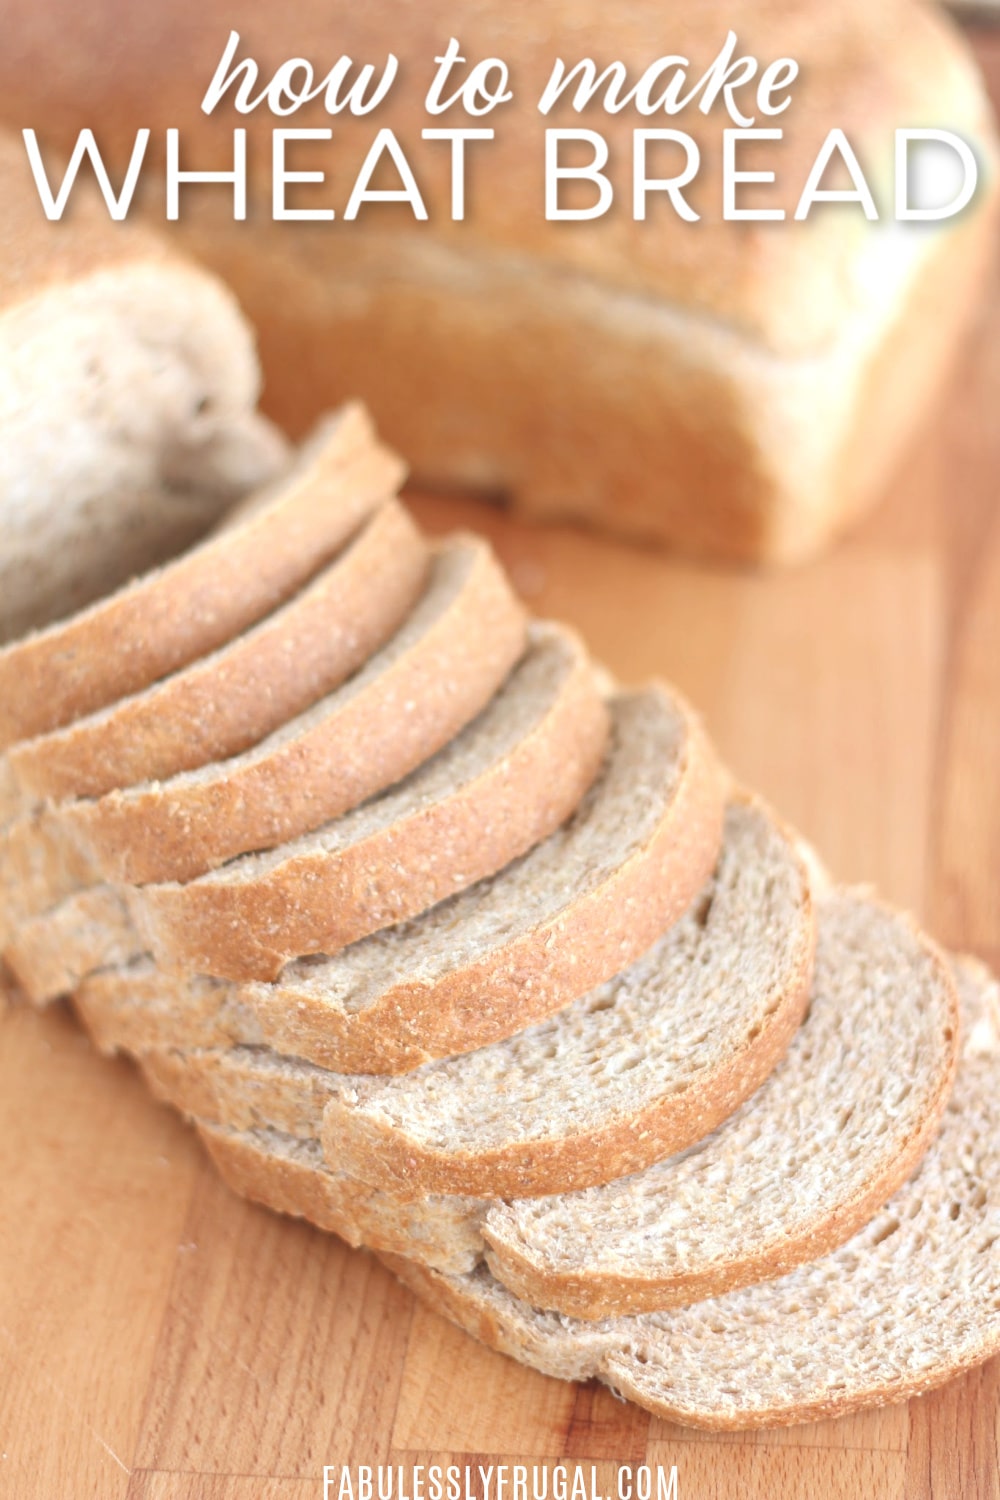
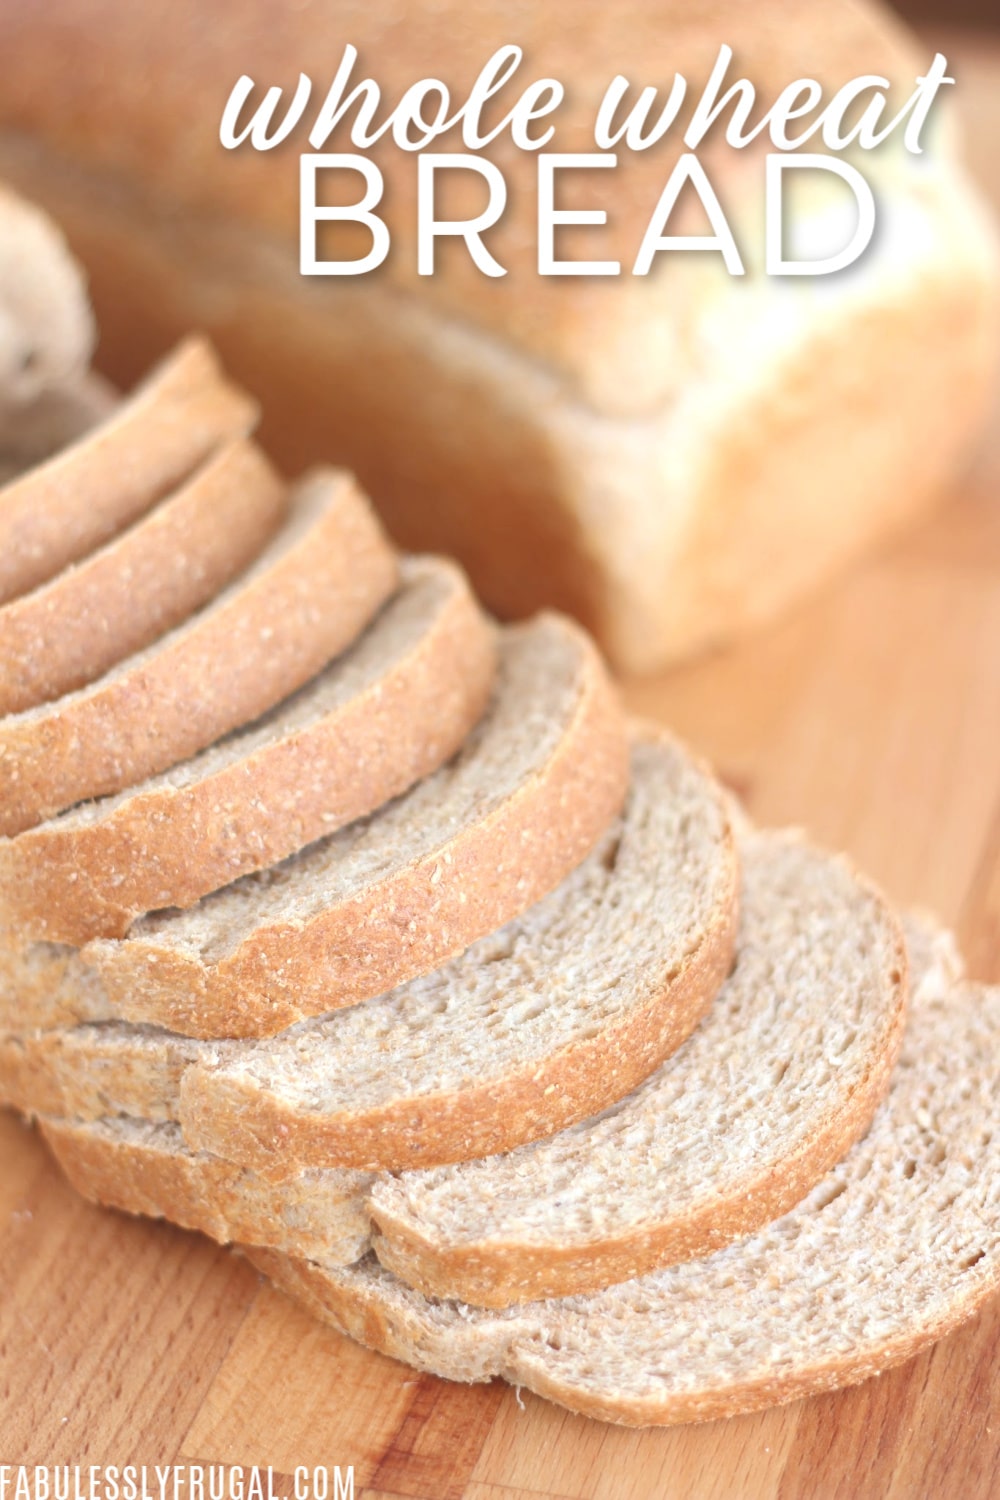
Homemade Whole Wheat Bread Recipe
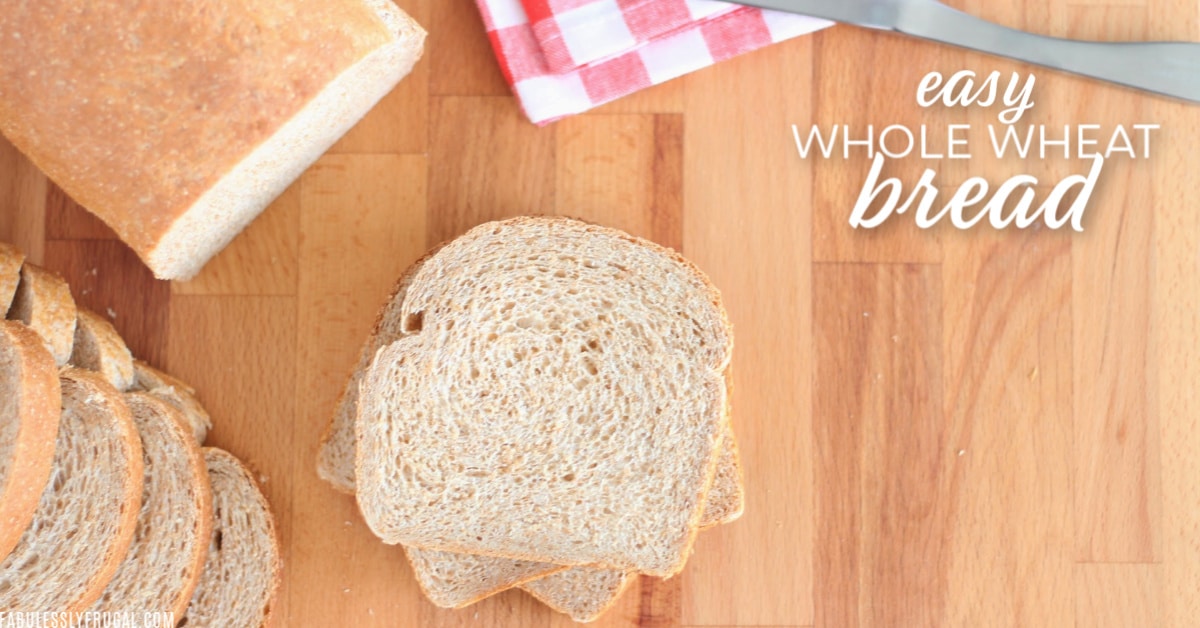
The Perfect Whole Wheat Bread Recipe
I liked the idea of making homemade bread regularly, but nothing had really stuck for me. However, a few years back, a friend recommended this whole wheat bread recipe to me. It is from a blog called Everyday Food Storage (Thank you!) and it has been a game-changer for me. I have been making my bread now for several years.
It is some of the best homemade whole wheat bread I’ve ever made, plus it is easy. Just throw everything in a good stand mixer and plan to be around for about 3 hours.
I do think that every bread recipe has a bit of a learning curve though. While bread recipes are pretty forgiving, bread cooks differently with different pans, ovens, and ingredients. Basically, don’t expect it to turn out perfect the first time you try a new bread recipe.
My friend and I compared this bread to one of her bread recipes that only takes 1 hour. This bread was the clear winner in taste and texture!
Ingredients:
- Warm water
- Active dry yeast or instant yeast
- Honey or brown sugar (brown sugar freezes in the bread better)
- Whole wheat flour
- Wheat gluten (see below)
- Salt
- Nonfat non-instant or instant dry milk (see below)
- Butter or margarine or oil
- Dough enhancer or vinegar & potato flakes (see below)
Wheat Gluten:
Gluten is a type of protein that forms when flour and water mix. If you use a dough enhancer, you will probably be able to reduce the amount of gluten in this recipe because dough enhancer has gluten in it. Read the instructions on your dough enhancer container to figure out how to adjust the amount of gluten.
Gluten looks like flour and it helps to give structure & a chewy texture to your bread. Without gluten, your bread will be flat and heavy.
I usually get gluten in the bulk bin area of Smith’s or Winco. I’ve also found it at my Walmart or in whole food stores. It has a long shelf life too!
Nonfat Non-Instant Dry Milk:
There is a difference between the non-instant and the instant, but I have been using instant dry milk with the same measurements called for in the recipe with great success! Instant is a lot easier to find in any store.
You should double the instant to sub for the non-instant, but I don’t double and it is still great! (The amount in the recipe is the amount for the non-instant, so you can decide if you double or not.)
Dough Enhancer:
Dough Enhancer makes bread light, fluffy, and delicious. It usually includes gluten, acid, starch, and sugar.
I didn’t have dough enhancer on hand, but I do have a lot of vinegar and potato flakes. So, I chose to go the route of the homemade dough enhancer in this recipe rather than buying it an already-made enhancer.
I have seen dough enhancer in a canister at my local Walmart in the baking and food storage aisle though.
Equipment:
- Measuring spoons and measuring cups
- Stand mixer with a dough hook
- Bread pans – 1 lb size, 8.5 x 4.5 inch (greased)
- Rolling pin
- Kitchen scale (if you are making more than one loaf and want them to be perfectly divided, not required though)
- Clean kitchen towel
- Cooling rack
- Scraper (I use it to divide the dough and scrape the counter clean when I’m done)
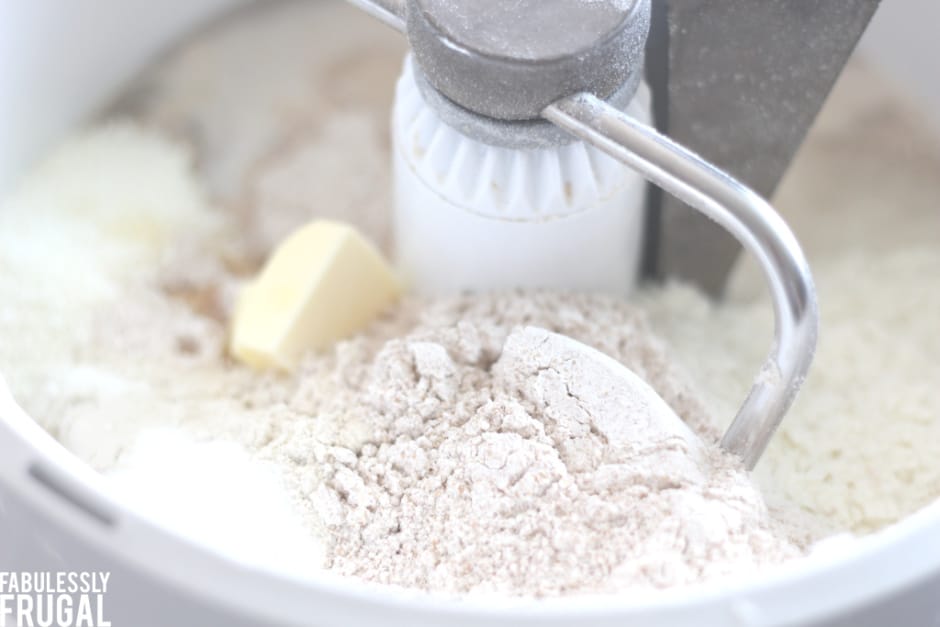
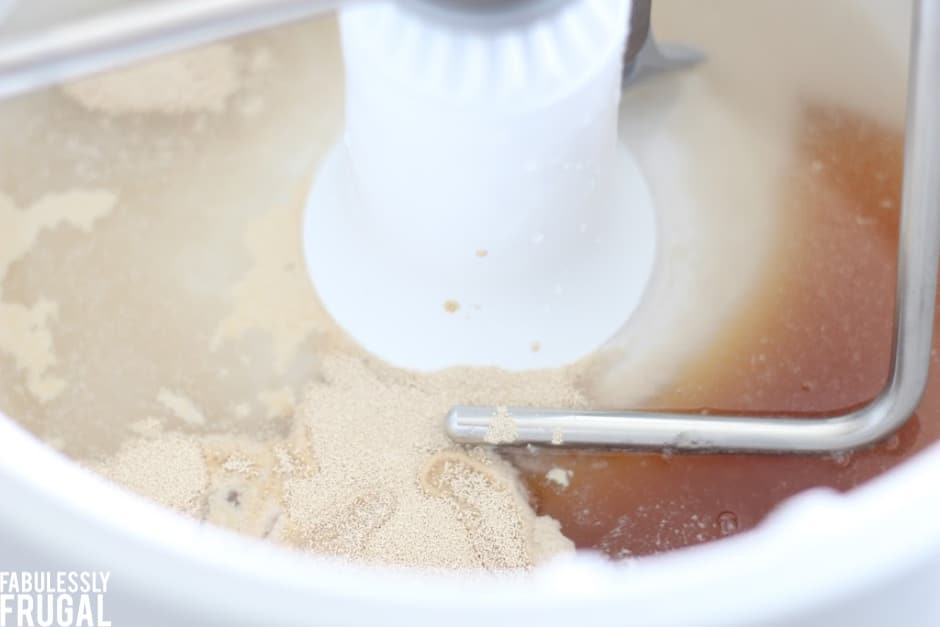
Mix Up the Ingredients:
Put the ingredients into the mixing bowl in the order listed on the recipe. Use potato flakes and not potato pearls – the flakes incorporate better into the dough.
One of the beauties of this recipe is that most of the ingredients are items with a long shelf life and are nice to have in food storage. It is a great way to actually use and rotate through food storage items!
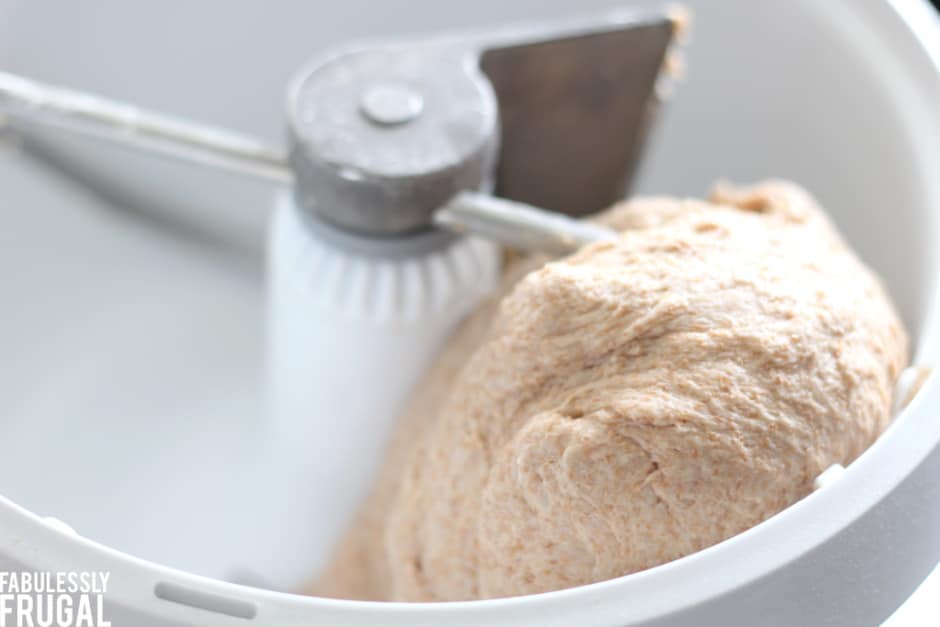
Knead the Dough:
Use the dough hook attachment to mix and knead the dough for about 10 minutes.
You should have added just enough flour for the dough to clear the sides and bottom of the bowl and form a ball. Your dough should still be a little sticky though.
I always add a little less flour than the recipe calls for and then add more in small amounts until the dough reaches the right consistency.
Kneading two loaves of this bread can be a tough job for some mixers, but the Bosch handles it pretty easily.
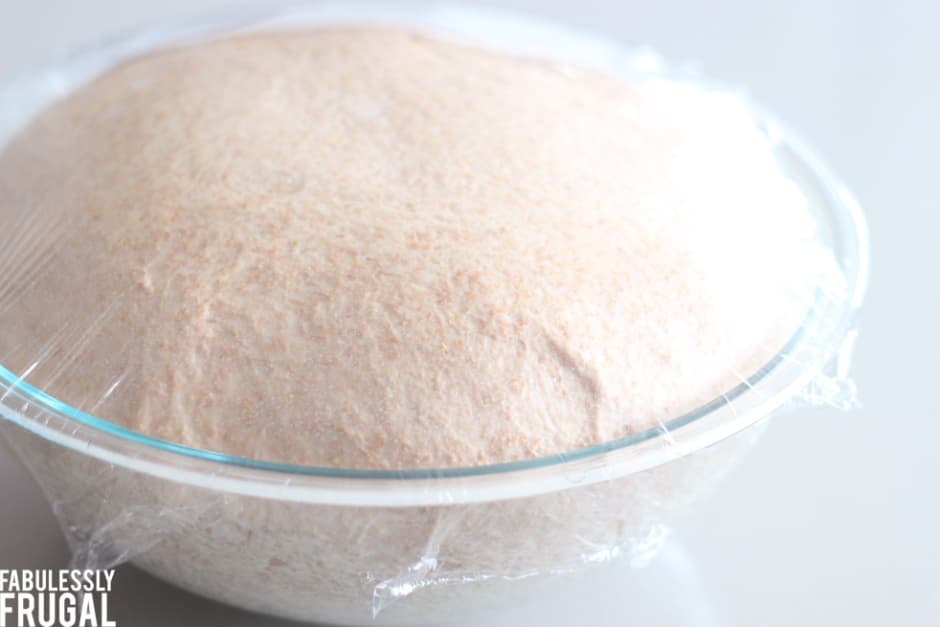
Let Your Dough Rise:
Cover and let rise until doubled. It takes about an hour or hour and a half for my dough to rise enough.
Ready! (Remember this is the dough for 2 loaves.)

Roll Your Dough:
Now separate the dough into two equal portions (if you are doing a double batch).
Form the dough into balls and roll it out to about the width of your bread pan. Rolling it out helps to remove any extra air in the dough.
After you’ve rolled it out, shape the loaf by rolling up the dough, as you might do with cinnamon rolls. Pinch the seam and the ends of the loaf.
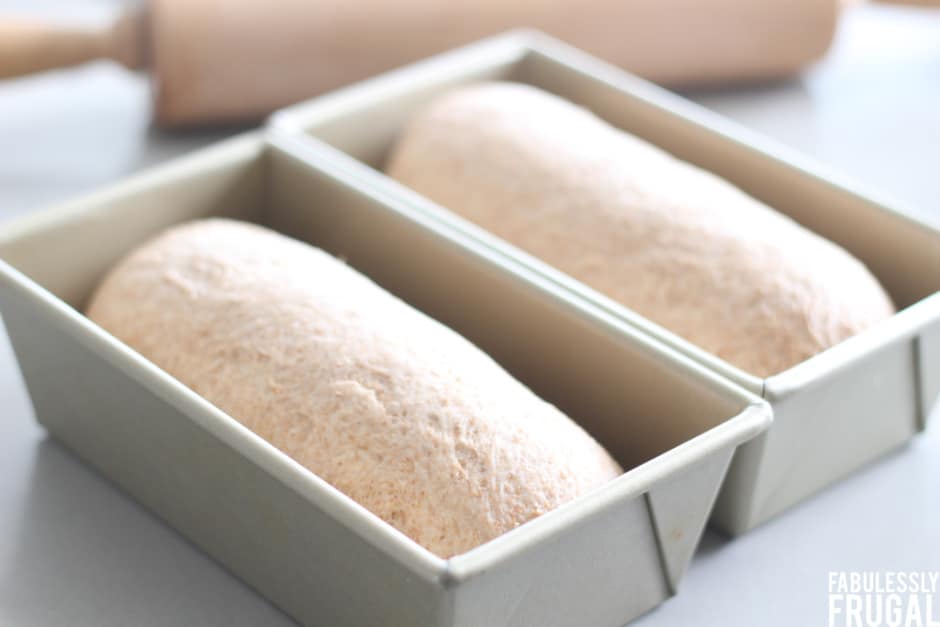
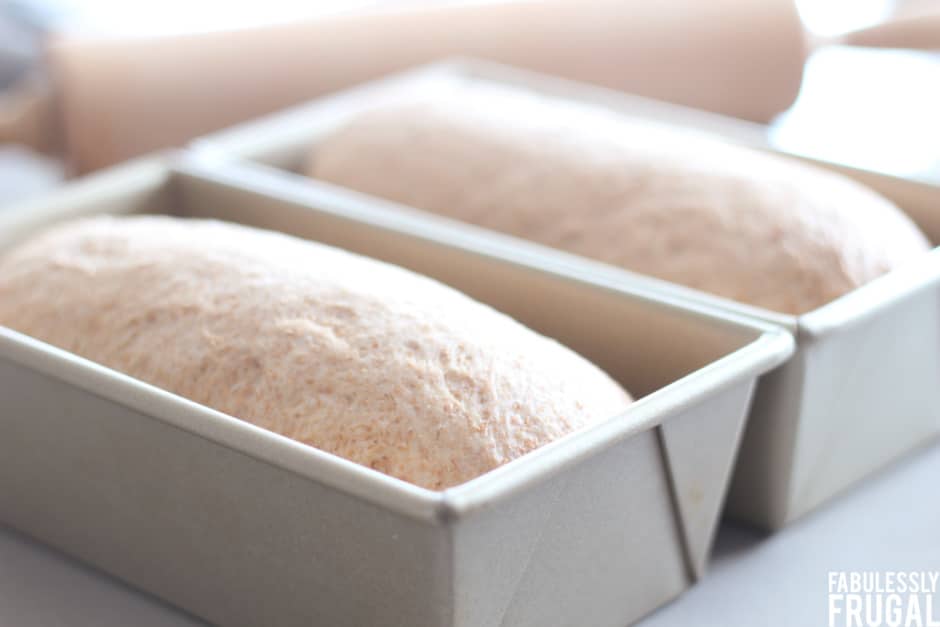
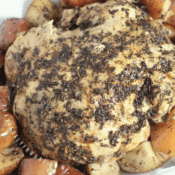
Bake Your Homemade Whole Wheat Bread:
Put your loaf in a greased bread pan. Cover and let rise until about doubled, or dough loaf has risen above the top rim of the pan. This usually takes about 15-30 minutes.
Once your dough has risen, you are ready to put it in the oven and enjoy the delicious aroma of fresh baking bread.
Because of the light finish on my pans, I have to cook the loaves for about 35 minutes. I also place a sheet of heavy-duty foil over the loaves once the tops are golden brown (at about 15 minutes or so). The foil helps prevent the top of the loaf from getting too dark.
Some say you hear a hollow sound by tapping the bottom of the loaf when the bread is done. I usually just go by timing and color though – I want the sides and bottom of the loaf to be a nice medium golden brown.
Freezer Tips:
I like to make more than one loaf at a time so I can slice them up and freeze a few. Slice up the loaves, stick them in a gallon twist & tie bag (or another bread bag), then put a few loaves in a gallon freezer bag, and freeze.
Then you can just pull one out of the freezer a few hours before you need it and set it on the counter until it is gone.
While you have the ingredients out, you can also make dry bread mixes for your use in future weeks. If you plan to freeze your bread, they say that brown sugar freezes better than honey.
Tips for Making Multiple Loaves
You should be able to mix 2 loaves in a KitchenAid 4.5-qt, 3 loaves in a KitchenAid 6-qt, and I hear you can fit 6 loaves in a Bosch Universal.
To adjust the recipe for more loaves, remember to keep the vinegar and yeast at equal amounts. Also, you may not need to double the yeast or the gluten just because you are doubling a recipe.
If you only have a 9-inch loaf pan (1.5 lb size), you can make 3 loaves worth of dough, but try using it for 2 loaves.
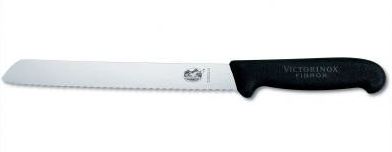
When you have to slice all of your bread, you need a good bread knife. This is the one that I have been using for the last year or so and I love it!
Cost Per Loaf:
Your cost per loaf will obviously vary depending on your ingredients and how good of a deal you can get on each item. If you get cheaper flour, gluten, or dough enhancer, it will be even less. If you grind your own wheat flour, you will probably cut the cost of the wheat flour in half.
My Estimated Cost (Jan 2012):

I end up paying about $1.08 a loaf. So, it costs about half of what I was paying for my favorite store-bought bread from Costco and I get to feel like a domestic goddess.
More Recipe Ideas:
- Quick One-Hour Dinner Roll Recipe
- Soft Pretzel Rolls Recipe
- The Best Cinnamon Roll Recipe
- No Knead Bread (5 Loaves in 2 hours!)
- Olive Garden Breadsticks Copycat Recipe

Homemade Whole Wheat Bread Recipe
Equipment
- Loaf pan
Ingredients
1 loaf:
- 1 ¼ cup warm water
- 1 tablespoon active dry yeast
- ¼ cup honey or 1/3 cup brown sugar
- 2 ¾ cups whole wheat flour
- ¼ cup wheat gluten
- 1 teaspoon salt
- 2 tablespoons nonfat non instant or instant dry milk
- 1 tablespoon butter/margarine/oil
- 1 tablespoon dough enhancer or 1 tablespoon vinegar and 1/4 cup potato FLAKES
2 loaves:
- 2 ½ cups warm water
- 2 tablespoons active dry yeast
- ½ cup honey or 2/3 cup brown sugar brown sugar freezes better
- 5-5 ½ cups whole wheat flour
- ⅓ cup wheat gluten
- 2 teaspoons salt
- ¼ cup nonfat non instant or instant dry milk
- 2 tablespoons butter/margarine/oil
- 2 tablespoons dough enhancer or 2 tablespoons vinegar and 1/2 cup potato FLAKES
Instructions
- Add ingredients, in order listed, to mixing bowl and knead with dough hook attachment for about 10 minutes. Dough should be slightly sticky, but form a ball and clear the sides and bottom of bowl while kneading. Cover & let rise until double, 1- 1 ½ hours.
- Punch down, turn out onto a floured surface, and shape into loaves. Shape by rolling out to 18x9, then rolling up and pinching seams and ends. Put loaves in greased 8.5 x 4.5-inch pans & let rise again until about double, or until dough has risen above the rim of the pan - usually takes about 15-30 minutes.
- Bake 375°F/190°C for about 30-35 minutes until golden brown and sounds hollow when lightly tapped on the bottom of load. (Bake at 350°F/175°C for glass pans. Baking time may vary depending on pans too.) Loosely tent foil over loaves about half way through, or last 15 minutes of baking, to keep crust from getting too dark.
- You can make dry bread mixes to store in the fridge with all of the ingredients (brown sugar instead of honey) except the water, yeast, oil, and vinegar.
Recipe Notes
Nutrition
Trending Recipes


Comments & Reviews
Leave a Review/Reply
More Related Recipes


Trending Recipes
- Recipes
- DIY
- Deals
- Blog


Popular
Recommended
About Us

At Fabulessly Frugal, our goal is to help you live HEALTHY, WEALTHY, and WISE! My team and I work hard to bring you the best, online deals, clean eating, DIY's, freezer meal recipes, and more! I LOVE coaching and inspiring people to improve their health in my fitness challenge! You should also check out my favorite cleanse! Learn more about me and the rest of my team.


Copyright © 2008–2026
Fabulessly Frugal: A Coupon Blog Sharing Gift Ideas, Amazon Deals, Printable Coupons, DIY, How to Extreme Coupon, and Make Ahead Meals. All rights reserved
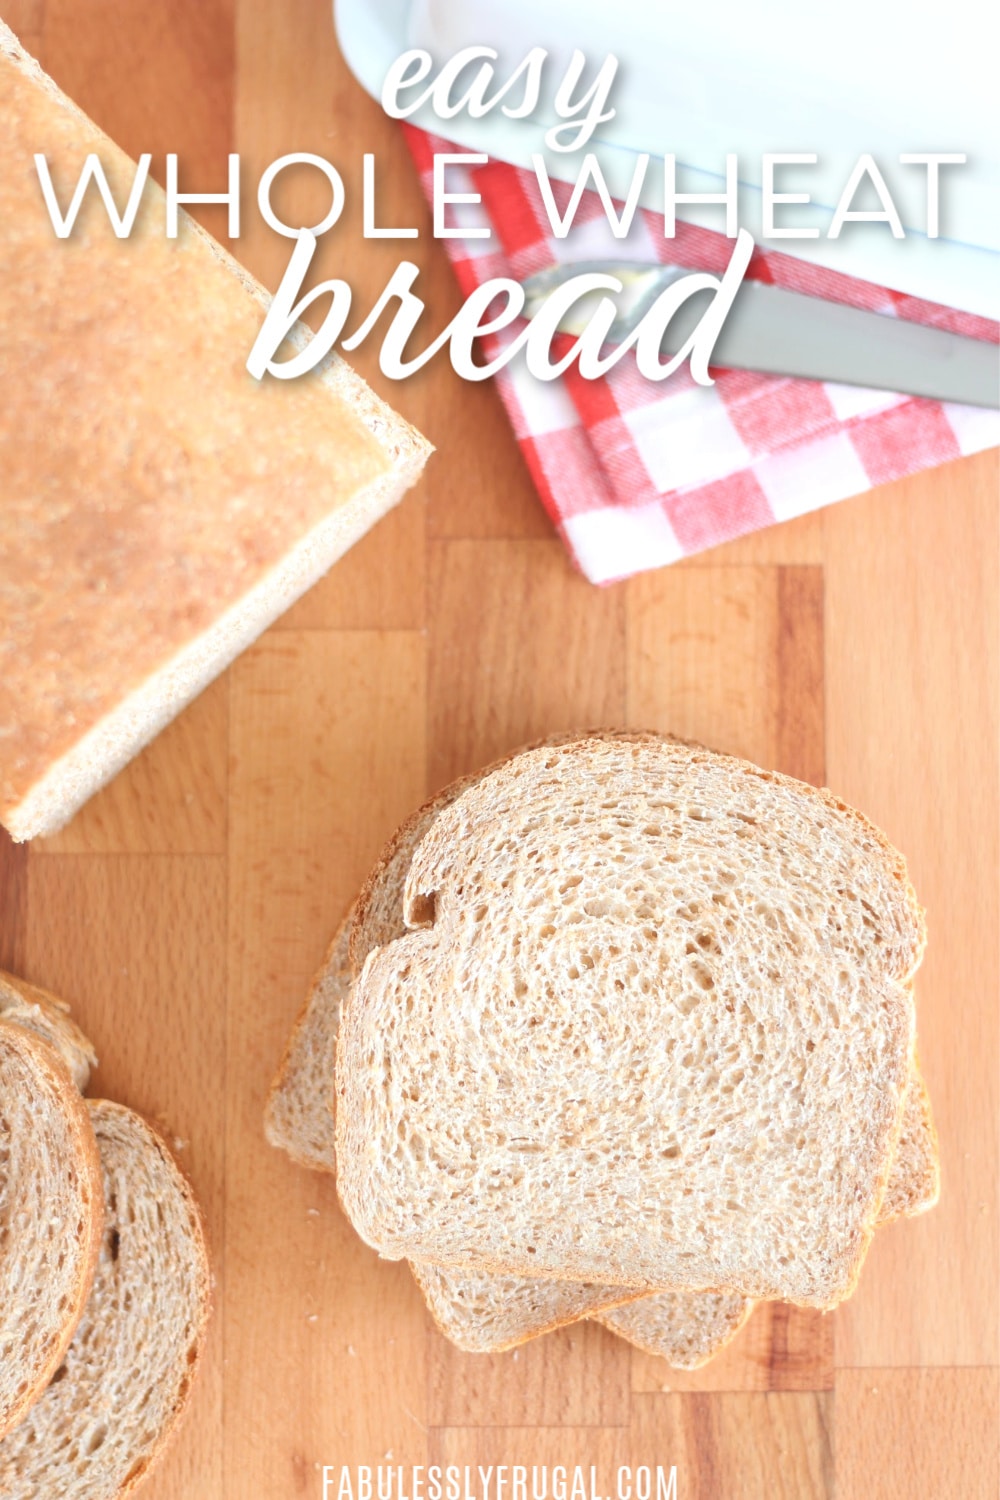
Do you make sandwiches with your bread? My previous white bread loaves where always too delicate… Thanks!
It is perfect sandwich bread! The texture is smooth and chewy and it doesn’t fall apart. It also makes fantastic toast and I even make my french toast with it.
Any ideas on the nutritional facts?? Just wondering about the fat calories and fiber. 🙂
The lovely lady over at Everyday Food Storage does have a nutritional analysis. Of course, it will vary depending on the ingredients you use.
Based on 17 slices per loaf:
Calories: 103
Fat: 1g
Protein: 4g
Fiber: .8g
Carbs: 19.5g
Sugar: 3g
Low in saturated fat, low in cholesterol, high in selenium, and high in thiamin.
17 slices, that seems like a lot of slices for a homemade bread loaf.
Yeah, it does. 🙂 I think I usually get closer to 11-12 per loaf.
I actually got 15-16 out of my most recent loaf because I sliced them just a bit thinner, but not too thin.
Looks yummy! I have to giggle, though–we make 2 batches a week–at least–and each batch is 6 loaves! My boys are my bread makers—and they do an AWESOME job!
Wow! That is a lot of bread! But that means that you are saving even more by making it at home. 😉
Yes, you are right. And the best part is–you and I both know EXACTLY what is in our bread! Very reassuring!
Thanks! I always like to try new bread recipes. This is my favorite one. It has a little bit more oil but no milk. I don’t know why but wheat gluten scares me, probably because I have never used it so it sounds scary. Dumb, huh?
2 3/4 cups hot water
1/3 cup oil
1/4 cup sugar
2 tablespoons molasses
1 tablespoon salt
7 1/2 cups (max) 100% whole grain wheat flour, divided (use one cup white, the rest wheat)
2 tablespoons dry active yeast (from vegweb.com)
mh,
Would the rest of the steps to make your recipe be the same as the recipe posted above? I’d love to try your recipe, but I don’t want to mess it up by over mixing, over baking, etc.
You practically can’t over mix bread! Lol
Wheat Gluten used to scare me too! But it can be purchased at Winco in the bulk section then you just add it to the flour. I use it every time I bake with wheat flour (I rarely use all purpose flour). It makes everything all soft and nice life bread flour does. 🙂
https://vegweb.com/index.php?topic=12628.0
Sorry, this is the website that I got it from.
This recipe looks wonderful, thanks for sharing! Do you know if you can substitute regular milk for the 2 Tbs of Nonfat Dry milk? I’m weary of using dry milk (studies indicate it contains oxidized cholesterol which is really harmful to your health). Otherwise, nutritionally speaking, this recipe seems like a great substitute to high quality store-bought bread 🙂
I don’t know if that substitution would work or not. I guess you would have to experiment with it. I would maybe start by adding the amount of milk that you would get from 2 Tbsp of dry milk when mixed and see what happens! Good question though. Anyone else know a better answer?
I think you can use reg milk as long as you decrease the water to compensate (or add more flour). My fav recipe doesn’t call for milk. Just wheat flour, gluten, water, oil, sugar, salt and lemon juice. Plus it only takes 90 min to make! It’s great, as long as my 2 year old doesn’t decide to broil it!! Lol
Thank you!
You can substitue Nonfat dry milk for the real stuff but like the others have already stated you cut back the water or add more flour. Just try to see what works best for you. Also Milk is an ingredient to soften the bread, just like recipes with eggs, butter(oils, larger amounts). You could just do water without the powder milk or the real stuff. Plus it saves you more!
I also have been making my own bread, but how do you get it sliced so perfectly? That is my last step now that I have perfected the recipes 🙂
Well, this bread does slice quite well since it has such a great texture. But also, I recently purchased a fantastic bread knife that has made a big difference for me. Check it out here.
an electric knife can also help with that. But I never use mine because I hate cleaning it. 🙂
I have been baking our bread for a while now as well and love it! It tastes so much better than “bought-bread”. I usually make a huge batch of dough every two weeks and make it into one really long loaf of bread, one shorter loaf to put in the freezer for the following week, one shorter loaf to give away, and two par-baked pizza crusts.
If you do end up upgrading your mixer then I would highly recommend getting a Bosch – it has no problems handling the dough for five loaves of bread in one batch and I think it makes the bread texture even better than my old stand mixer did. Of course, I wouldn’t go out and buy one if your current mixer is working for you, but if you get to the point of needing to replace it with more power then definitely consider it.
One other thing that I found makes whole wheat bread taste better is using flour from hard white wheat instead of red wheat. It can be harder to find white wheat flour in the store but it is pretty easy to find hard white wheat kernels if you grind your own flour. I know that they sell it in buckets at the Boise Costco. I find that I like to make a flour using about 1/2 white wheat, 1/4 kamut, and 1/4 spelt. But I know that most people are not able to grind their own flour, so my suggestion is that if you buy flour to make sure that you store it in the freezer between uses. The oils that are in the bran will cause whole wheat flour to go rancid more quickly at room temperature than white flour with all the bran removed. Regular flour has a shelf-life of almost forever; but not whole grain flour.
Thanks for your recipe. I am still experimenting with different recipes to decide what we like best. I will have to try it soon.
Nice to see you CathyB! 😀 Thanks for the great words of wisdom!
Thank you for all of that great info!
Thank you so much for posting this info. My daughter and I have been eating Dave’s Killer Bread for the past couple of months and love it but it’s about $3.99/loaf at Winco. I told her just today that we should try making our own bread just like Dave’s and now she’s totally excited to try it. I just forwarded your posting to her with the recipe. Can’t wait to try it. Thanks
Where do you find the non instant dry milk?
I’ve looked in a few stores and all I’ve see is the instant.
I’m thinking that it is difficult to find the non instant dry milk. I do know that you can get it at an LDS Cannery, if you have access to one. I think it may be more of a food storage item, so it could help to look in places like that.
But you can probably find a great deal on instant milk with coupons and sales and just double the dry milk in the recipe and be good to go!
I make this recipe all the time and I make her white version of this too. I always use the instant milk and I do not double it and it always comes out GREAT! However, if you do not double it then the nutritional info will be different.
Thank you for sharing that! I can try it with the instant milk now without doubling and I won’t have to worry about ruining a batch. Thanks.
I am in Nebraska and I was curious about that too so I went looking at Amazon and found some there but it was rather expensive in my opinion. I will have to look the next time I am in Omaha or Lincoln at a couple of the specialty stores.
I looked at several stores and could not find non instant dry milk.
Sounds like you can use the instant milk and it will still turn out great!
Instant milk is nonfat dry milk. If you ever can find both in a small location, read their nutrition label, they are the same thing.
instant dry milk just has air puffed into it so that it mixes quicker. You will definitely be able to tell the difference when looking at it once you’ve seen both. Like others have said just double when using instant.
I make this recipe too and when ever I take it to anyone they rave about it. I use rice milk powder since I am lactose intolerant. The real milk helps with rising so mine doesn’t rise as much but still does. My kids love the bread too.
Thanks for sharing!
I am not much of a cook (to say the very least) yet I decided to give this recipe a try. The bread looked so delicious and I really liked the idea of knowing exactly what was going into my food. Let me tell you, the outcome far outweighed my expectations! This bread is sooo yummy! My family cannot get enough of it. It really is easy to make and if a struggling cook like myself can do it anyone can. Thank you so much!!
PS* I can not find non instant powdered milk but I doubled the amount like you said and the bread came out wonderfully!
Yay! That is awesome. I’m so glad that you found it to be easy and delicious, just as I did. Thank you for sharing your experience with it. 🙂
Thanks Melanie for the great post. I have tried the bread-making idea and have now done 4 loaves of whole wheat bread over the last week and a half. We love it and think this will really change things for us. I am not buying bread anymore unless it’s a special reason, but have even tried the recipe for hamburger buns that another FF gal posted and we loved them too. I just wanted to share the fact that I didn’t add gluten to the recipe and the bread turned out great and according to your calculations, the loaf should come out to about $.75 a loaf without the gluten.
Thanks for sharing! It is good to know that one should be able to omit or reduce the amount of the gluten and still get a good product.
OK, so I didn’t read carefully and used instant dried milk (exactly the amount called for in the recipe) and it turned out one FABULOUS loaf of bread. My husband and kids gobbled the first loaf so fast that I started a second one right away. So to those worried about finding the non instant I’d say use what you can find! It’s a pretty forgiving recipe. Thanks for sharing!
Awesome! That is good to know!
What about the bread enhancer? Can you make this bread without it? I don’t have or use potato flakes, so have everything to make this but the flakes. Wondered about making it without them? Any idea or suggestions?
I have not tried it without some type of dough enhancer. I suppose you could try it out and let us know! My guess is that it wouldn’t be quite as delicious without it though.
citric acid is also a dough enhancer. just use a pinch.
Reserve your water from when you boil potatoes, just in a jar in your fridge, there is your inhancer(needs to be warm when you make your bread, do not microwave it kills the starches). You can certainly make whole wheat bread without an inhancer. The reason to use inhancer is most flours are cheap and not the whole grain ground. If you where to grind the grain yourself you would have enough natural gluten from the wheat to not have to add. Since most commercial flour mills remove it so they can sell it to make more money. There are some mills that do grind the entire grain, the flour is more then cheap flour but you do not have to buy inhancer, I found it cost less. I use Wheat Montana brand, have started seeing it at some Walmarts. Albertsons will get it in for you if you ask. I buy mine from the mill in Montana since we go past it about twice a year and stock up on 50lbs bags. You should also store flour in an air tight container in a cool place, not the freezer. Freezing kills the gluten and your bread will not rise as nice. Sorry for all the information but drives me nuts when recipes call for such things when good old fashioned bread never used them, guess it is just the farm girl in me!
Well, I made this bread on the recommendation of a friend. I forgot and got busy and did not tent it with foil and it did get to brown, but not to brown for me, I like crusty bread. But when I cut it, it was perfecto!!! The texture was perfect, the flavor was perfect, there was absolutely nothing I can complain about with this bread and it was my first time making this particular recipe. I did not have that non-fat non-instant milk but just used regular instant milk and apparently it worked jest fine. This will be a staple in our house. We have been trying different recipes for about 6 months now and I think this will be the staple one. Thanks so much!!!
Glad you like it as much as I do! I recommend it to all of my friends. Thanks for sharing your experience. 🙂
Do I have to have a dough hook attachment in order to attempt this? I have a stand mixer, but it was my grandmother’s, and it has to be at least 50 years old! It still works great, so I have no intention of replacing it until it kicks the bucket. Any suggestions/alternatives to using a dough hook attachment?
You can just mix it up in the mixer, then knead it by hand.
I do not use a mixer at all, that would cost money and it is good for my arms. Mix up in a bowl with a spoon all your wet ingredients then add flour, as you are adding flour it will become too hard to keep mixing as you increase your cups. Remove spoon and add in the rest by kneading it in. The last cup or so you will have to remove from bowl and knead on counter, make sure to flour counter. Put back in bowl after done kneading for appointed time(I clean the bowl up and grease it) and cover. No mixer to clean either 🙂 Spoons can go in the dishwasher 🙂
I always say I have two bread makers…my left hand and my right hand!!
Thanks Melanie for sharing!!! I absolutely adore you Frugals and the time it takes for all of you to share your insights, talents, and gifts. This site is not just about saving a buck on buying groceries but also save a buck the good old fashioned way, I love it!!!! Thanks again!!
Is there a way to make these breads in a breadmaker? I just started using my breadmaker and I’m hoping it can be modified because it looks great!
For sure! To make this recipe in a bread machine, follow your bread machine’s directions for wheat or whole grain selection and add the ingredients in the order listed for their recommendations. (only one loaf will fit in a bread maker)
Thanks. The last couple of loaves of bread I’ve made would have been excellent doorstops, but not edible. Willing to try this one….once I get the instant milk.
Thanks again.
Ha ha. I love this recipe and make it all the time, so I hope it works out great for you too.