Easter Egg Cookie Dough Truffles Recipe

Cute Cookie Dough Easter Egg Truffles!
These fun Easter egg cookie dough truffles look great dipped in white dipping chocolate and decorated with pastel candy melts or sprinkles. Cute and yummy!
While you’re making these cookies, you can get the rest of the family involved in these kid-friendly Easter crafts! A day full of Easter-themed activities sounds like a blast!
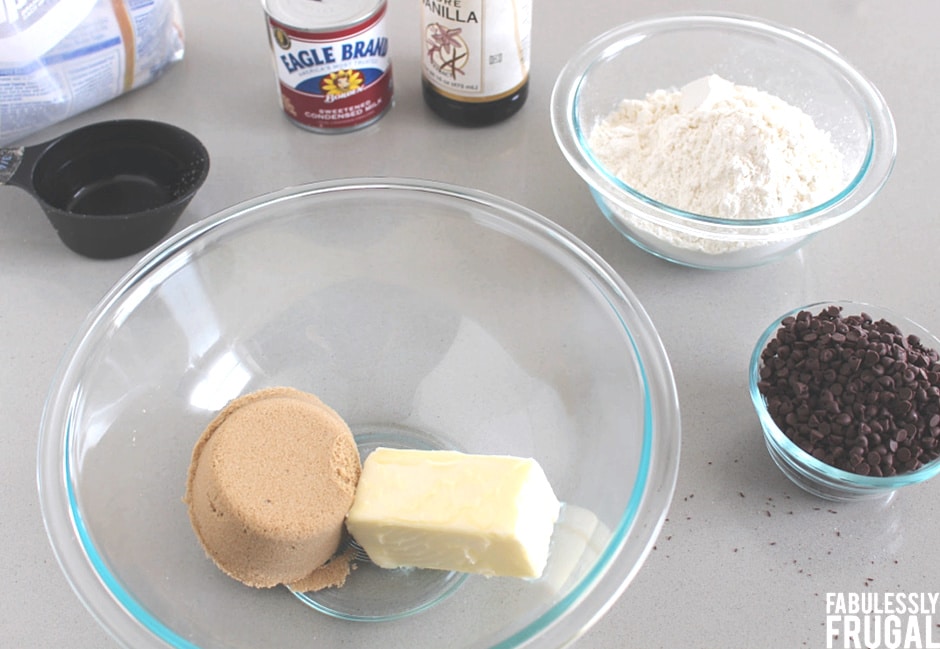
Cookie Dough Easter Egg Ingredients
Although these cookie dough Easter egg truffles may look hard to make, they’re actually really easy! There are actually only 6 ingredients needed to make them. Then all you need is some sprinkles and candy melts for decorating!
For mixing the ingredients, I’ve found that a stand mixer works best, but you can use an electric hand mixer too.
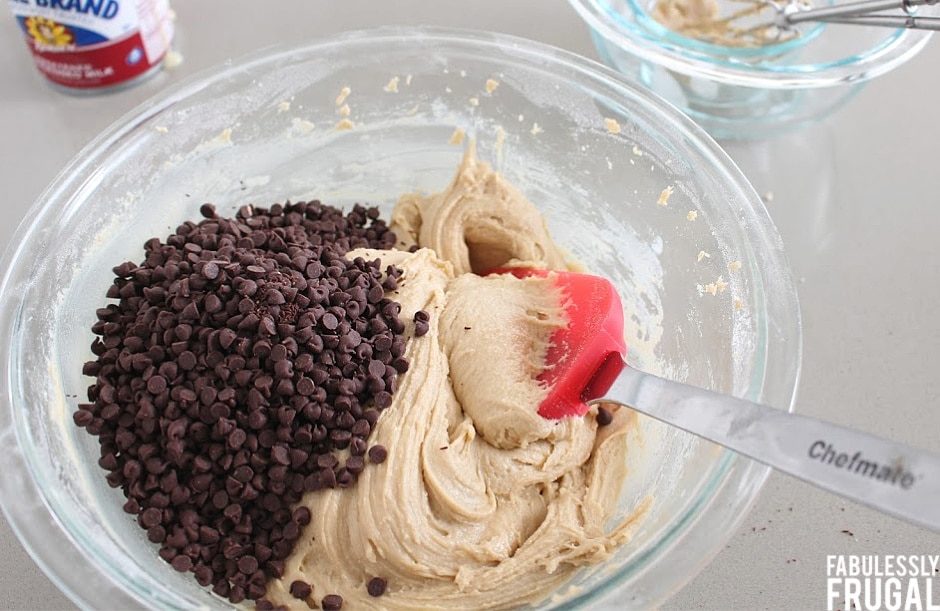
No Eggs Needed!
Pretty cool you can make something that tastes so close to cookie dough with sweetened condensed milk and no eggs!
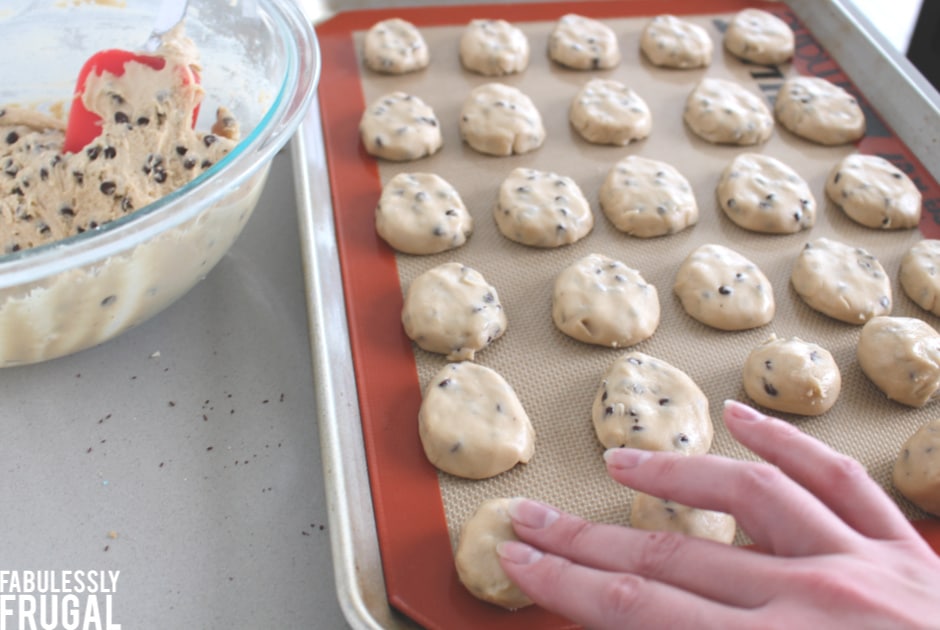
Shaping the Cookie Dough Easter Eggs
At first, I was not looking forward to the truffle-shaping part of this recipe…shaping several truffles into something other than a ball by hand sounds like a pain. Fortunately, it is a lot easier than I thought.
The dough is thick and a bit sticky, but also really pliable and an egg shape is simple. Just roll the dough into balls and gently flatten each, with a slight taper at one end. Not bad at all!
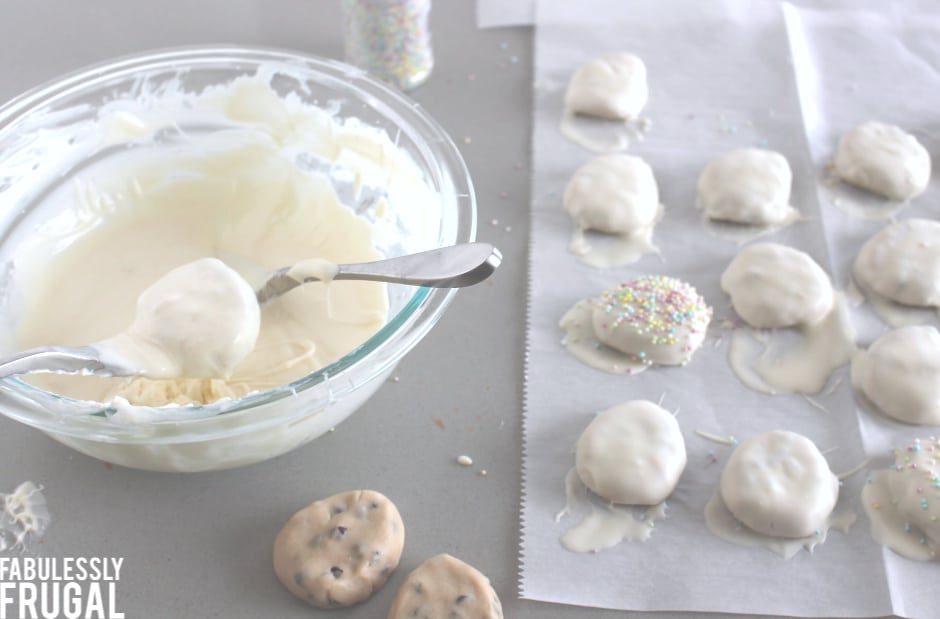
Dipping the Cookie Dough Eggs
Place the truffles in the refrigerator or freezer to let them harden so it is easier to dip. You will only want to remove 3 or 4 at a time for dipping and leave the rest in the refrigerator until their time comes.
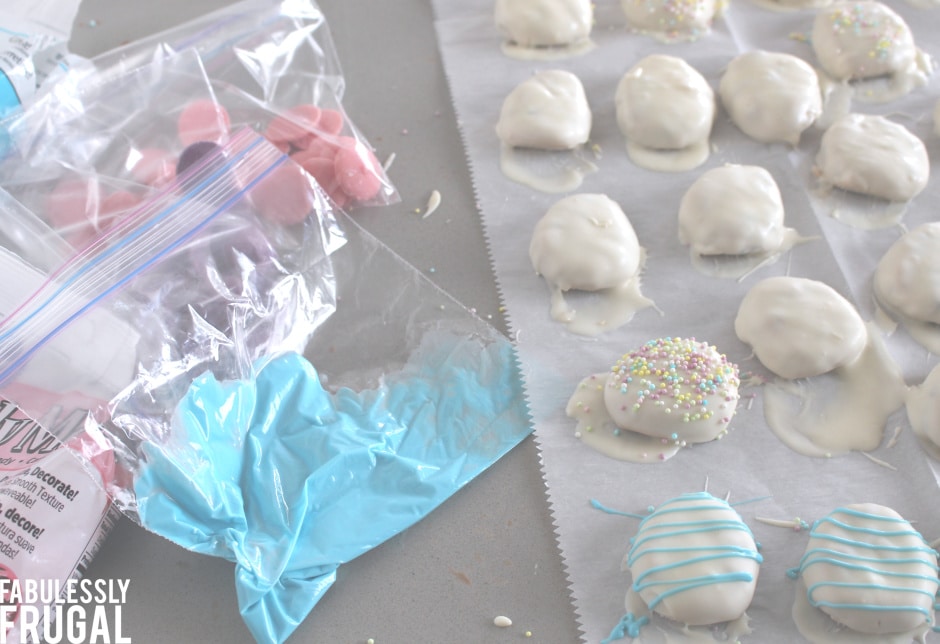
I use white almond bark and a fork for the dipping. Coat the cookie dough egg in the chocolate, then tap to remove excess, and place it on a non-stick surface to let it set.
Decorating
Almond bark sets up fast, so if you want to do sprinkles you need to start sprinkling right after each is dipped. I also used colored candy melts to decorate. Cut off a tiny corner of a plastic resealable sandwich bag to pipe it on.
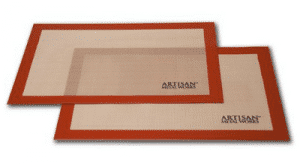
Silicone baking mats are a great reusable option when you need a non-stick surface. I use them all the time!
Enjoy This Easter Treat!
This recipe yields about 45 truffles so there will be a lot to go around! If you want to go all in on your Easter festivities, make sure to check out our Easter hub. There you’ll find Easter recipes, Easter DIY’s and some deals as well!

More Easter Dessert Recipes:
- Reese’s Chocolate Peanut Butter Egg Recipe
- Carrot Cake Roll Recipe with Sweet Cream Cheese
- Easter Story Cookies Recipe with Bible Verses
- Best Carrot Cake Cheesecake Recipe
Would you like to see more of our recipes? Subscribe to our weekly recipe email.


Easter Egg Cookie Dough Truffles Recipe
Equipment
- Stand mixer
Ingredients
- ½ cup butter room temperature
- ¾ cup brown sugar
- 2 cups all-purpose flour
- 1 ½ teaspoons vanilla extract
- 14 ounces sweetened condensed milk
- 1 cup mini chocolate chips
- candy melts
Instructions
- In the bowl of a stand mixer, cream the butter and brown sugar until light and fluffy, about 2 minutes. Mix in the vanilla. Slowly add the flour, scraping down the sides of the bowl as needed.
- With the mixer still running, slowly pour in the sweetened condensed milk. Once it is fully combined, stir in the chocolate chips.
- Form the dough into 1-inch balls, then shape into eggs by gently flattening each. Place on a wax paper or silicone lined pan, cover loosely with plastic wrap, and refrigerate for a few hours or overnight.
- Melt the candy melts according to the directions. Keep the truffles in the refrigerator, removing 3 or 4 at a time, and dip each into the candy melts with a fork. Gently tap off the excess and place on wax paper, parchment, or silicone mat to let set. Decorate with colored candy melts or sprinkles.
Nutrition
Recipe Source: Wine and Glue
Trending Recipes
Comments & Reviews
Leave a Review/Reply







How far in advance can you make the cookie dough Easter eggs. I would like to start on them now
I haven’t experimented with this myself, so I’m not totally sure, but I think you would be fine to keep these refrigerated for at least 3 or 4 days. The longer they are stored, the more chance there is of them starting to dry out too though. I would love to hear back from you about how it goes and if making them in advance works out well!