How to Add Curb Appeal on a Budget
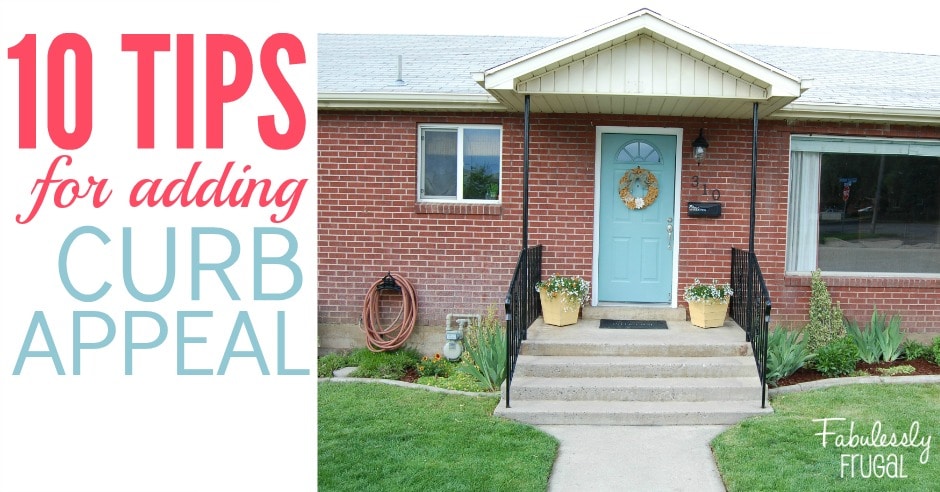
5 Tips to Adding Curb Appeal to Your Home
We all want our house to look welcoming and beautiful, but sometimes life gets in the way. We get used to what we have, and we don’t really change things up. There’s nothing wrong with sticking with what you’ve got, but what if you want something new?
Luckily, with a few simple tips and tricks, you can give your house a boost of curb appeal on a budget. This is nothing too crazy, but it will take your house from zero to hero without too much effort.
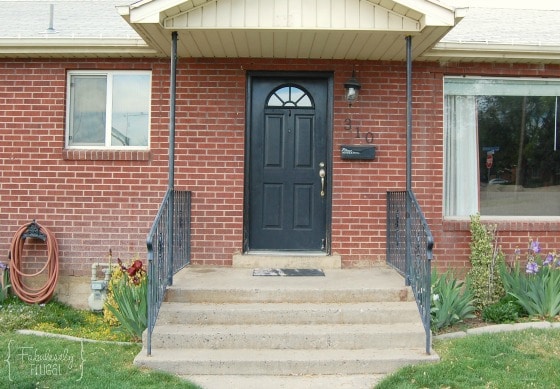
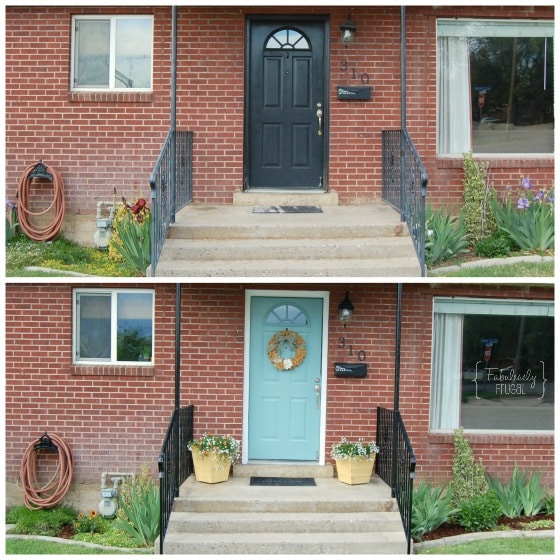
This place needed some charm added to it, and my friend Shannon knew just what to do to brighten it up!
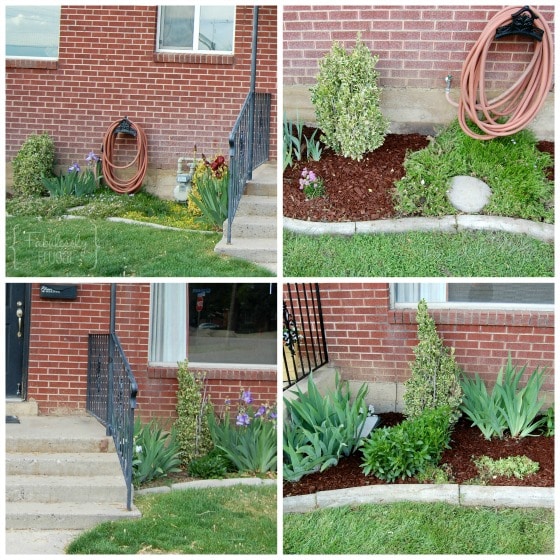
1. Landscaping
First things first, you need to clean out your flower beds. If plants or flowers are overgrown, thin them and/or cut them back as needed. If things are sparse, plant more plants and flowers.
Add mulch for a beautiful finishing touch! Not only does mulch help with beautification, but it is also extremely helpful in cutting back on weed growth! The less light there is reaching the soil, the fewer weeds grow. Sprinkling Preen on the soil after weeding also helps cut back on weed growth.
2. Beautify
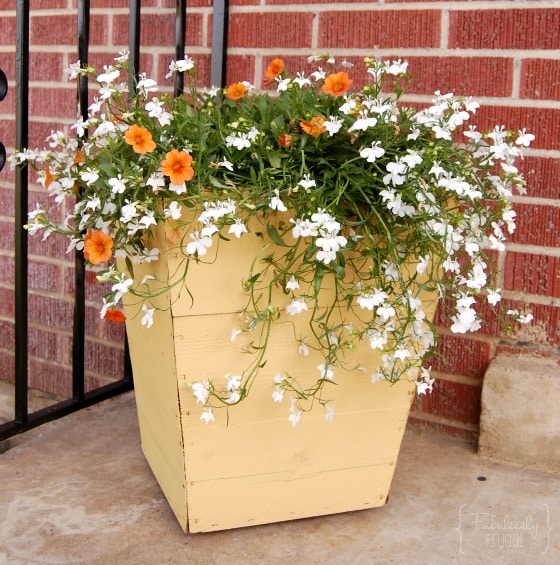
Add planter boxes with colorful flowers. This can be a place where you can easily spend a lot of money, but you can totally spring for the deals! Find cheap planters wherever you can get them. You can even spray paint them for a quick and cheap face-lift.
I was thrilled to find these mixed flower arrangements at my local nursery for only $7.50 each. after planting them in planter boxes I already had on hand, I was pleased with the outcome!
3. Touch Ups
Take a little bit of time (and a few dollars) and hit any iron rails, mailboxes, hose holders, house numbers, and light fixtures with spray paint. It’s amazing what a difference a nice coat of black spray paint can make!
Note that you will want to clean off the item you’re painting first so the paint will adhere properly. Also, be sure to tape off anything you don’t want to be painted, and lay drop cloths down on the cement and surrounding flowers to avoid over-spraying.
If you are doing light fixtures or house numbers, remove them from the house before painting.
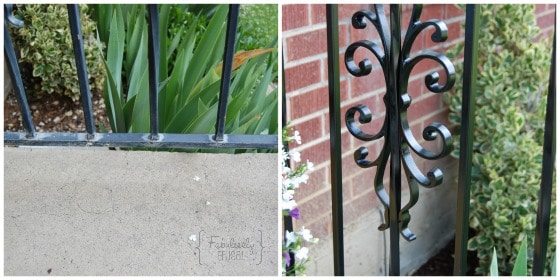
I painted these rails 4-5 years ago, and as you can see it was time for another coat!
3. Shine up
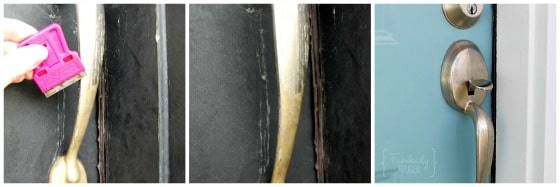
Next, shine doorknobs or replace if needed. Mine had a lot of really grungy stuff on it that made it look dirty and gross. I carefully scraped it off with the edge of a razor blade. The blade needs to be tiled all the way on its side, and then gently scrape.
Note: I would NOT recommend this for any dark finishes such as oil rubbed bronze, as it will scratch off the finish. Test on an inconspicuous place and see if it scratches the finish before you do it over the whole surface.
After scraping off all the gunk, I was able to use a Scotch non-scratch scrubby and water to remove any remaining residue. It looks tons better now:
4. Add Personality
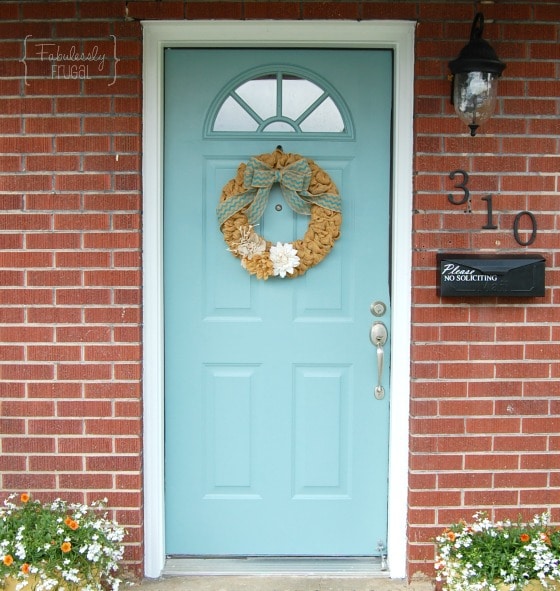
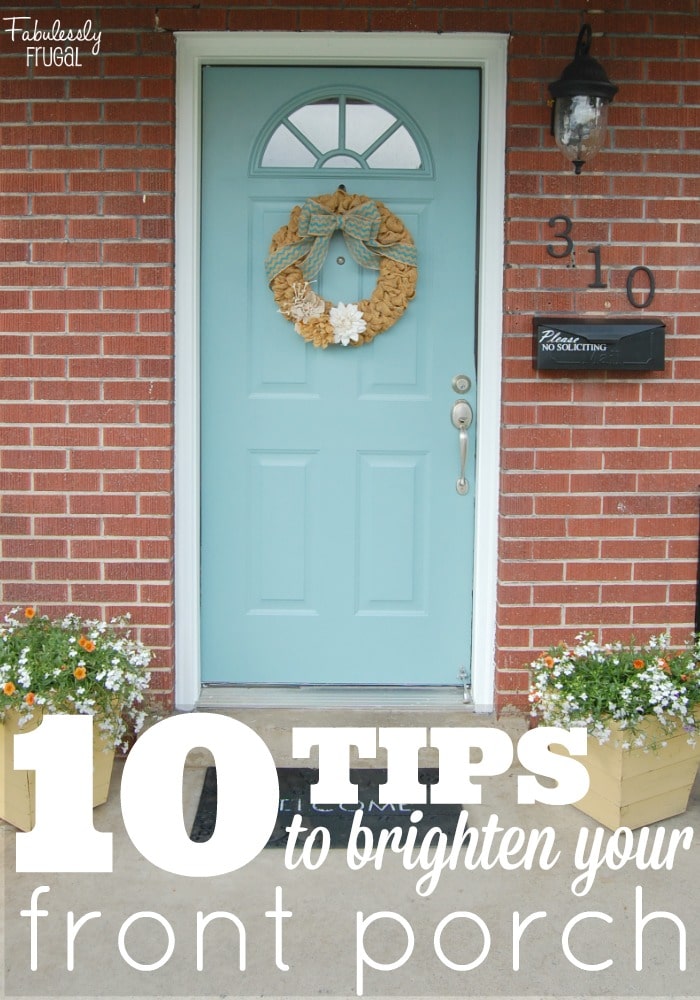
Paint your front door a fun color (I used Behr Semi-Gloss Marquee Schooner)! Paint is such a cheap way to upgrade a space! For little money and an hour or two of your time, you can give your house a whole new personality!
Step 5. Add Décor
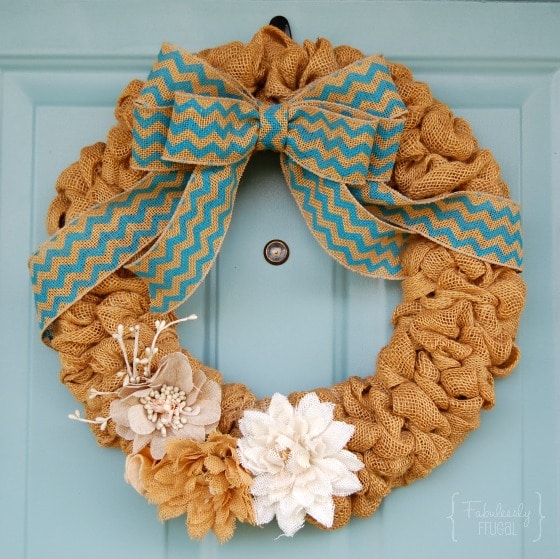
To finish adding curb appeal to your house, top it off with some nice décor. You could add a bench, wreath, doormat, or any other cute items!
Adding Curb Appeal is Easy!
That’s it! With a low monetary investment and a little bit of work, your house can have a significant face-lift and become a home that has character and great curb appeal!
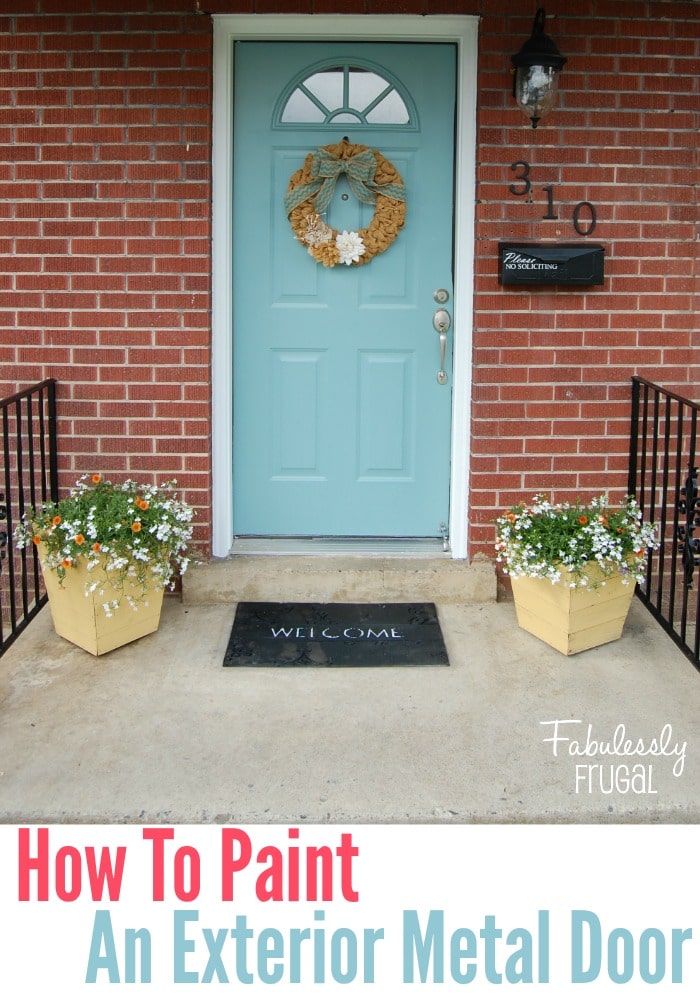
Here’s the curb appeal before and after photo for those interested:
How to Paint an Exterior Metal Door
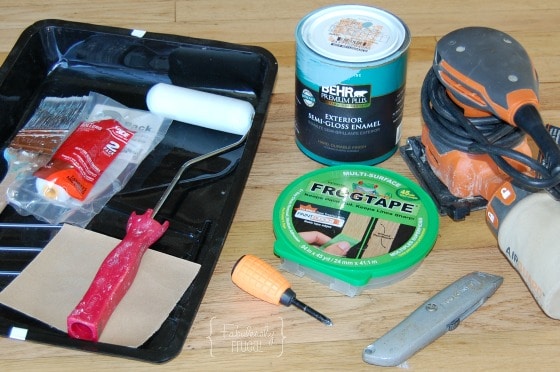
Supplies:
- 220 Sandpaper
- Cabinet foam roller
- Good paintbrush (I love Purdy)
- Paint tray
- 1-quart exterior semi-gloss paint
- Masking tape (I love Frog Tape)
- Box cutter (optional)
- Screwdriver
- Electric sander
Step 1. Prep the Door
Start by lightly sanding the surface by hand with fine sandpaper, such as 220 grit. This just gives the paint a little roughness to cling to. After that, clean off the door with water or a wet, clean rag, and let dry.
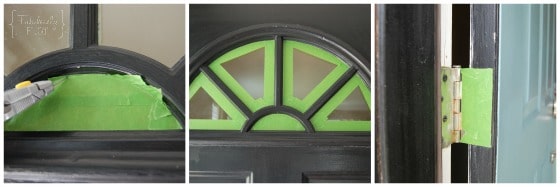
Next, tape off any areas that should not be painted, such as hinges or glass (I love Frog Tape).
For my curved glass, I put pieces of tape straight over the curves, then used my fingernail to push the tape into the edges. I was then able to use a sharp box cutter to carefully cut around the curved edges of the glass, and remove the unneeded tape.
Step 2. Remove Hardware
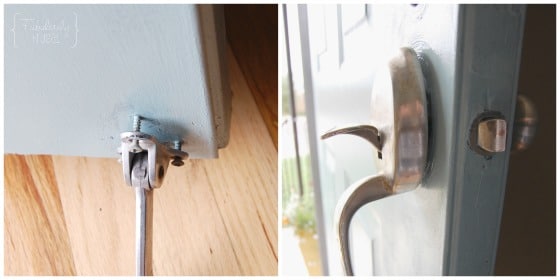
You will want to loosen or remove any hardware on the door front with a screwdriver, such as doorknobs, door stops, and door knockers. This takes 5 minutes and is so much easier than trying to paint around your hardware without getting paint on it. Just be sure to keep all your parts somewhere safe!
Step 3. Start Painting
You will want to purchase exterior semi-gloss paint. I used Bear and it worked great! Use a nice paintbrush (I love my Purdy) to paint the intricate parts of the door. I only had to use a paintbrush on the high parts around the glass.
The low parts on the 4 panels I was able to easily do with my 4” foam cabinet roller, which is what I used to paint all the flat areas of the door. This roller is designed for painting cabinets and leaves minimal roller marks.
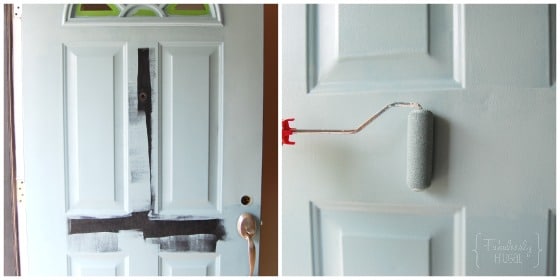
Paint as many coats as needed, allowing time to dry in between, to get thorough coverage. For me, I needed two coats. It depends on what color your door was to begin, what color you are painting it, and what paint you are using.
Quick tip: Did you know you can place wet rollers and brushes in a grocery bag or ziplock bag in the fridge and they will stay fresh for days?? If you use this method, you won’t have to clean your roller and brush out until the project is complete.
Step 4. Finish Up
Remove any tape as soon as you’re done applying the final coat of paint. Once the paint dries, re-install the hardware.
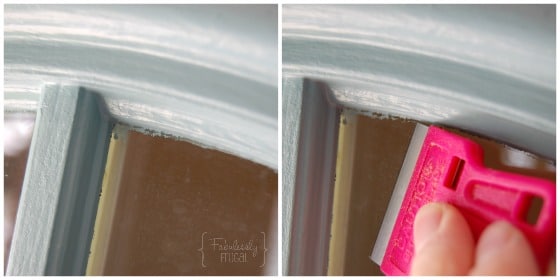
If you happened to have any paint leak under the edges of the tape, don’t worry. Simply grab that razor blade, tip it on its edge and gently scrape the glass to remove any remaining paint.
Step 5. Paint the frame
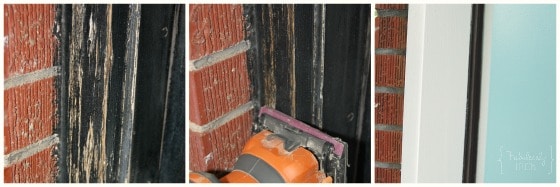
I wanted my door frame to be white, so I started by sanding down the cracking paint with my electric sander and cleaning the surface. I then used a brush and roller to paint it white in some exterior semi-gloss paint I had laying around the house.
Step 6. Clean up!
A little money saving tip is to always clean out your rollers, brushes and even paint trays thoroughly. Each roller, brush and paint tray can be used for many projects.
If saving money is key to you, be sure to make the most of your supplies so you don’t have to buy new supplies for every project! That’s it! You now have a beautiful, vibrant door!
Trending Diys
Comments
Leave a Reply
Report a Problem
Please select the problem you are facing with this deal:
- Price Increased
- Price Decreased
- No longer available
- Expired
- Link doesn't work
- Suggestion
- Compliment
- Other
Add more details:
Thank you for your feedback. We really appreciate it.
Enter your email address if you would like
to receive a follow up.
Please Try Again
Thanks for providing the email address.
We will reach out to you as soon as possible.












I love the wreath! Do you remember where you got it??
Thanks! My friend, Shannon, actually made that wreath with a form and a bunch of burlap. 🙂
If the door has likely little russ,in the bottom of the door can I still paint over it yes or no gracias
I would talk to the salesman at the store and ask about that. Good luck!
I love that color!
Here’s a unique question: I have the same door, but I suspect that it was installed backwards. The interior is metal, but the exterior is not. The doorknob is on the opposite side as yours. Is the metal portion of your door the exterior?
Thanks!