
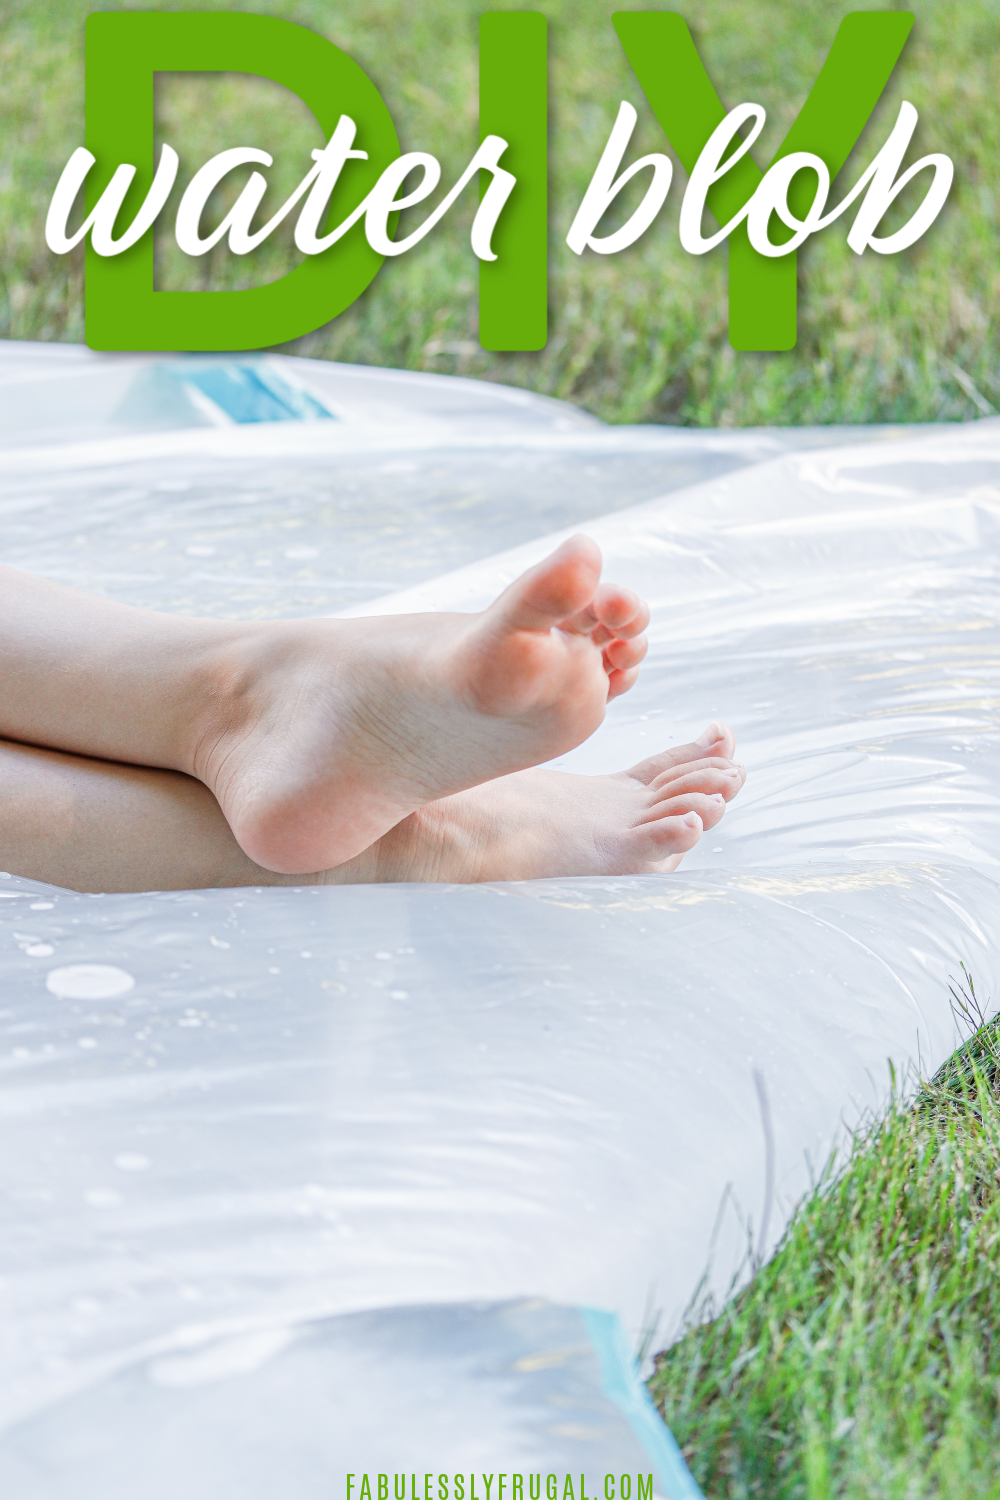
How to Make a Water Blob for Hours of Summer Fun
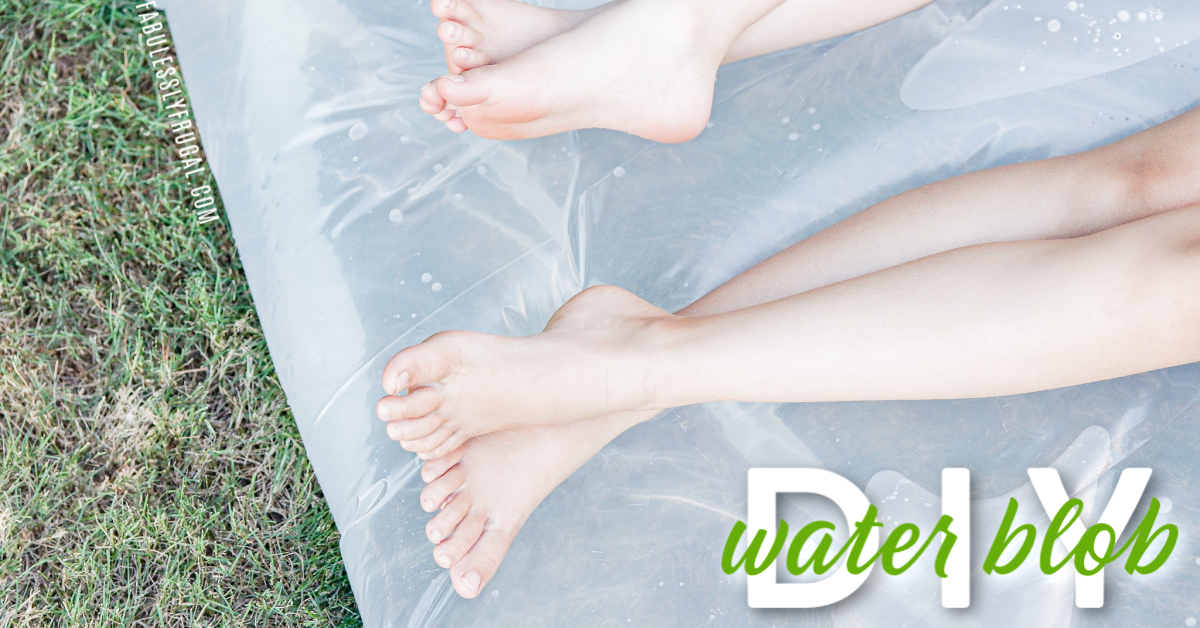
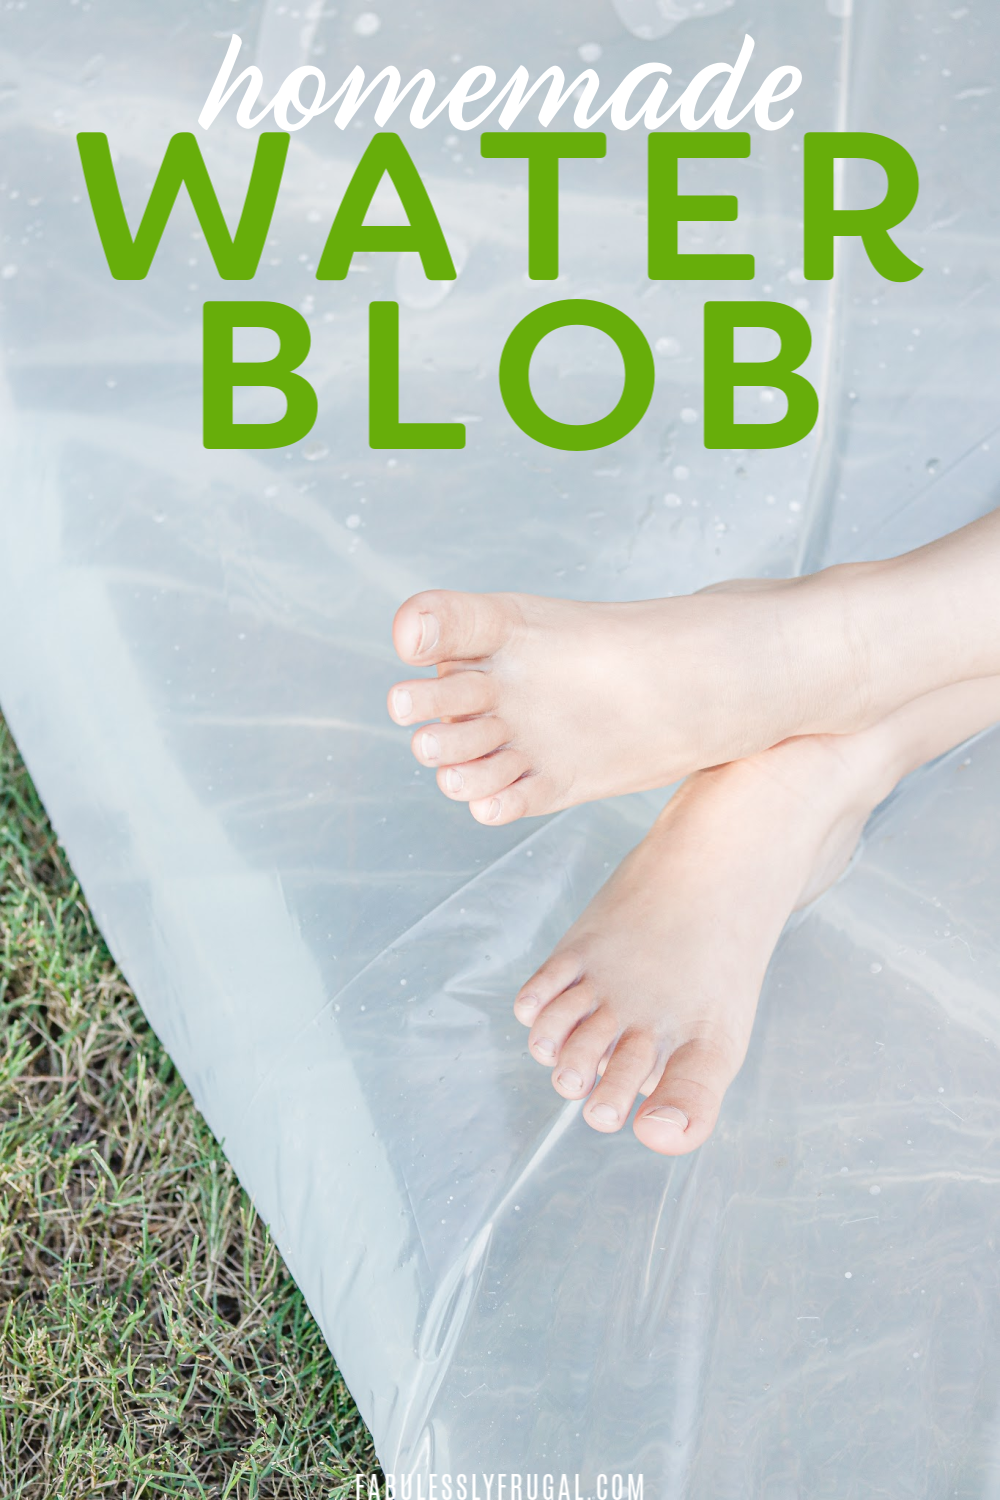
Make your own Water Blob for $15 or less!
Summer around our house is filled with mornings at the park, afternoons at the pool, evenings outside, and fresh grass beneath our toes! Our kids LOVE being outdoors, and they often find things to do with water.
They love all backyard water games from water balloon fights to running through the sprinkler. My littlest guy is always trying to keep up with the big kids, so finding some things for him to do is an adventure in itself.
Last summer I made a HUGE water blob for the big kids, so I decided to make a smaller one for him and then another one for the big kids. This is an easy project to do and it took me about 45 minutes from start to finish before the little kids were able to play on it.
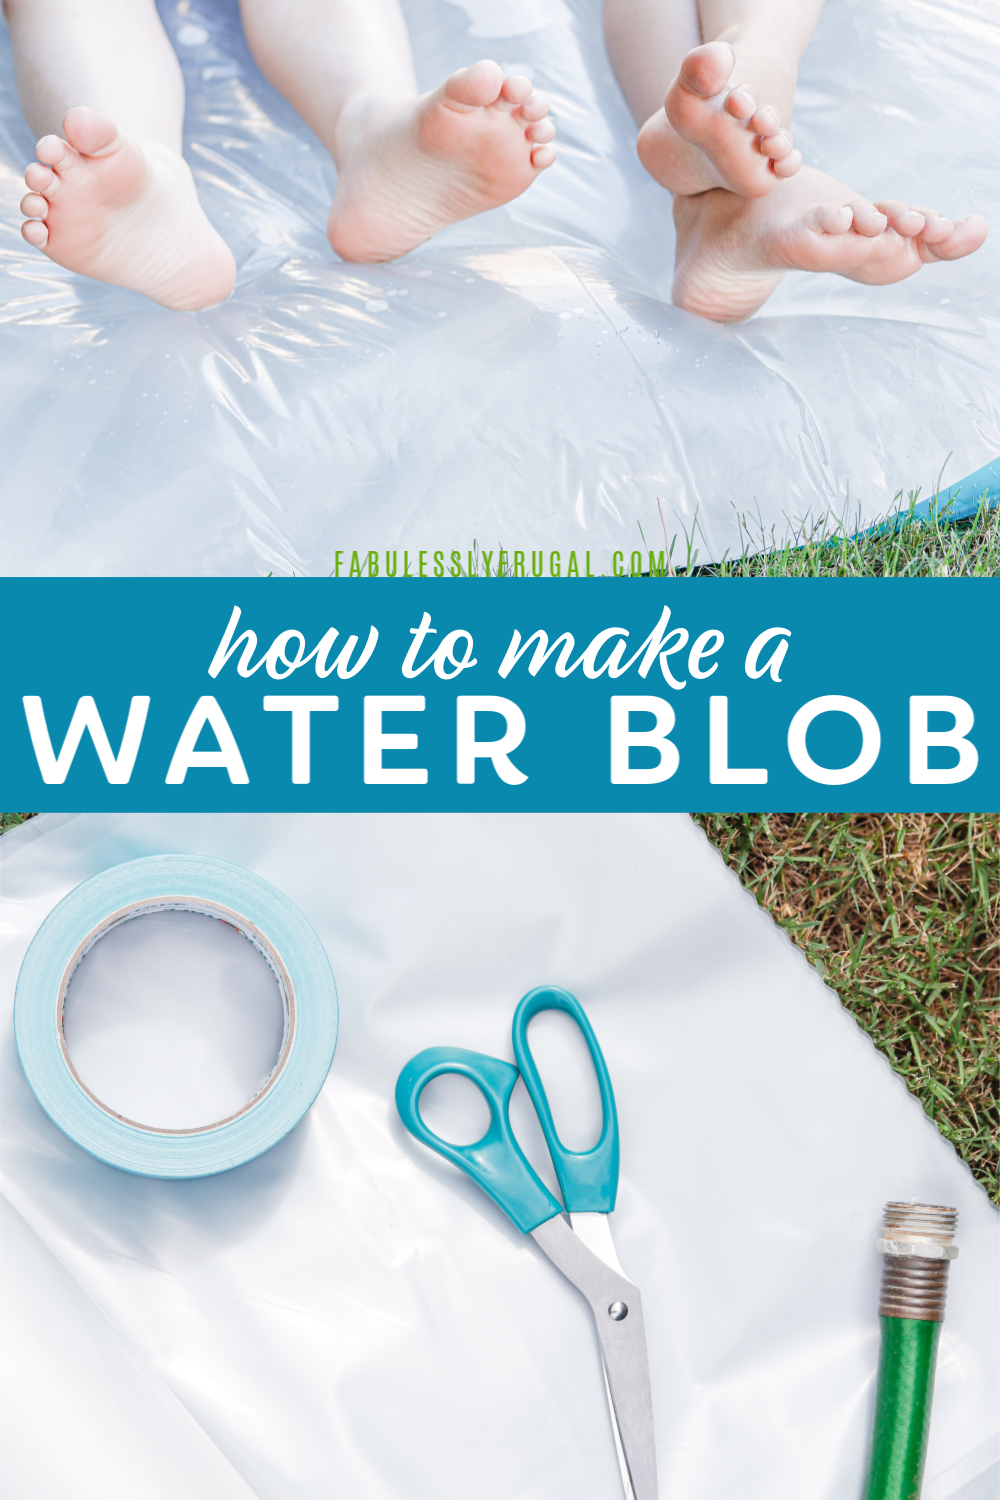
Supplies Needed:
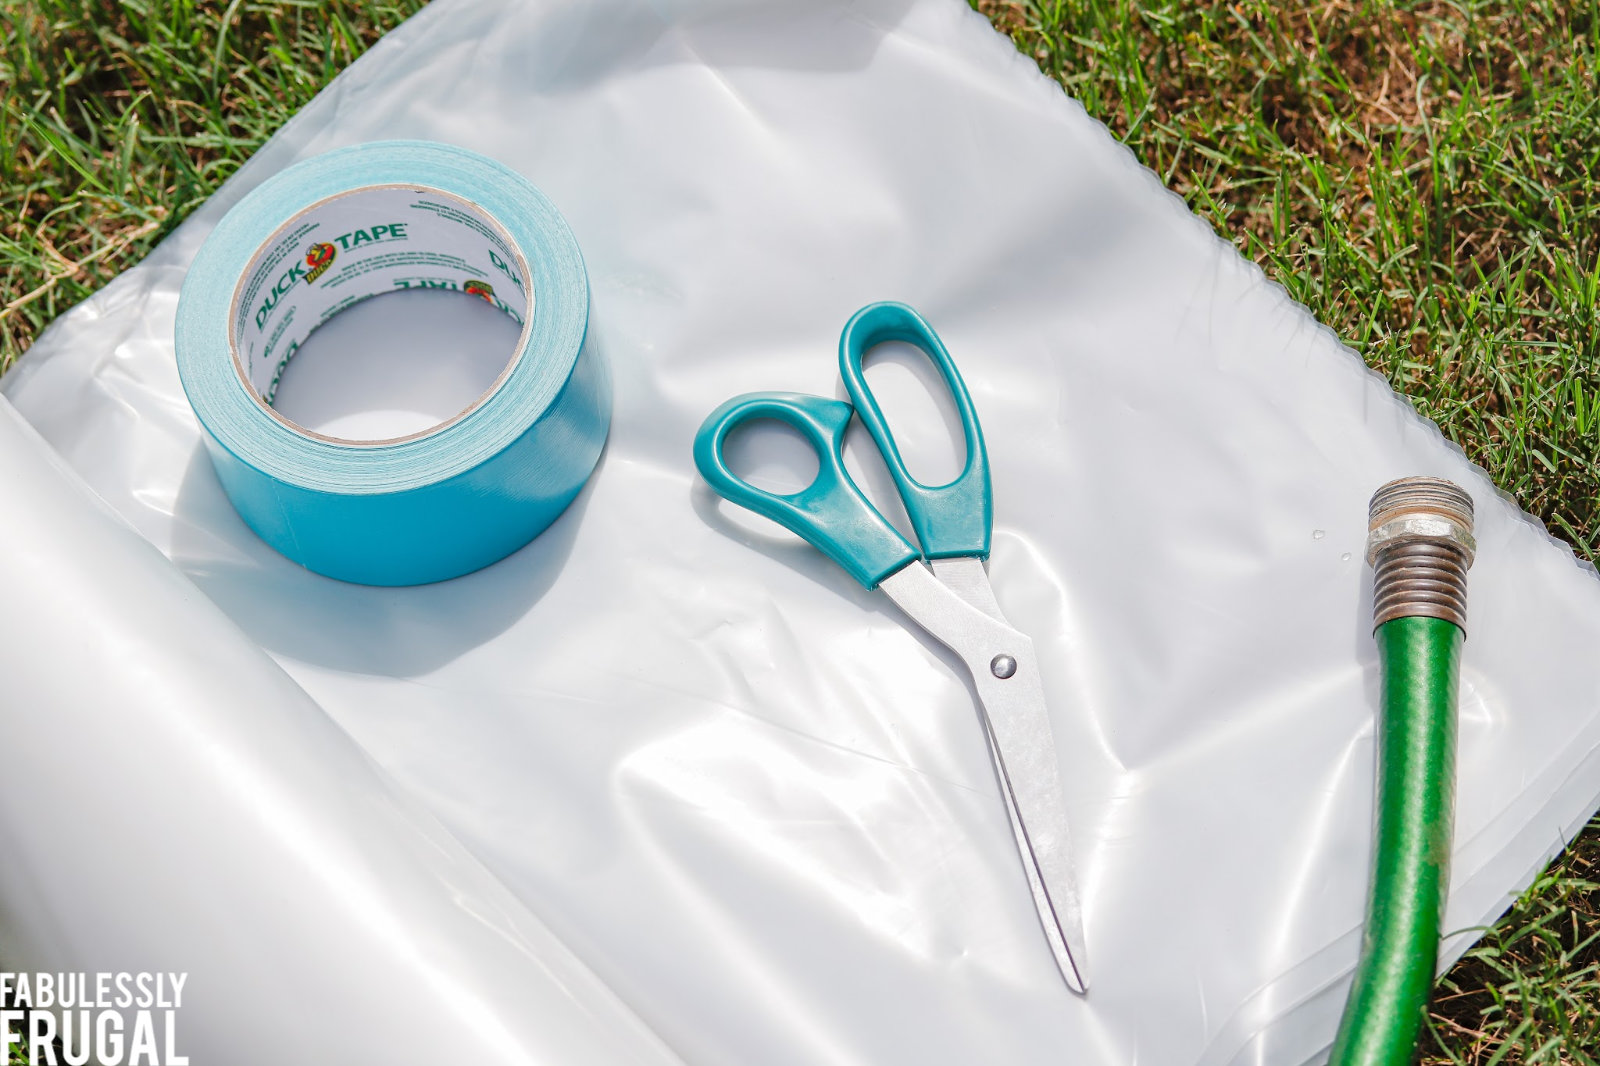
- 10’x25′ Plastic Sheeting – I used a 3 Millimeter, but I’ve also seen a 6-millimeter sheeting that you could use.
- Duct Tape – You can find patterned or colored duct tape to make the water blob stand out more!
- Scissors
- Hose & Water
- Small towel
These supplies are enough to make two water blobs AND they’re reusable to an extent, so you’re getting a lot of value with this DIY. Here’s how to make your water blob:
Step 1. Cut Your Plastic Sheeting to Size
To begin with, cut your plastic sheet to your desired dimensions. Then, fold the sheet in half and then line up along the corners.
Using one folded side means you only have to tape 3 sides, which saves a bit of time.
Step 2. Start Sealing Your Blob
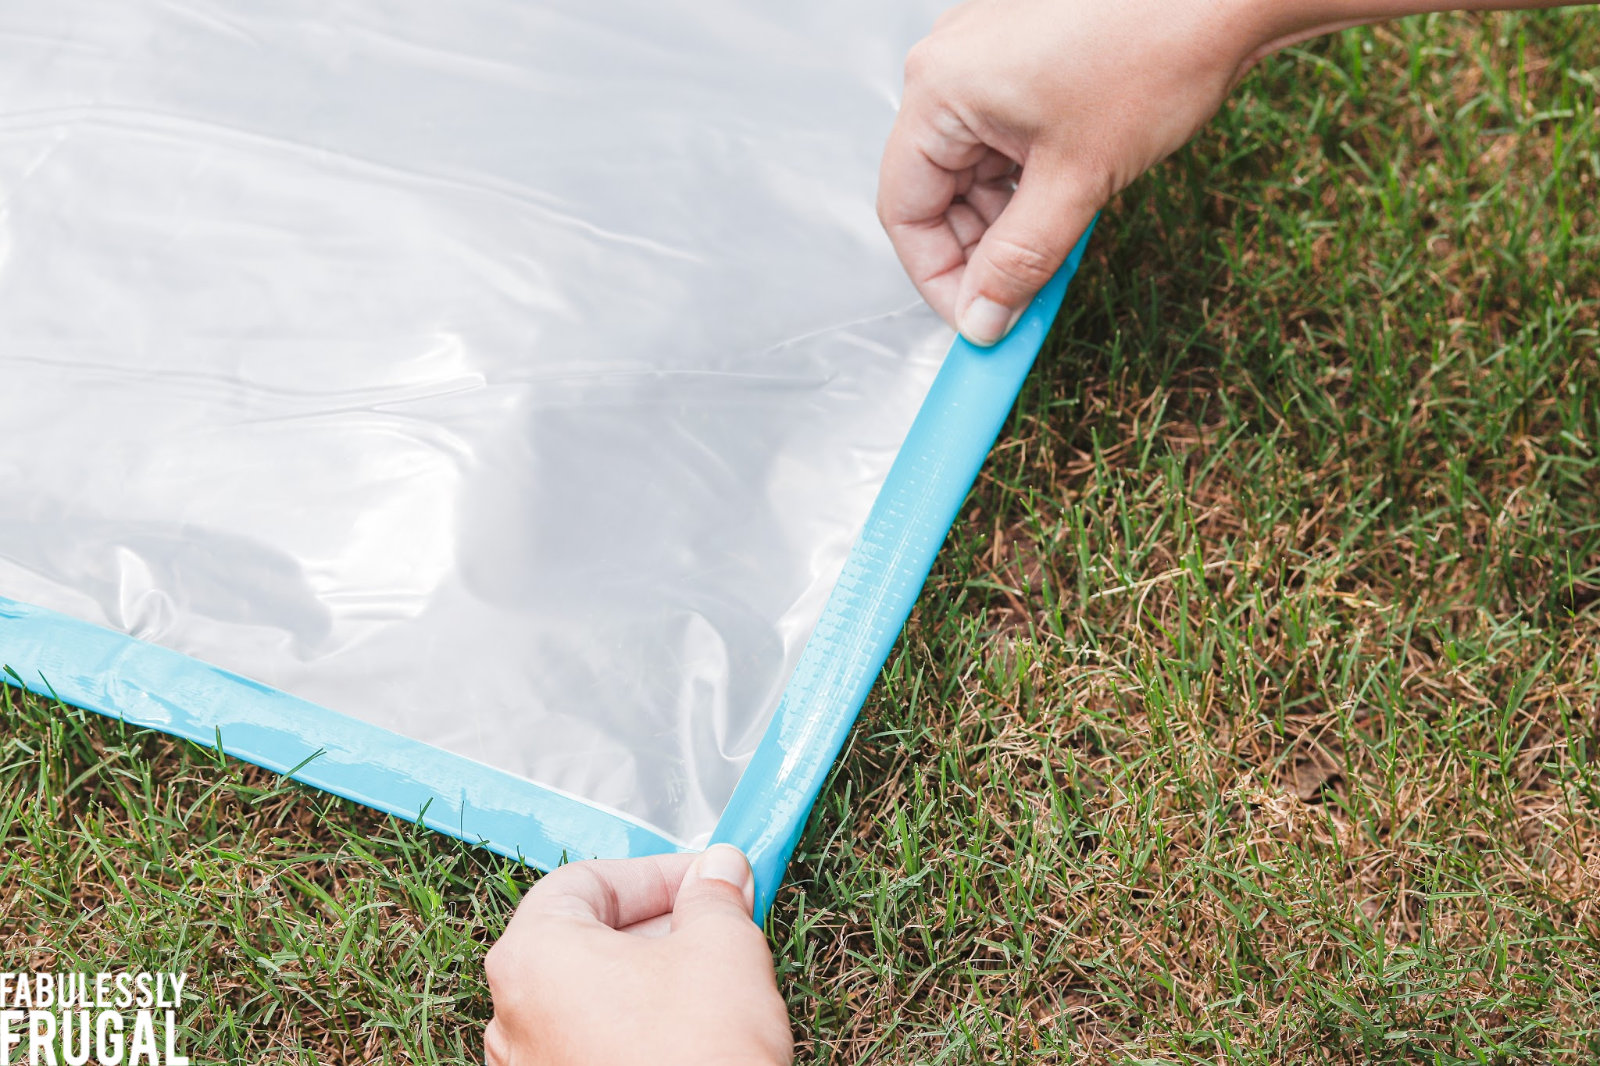
To get started, tape the corners and make sure there is a good seal. Make sure to overlap the corner pieces for extra support.
Then tear off a long strip of the duct tape and lay it underneath the bottom layer of the sheeting. Fold against itself the top layer to create the seal.
Repeat this along the 3 sides, leaving a small gap at one corner for the hose to fit in.
Step 3. Fill Your Blob
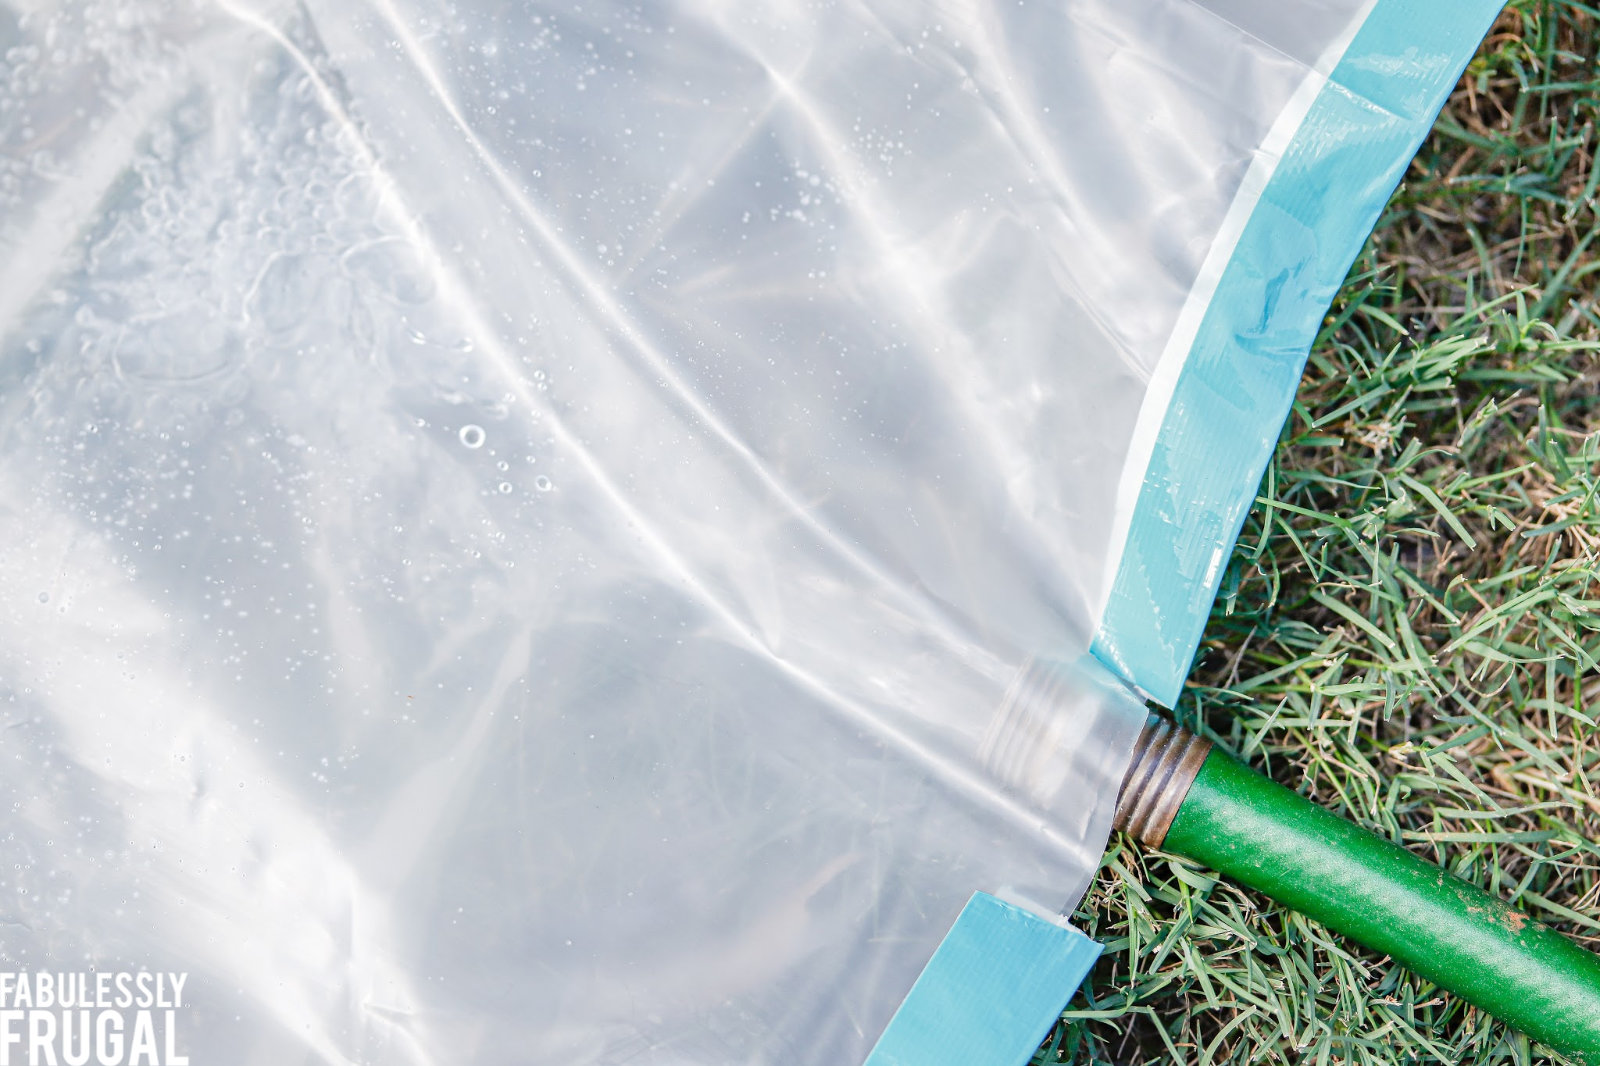
Once you have sealed all sides, place the empty blob in the area where you want to play (Once it’s full you won’t be moving it!).
I suggest a VERY flat surface for the blob. My backyard has a slight tilt to it, which made the water blob fill heavier on one side. This weight change eventually made the blob roll over itself and roll down the tilt to the bottom. Surprisingly the duct tape held up super well, even while the blob rolled along and settled a few feet away.
After you’ve picked a good spot, have your little helper turn on the hose for you. If you have older kids this is a great time for them to hold the hose in or push out any air bubbles in the sheeting.
When it is almost full, hold the corner up and turn off the hose. Grab the towel and dry off the corner. Seal the remaining portion off with duct tape. Check for holes and leaks and repair/reseal as needed.
Water Blob Notes and Tips
- I never had to repair my blob, but as the kids’ heels pull on the sheeting you may need to do some repair work. This is fairly easy to do by wiping off the area and placing a piece of duct tape on it. The more full of water your blob is, the more pressure will be put on the plastic, and the higher the chance of holes or tears.
- Air pockets are normal. They add a cool bubbly effect to the blob!
- You can reuse your blob! Just pull back the host entry area you used to fill it up and drain it. Then, drape it over a table, some chairs, or even a fence to dry out a bit. I emptied this one and used it again the next day when the neighbors came over to play. Just note that some mildew might set in eventually if it doesn’t fully dry out.
- Add flat foam shapes like these to your water blob before taping and watch them move around as you play.
- Add a sprinkler. If you want to add some water to the outside of the blob, you can turn on a sprinkler for more fun! Just watch out cause it’ll get slippery!
Final Thoughts
This project was very straight forward and easy to make. The water blob was very durable too, which I was originally skeptical about. I was so surprised at how well the duct tape held it all together and how the plastic sheeting never ripped for me!
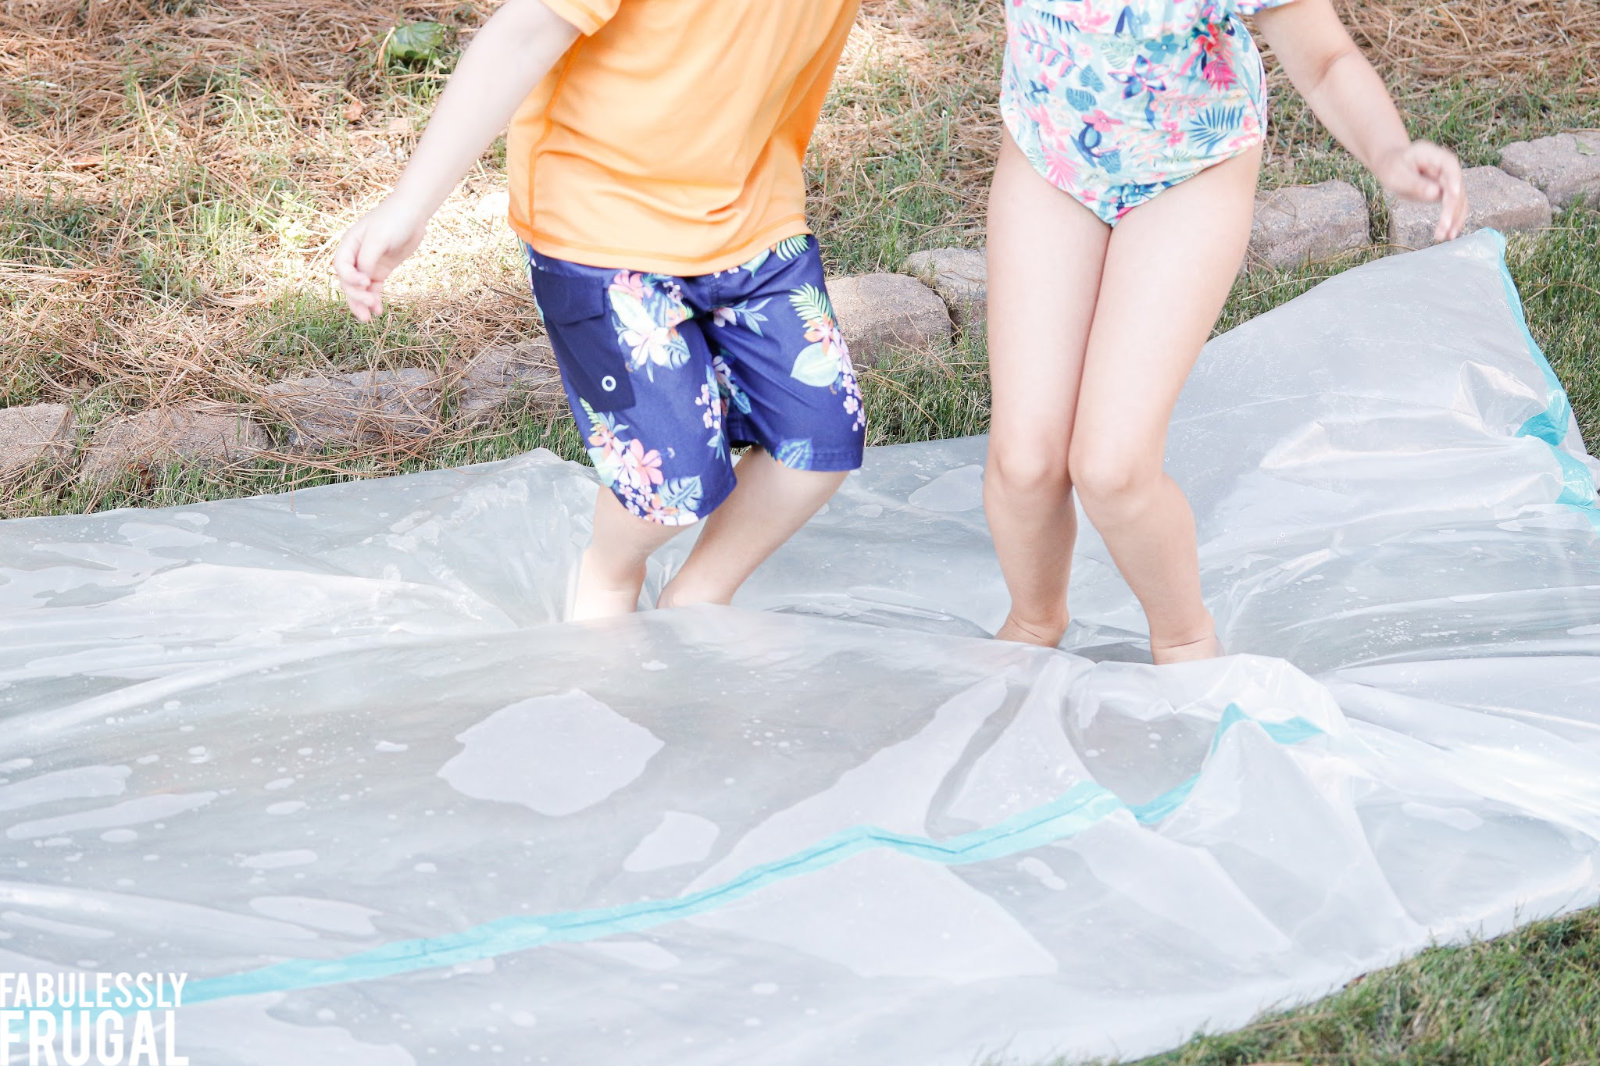
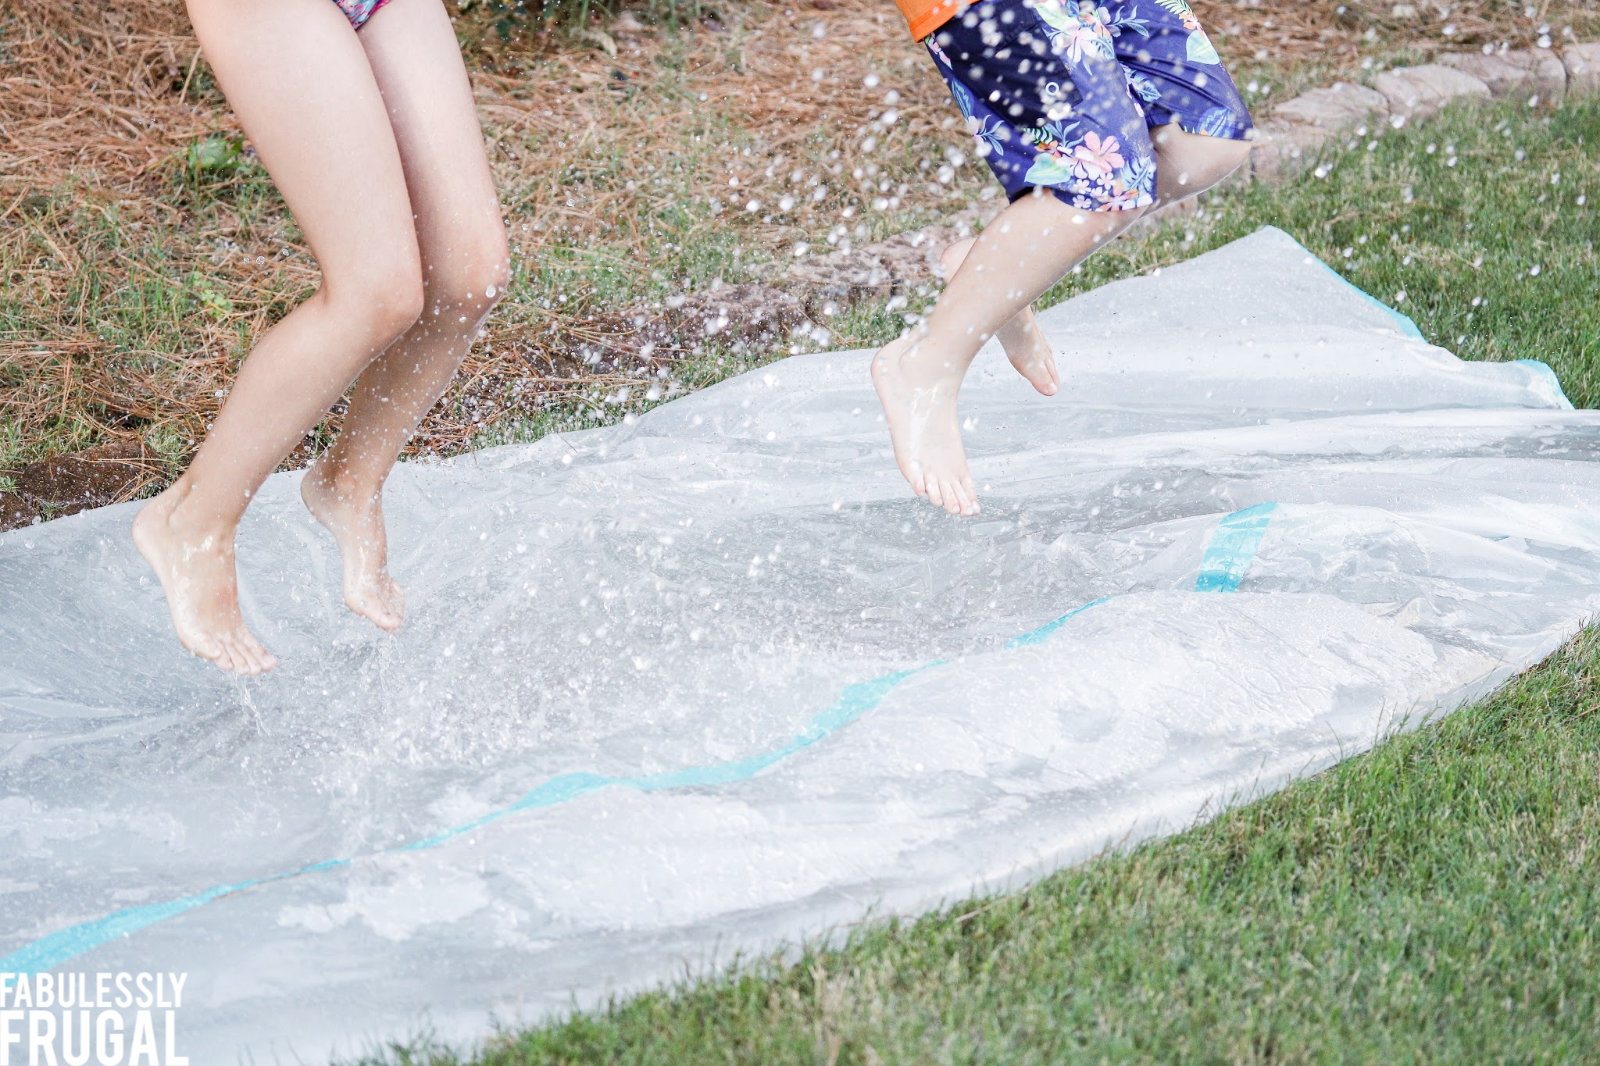
The kids will love feeling the water as they lay, jump, or slide on the water blob without getting wet.
Altogether I spent $15 for all of the supplies ($10 for the 10′ x 25′ plastic sheeting, $4.50 for duct tape), AND I have enough supplies left over to make another water blob on a different day!
***PLEASE make sure you supervise young children and make it a rule to not lay face down as it can lead to suffocation.***
Here are some other great ideas for Summer Fun with the Kids!

37 Activities with Balloons and Bubbles
61 Bodacious Summer Activities

10 Games and Activities when Camping with Kids
How to Make a Water Blob for Hours of Summer Fun

Ingredients
- (1) 10’x25’ 3 ml plastic sheeting, cut to desired dimensions
- Duct tape
- Scissors
- Hose
- Small Towel
Instructions
- Cut plastic sheeting to desired dimensions
- Tear off long strips of the duct tape and lay it underneath the bottom layer of the sheeting. Fold against itself onto the top layer to create the seal. Make sure to overlap the corner pieces for extra support.
- Repeat this along the 3 sides, leaving a small gap in one area for the hose to fit in.
- Once you have sealed all sides, place the empty blob in the area where you want to play (Once it’s full you won’t be moving it!)
- Try to work some of the air out the hose hole as you fill it.
- Dry off the area where the hose was and seal the remaining portion off with duct tape. Check for holes and leaks and repair/reseal as needed.
Trending Diys
Comments
Leave a Reply
More Related Diys


Trending DIY Projects
- DIY
- Recipes
- Deals
- Blog


Report a Problem
Please select the problem you are facing with this deal:
- Price Increased
- Price Decreased
- No longer available
- Expired
- Link doesn't work
- Suggestion
- Compliment
- Other
Add more details:
Thank you for your feedback. We really appreciate it.
Enter your email address if you would like to receive a follow up.
Please Try Again
Thanks for providing the email address.
We will reach out to you as soon as possible.


Popular
Recommended
About Us

At Fabulessly Frugal, our goal is to help you live HEALTHY, WEALTHY, and WISE! My team and I work hard to bring you the best, online deals, clean eating, DIY's, freezer meal recipes, and more! I LOVE coaching and inspiring people to improve their health in my fitness challenge! You should also check out my favorite cleanse! Learn more about me and the rest of my team.


Copyright © 2008–2026
Fabulessly Frugal: A Coupon Blog Sharing Gift Ideas, Amazon Deals, Printable Coupons, DIY, How to Extreme Coupon, and Make Ahead Meals. All rights reserved
What an awesome idea!! I would totally love to do this with my nanny kids this summer. They will be just finishing 2nd and 4th grade. How much weight do you think this water blob could withstand?
Can’t wait to let the kiddos play on this in the yard! Even if it pops, they’ll still have slippery fun. Thanks for the great tutorial!
This looks awesome! Where do I get the plastic sheeting?
Thanks! Lowes or Home Depot should be able to hook you up!