DIY Menu Board
 This is a fun way to keep your family informed on the weekly menu. We all know planning meals ahead saves money. It can allow for less impulse buys or take out, and allow you to plan healthy meals. This project is also very easily customized to your personal style.
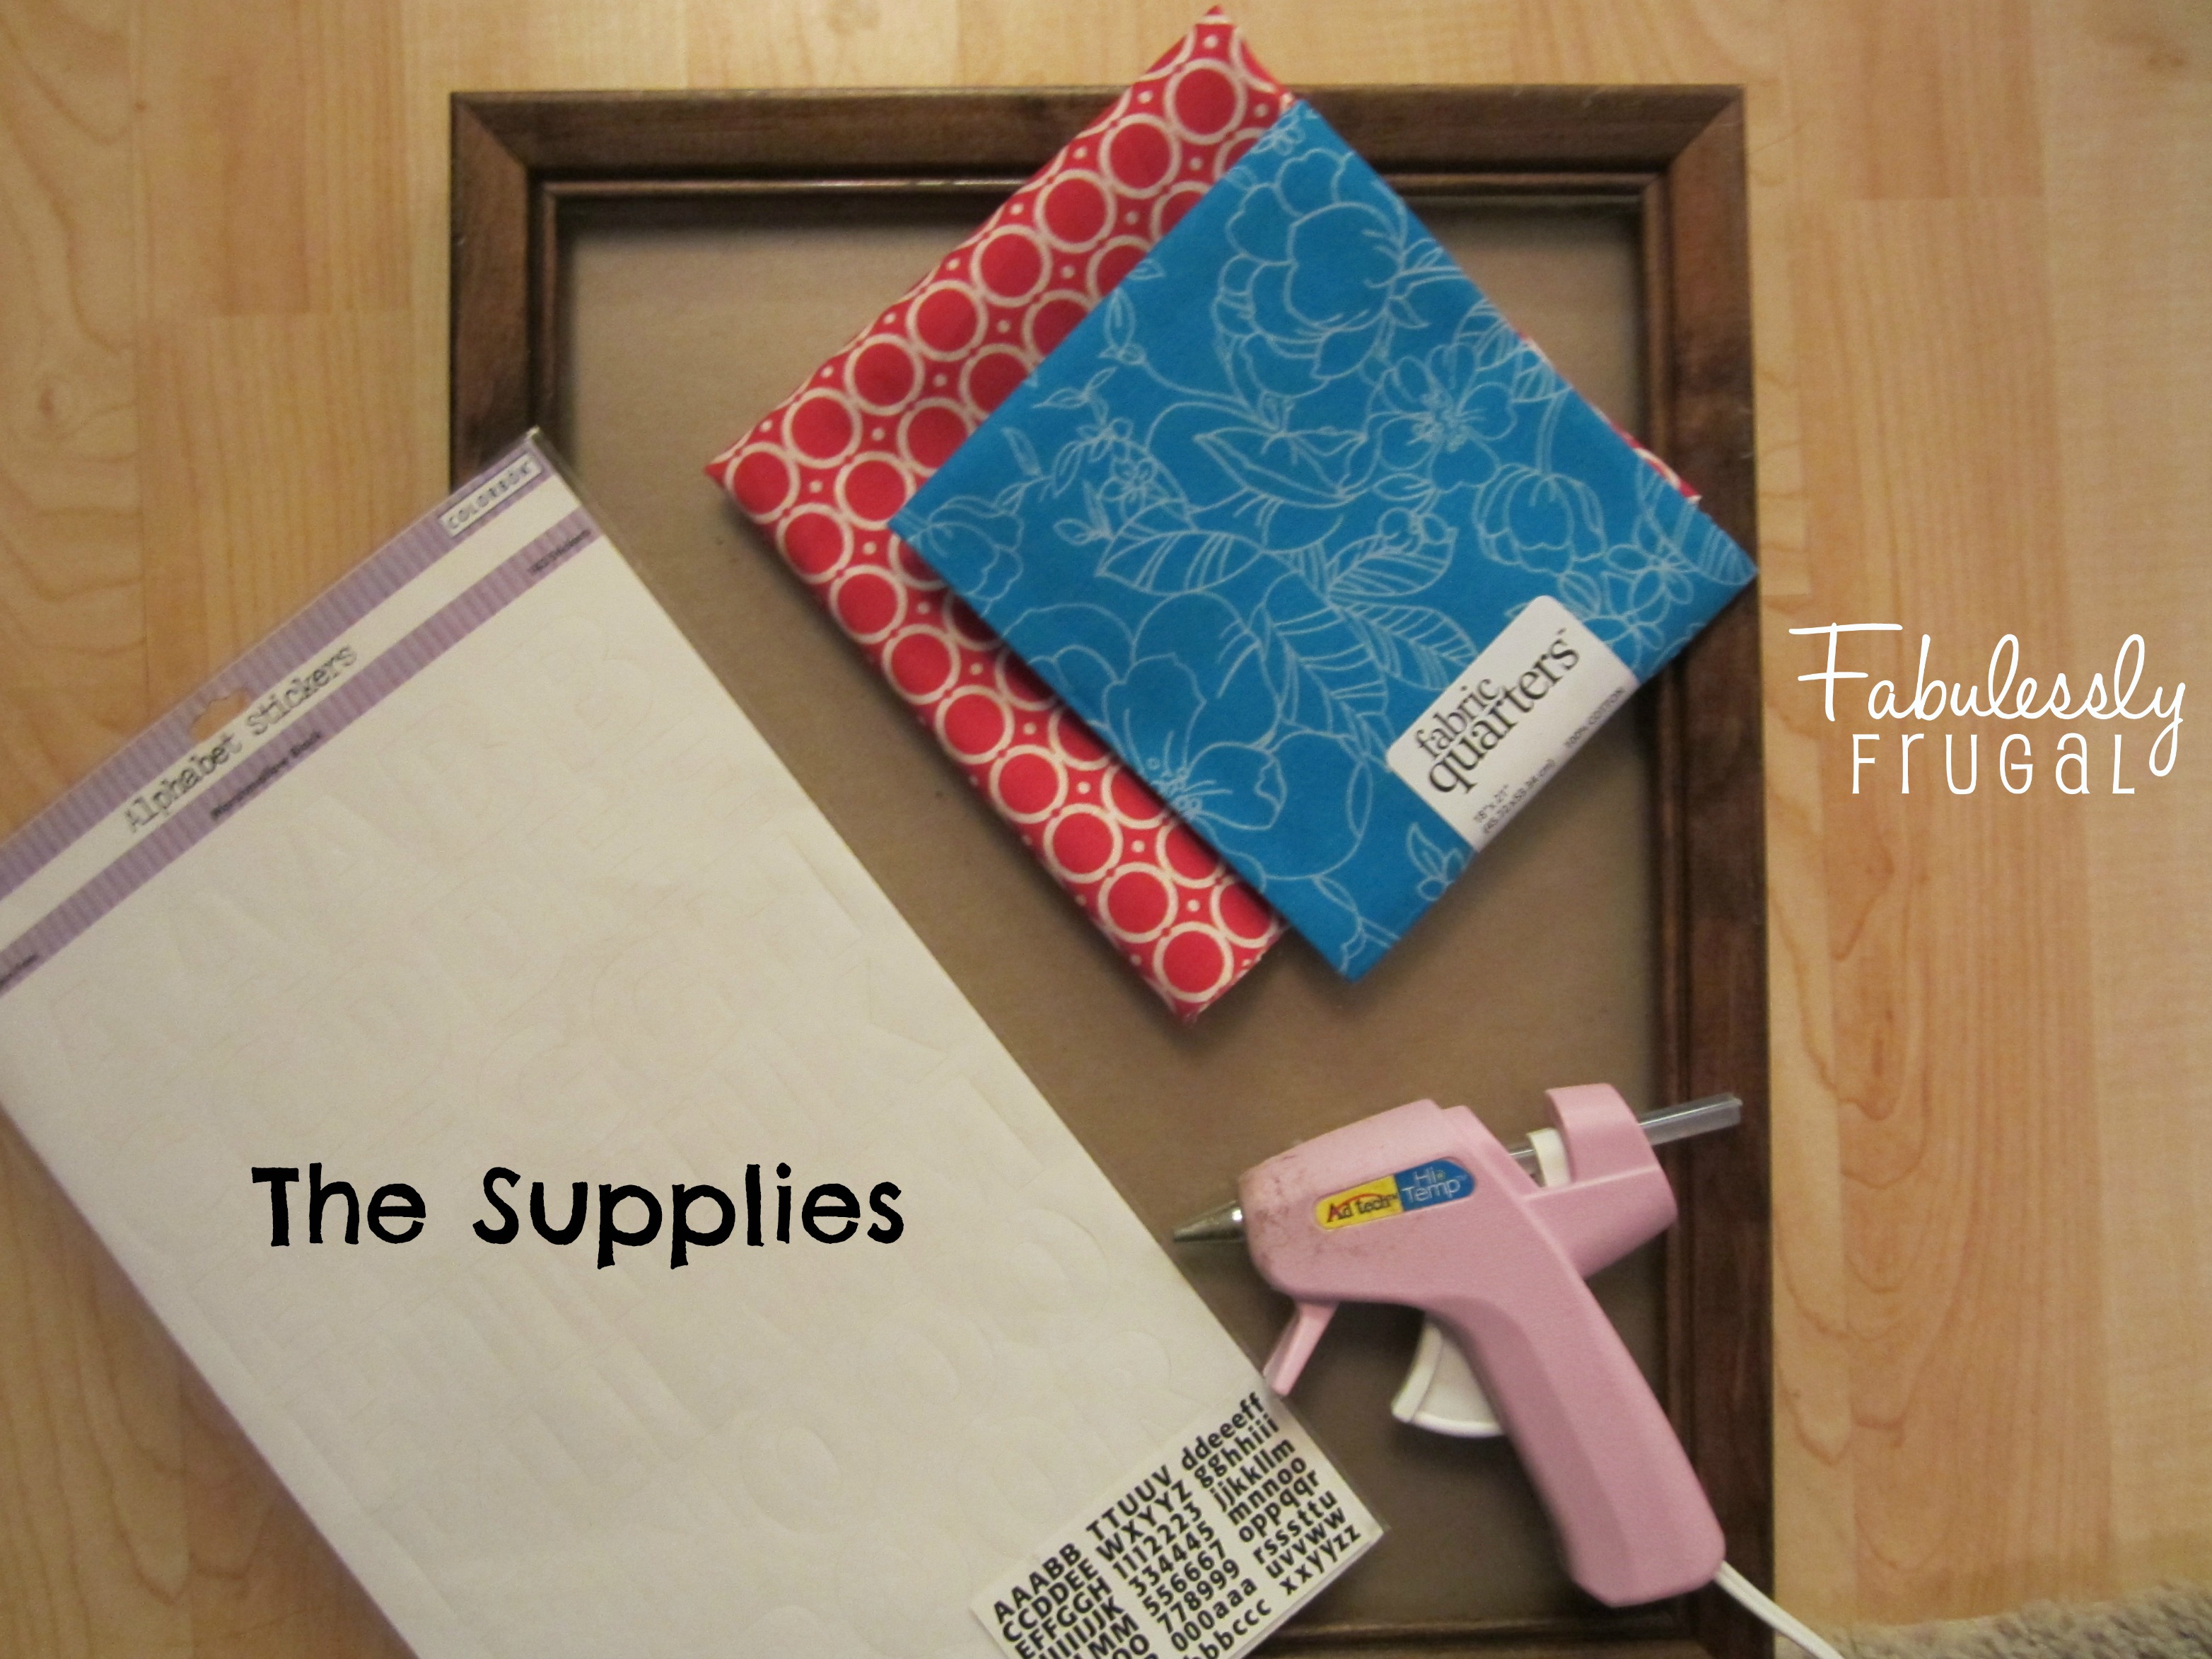
The Supplies:
- Frame
- Fabric of choice (my frame size needed ⅓ yard or a fat quarter)
- Alphabet stickers
- Hot glue gun
- Scissors
The Instructions:

Start by taking the frame apart. You will use the cardboard backing in the frame and attach the fabric to it. Trim the fabric to size. If your fabric has a directional pattern, make sure it is straight up and down. You don’t want the pattern to look crooked when you put it in the frame.
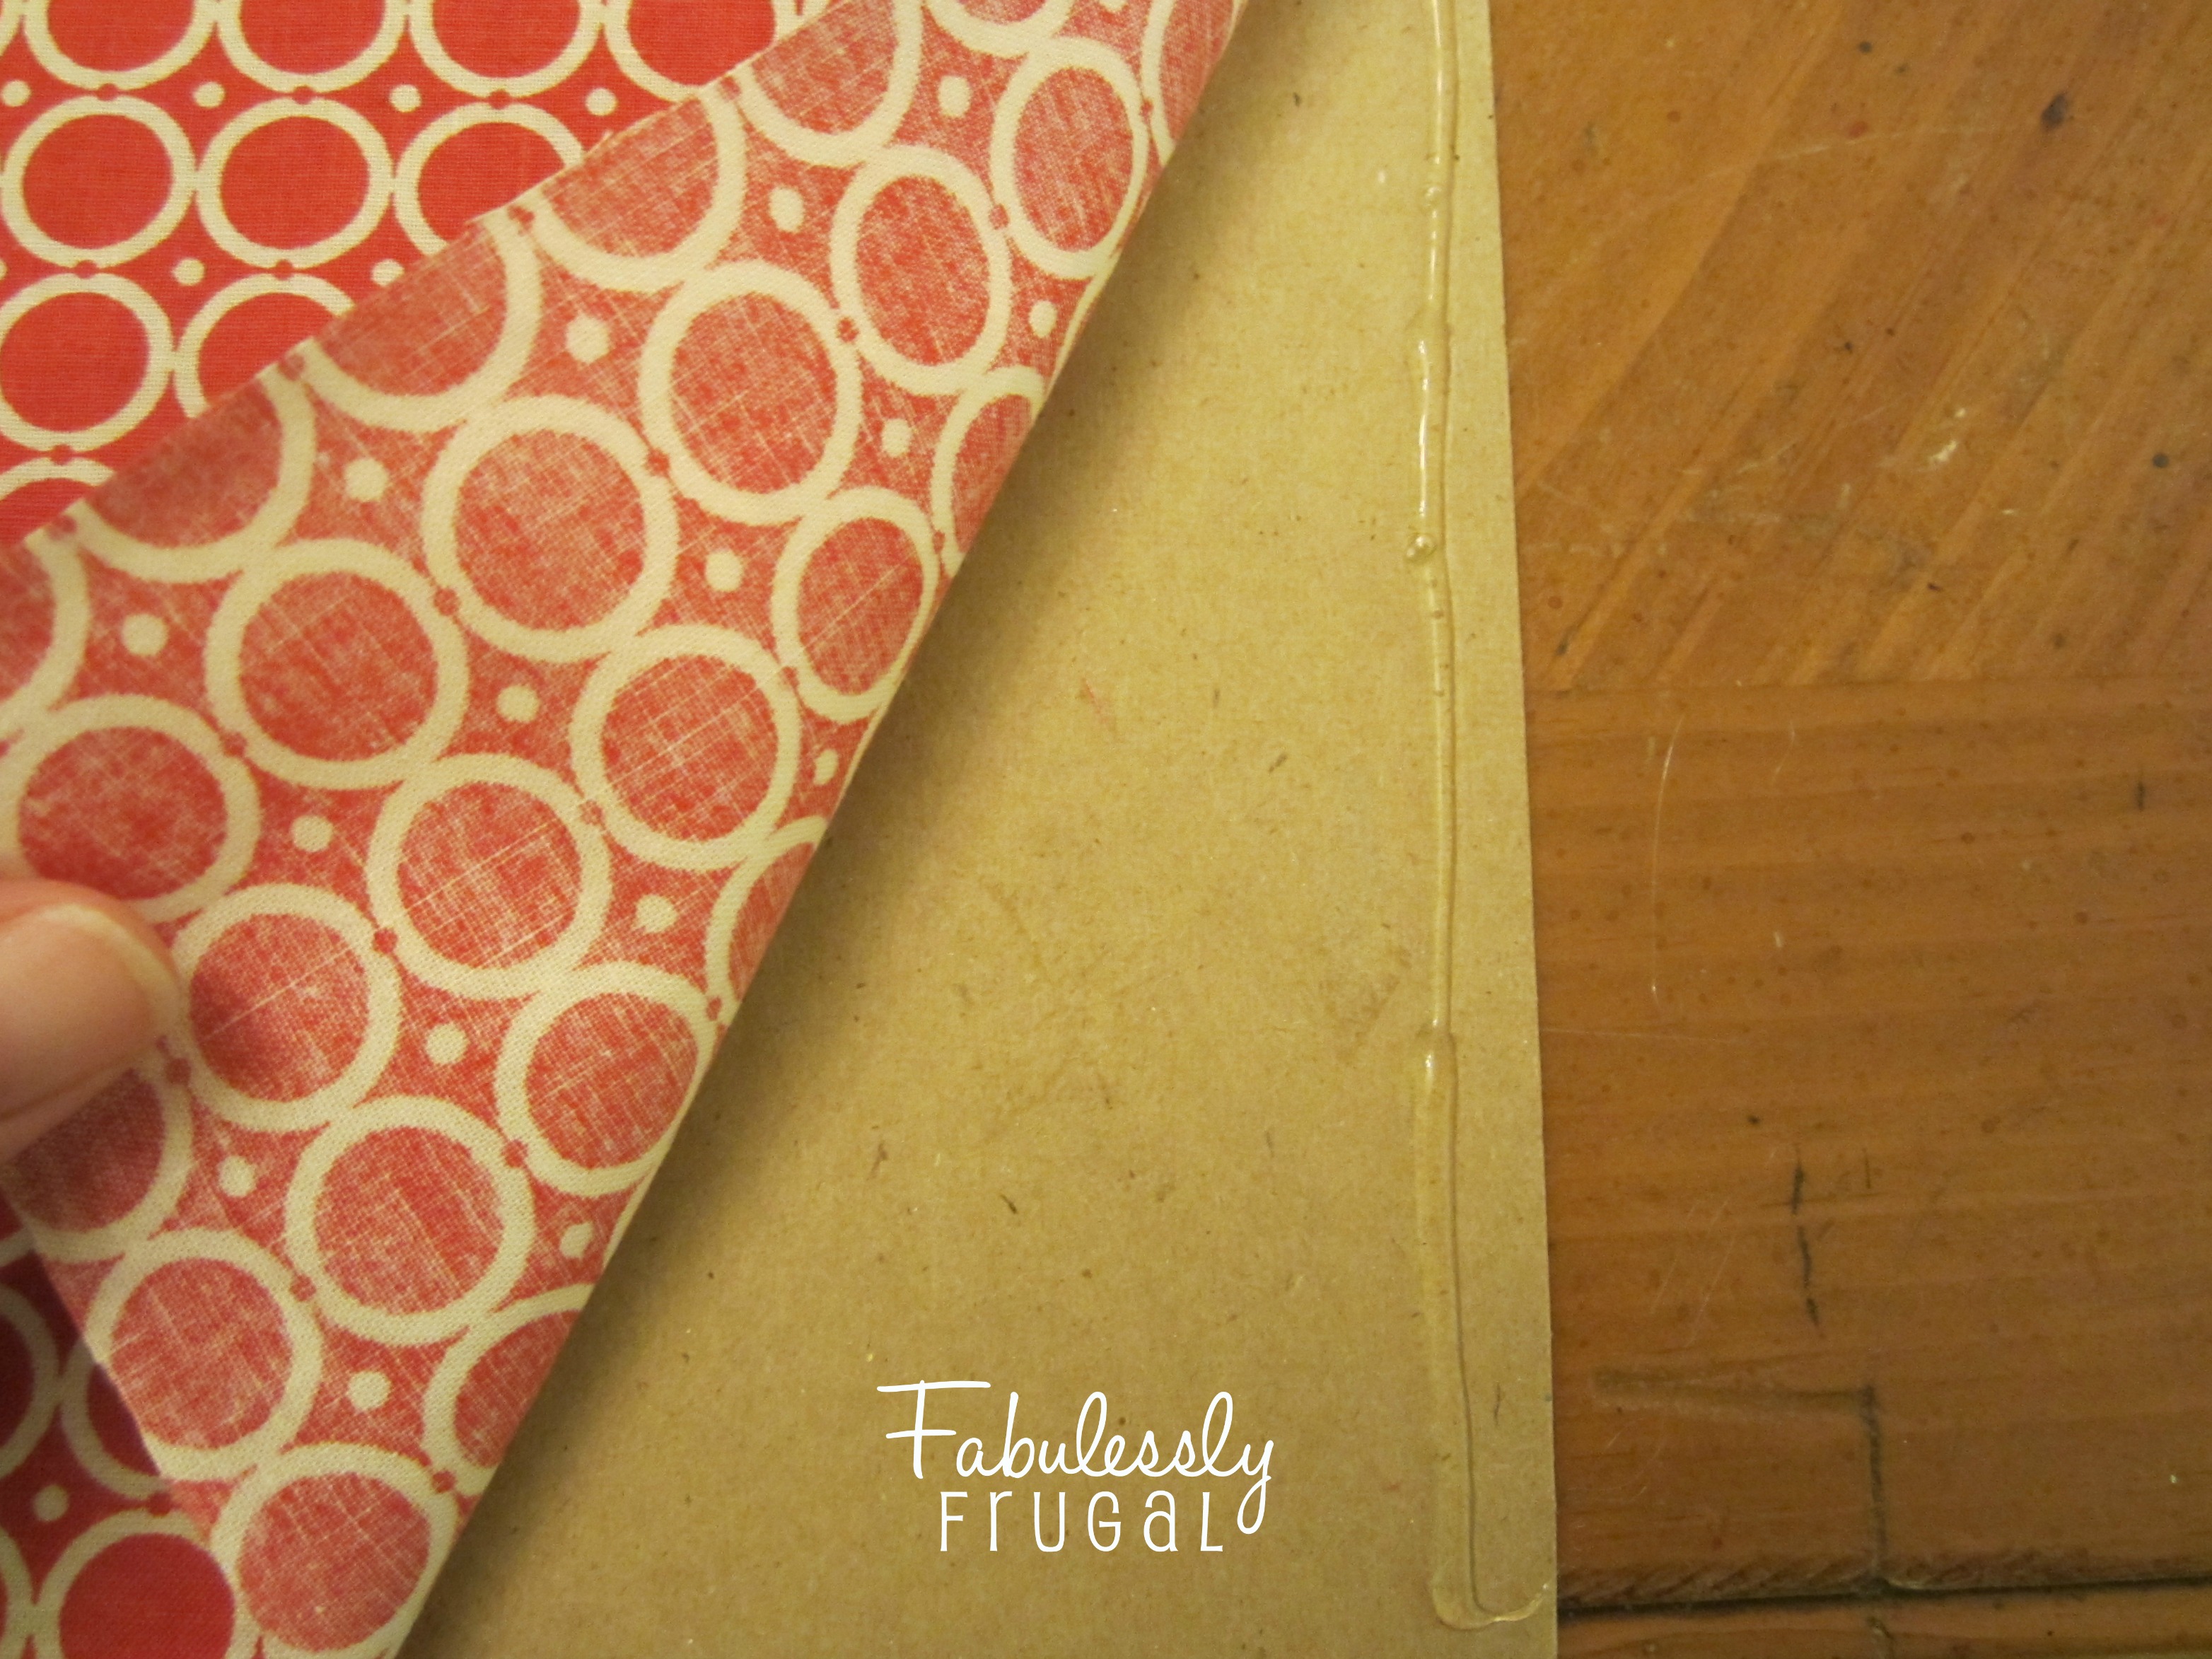
Once the fabric is cut, use a line of hot glue to glue the fabric to the edges of the cardboard backing. You don’t want to put glue all over because it would leave bumps that would be visible from the top side of the fabric. The frame covers any bumps the glue makes on the edges.

Use the alphabet stickers directly on the fabric. “Menu” goes across the top. Down the left side place the first letter for each day of the week. Two letters for Thursday though, of course. I used a red marker to outline the letters so they would stand out a little more against the red and white fabric.
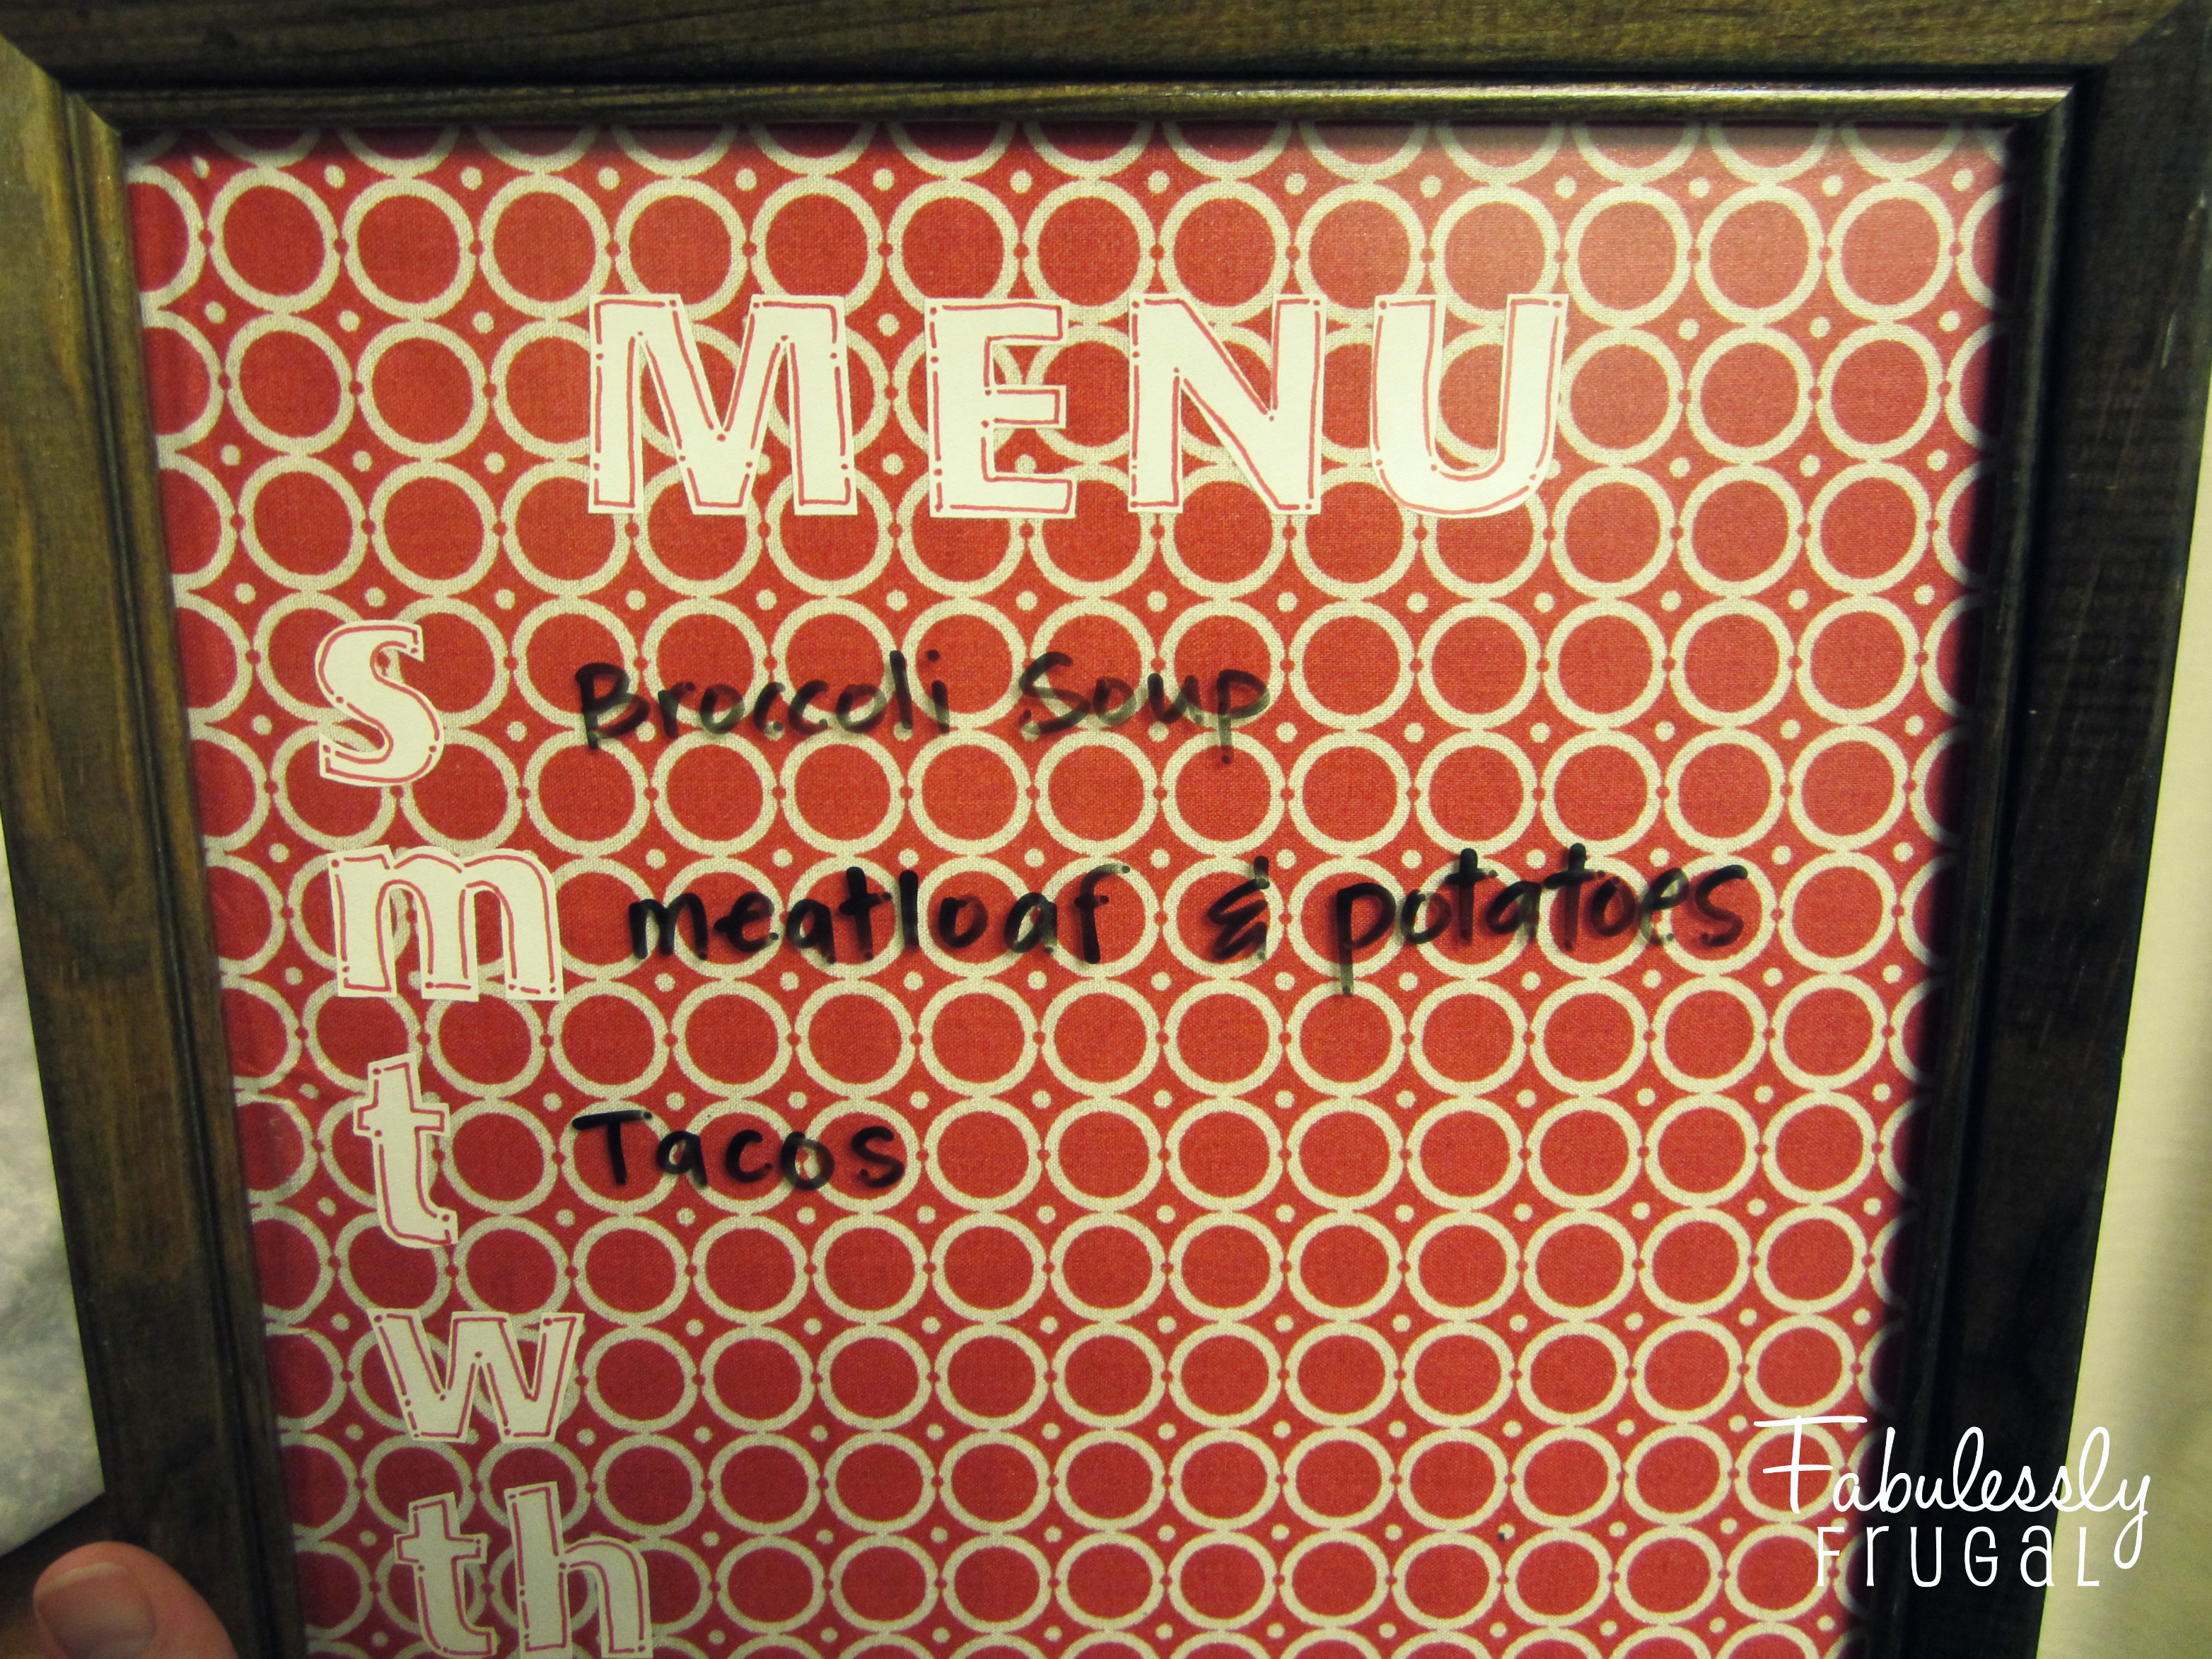
Once you have it how you like it, place the cardboard back in the frame. Now you can write your dinner plans with a dry erase marker. Fun, huh?
Trending Diys
Comments
Leave a Reply
More Related Diys


Trending DIY Projects
- DIY
- Recipes
- Deals
- Blog


Report a Problem
Please select the problem you are facing with this deal:
- Price Increased
- Price Decreased
- No longer available
- Expired
- Link doesn't work
- Suggestion
- Compliment
- Other
Add more details:
Thank you for your feedback. We really appreciate it.
Enter your email address if you would like
to receive a follow up.
Please Try Again
Thanks for providing the email address.
We will reach out to you as soon as possible.


Popular
Recommended
About Us

At Fabulessly Frugal, our goal is to help you live HEALTHY, WEALTHY, and WISE! My team and I work hard to bring you the best, online deals, clean eating, DIY's, freezer meal recipes, and more! I LOVE coaching and inspiring people to improve their health in my fitness challenge! You should also check out my favorite cleanse! Learn more about me and the rest of my team.

Copyright © 2008–2026
Fabulessly Frugal: A Coupon Blog Sharing Gift Ideas, Amazon Deals, Printable Coupons, DIY, How to Extreme Coupon, and Make Ahead Meals. All rights reserved
You can also just use a piece of decorative paper (scrapbook)…no glue needed! Just made one…only took 5 minutes. Thanks for the idea!
That’s great Missy! I’m glad to hear you’ve already put this into action. Scrapbook paper is a great idea too.