Home & Garden

What to Consider When Buying an Air Fryer in 2022 PLUS The 5 Best Air Fryers that Cook Evenly
How to Make Your Strawberries Last Longer!
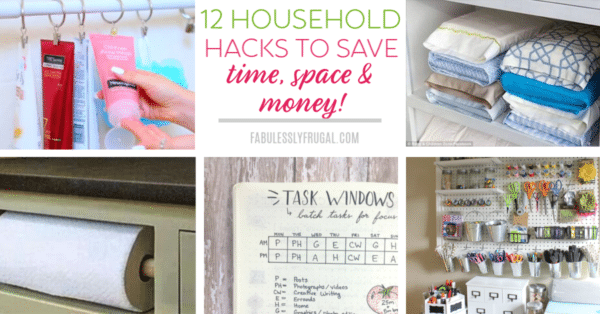
11 Household Hacks to Save Money, Time, and Space

20+ of the BEST Canned Foods to Stock Up On

12 Fun Lawn Games for Adults and Kids (Under $50!)

Simple Spring Cleaning Checklist (Room-By-Room)

How to Grow the Best Tomatoes Ever (12 Tips)
How to Clean Out Your Closet: 7 Rules to Follow
How to Save Money on Laundry (7 Easy Ways)

6 Home Organization Tips: Organize Your Home Once and For All

How to Save on Your Heating Bill!


Popular
Recommended
About Us

At Fabulessly Frugal, our goal is to help you live HEALTHY, WEALTHY, and WISE! My team and I work hard to bring you the best, online deals, clean eating, DIY's, freezer meal recipes, and more! I LOVE coaching and inspiring people to improve their health in my fitness challenge! You should also check out my favorite cleanse! Learn more about me and the rest of my team.

Copyright © 2008–2024
Fabulessly Frugal: A Coupon Blog Sharing Gift Ideas, Amazon Deals, Printable Coupons, DIY, How to Extreme Coupon, and Make Ahead Meals. All rights reserved