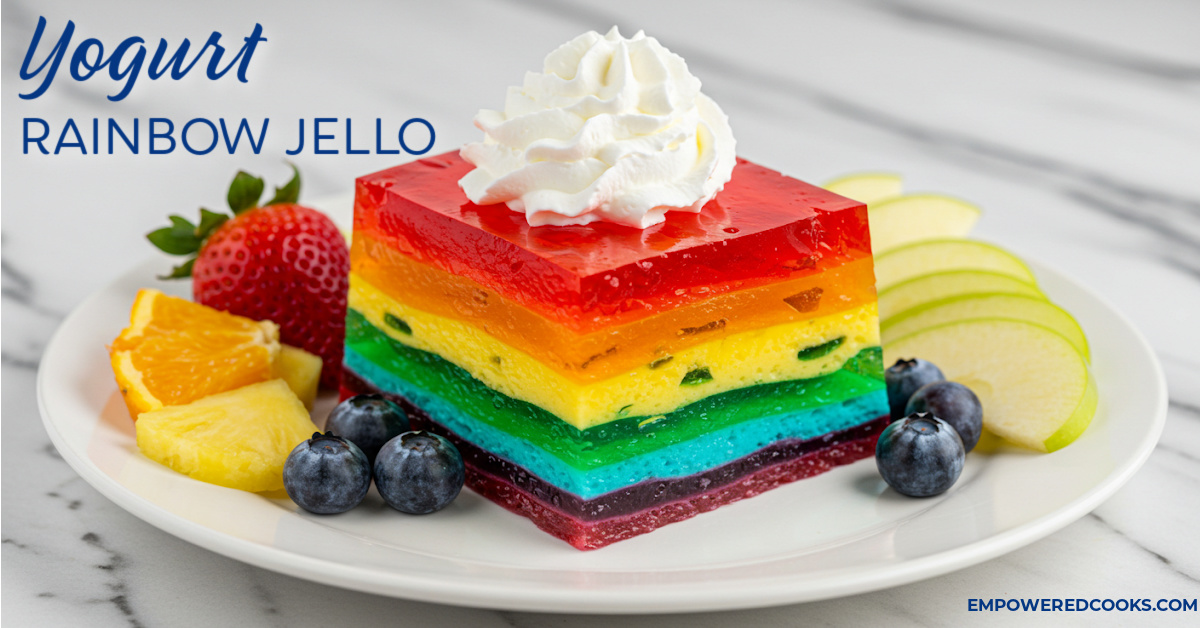
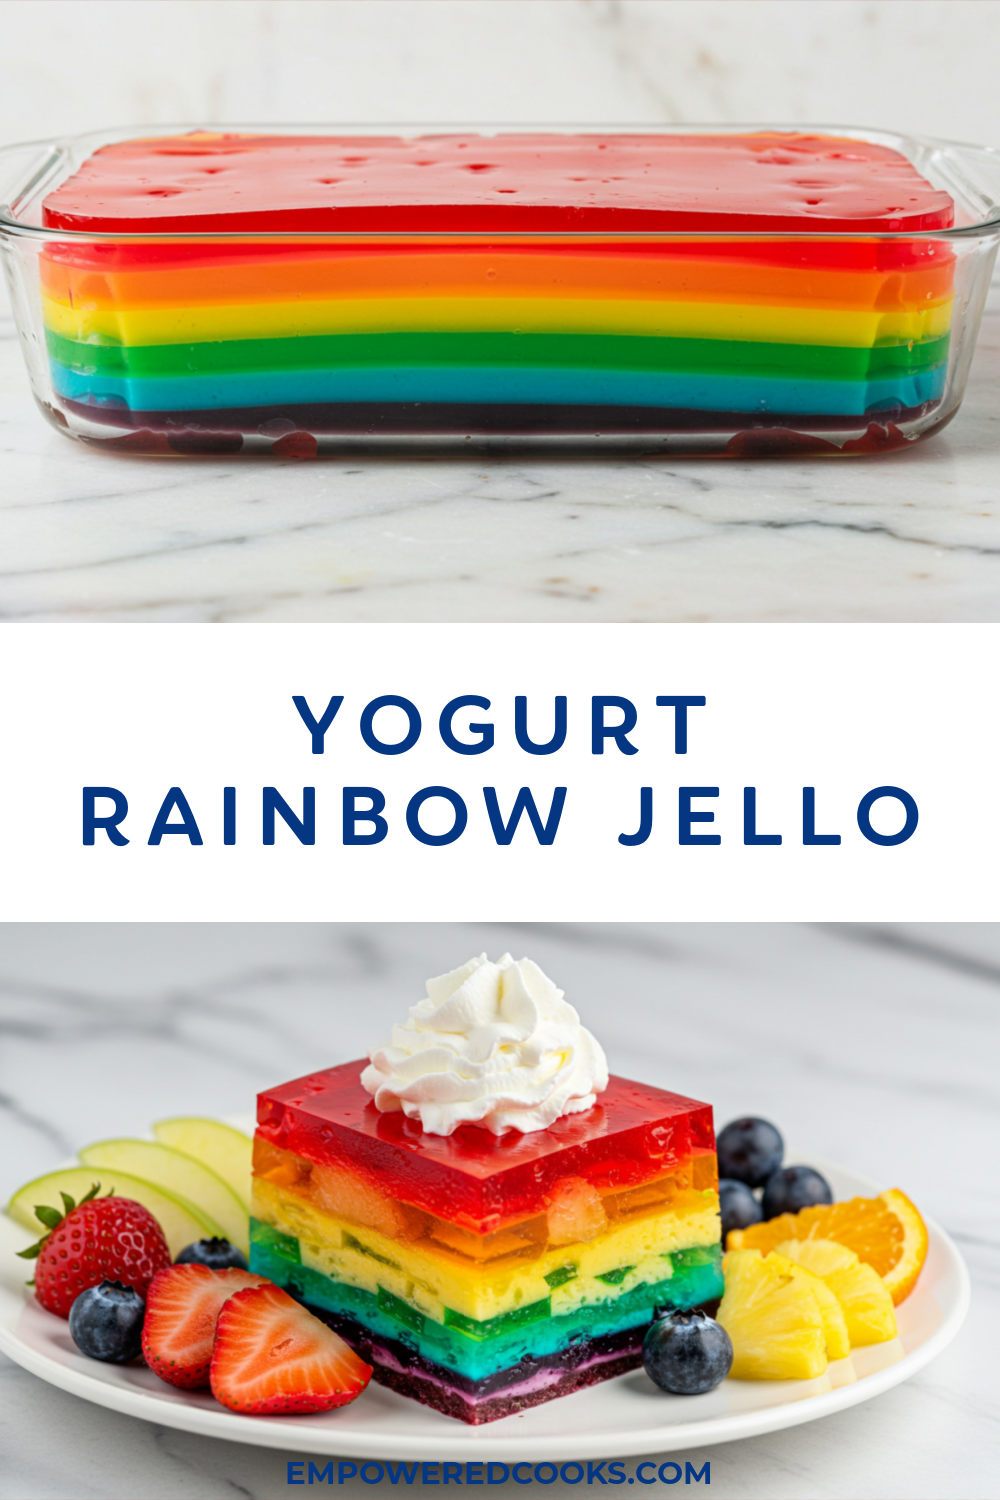
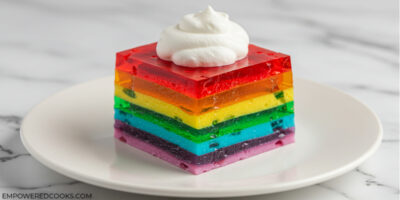
Layered Rainbow Jello with Yogurt
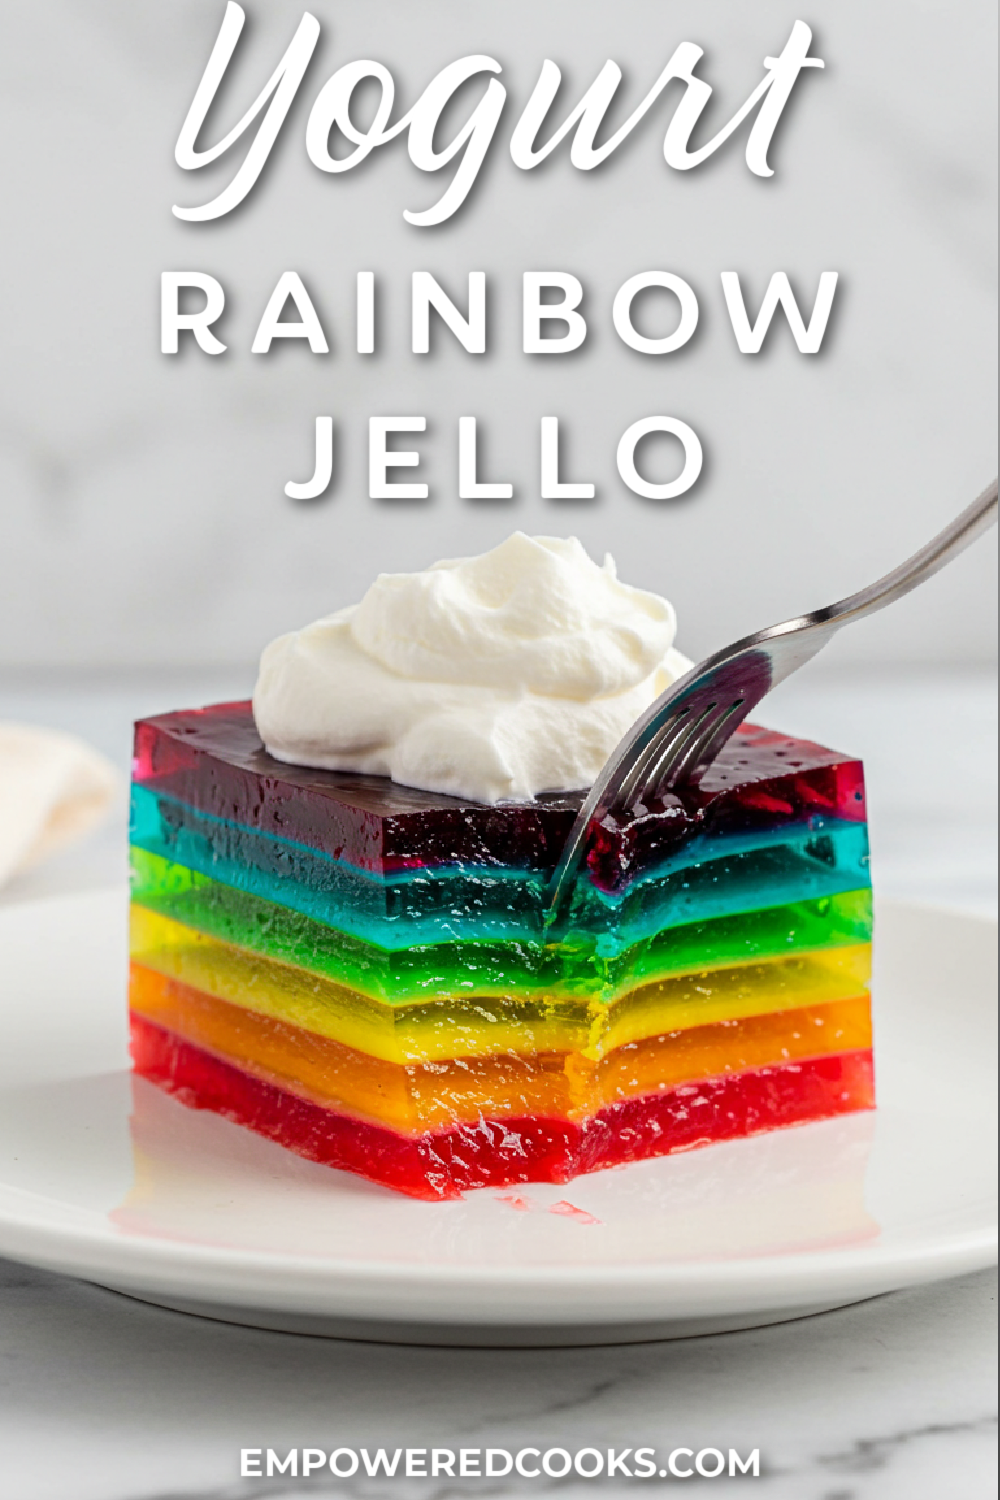
Rainbow Jello Recipe
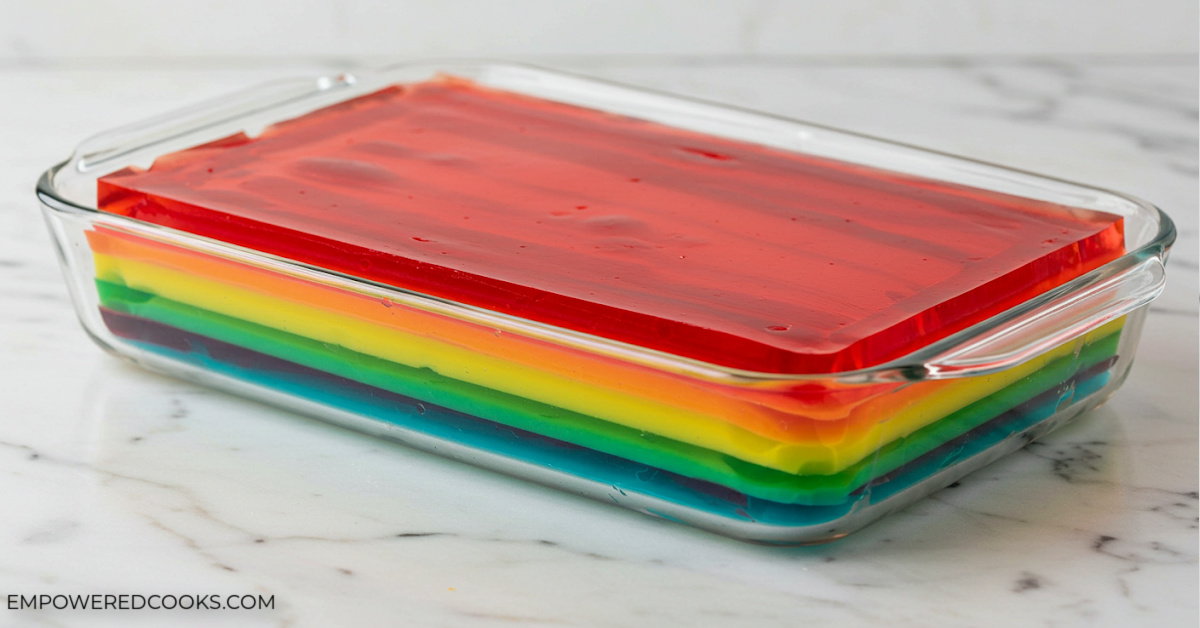
This colorful layered jello is a classic treat that’s as fun to make as it is to eat! The combination of fruity gelatin and creamy yogurt creates a beautiful contrast of textures and flavors. Whether you’re preparing it for a holiday gathering, a kid’s birthday party, or just for fun, this Jell-O is a super fun dessert!
Ingredients and Supplies to Make Rainbow Jello
The ingredients are simple: choose your favorite small box of jello colors!
Ingredients
- Red Jell-O (cherry or strawberry for a deeper red)
- Orange Jell-O
- Yellow Jell-O
- Green Jell-O
- Blue Jell-O
- Purple Jell-O
- Vanilla or plain yogurt
- Water
Supplies
- 9×13 baking dish or decorative serving bowl
- Mixing bowls
- Whisk
- Measuring cups
- Ladle or spoon
How to Make Layered Rainbow Jello
Step 1: Prepare the First Layer
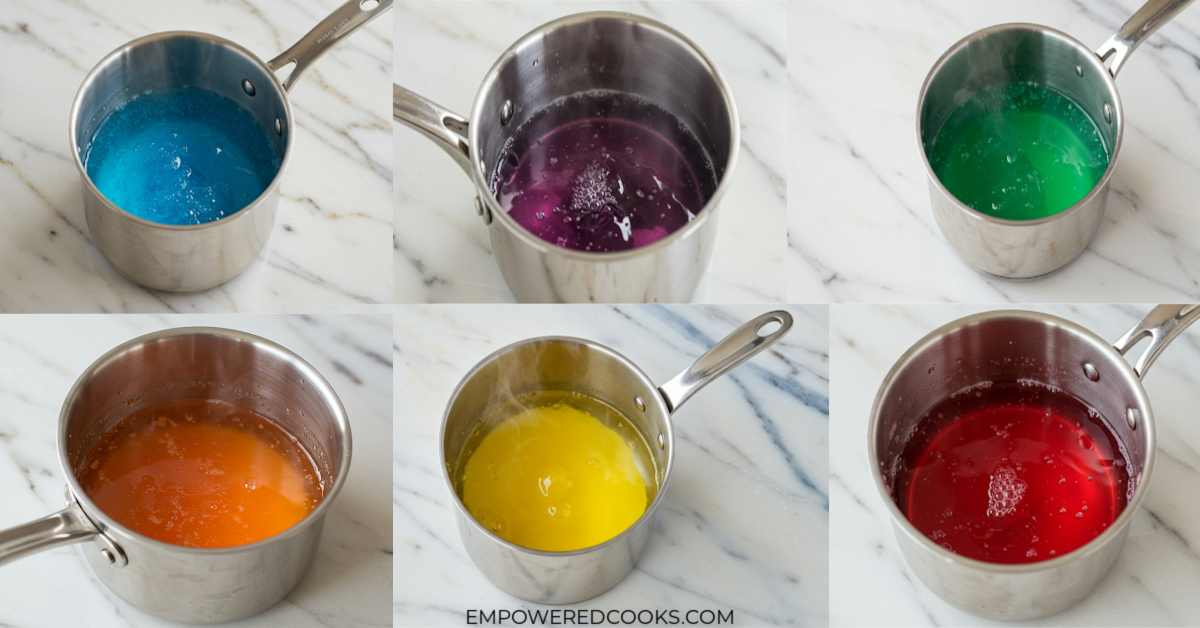
Boil 1 cup of water and thoroughly mix the first jello envelope by whisking the jello powder until dissolved. Split the hot water mixture into two bowls.
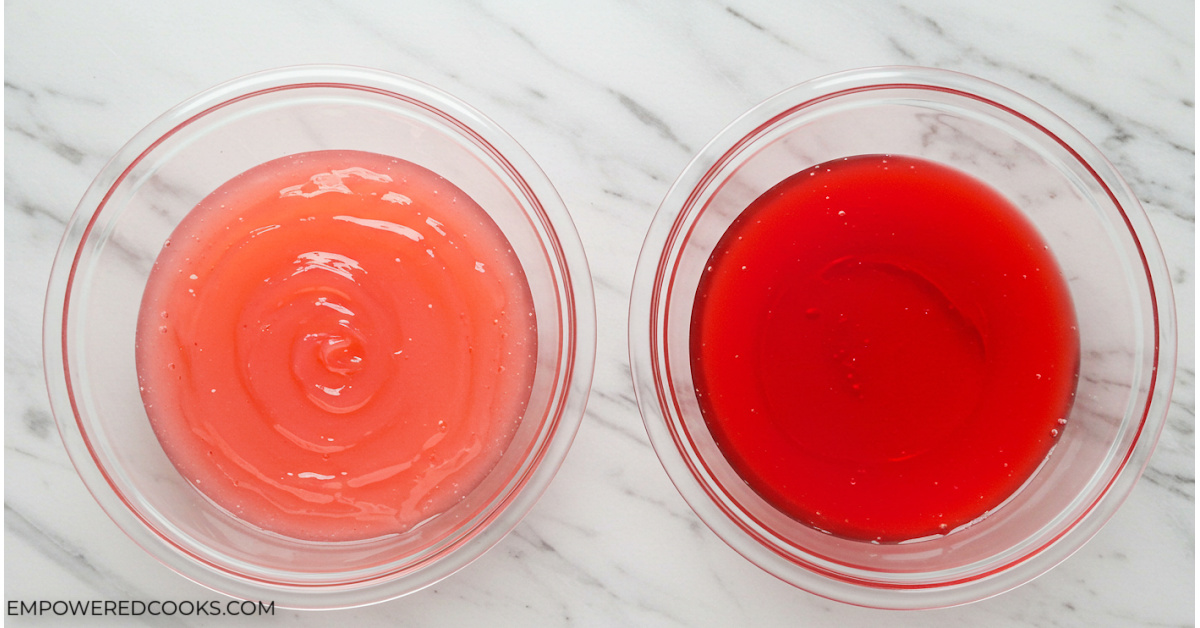
In one bowl, mix in 2/3 cup yogurt until smooth. Pour the yogurt mixture into the baking pan and let it set in the fridge for 45 minutes.
In the other bowl, stir in 2/3 cup cold water. Let it cool at room temperature until slightly thickened but still pourable (to prevent melting the previous layer).
Step 2: Add the Clear Jello Layer
Slowly pour the next layer of water-based jello mixture over the set yogurt layer. Return to the fridge and let it set for another 45 minutes-1½ hours until the gelatin is firm.

Step 3: Repeat for Each Color
Continue the process with each color, allowing each layer to fully set before adding the next.
Be patient! Letting the layers solidify properly is key to clean and defined stripes.
Tips for Speeding Up the Process
- Use the freezer instead of the fridge for each layer to cut the setting time in half. Check after 15-20 minutes to avoid freezing; you only want to solidify the jello, not freeze it.
- Boil all your water immediately and keep it in a thermos to dissolve each Jell-O packet quickly.
- Work on other meal prep tasks while waiting between layers.
Frequently Asked Questions
 Can I use different flavors of Jell-O?
Yes! Jello offers endless variations: You can customize the colors and flavors based on your preference or to match a themed event.
Try a layer of:
- Green lime jello
- Strawberry or cherry for a deep red color
- Berry blue jello
- Yellow lemon jello
How long does jello need to set before adding another layer?
Each layer takes about 45 minutes to 1 hour to set in the refrigerator. Using the freezer can cut the time down to 15-20 minutes.
Note that between each color, the layers need 1½-3 hours to set. You’ll also need to let the jello sit for about 8 hours before serving.
Can I make this recipe ahead of time?
Absolutely! You almost have to prepare this recipe ahead of time. Prepare it a day in advance and store it in the refrigerator until ready to serve.
How long do you let jello set before adding fruit?
You should let the liquid jello set until its partially set but not completely firm before adding fruit. This usually takes about 90 minutes, but can vary depending on the mold and fruit.
- Follow the steps to dissolve the jello powder in boiling water. Then, pour the liquid gelatin into a small bowl.
- Let it set in the fridge until it’s mostly set but not completely firm.
- Stir in the fruit.
- Layer the fruit gelatin in the rainbow gelatin dish, allowing it chill in the fridge until firm.
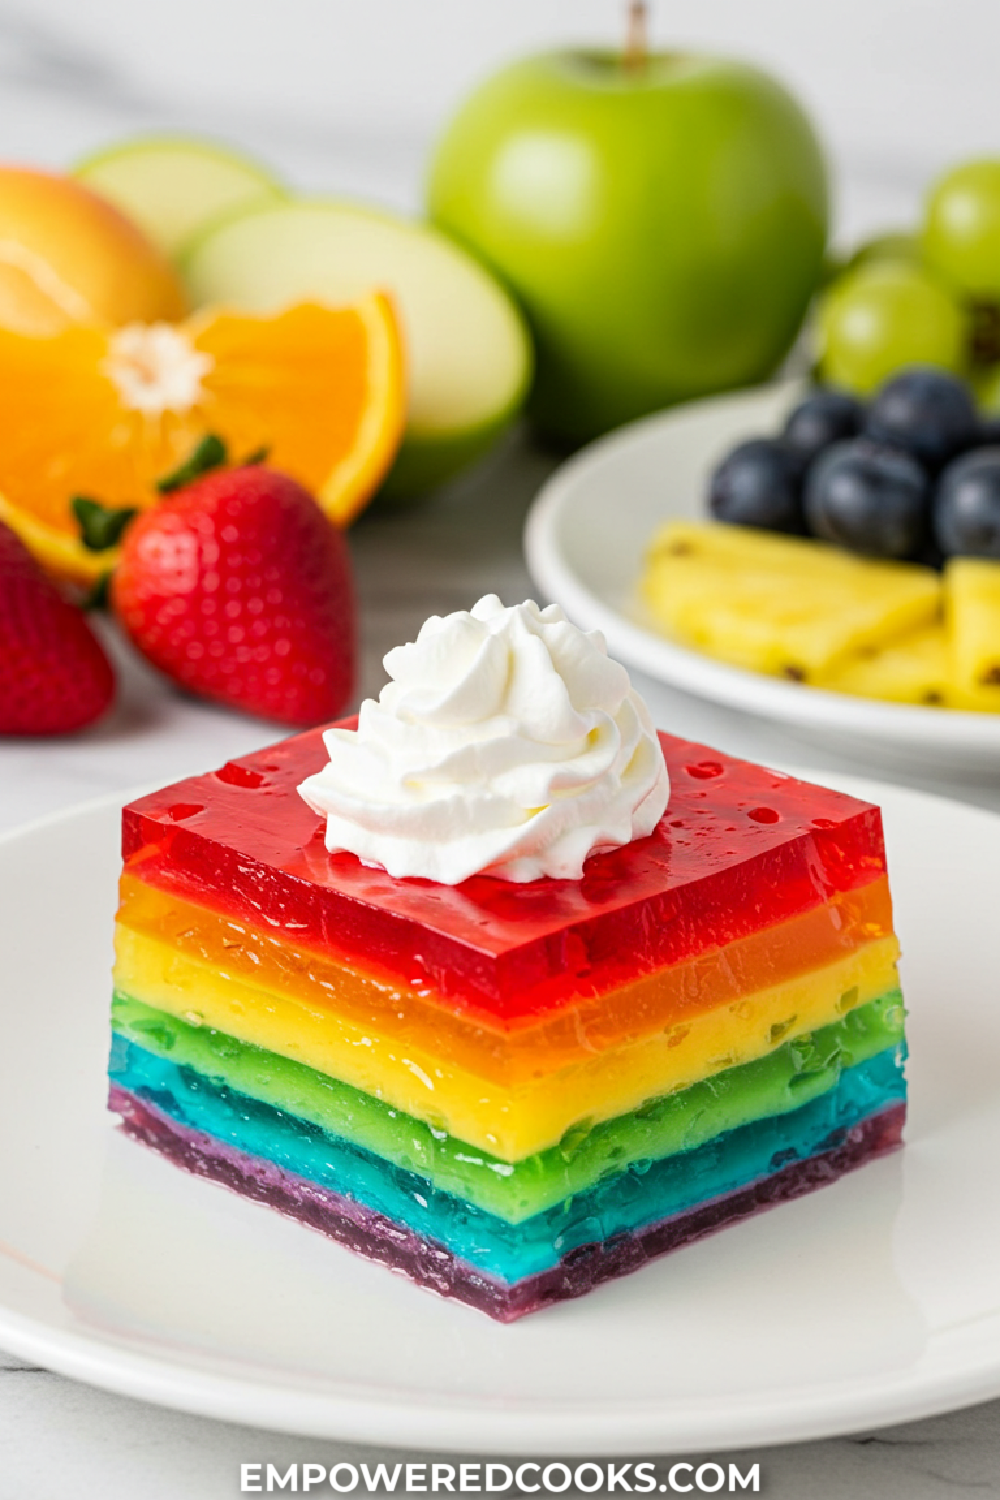
Adding fruit to jello will give it more texture and is a fun way to eat all the rainbow colors! Try these fruits that match the rainbow colors:
- Red jello with sliced strawberries
- Orange jello with mandarin oranges
- Yellow jello with pineapple chunks
- Green jello with kiwi
- Blue jello with blueberries
- Purple jello with grape slices
Final Thoughts
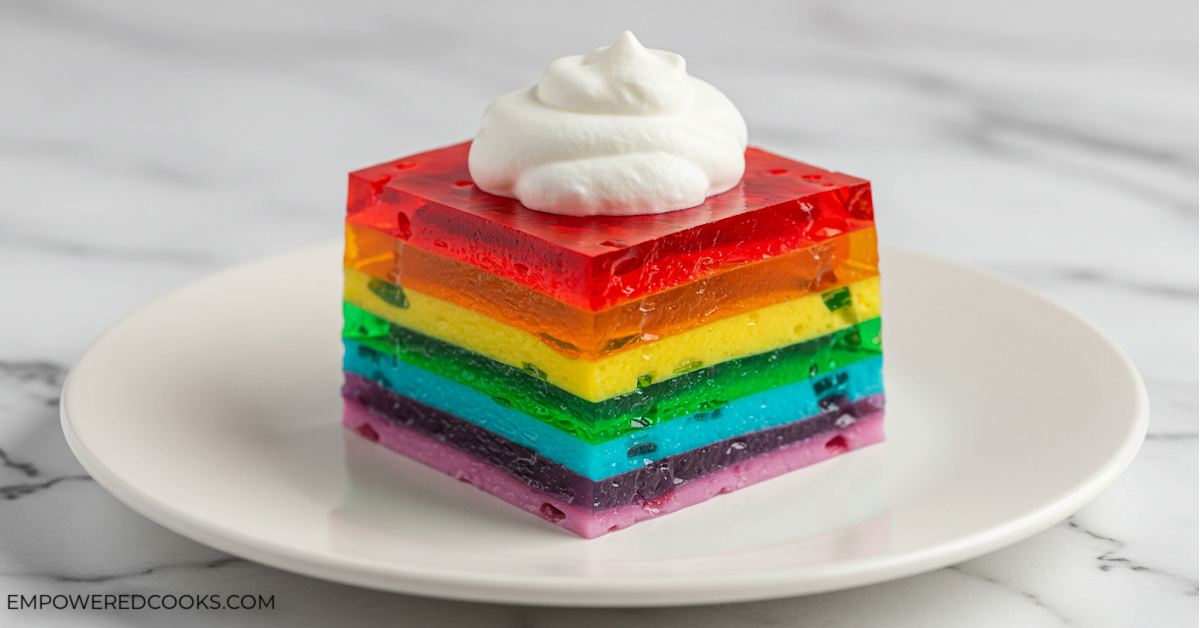
Making layered Rainbow Jello with Yogurt may be time-consuming, but the result is worth it! The vibrant layers and creamy texture make for a show-stopping dessert that’s fun to eat. Whether you’re making it for a holiday, a themed kid’s party, or just because, this jello will surely be a hit. Try it with a spray of whipped cream, and enjoy the rainbow of flavors!
This would be the perfect dessert to bring to a St. Patrick’s Day feast (lucky rainbow), or you could make it for Valentine’s Day or Christmas; use the correct colors for the holiday! No matter where you take it, it’s sure to get some compliments, and people will definitely ask you how you made it. What colors will you try? Leave a comment below!
More Fun Jello Recipes:
More Festive St. Patrick’s Day Recipes:
- Irish Lemon Pudding Recipe
- Healthy Shamrock Shake Recipe
- Shamrock Crinkle Cake Mix Cookies
- Healthy Popeye Muffin Recipe
- Leprechaun Lucky Charms Treat Bars
Easy Rainbow Jello Recipe with Yogurt
Ingredients
- 3 ounce small box Red Jell-O I like cherry over strawberry, it gives a deeper red
- 3 ounce small box Orange Jell-O
- 3 ounce small box Yellow Jell-O
- 3 ounce small box Green Jell-O
- 3 ounce small box Blue Jell-O
- 3 ounce small box Purple Jell-O
- 4 cups vanilla or plain yogurt
- 10 cups water divided
Instructions
- Starting with either Red or Purple, work your way thought the different boxes of jell-o in the order (or reverse order) listed above.
- Dissolve 1 package Jell-O in 1 cup boiling water.
- After dissolved, split into 2 bowls.
- Add 2/3 cup yogurt to one bowl, and stir until smooth
- Add 2/3 cup cold water into the other bowl, and stir for 10-15 seconds.
- Pour yogurt mixture into 9x13 pan and let solidify in fridge for 45 minutes.
- Pour water mixture slowly over yogurt mixture, and let solidify in fridge for at least 45 minutes.
- Repeat with each color.
Recipe Notes
Nutrition
Trending Recipes


Comments & Reviews
Leave a Review/Reply
More Related Recipes


Trending Recipes
- Recipes
- DIY
- Deals
- Blog


Popular
Recommended
About Us

At Fabulessly Frugal, our goal is to help you live HEALTHY, WEALTHY, and WISE! My team and I work hard to bring you the best, online deals, clean eating, DIY's, freezer meal recipes, and more! I LOVE coaching and inspiring people to improve their health in my fitness challenge! You should also check out my favorite cleanse! Learn more about me and the rest of my team.

Copyright © 2008–2026
Fabulessly Frugal: A Coupon Blog Sharing Gift Ideas, Amazon Deals, Printable Coupons, DIY, How to Extreme Coupon, and Make Ahead Meals. All rights reserved
How much does this make?
a VERY full 9×13 pan.
I am confused. Do you let the half with no yogurt sit on the counter for 45 minutes while the same color mixed with yogurt sets? I guess the color without yogurt will not set while sitting out?
Yep! It takes the cold in your refrigerator to make it solidify. It’ll stay liquid at room temperature for a LONG time (hours!)
Great SIMPLE recipe for layered jello salad! 👍👍
Glad you liked it Maura! Thanks for reviewing!
I just made this for St Patricks day- with a little whipped cream cloud and a gold coin. I made them in individual juice glasses though so I wouldn’t mess them up when cutting them- also so that it would be all ready to go when we were ready for them. Also- I was short on time and so I popped my layers into the freezer for 15 minutes each time and thus cut the time down to almost a third. I would mix up the next layer while my previous layer was setting and it kept the whole thing moving along pretty quickly. Thank you so much for this recipe – my kids were thrilled!
That’s a great idea! I’m glad your kids love it!
Kids of all ages love it. Yay, thank you for posting this great old recipe – I first made it 45 years ago for my then-5 y/o son. This time around, I’ve sought it out for someone who’s on a soft diet & having digestive surgery this week. It’s such a wonderful, happy treat 🙂
Hi Helen, thanks for the comment. It really is a classic and happy treat.
Made for a wedding shower and everyone enjoyed.
Decided on only 10 layers – 10 hours…
As it turned out, my 9×13 glass dish was filled to the top with 10 layers.
2/3 cup yogurt was perfect using Yoplait which is 6 oz.
Paired the Lime jello with Key lime pie yogurt
Lemon with Lemon yogurt and so forth. Thouhgt it added more flavor than plain yogurt.
Just thought I’d pass along this idea.
Thank you for your delicious recipe.