DIY Believe There Is Good In The World Pallet Sign
Homemade “Believe There is Good in the World” Pallet Sign
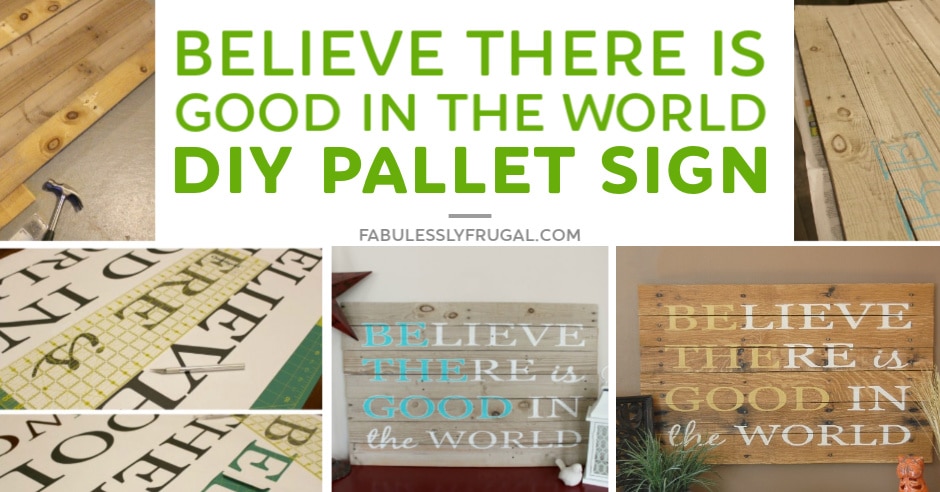
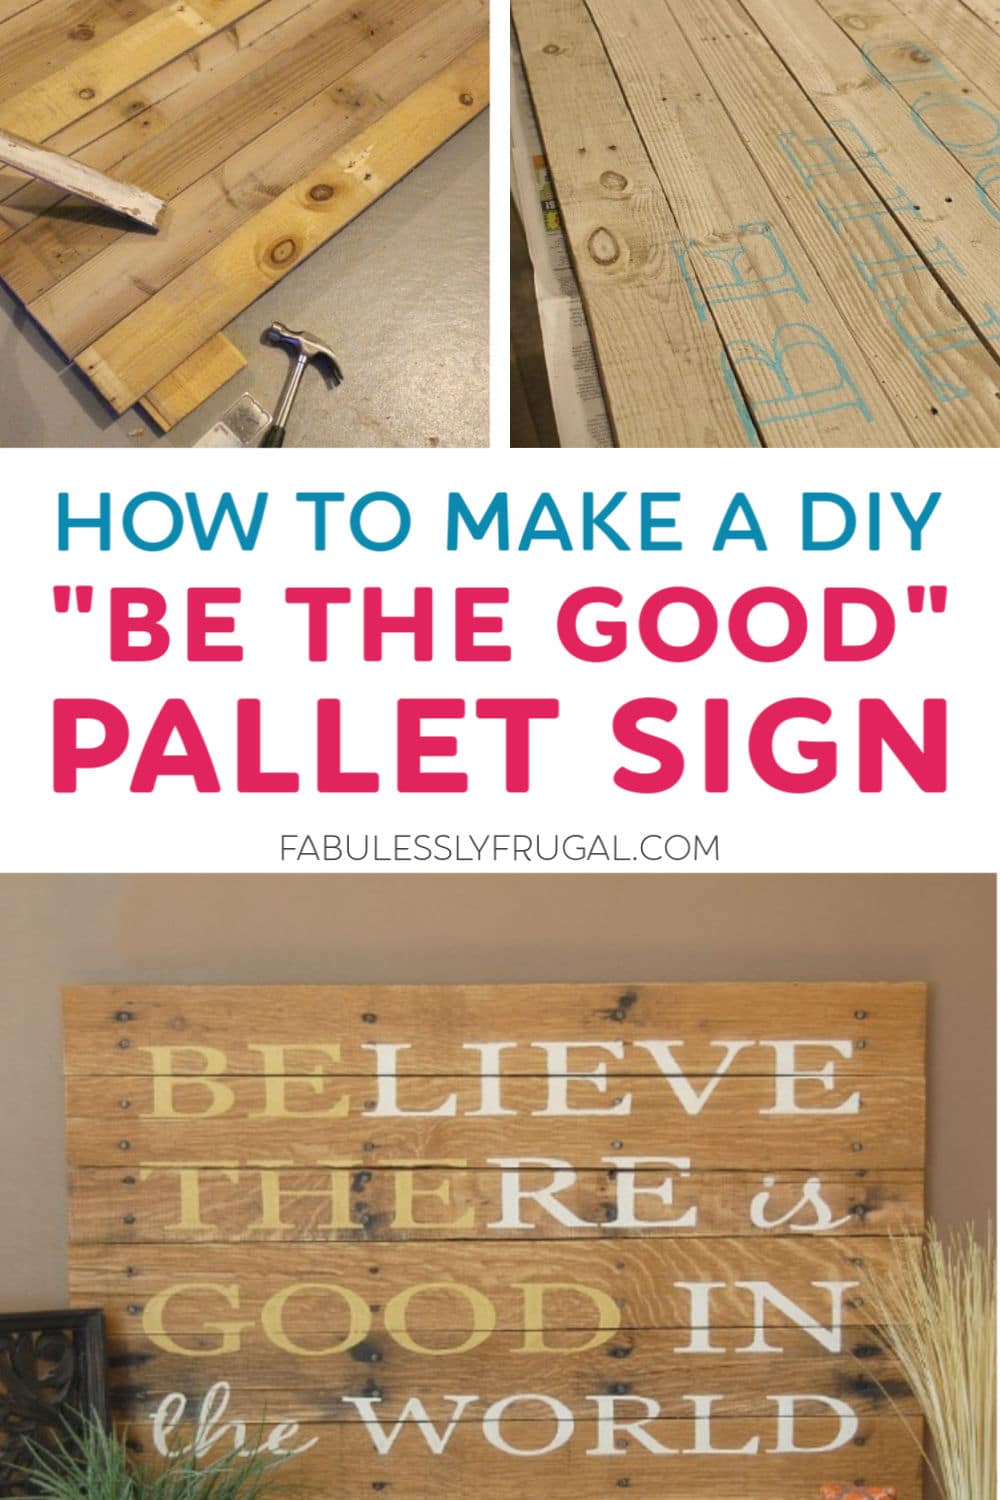
I acquired some lovely, free pallet wood recently and wanted to put it to use as something nice for my home. My friend and I decided to make a few girls’ nights out of it and recreate this cool pallet sign from Blooming Homestead – in true frugal style, of course.
Supplies Needed
- Pallet boards
- Thin scrap wood to brace boards
- Saw (I used a jigsaw.)
- Wood glue
- Hammer
- Nails
- Lettering template (You can download the one I used here, then have it printed at a print shop to the size you need.)
- Cutting mat
- Craft knife
- Straight edge ruler
- Tape
- Pencil
- Two colors of acrylic paint
- Art paint brush
- Picture wire (optional)
How to Dismantle a Pallet and Tell If It’s Safe to Use
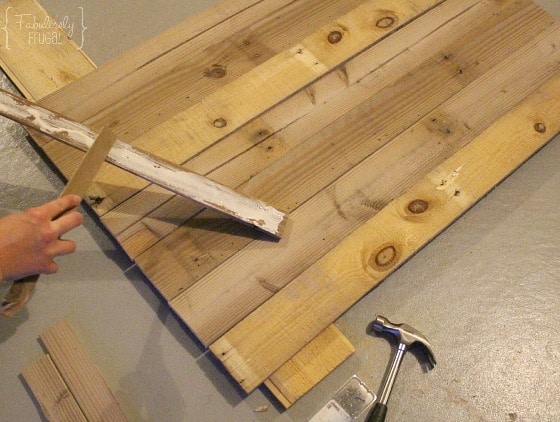
Before we get started let’s talk a little bit about dismantling a pallet…it can be hard work! Some are easier than others. I mostly used a pickax tool to pry boards off with even pressure and the leverage of other boards. I couldn’t salvage all of the wood, but I got what I could! You can find lots of videos and other ideas of how to disassemble pallets online too.
To tell if your pallet wood is safe to use, you want to look for an IPPC logo. If there is an HT, the wood was heat treated. If there is an MB, it was treated with Methyl Bromide.
- Avoid using pallet wood from a pallet marked with MB
- Avoid using any pallet wood that appears to have had something spill on it
- Here is some more info on how to know if pallet wood is safe.
How to Make a Custom DIY Pallet Sign
Step 1.
Decide on a size for your pallet sign. My size ended up being 24 inches tall and about 37 wide, using 7 pallet boards. Since the wood was from two different pallets, I had to cut a few of the boards to size. It was easy enough to do with my jigsaw though.
Step 2.
Place some scrap wood or something else sturdy on the floor to lift the signboards off of the ground. Then, lay out your boards as you want them to be for your sign. Now flip the boards over keeping them in your same desired arrangement, so you are looking at the backside of the sign.
Step 3.
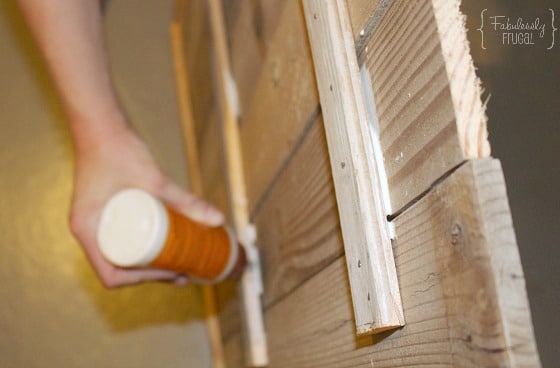
To hold the boards together, use the scrap wood pieces, wood glue, and nails. My scrap wood was actually more pallet wood that I cut in half lengthwise and cut to length.
Spread wood glue on the small piece of wood, put it in place glue-side-down across the pallet sign boards, then hammer in some nails (about 2 nails per each pallet board should do it). You want the nails to get long enough to go through the small wood and into the pallet boards, but not so long that they come out the other side of the pallet wood.
Note: There will be some gaps because pallet wood is not perfect. So once you have the supports nailed on, use wood glue to fill in some of the gaps between the scrap wood and the pallet boards. Let dry.
Step 3.
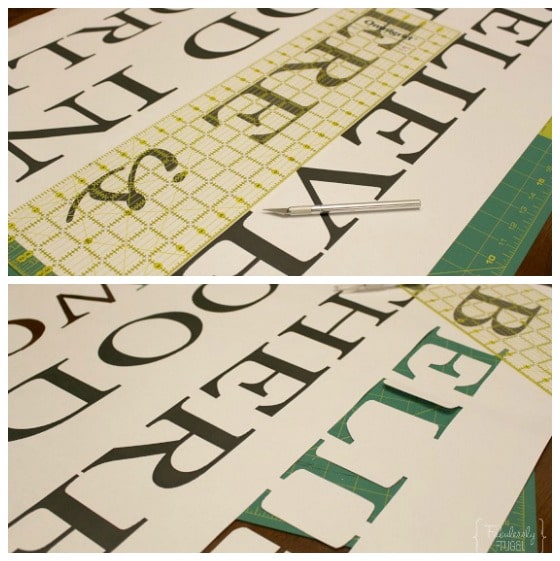
Neither of us has a Cricut, Silhouette, or anything like that, so we made our own lettering template by choosing fonts, arranging it how we want it, and took it to a print shop to get it printed at the right size for our sign on cheap paper.
We had it enlarged and printed to 24×36, then we used a craft knife and straight edge to start cutting out the letters. Yes, this did take some time, but it wasn’t too bad. 🙂 You might want to put on a funny movie or something while you work. Ha.
Step 4.
If you have a Silhouette to cut letters for you, you might want to check out how Blooming Homestead did it too.
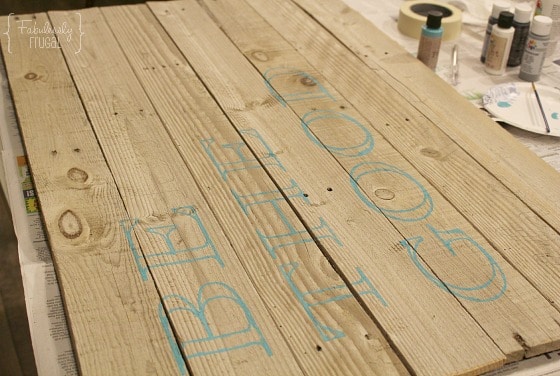
Once the letters are cut out of the template, tape it to your sign and start tracing the letters onto the sign with a pencil. (If you plan to use the template only once, you could probably carefully paint the letters with the template and skip the pencil.)
Step 5.
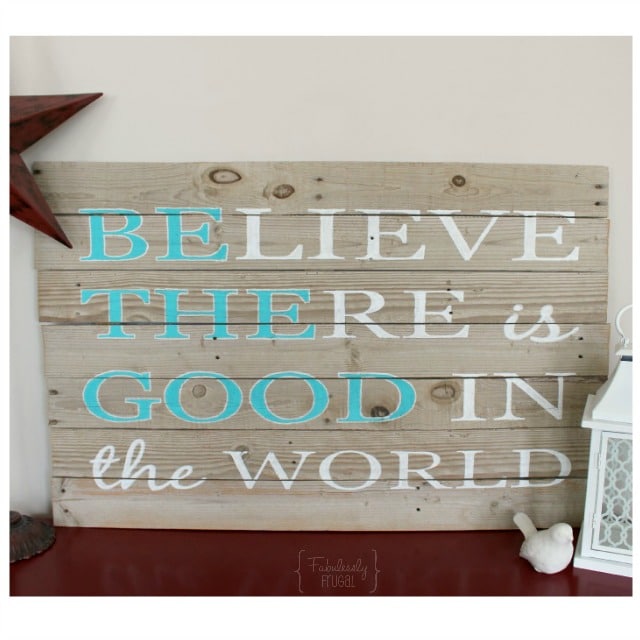
Remove the template and go over the outline of the letters with the paint color of your choice, then fill the letters in with the paint. The cool part about this sign is that the words “Be The Good” are a different color than the other words. It was helpful for me to test the paint colors next to each other on a scrap piece of wood before I finalized my paint color choices.
Step 6.
Once it was all finished and dry, I decided to outline the “Be The Good” part with a white paint pen. I’m really happy with how it turned out!
Step 7.
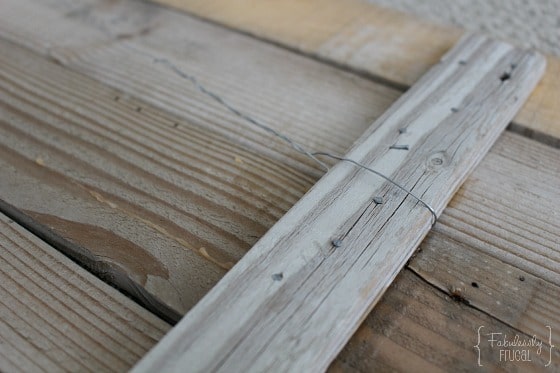
To hang my sign on the wall, I wrapped a long piece of picture wire around one of the outer pieces of wood on the back and then over to the other outer piece. Depending on your wood, the sign might be heavy, so plan to secure it to the wall accordingly.
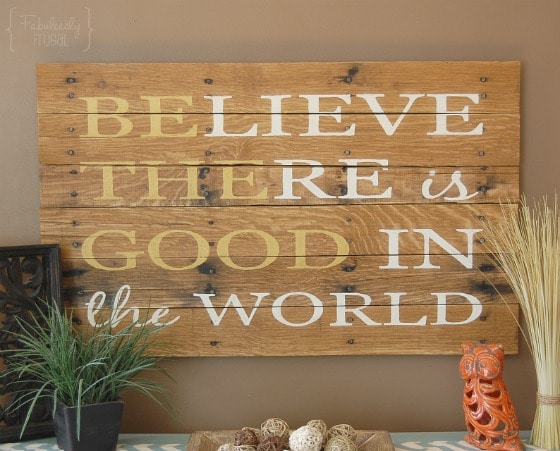
Here’s how my friend’s sign turned out:
Have Fun Making Your Own DIY Pallet Sign!
I had a blast making my pallet sign and I’m sure you will too! I love seeing such a wonderful message on my wall every day. I also love how you can customize your pallet wood sign however you want, it can be completely unique!
Another bonus is that it’s super inexpensive to make your own pallet sign. I think a sign like this would make a great homemade gift as well!
More DIY Crafts:
- 20 Easy String Art Projects & Ideas
- Giant DIY Growth Chart Ruler Tutorial
- Easy DIY Bulletin Board (French Memory Board)
Trending Diys
Comments
Leave a Reply
Report a Problem
Please select the problem you are facing with this deal:
- Price Increased
- Price Decreased
- No longer available
- Expired
- Link doesn't work
- Suggestion
- Compliment
- Other
Add more details:
Thank you for your feedback. We really appreciate it.
Enter your email address if you would like to receive a follow up.
Please Try Again









Thank you for sharing. I just might try this myself.
Awesome! Let me know how it goes!