How to Make a DIY Compost Bin from Pallets
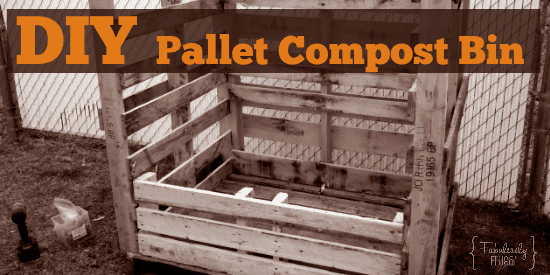
DIY Compost Bin
There’s a lot of buzz around upcycling and using wooden pallets these days. People are making headboards for their beds, coffee tables, spice racks, vertical herb gardens. It’s all pretty cool.
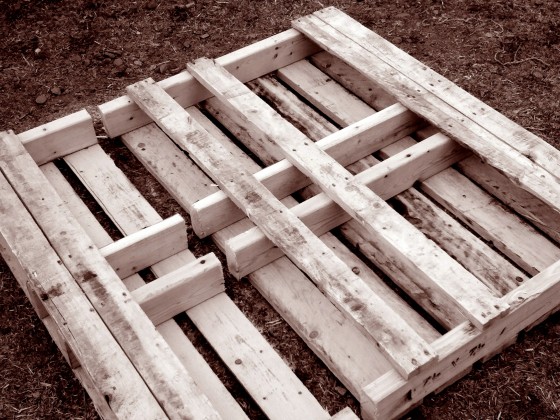
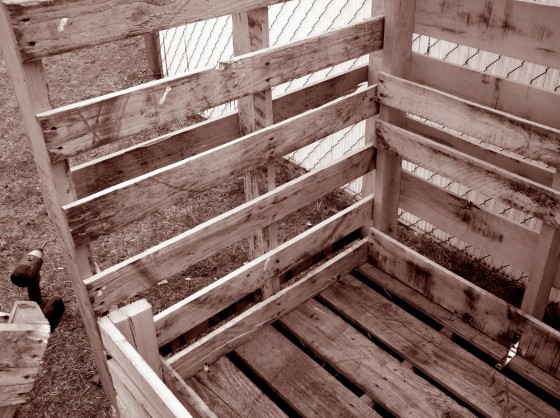
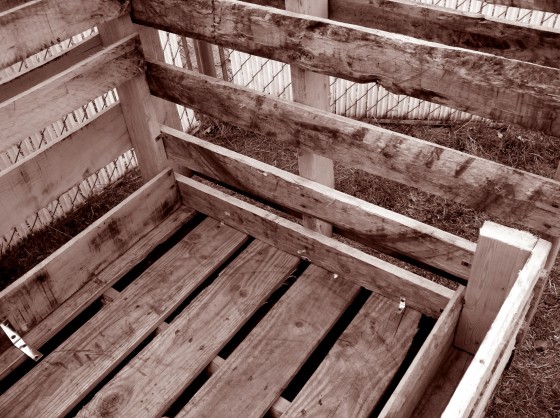
So, one day about a month ago, my husband brought me 5 beautiful, mismatched pallets. Oh, what a good man… And what to build? I decided that since I am out in the garden so often and our teenie-weenie barrel composter was nearly full, we’d build a pallet compost container.
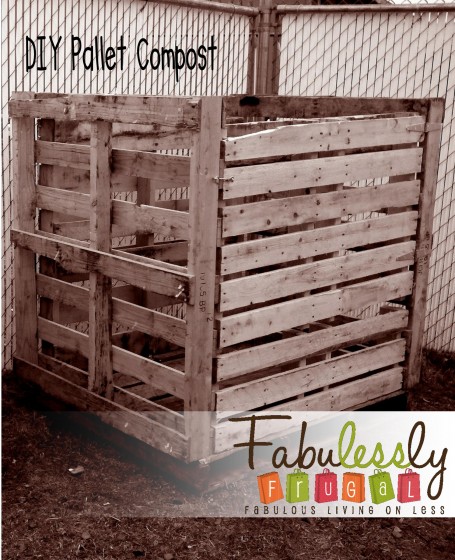
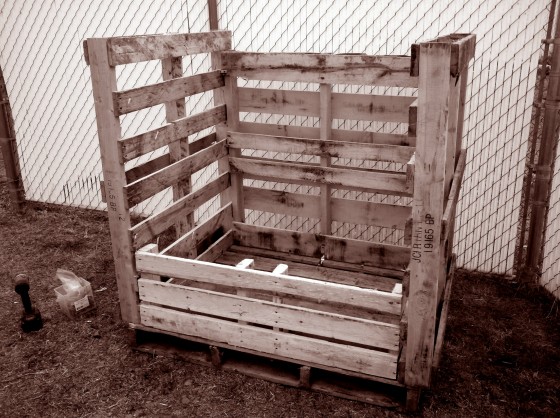
This new compost is considerably sturdy, triple the size of the barrel, and it only cost us about $6.00 out of pocket to make (we had some of the hardware on hand already). So, if you are interested in building one of these boxes for yourselves, follow along below.
How to Make a Compost Bin from Pallets
DIY Compost Bin Supplies:
- 5 wooden pallets (the closer in size the better)
- 1 2″ L bracket (optional)
- 10-15 1″ L brackets
- 1″ and 2″ wood screws
- 2 sturdy hinges
- 1 hook eye door latch
- Cordless or electric drill
- Hand saw or electric Sawzall
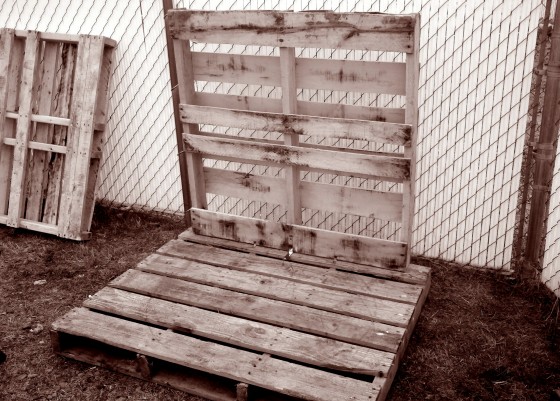
The base:
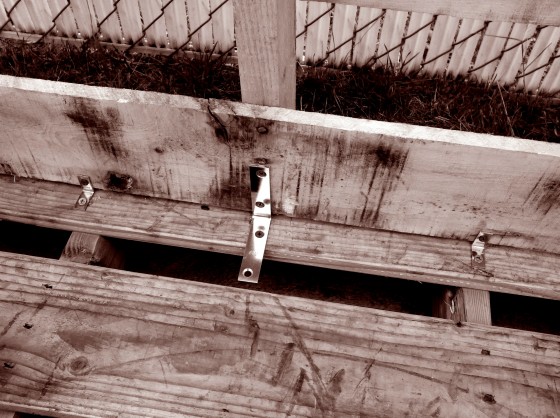
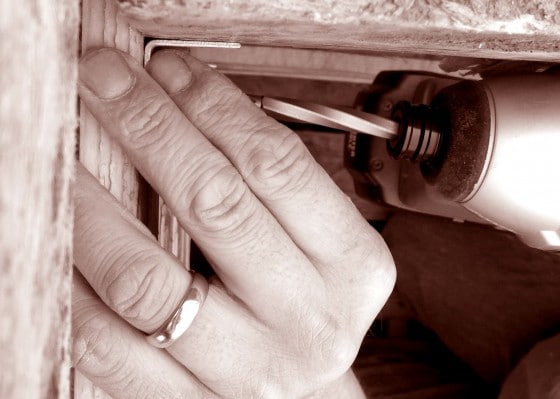
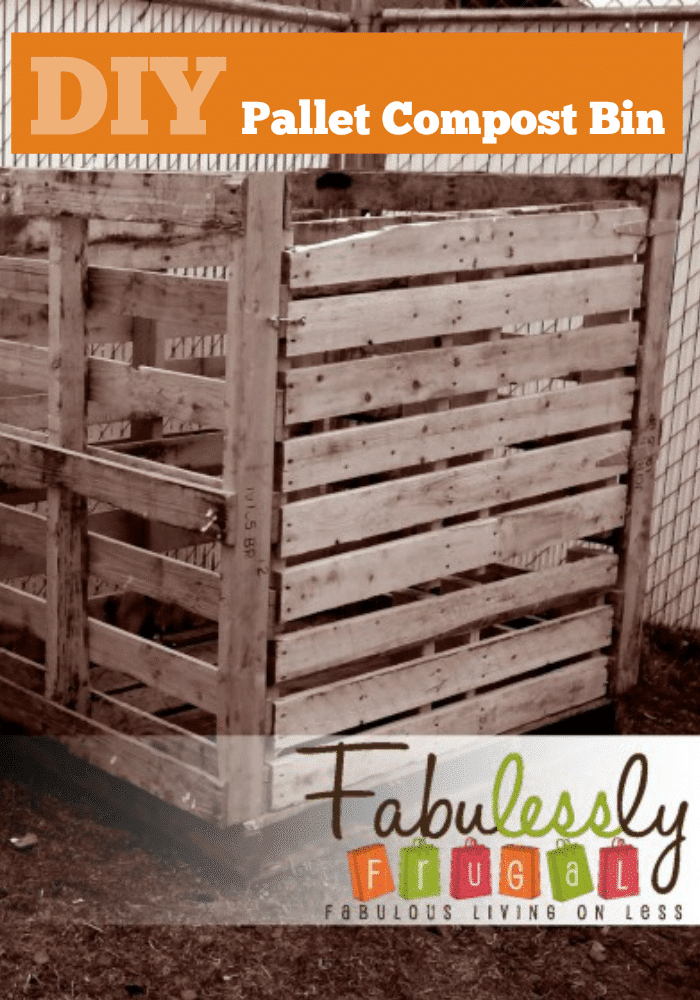
We started by determining which pallet was going to be our base. Once we decided, we centered and attached the back panel with the 2″ L bracket and 2 1″ L brackets.
Side walls:
Then, we selected the two pallets that were most similar in size and used them as the side walls. We attached the sidewalls to the back wall and the bottom of the sidewalls to the base, all with the 1′ L brackets.
Creating the front door:
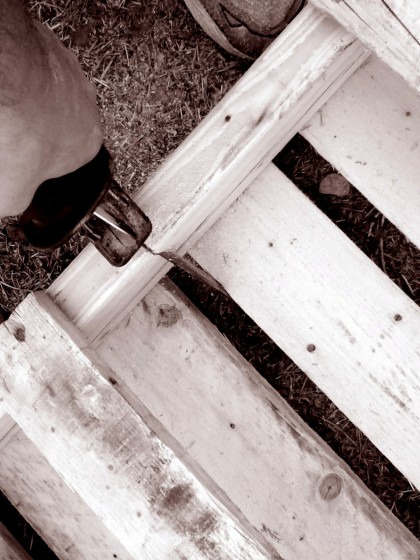
Then, we made the front door. We wanted to create a way to open the front door of the bin to both mix and dig out the compost, so we decided to cut the front panel into two pieces. Using my man’s Sawzall (you could also use a handsaw as not all men and women are as power-tool-hungry as we are), we looked for the most obvious and clean cut and found that it was about 1/3 of the way up the pallet.
This allowed us the ability to fix the bottom 1/3 piece in place and allow the top 2/3 piece to open with the hinges. We attached the bottom panel with the 1″ L brackets to both the sides and the base.
Attaching the front door:
Then, we attached the top piece with the two hinges on the right side of the pallet. To ensure that the door opened smoothly, we temporarily placed a thin piece of wood between the bottom and the top pieces before screwing the hinges into place. That way the door wouldn’t rub on the bottom piece. After the door was in place, we attached the hook eye latch, and we were done!
Finishing up:
Ironically, right about the time we were finishing up our bin, our neighbor was trimming some brush in his front yard. As he started throwing the trimmings into the garbage, I called out, “Wait! Don’t throw them away! I’ll take those for my compost!”
Collecting my neighbors’ brush! What’s next? Providing buckets to my friends so they can put their fruit scraps in them? If you know the feeling, then you are probably a compost whacko like me.
Side note:
I should mention that it’s pretty important to find out a little bit about your pallets. Were they used to haul chemicals? If so, they are not good for building a compost or anything else that has to do with your garden. But if they were used to haul things that are non-toxic, then they are fine. Finding out this information can be a little tricky, but your chances of getting safe pallets to use are better if you get them at places like nurseries and grocery stores.
Okay, enough of the safety talk. Happy gardening and happy composting!
Helpful Composting Resources & Tools
Let it Rot!: The Gardener’s Guide to Composting
In 1975, Let it Rot! helped start the composting movement and taught gardeners everywhere how to recycle waste to create soil-nourishing compost. Contains advice for starting and maintaining a composting system, building bins, and using compost.
Dr. Earth Compost Starter
- A superior blend of alfalfa meal, seaweed extract and beneficial soil microbes
- For all composting applications
- Creates true humus
- Speeds up decomposition of raw organic materials
- People and pet safe
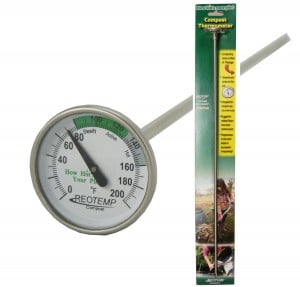
Reotemp Compost Thermometer
- 20-inch All Stainless Steel Stem!
- Dial: 0/200 Fahrenheit with 3 Temperature Zones – Steady, Active and Hot
- 1 Year Limited Warranty
- Hermetically sealed (won’t fog up). Can be left in the compost pile over night.
- Basic Composting Instructions! (printed on the back of the packaging)
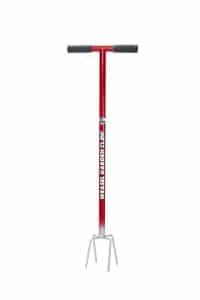
Weasel Garden Claw
- Great for cultivating many soil types
- Use the comfort grip handle for easy spiral turn action
- No bending
- Comes fully assembled and is easy to store
- Can be used as a compost turner
More DIY Gardening Tips and Tricks
- How to Start an Indoor Herb Garden
- Store Lawn Tools With a Pallet!
- Shade Coverage in Your Garden
- Gardening: Bird Netting for Berry Bushes
- Garden Tip: Reusing Items for Gardening Tools
See all our DIY garden posts here!
Comments
Leave a Reply
Report a Problem
Please select the problem you are facing with this deal:
- Price Increased
- Price Decreased
- No longer available
- Expired
- Link doesn't work
- Suggestion
- Compliment
- Other
Add more details:
Thank you for your feedback. We really appreciate it.
Enter your email address if you would like to receive a follow up.
Please Try Again







The thing about the skids being used to haul chemicals is rediculous.
I’m always open to hearing why…please share. I’d just rather not have chemical ick in my garden. What are your thoughts?
I work for a company that uses many pallets and several of them are made from woods that are chemically treated to make last longer or more resistant to mold/rot. There are a few that are “organic” or safer than most. The ones that you want to look for are branded with what looks like a pine tree. Some companies only accept on pallets that are certified with this stamp.
Andrew, thanks for sharing! This is great information to know! (I am the original author of this post, but am no longer an active contributor. 🙂
Thanks Andrews! And Dana!! (we <3 you!)
Hi Dana!!! 😀
I use four pallets and set them on the ground. I staple chicken wire inside the bin to hold everything in. I hold three pallets together with screws and the front is fastened with wire. I now have 6 of these bins. The first two bins I created have completely composted themselves!
Just did this today, thanks for the great tutorial!!!
You are welcome! Happy composting!
Great tutorial! I have a pile of pallets waiting to become something great, and I think it might be this. My only question is, do you ever have problems with your bin attracting critters? I’d like to put a bin in our front (unfenced) yard, but we have skunks in the area and I’d rather they not visit…
Thanks for the compost pallet plans. Building one today!
This is so cool, I’m a single woman who bought a house last year, yard needs lots of work, I don’t want to haul brush/garden stuff to the brush site in my car, and I need some good compost for the garden anyway! Don’t have too much extra cash on hand, so this is perfect. one question: does it not need a lid? I live in MN so I assume the composting will happen in the hot hot summertime. do I need to put a tarp over it or anything? Also, echoing another poster–will this attract skunks? I hope not. I don’t mind the bunnies living under the shed, but would rather not have skunks! TYIA for any info you can give me!
Hi Carrie,
Thanks for your questions. If you wanted to add a tarp around the outside of the bin, you most certainly could. The hotter the inside gets, the quicker the elements will decompose. However, compost needs to be watered to break down, so be sure to either water it with a hose or uncover it when it rains. Keeping to covered would probably keep critters away as well, though I didn’t have a problem with that and mine was uncovered.
If you don’t want to cover it, keep food scraps to the center of the bin and things like grass clippings against the walls. This will cut down on food smells and make it harder for critters to get in.
A belated thank you for the response! I’m so excited to get this done!
I love this idea! In fact I did the same thing except I used the large zip ties to hold a 3 sided pallet together and just placed another pallet side ways in the front to keep the compost from falling out. It wasn’t attached, just leaned against the front.
To address the issue of the odor, I can tell you that if you use straw to cover the top of your compost, you won’t have a problem. I used the
“Humanure Handbook” method of composting and could sit outside in the heat of summer right next to my compost pile and not smell a thing!
Thanks for the tips!
We just bought a house and I am so excited to try this! I do have one question. Would it have been helpful to hinge both the upper and lower part of the front? I am wondering if you wanted to just take some compost out that being able to just open the bottom third of the front would be the easiest way.
Also I see that you made this in 2012. How is it holding up?
Beth, that is a genius idea! As for your other question, she actually ended up giving the compost to a friend when they moved after the growing season. We am not 100% sure on its condition… we think that the life of the bin would depend on the weather in your area. In dryer climates, we can see it lasting a good number of years. However, if you are in a wet climate, we would guess it might last about 2-3. Hope this helps!