How to Make DIY Bird Netting to Protect Berry Bushes
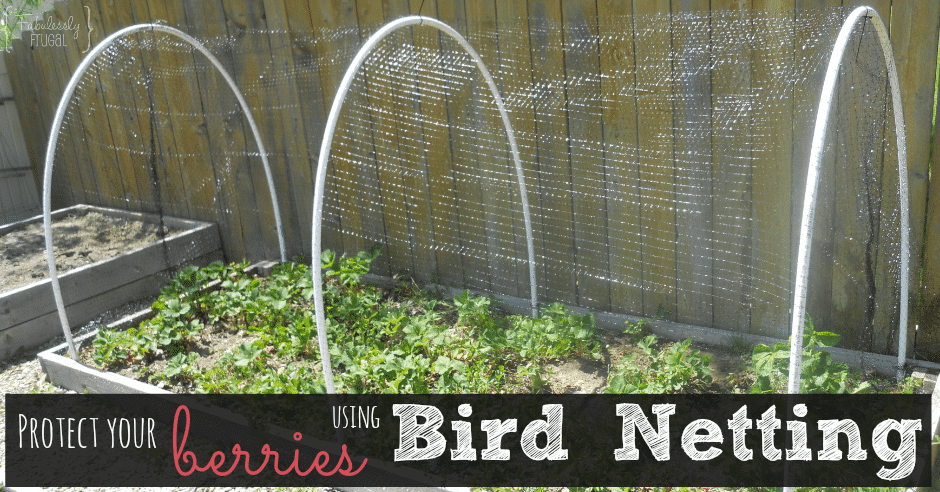
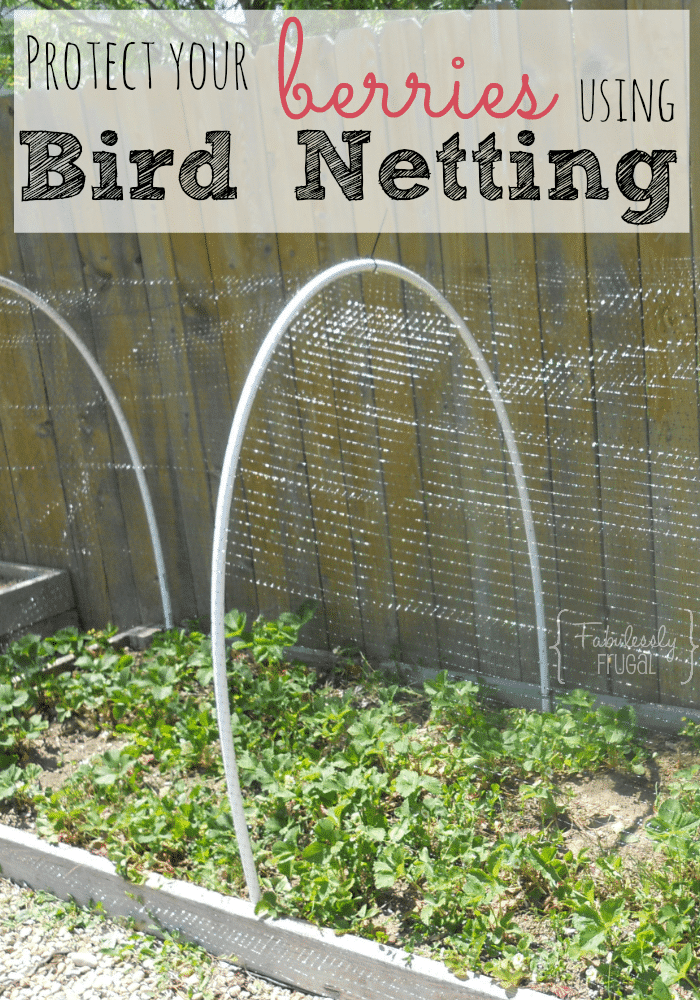
How to Protect Strawberries From Birds With DIY Garden Netting
Last year we only were able to harvest a hand full of delicious & fresh strawberries because the birds loved them as much as we do. So this year I want to be a step ahead of them by putting up some DIY garden netting!
This was a simple and frugal DIY gardening project! Protect your berries and put up your own DIY bird netting with these three steps!
P.S. You can do this with all your berries! This works as blueberry netting, strawberry netting, raspberry netting, and for anything else that you don’t want birds getting into!
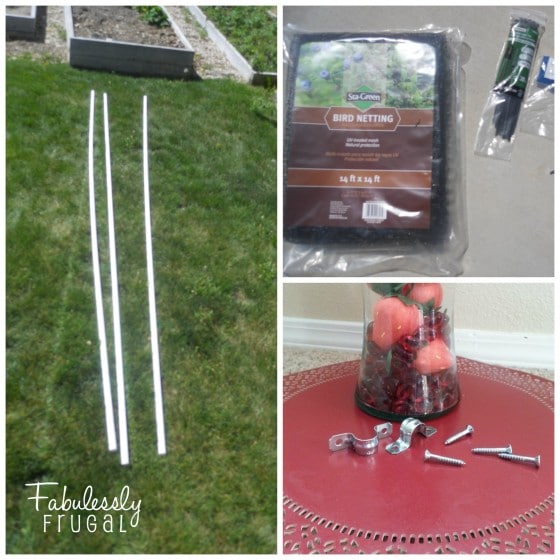
DIY Bird Netting Supplies for Raised Garden Beds:
For my supplies, I went shopping at Lowe’s because they have been very friendly to me in the past as I navigate the store with 4 curious kids and a list of things that I’m not familiar with.
- (3) 1/2″ x 10′ Plumbing PVC pipe – $5.16
- (1) Package cable ties/zip ties: 8 in, 30 pk – $2.73
- (2) 1/2″ 2 hole conduit strap: 2pack – $2.18
- (1) 14′ x 14′ Bird Netting – $5.98
- (12) 1 1/4″ screws – I already had these
- Drill (and a FULL battery) with phillips head bit and drill bit to get the holes started
- Phillips head screwdriver if you’re like me and don’t charge the battery beforehand. 🙂
To begin with, I stopped in the garden department and grabbed the bird netting I needed and then went inside to plumbing for the PVC pipe.
The conduit straps and cable ties are over in Electric, and the screws are in hardware if you don’t already have them on hand. Since you have your list (above) you can also shop here and have the supplies you need waiting for you at the front counter with their store pickup option!!
Buy Online, Pick Up in Store – 20 Minutes Guaranteed only at Lowe’s
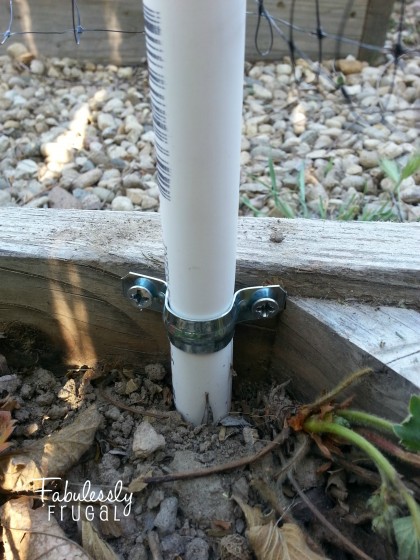
Step 1:
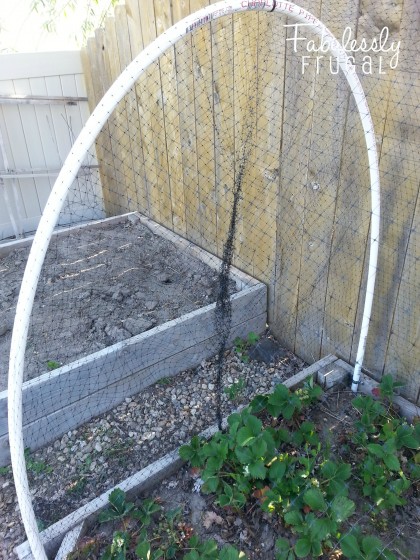
Line up the conduit straps and screw in each side just until the screws are secure. Then place the PVC pipe into the strap, and tighten the screws until secure.
The first time I did this I screwed them all the way in, but it was WAY too tight to wiggle the pipe in, so I learned my lesson on that first one.
Quick tip: If you have a drill and pre-drill the hole it will make the whole process go a lot faster.
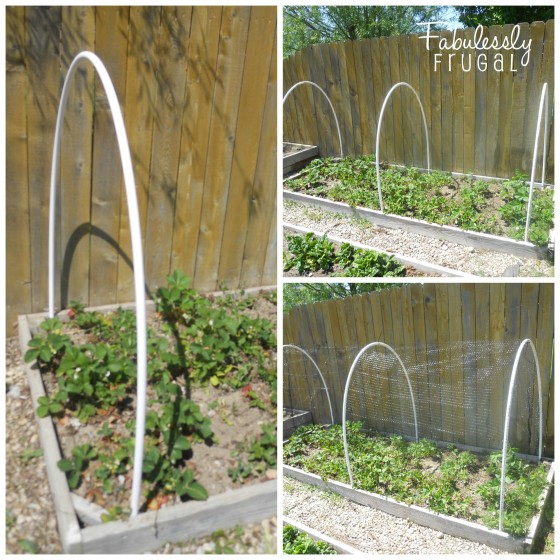
Repeat this step with the conduit strap on the opposite side of the box and bend the pipe to make your first arch. Complete this process for each of the arches that you are planning for.
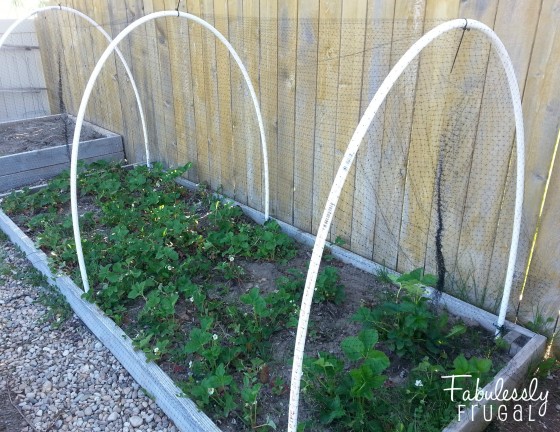
Our box is 8 feet long, so I did three arches so that there would be enough support for the netting. You can do more or less depending on the length of your box.
Step 2:
Once you have all of your arches in place, you’ve done all of the hard work! 🙂 Next, unravel the netting and drape over the arches.
I fastened the netting by using a cable tie/zip tie directly through the (3) conduit straps on the BACK of the box so that the netting wouldn’t move once it was on there.
Next, in the middle of the arch use another cable tie to secure the netting. As I began this project I thought that I would do something fancy to lift up the netting in order to weed and harvest the strawberries, but as I got going I noticed that the netting was staying put as I pulled out the slack. So, instead of securing the front part of the box, I just tucked it in front so that I can lift it up as needed.
Step 3:
On the ends of the box, I had the extra netting, so I rolled it into itself by starting at the top and working my way down the netting to the bottom of the box. At the bottom of the roll, I secured it with another cable tie.
After I was through with that, I trimmed off about 2 feet of netting, and I was finished!
Conclusion
There you have it! Three easy and pretty quick steps on how to protect strawberries from birds! It took me about 45 minutes in all to complete the project.
On a side note: While I was working on this I wondered if the bees would still be able to get through and that question was quickly answered as the humming of the worker bees was all around me.
We also have a raspberry box that I covered using the leftover netting. I chose not to cover the entire box because I haven’t seen the birds going after the raspberries as much, but I will certainly be watching for that more closely.
Check out these other helpful gardening posts:
- How To Make Your Strawberries Last Longer!
- Pruning Raspberries & Box Cleanup
- How to Take Care of Strawberry Plants
Bird Netting Recommendation:
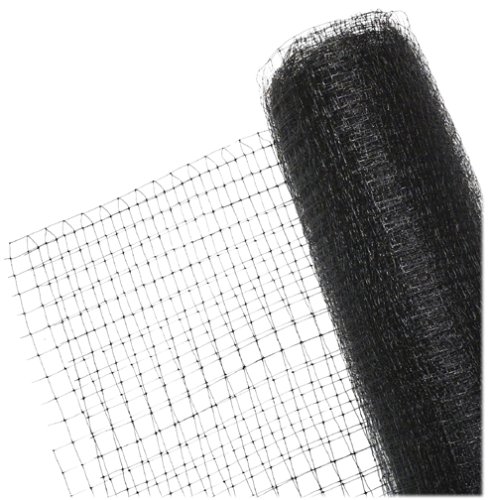
Here is an example of the netting that can be used for the bird netting. This one ships free with Prime, so if you already have the other things handy, this would make a convenient way to get this to your home.
Bird Block Protective Mesh
Ships Free with Amazon Prime (Try a FREE Membership)
- Reusable; made of tough and durable polypropylene
- 7-Foot x 20-foot netting – great size for covering the whole berry box!
Click here to see the price on Amazon
Book Recommendation:
The Vegetable Gardener’s Bible, 2nd edition
Ships Free with Amazon Prime (Try a FREE Membership)
I love referencing this book and I keep it handy any time I am heading out to the garden. In my opinion, it was one of the best investments that I made when I started my own garden!
Click here to see the price on Amazon
Comments
Leave a Reply
Report a Problem
Please select the problem you are facing with this deal:
- Price Increased
- Price Decreased
- No longer available
- Expired
- Link doesn't work
- Suggestion
- Compliment
- Other
Add more details:
Thank you for your feedback. We really appreciate it.
Enter your email address if you would like
to receive a follow up.
Please Try Again
Thanks for providing the email address.
We will reach out to you as soon as possible.









How do you easily open it up to get into the box to pick the veggies/fruit?
Sorry I missed this Q! You can just lift the net from the sides.
How do you get the PVC pipe to curve?
Hi Abby, you’ll just want to get the PVC pipe that has a little flexibility to it. Home Depot/Lowes has it. 🙂
I see you can lift the netting from the sides, but what about wind? If you can easily lift the netting, won’t it blow open when the wind whips it? Also, you mentioned your beds were 8’ long, but how wide are they? And how tall are the hoops once done? Trying to figure out how to estimate the size/amount of netting I will need. Ours are 4’ wide x 8’ long. Thank you!