Do it Yourself Vapor Shower Disks!! Only THREE Ingredients!!
I used to love those vapor rub disks that Vicks used to make a while back. I haven’t been able to find them in years! Luckily, I came across an awesome Pin on Pinterest…Homemade Vicks Shower Disks. Her idea is fantastic! The only problem? She uses essential oils. This wouldn’t be a problem normally but I didn’t have the oils she was using. SO, I used what I had; a jar of chest rub!
Here’s your ingredient list:
- Vapor Rub
- Baking Soda
- Water
Tools:
- Mug
- Spoon
- Bowl
- Silicone ice tray and/or lined cupcake tins
The first thing you’re going to do is fill a mug with water and put it in your microwave. Heat it up so that its hot but not boiling. I did mine for two minutes.
Once your hot water is ready, take a teaspoon full of your chest rub and add it to your water.
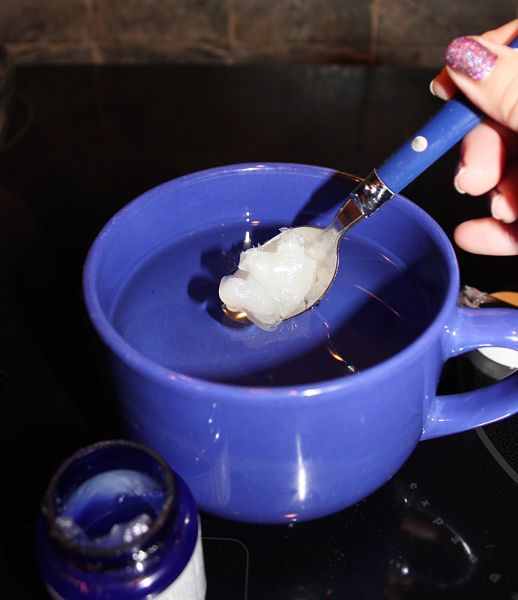
Watch the rub melt away!
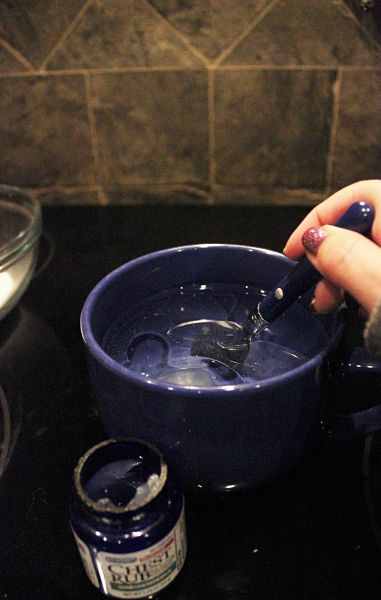
You will start smelling the vapor at this point. You can decide if you want to add a little more of the rub if you want a stronger vapor. I added another teaspoon because I made quite a big batch! Now, pour your mug of vapor water into a bowl and add your baking soda over it.
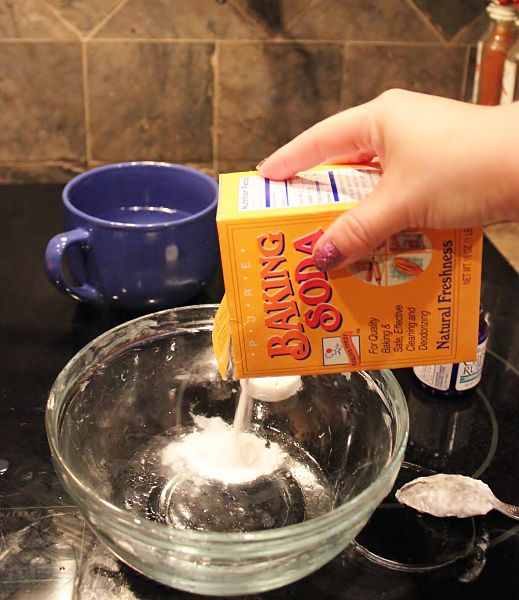
I did it the other way around at first (baking soda then water) but found that I had to keep adding more and more baking soda because I had too much water. It’s easier to add a tiny bit of water instead of tons of baking soda to get the right texture! You want your combination to turn to a paste.
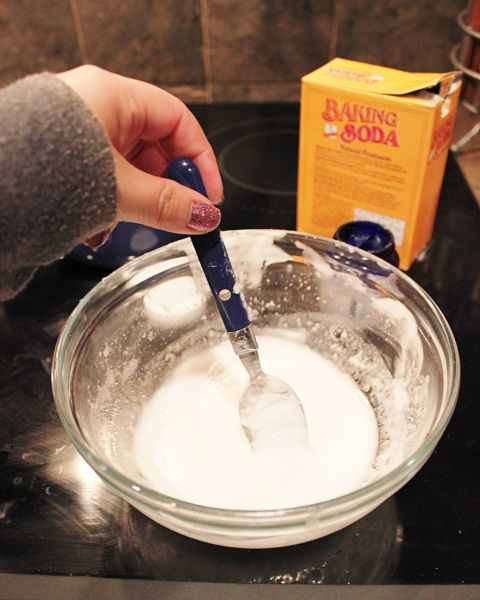
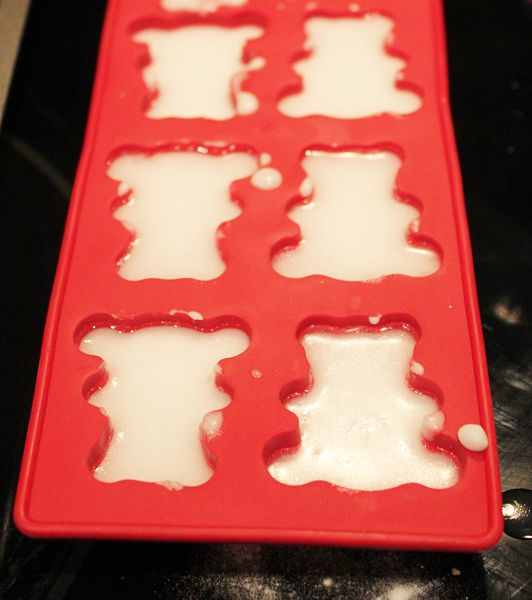
Once you have a toothpaste like consistency, you can pour it into your silicone molds or your lined cupcake tins.
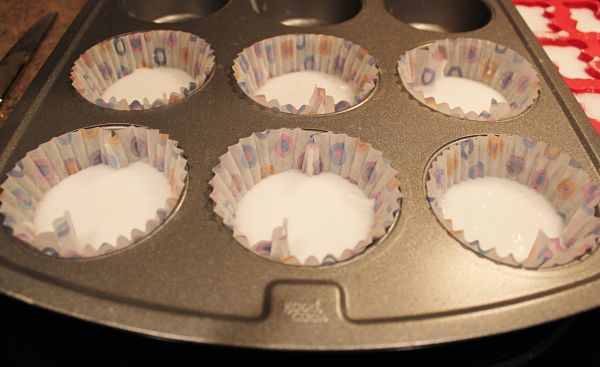
Now that your vapor mixture is poured. Let it sit! The Pin says to let it sit for 12-18 hours. I let mine sit for 12 and they were still a bit squishy. Try to let them sit out for the full 18. DO NOT bake these! I cannot tell you what would happen if you heat them! Since we are using the actual vapor rub, we can’t tell how it would act if it was heated like that.
Once your disks are solid, they’re ready to use!
Simply take one into the shower with you and let it melt under the water. The shower will fill with the awesome vapors of the rub while the disk just melts away!
I can tell you I was so relaxed after smelling the vapors while making these that I actually fell asleep right after!! That might not mean anything to most of you but it’s pretty much a miracle for me! 🙂
I hope you’ve enjoyed our take on this do it yourself! Please remember to share, like, tweet, and pin this post! Follow us too at Pinterest!
[amd-zlrecipe-recipe:756]

DIY Body Wash! Turn a $1 Bar of Soap into Luxurious Body Wash!
Repin from Page: 116K+ times!
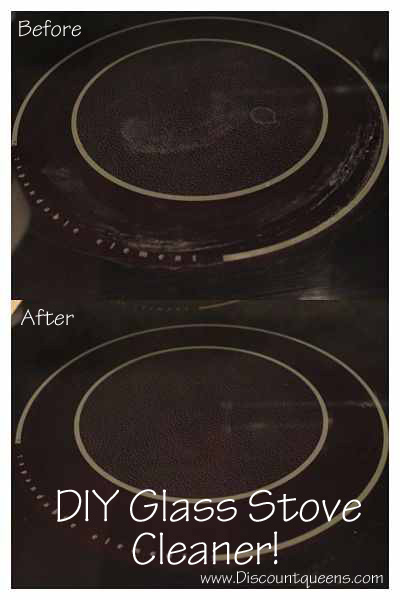
Do It Yourself Glass Stove Top Cleaner! Only THREE Ingredients!
Repin from Page: 29K+ times!
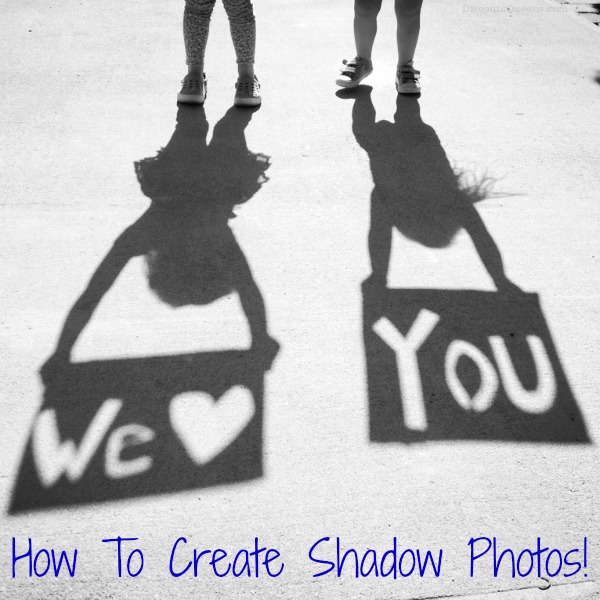
52 Weeks of Pinterest: Week 23 – Father’s Day Shadow Photo!
Repin from Page: 20K+ times!
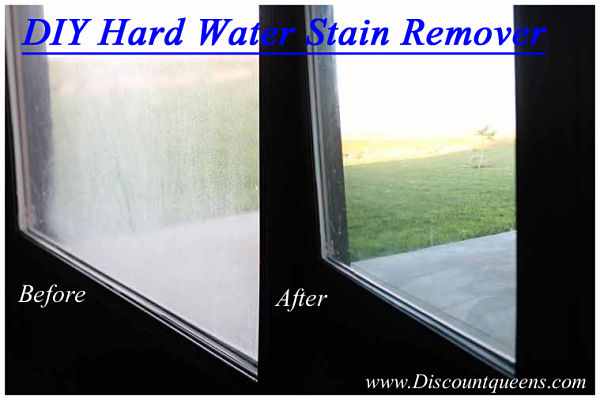
Do It Yourself Hard Water Stain Remover! Only TWO Ingredients!!!
Repin from Page: 14K+ times!

Do It Yourself Candle Image Transfers! Perfect for Mother’s Day!
Repin from Page: 12K+ times!
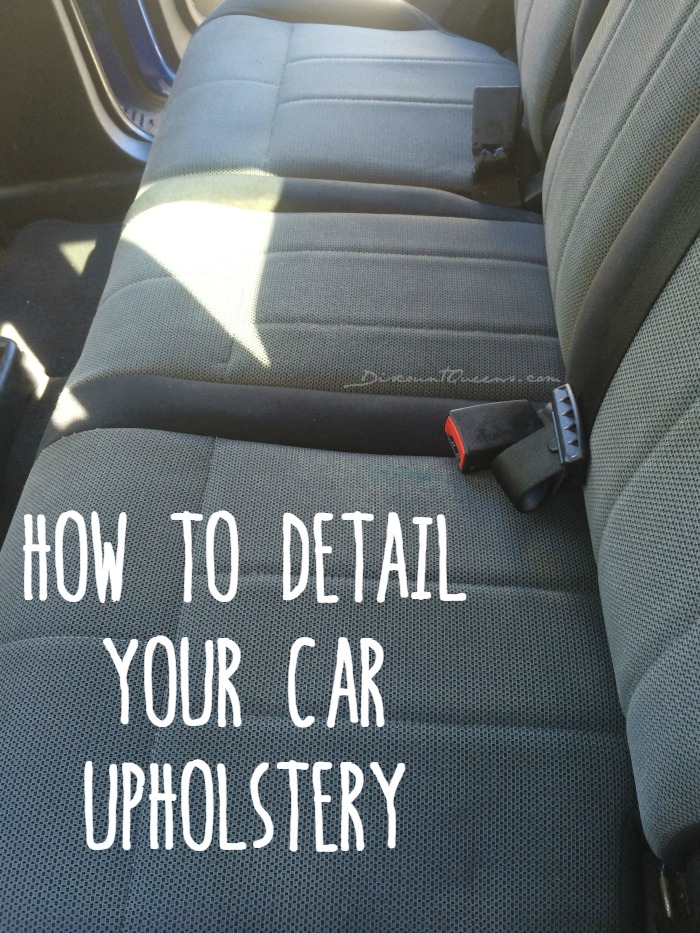
DIY: Detail Your Cars Upholstery!!
Repin from Page: 8K+ times!
Can’t get enough of our Projects?
You can now visit our —> DIY Project Gallery!
Follow us on Pinterest —> FabulesslyFrugal
[divider style=”0″]
Comments
Leave a Reply
More Related Diys


Trending DIY Projects
- DIY
- Recipes
- Deals
- Blog


Report a Problem
Please select the problem you are facing with this deal:
- Price Increased
- Price Decreased
- No longer available
- Expired
- Link doesn't work
- Suggestion
- Compliment
- Other
Add more details:
Thank you for your feedback. We really appreciate it.
Enter your email address if you would like
to receive a follow up.
Please Try Again
Thanks for providing the email address.
We will reach out to you as soon as possible.


Popular
Recommended
About Us

At Fabulessly Frugal, our goal is to help you live HEALTHY, WEALTHY, and WISE! My team and I work hard to bring you the best, online deals, clean eating, DIY's, freezer meal recipes, and more! I LOVE coaching and inspiring people to improve their health in my fitness challenge! You should also check out my favorite cleanse! Learn more about me and the rest of my team.

Copyright © 2008–2025
Fabulessly Frugal: A Coupon Blog Sharing Gift Ideas, Amazon Deals, Printable Coupons, DIY, How to Extreme Coupon, and Make Ahead Meals. All rights reserved
Then pour vinegar down the drain after shower and wala ur pipes are clean too! 🙂
HAHA!!! Nothing like clearing your nose and your drains at the same time!!
What do you do, hold it in your hand or put it on the floor when you are in the shower? Thank you.
Hi, Aria! Just put it on the floor while you shower. 🙂 You may have some left over depending on how big you make them. You can let them dry to use again if you do wind up with a bit left.
Thanks!
how do you store these until you use them? These would make nice gifts!!
You can store them in air tight jars once they are solid. They would make great gifts! I gave the teddy bear shaped ones to my sister-in-law when she was sick with the flu.
I baked mine oh boy was that a mistake! I would really like a good recipe that doesn’t make them crumble :[
Hi Stephanie! I didn’t think baking would be a good idea. That’s why I suggested against it. My disks were solid after about 24 hours of sitting out. They are usable at 18 hours but to get a rock solid disk, you really have to give them time to dry out. I promise you they will solidify after some time left out. 😉
Thanks for the tid bit,i am trying them tonight, i had a hard time getting them out of the cupcake paper when i baked them. Do you have this problem when letting sit for 24 hrs?
Anyone try these in the shower yet? I’m thinking of making them in mini silicone ice cube trays so there is no left over… I’d love to make these to go in the baskets for teacher gifts along with the other homemade spa goodies!
These broke apart and crumbled after leaving them out 28 hours, then they dissolved instantly…
Sad day. it sounds like you may have needed a little more liquid…