Gluten Free Recipes
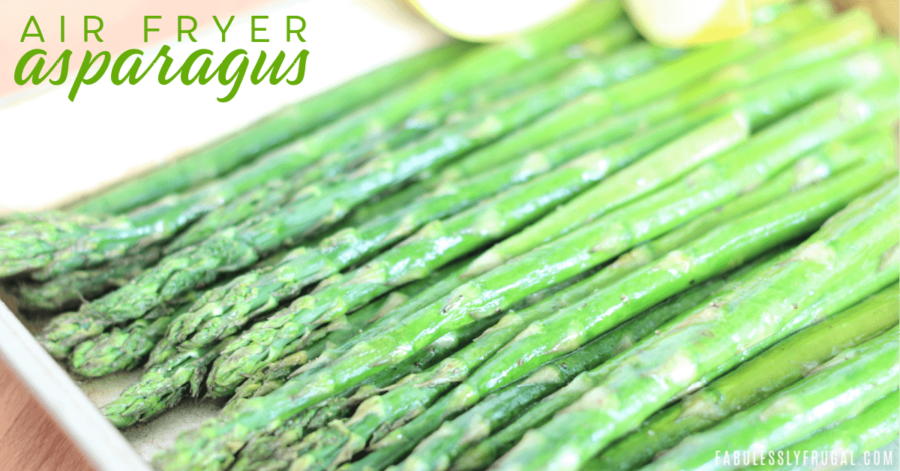
Easy Air Fryer Asparagus
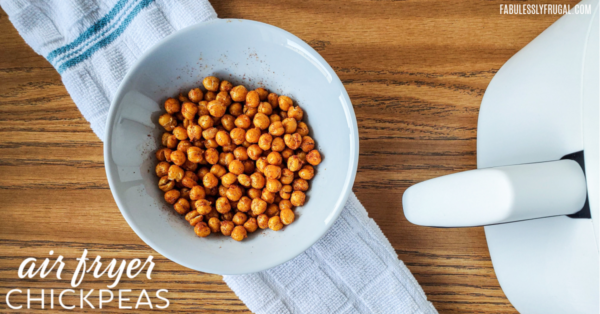
Quick and Easy Chickpeas in the Air Fryer
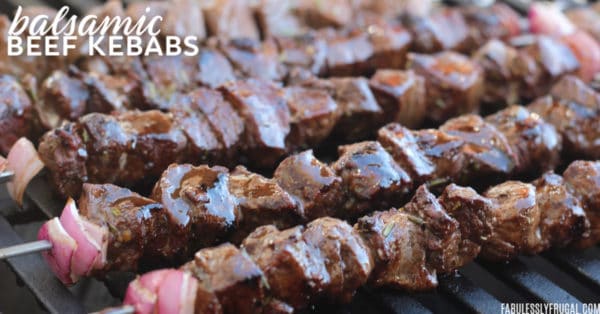
Easy Beef Kebabs Recipe with Balsamic Marinade

Air Fryer Zucchini Tomato Corn Salad
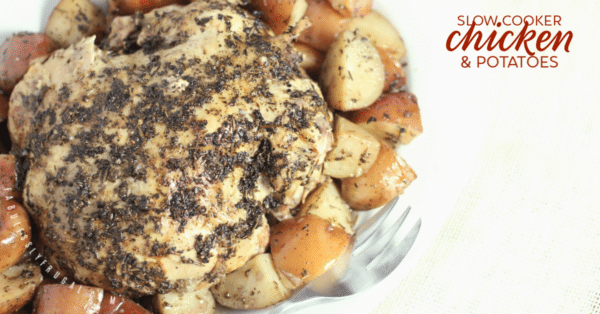
Crock-Pot Chicken and Potatoes Recipe
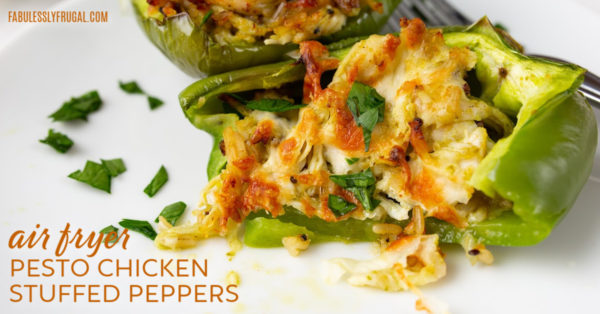
5 Ingredient Pesto Chicken Stuffed Peppers (Quick Air Fryer Recipe)
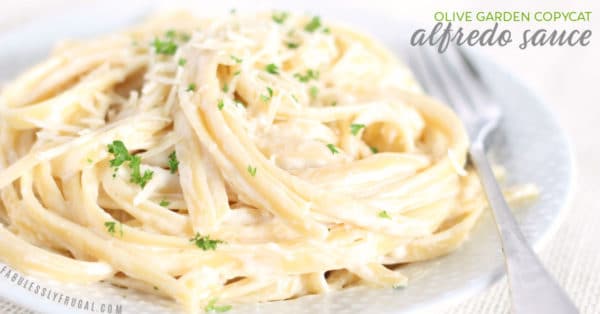
Copycat Olive Garden Alfredo Sauce Recipe
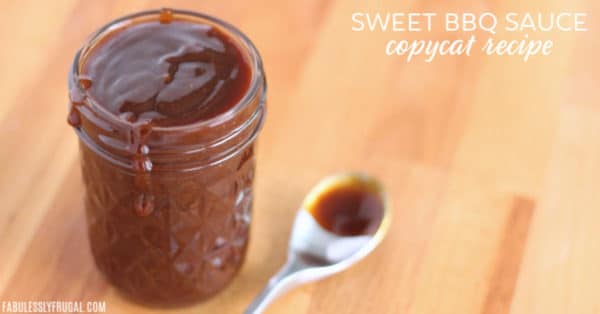
The Best Sweet Baby Ray’s BBQ Sauce Copycat Recipe
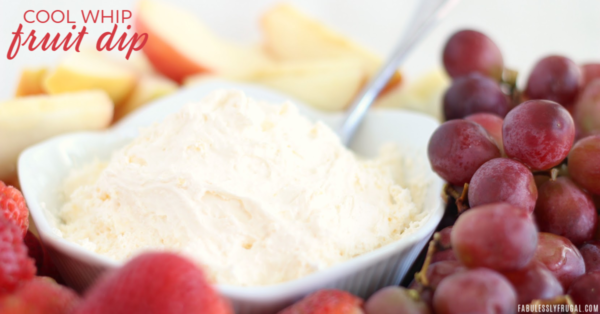
Easy Fruit Dip with Cool Whip and Pudding 2-Ingredient Recipe
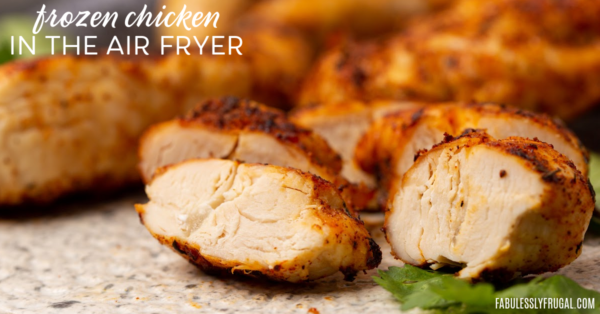
How To Cook Chicken From Frozen in the Air Fryer
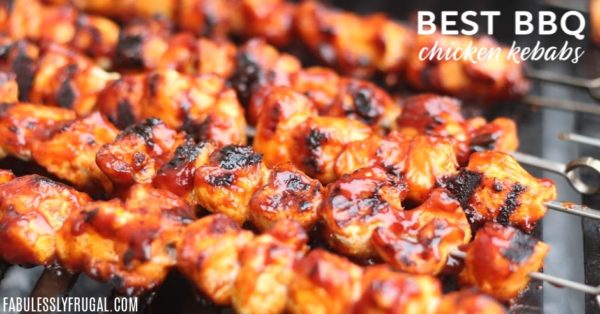
Juicy BBQ Chicken Skewers with a Flavorful Secret


Popular
Recommended
About Us

At Fabulessly Frugal, our goal is to help you live HEALTHY, WEALTHY, and WISE! My team and I work hard to bring you the best, online deals, clean eating, DIY's, freezer meal recipes, and more! I LOVE coaching and inspiring people to improve their health in my fitness challenge! You should also check out my favorite cleanse! Learn more about me and the rest of my team.

Copyright © 2008–2026
Fabulessly Frugal: A Coupon Blog Sharing Gift Ideas, Amazon Deals, Printable Coupons, DIY, How to Extreme Coupon, and Make Ahead Meals. All rights reserved