Homemade Citronella Candles That Really Work!
I love to be outdoors during the summer! We have fun with camping, hiking, rafting, boating, jet skis, volleyball, fishing and much more. What I don’t love are the mosquitoes! In an effort to avoid yucky bug spray, I decided to try making my own bug repellent candles using beeswax and essential oils. To my surprise, they were really simple to make!
Disclaimer: I am not a candle making bug repelling expert however I do enjoy the process and a wonderfully smelling natural way to solve a pesky problem. While these candles may not get rid of every mosquito, they sure do help!
Supplies:
- Wax (soy or beeswax)
- Candle wicks in the appropriate lengths (I have found the pre-waxed with clips attached are easier to work with)
- Hot glue gun
- Glass containers (I used half pint mason jars)
- Outdoor Blend Essential Oil
- Glass bowl or measuring cup
- Stirring utensil (I used a clean chopstick)
- Saucepan and hotpads
What is Outdoor Blend?
Outdoor blend is a combination of safe and effective essential oils (including Citronella!) that act as a natural, effective repellent and help ward off insects. The fresh, light citrus scent of the one we used is wonderfully invigorating and safe for everyone in the family to use. If you want to get some of this oil for yourself email me at seekingwellness at fabulesslyfrugal dot com or text me at 208-907-OILS. Happy to help you!
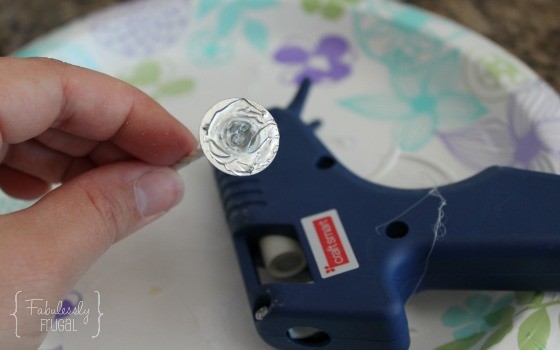
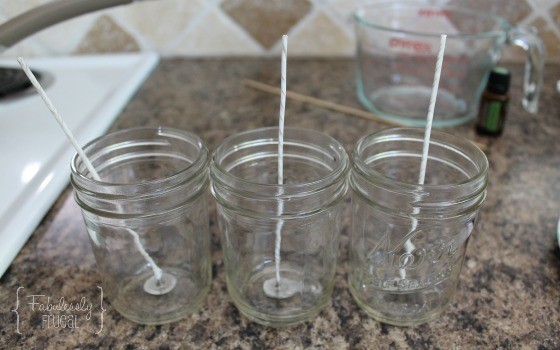
To start, secure your wicks to the bottom of your containers with hot glue.
Aim for the center of each container so it will burn straight down the middle of the candle. I used pre-waxed wicks which made things super easy because they stood straight up on their own (aside from the uncooperative one the left who lost some of its wax near the bottom and insisted upon leaning to the side). This is easily fixed, more on that below. If you are using unwaxed wicks, you’ll need to support them so they stand up straight. To do this, simply wrap the end of the wick around a pencil and then rest the pencil across the top of the container.
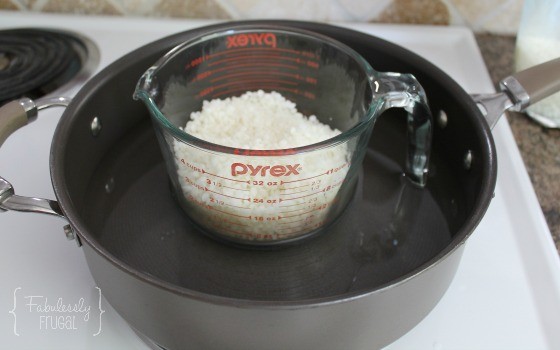
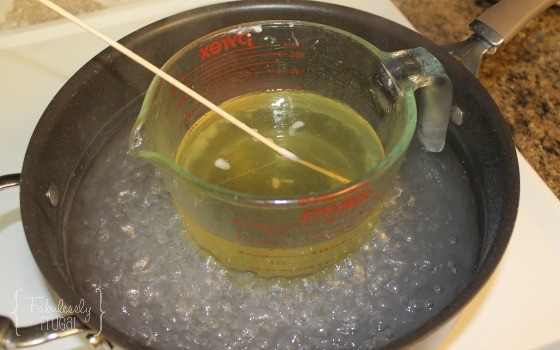
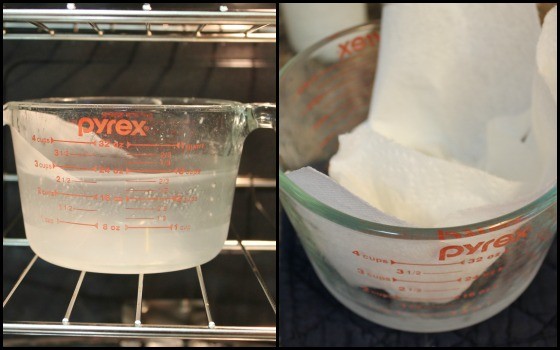
Next, use a double broiler to melt your wax. If you don’t have a double broiler, you can make one by placing a glass bowl over a simmering pot of water OR place a glass measuring cup right into a pot of simmering water like I did here. I personally think the bowl over the pot would work faster as you wouldn’t loose as much heat but I chose this method for mess control purposes. It took a little bit longer for the wax to melt but I was able to pour it straight from the measuring cup into the jars instead of having to transfer it from a bowl into a separate pour-able container. Less mess, less clean up.
Using a chopstick (or utensil you don’t mind throwing away) gently stir the wax to help break up clumps while it’s melting. I poured half of my 1 lb. bag into the measuring cup to start and then added the other half once that was completely melted. It did take about 45 minutes to melt my pound of wax on med-high heat but I just used that time to clean up my kitchen. Next time I think I’ll try adding just 1/3 or even 1/4 at a time and see if that helps speed things up a little.
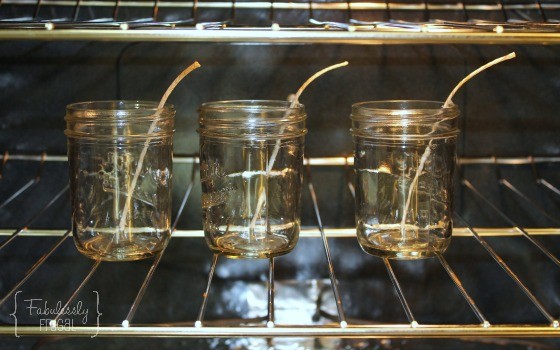
When working with glass and a hot liquid, it’s always a good idea to briefly pre-heat your containers. This helps prevent any cracking of the glass due to quick temperature changes. This is easily done by turning your oven on to about 180 degrees and placing your jars inside. I did this just 2-3 minutes before my wax was completely finished melting.
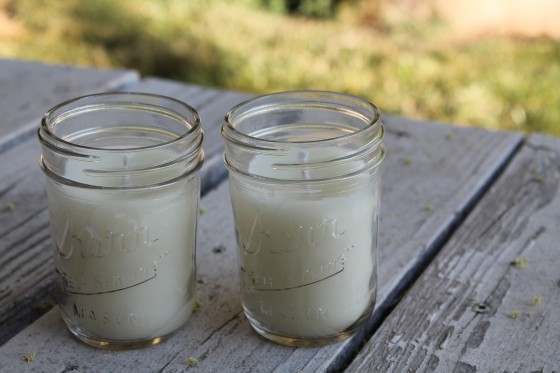
Once your wax is melted, remove it from the heat and let cool for about 1 minute. Add your Outdoor Blend. A good essential oil ratio is about 75 drops per pound of wax, which is what I used. Give it a good stir to mix well. Remove your warm containers from the oven and fill with the liquid wax. I was able to fill 3 half pint jars about 3/4 of the way full with my 1 pound of melted wax.
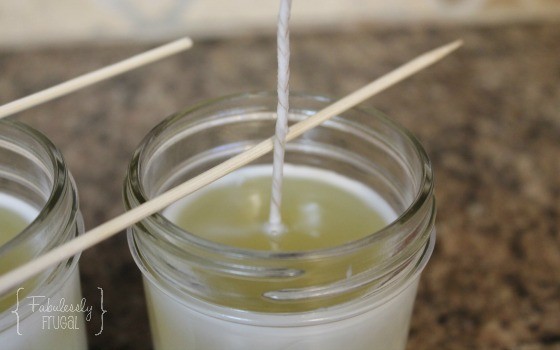
When I warmed my jars the wicks did melt a tad but they were fine once I poured the wax in and straightened them back out with a little support from chopsticks I layed across the top of the jars. Let them solidify for several hours without disturbing. Once they are solid, trim the wick to 1/4″ above the wax and they are ready to use!
To clean the glass measuring cup I used to melt the wax, I simple placed it in the warm oven for a few minutes, wiped it out with a paper towel really good and then popped it in the dish washer. Super simple!
Look how beautiful they turned out. I am hoping to make enough to be able to take on every camping trip, and up to girls camp!
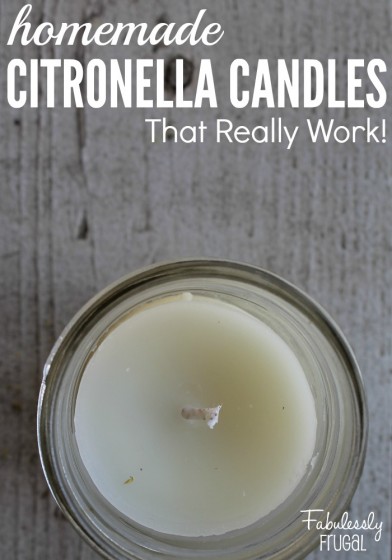
Pin this for later to make your own homemade citronella candles. ^^^^
Comments
Leave a Reply
Report a Problem
Please select the problem you are facing with this deal:
- Price Increased
- Price Decreased
- No longer available
- Expired
- Link doesn't work
- Suggestion
- Compliment
- Other
Add more details:
Thank you for your feedback. We really appreciate it.
Enter your email address if you would like
to receive a follow up.
Please Try Again
Thanks for providing the email address.
We will reach out to you as soon as possible.











I’d buy some from you how much each?