How to Make 3D Faux Metal Letters for Cheap
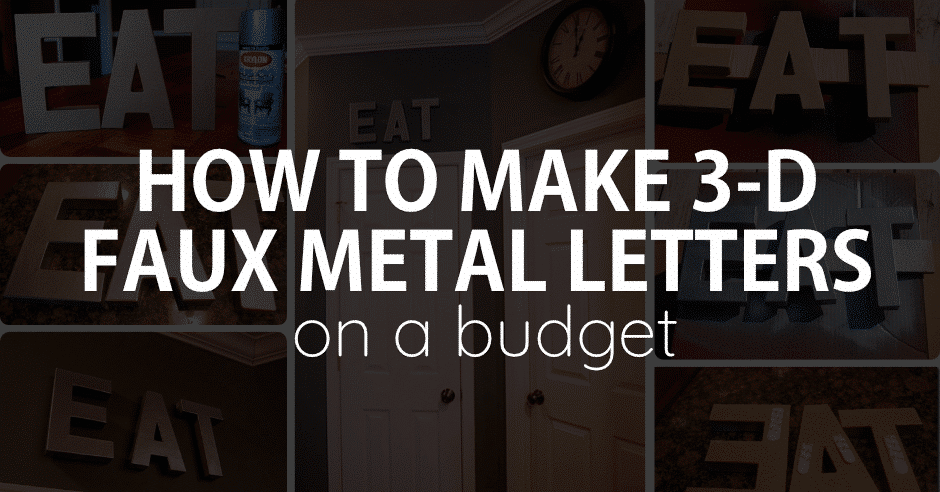
DIY Faux Metal Letters
Recently I came across some metal letters at Anthropologie and I loved them, but didn’t love the $18/letter price tag. That price just doesn’t work with my monthly budget!
Being a frugal crafter, I decided I could make them for a lot less! As it turns out, making metal letters on your own is easier (and cheaper) than you may think! This is a fun and frugal craft that anyone can do.
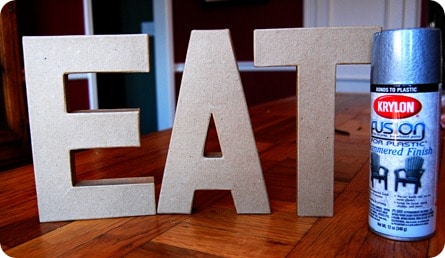
Supplies for Faux Metal Letters
The supply list is pretty small for this project. First decide what you want to spell, I decided on EAT to put above my pantry.
Here is what you need:
- Paper Mache letters; and
- Spray paint
That’s really it! I bought my paper mache letters from Hobby Lobby, they were $2.47/letter. About once a month they will go on sale for half off so you can keep your eyes for them and get them even cheaper.
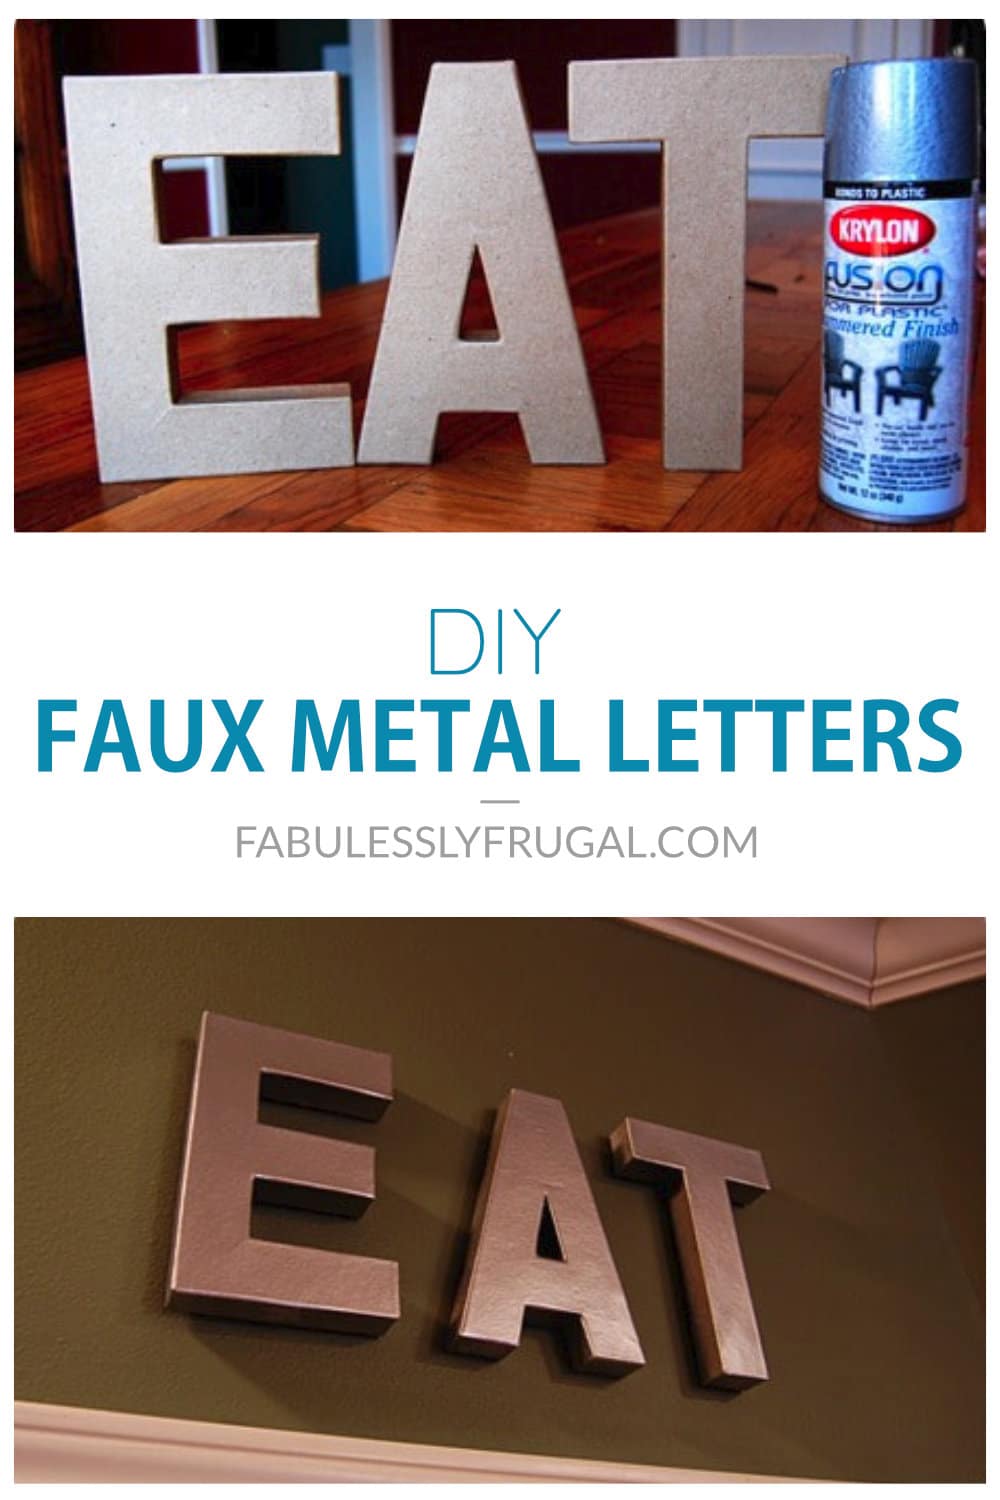
For the metaI spraypaint, I got the hammered finish silver Krylon because I wanted a little texture to my letters. This was $7.99, but I used my 40% off coupon at Hobby Lobby so I got it for under $5. (I’ve got lots left over for other projects too.)
There are a lot of different metal finishes in spray paint so get what matches your home. We have brushed silver accents and stainless steel in our kitchen.
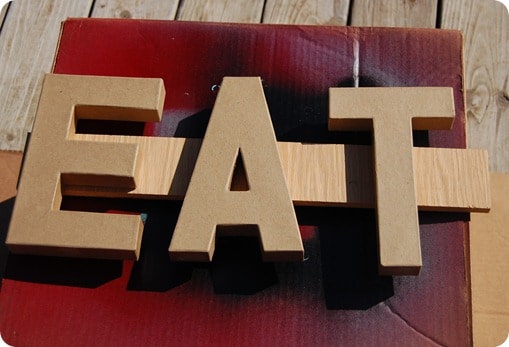
Step 1. Spray paint
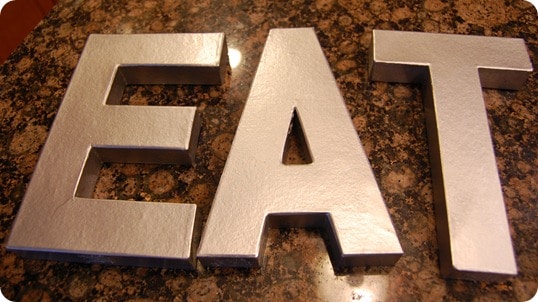
Take your craft letters outside and spray paint them. I rested them on a piece of scrap wood so I get the bottom edges without having to flip them over.
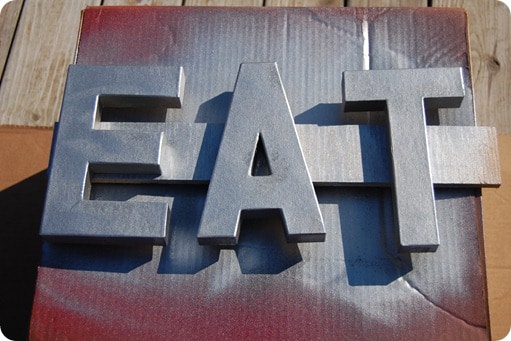
I applied about 3 coats of paint. Just let it dry a little between each coat.
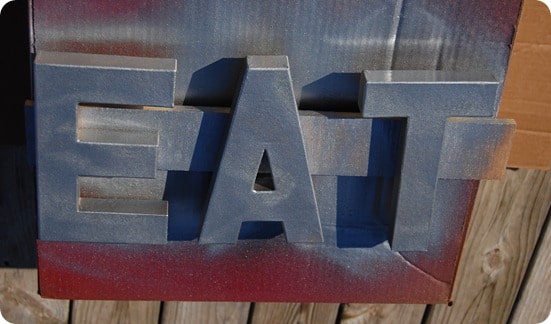
Step 2. Let them dry
I let my metal letters dry overnight before I hung them up. I love how they have a slightly hammered look to them. They look like metal, not paper mache anymore!
Step 3. Hang them up
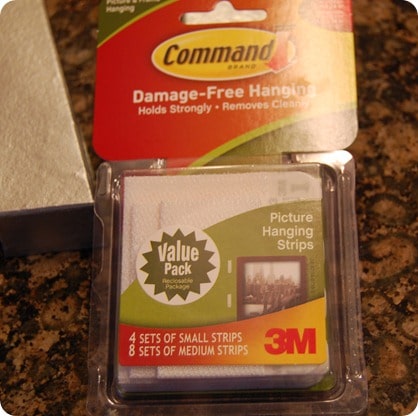
I like to use Command Picture Hanging Strips to hang up things like this. They are easy to use and don’t put any holes in my wall.
They are kind of like Velcro so I stick them together and put the adhesive on the letter. Then I remove the other strip and stick them to the wall.
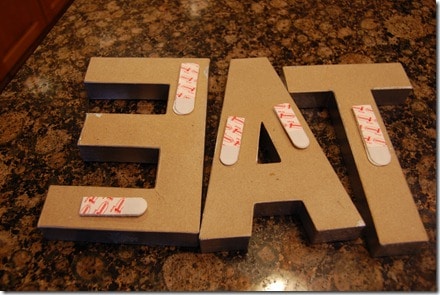
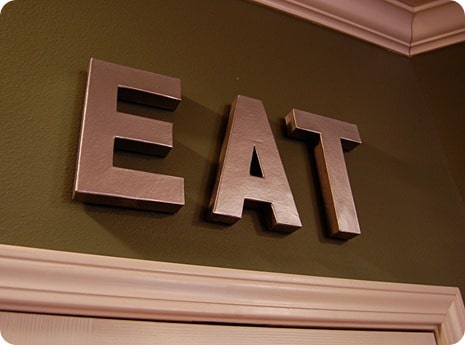
I put the A up first, then eyeballed the E and T. Here’s the finished result:
Final Thoughts
I LOVE how it looks and I love that it cost me under $10 to do it (I still have lots of spray paint left so I’m not counting the whole can in my costs).
So the next time you see something you like, but you don’t like the price, figure out how you can make it on your own for less. I like the letters I made a lot more than I would if I had spent $54 on some letters already made.
More DIY Decoration Craft Ideas:
- 9 Easy Weekend Project Ideas That Anyone Can Do
- DIY Chalkboard Countdown Sign
- 5 Brilliant DIY Window Valance Ideas
- How to Add Curb Appeal on a Budget
See all our DIY decoration ideas!
Trending Diys
Comments
Leave a Reply
Report a Problem
Please select the problem you are facing with this deal:
- Price Increased
- Price Decreased
- No longer available
- Expired
- Link doesn't work
- Suggestion
- Compliment
- Other
Add more details:
Thank you for your feedback. We really appreciate it.
Enter your email address if you would like
to receive a follow up.
Please Try Again
Thanks for providing the email address.
We will reach out to you as soon as possible.












Really Cute!! Great frugal idea.
Cool thanks for sharing
I loooove this! Now to figure out which word I’m going to do …. Maybe “Wash” in the laundry room … ??
Love that idea Rachel!
Thanks Monica! Poor laundry rooms never get any sprucing up so why not use a cheap little project like this to give it some love? 🙂
that was the first word I was going to do, but I didn’t have a good place to put it, i have a small laundry room, so i did eat. Glad you liked the idea!
I love this idea… I think the word I will use is ‘relax’ to hang above my bathtub
Thanks for the great idea! Can you tell me where you got that wall clock? I’ve been looking for something similar but haven’t been able to find it. Thank you!
Hi Erica,
Marji got the clock at Ross, but it was probably 5 years ago 🙁 But I think the 3rd or 5th clocks here might be what you are looking for 🙂 https://amzn.to/16uYMnM
Your doors look suspiciously similar to the layout of the apartments in Park La Brea…
This looks really good! I might try this out 🙂
Maybe they used the same design layout, or supplier?
I hope you like it!