How to Make DIY Lego Display Shelves
DIY Shelf for Lego Creations
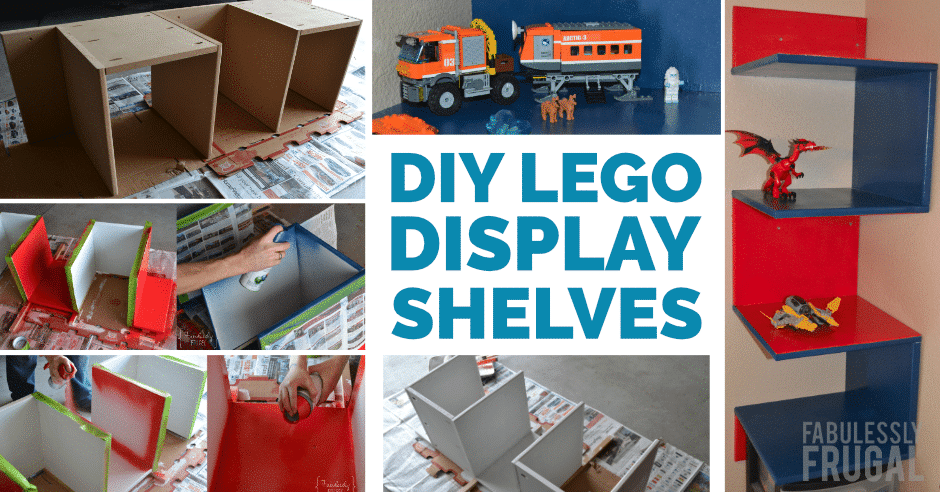
My kids LOVE to play with Legos. They have a few special pieces that they don’t like to take apart and finding a place to display them can be tricky at times.
Our boys share a room and floor space in the room is limited, so we decided to use up some of the room’s vertical space by creating a DIY lego display shelf. After browsing for some ideas, my son chose this one because of the fun design. It is a fun project that you can do too!
If you have a bit more space in your house, you could also make a DIY Lego table. It’s the perfect spot for your kids to build and keep their favorite Lego pieces!
Supplies needed:
- 3/4″ MDF board or other hardwood such as pine (particleboard will chip if you router it so you’d need to round it with a face piece.)
- Table saw (Need one of these for the garage? A basic one such as this would be great to start with.)
- Router with 3/8″ round over bit (Great gift idea with Father’s Day coming up!!)
- Kreg pocket hole jig (optional…this makes a GREAT Father’s Day gift idea!)
- 1 1/4″ Screws
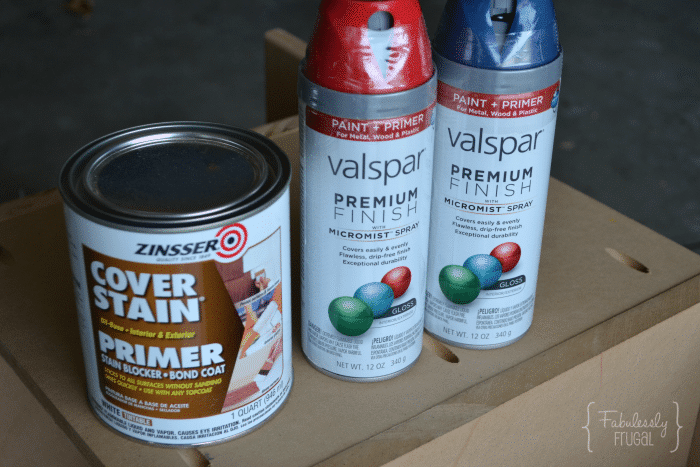
- Spray paint & Primer (Brush/Roller)
- Wall anchors (as needed)
Step 1: Rip down boards & Router facing edges
For this project, we used 15″ square sized pieces, but have since made my daughter one at a 12″ size to fit her room better. You can make this a variable length to fit your area the best.
- Use the table saw to rip down (8) square pieces
- Take (1) of the square pieces and cut it in half to use as the mounting piece (top and bottom) for hanging along the wall.
- Router (4) boards down on 2 touching sides. (These will be the facing sides of the board.)
- Router (3) boards on 1 side. (This will be the facing side that runs along the wall.)
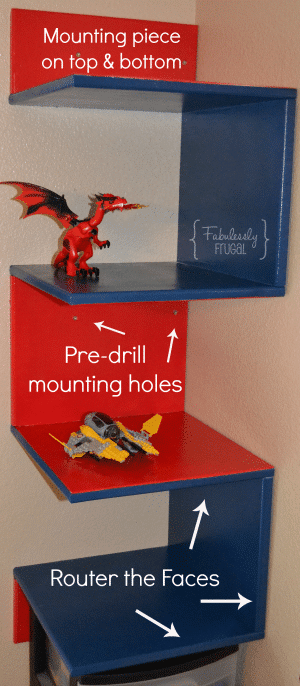
Step 2: Pre-assemble
Lay out all of the pieces so you know that you have everything ready and together and have made all of the correct cuts to each piece.
Step 3: Pre-drill holes using a Kreg jig system or drill
Pre-drill 3 holes on each end that will join together. You can also pre-drill a hole on the front side of the mounting panel to help guide you, and also make the screw flush with the wood.
Note: Using a Kreg jig system is optional, but I have to admit that it’s been the most used tool in the woodworking shop since we got it!
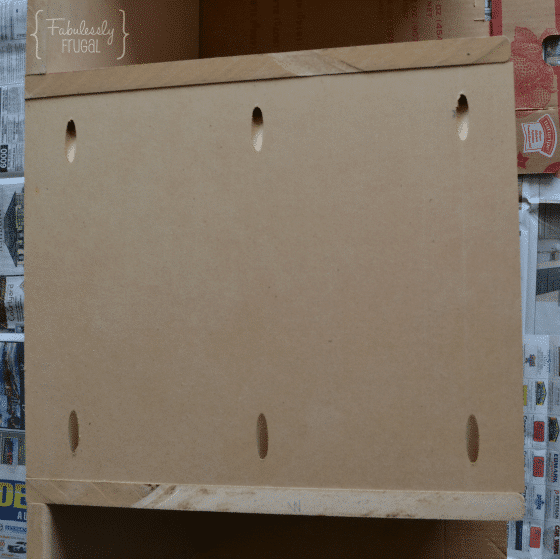
Step 4: Assemble
Start with the top piece and work your way down the display alternating the placement of the back piece and then finish with the bottom mounting board.
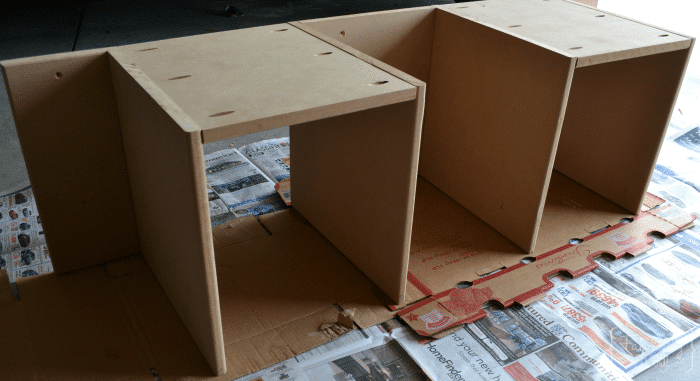
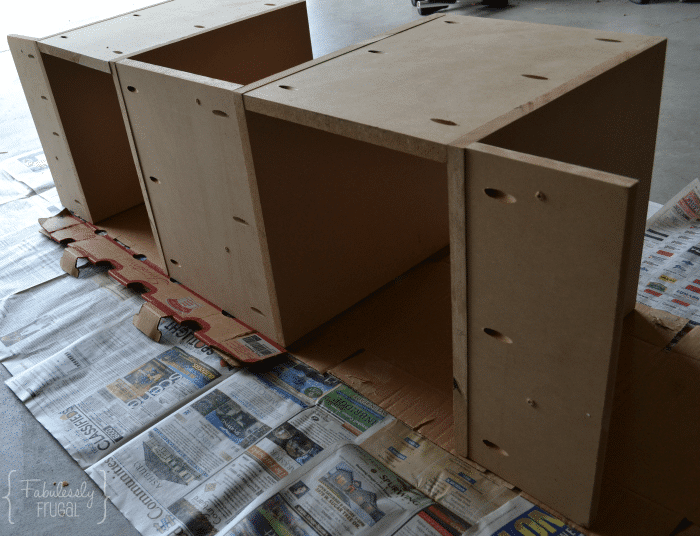
Step 5: Primer
If you are using MDF board it is best to paint the display with primer to protect it from moisture or spills, as well as stains. Allow drying as directed before moving on to painting.
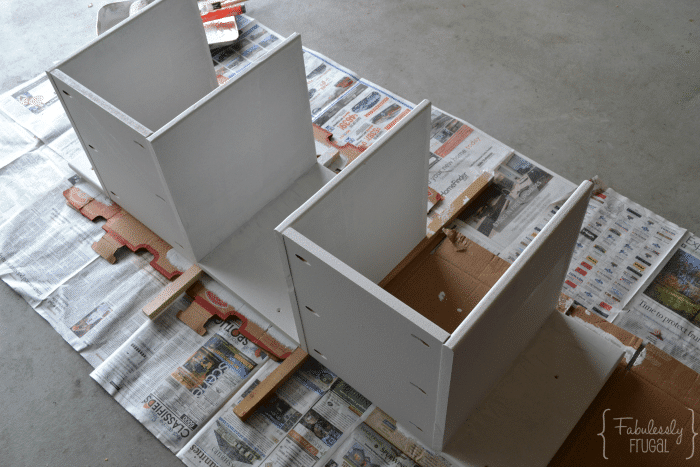
Step 6: Paint
If you are using two or more colors on the display you’ll need to tape off anything that you don’t want to be painted with the first coat of paint. (Especially if you are using spray paint.) I chose to do spray paint because it is more smooth upon application.
Once you have the boards taped off, apply your first coat of spray paint, allow to dry, and then apply another coat as needed.
After the first color has finished drying you’ll want to re-tape and protect your shiny new color from getting the other color on it. I ended up covering what I had already painted with newspaper to avoid sprays.
After you have taped up the shelf, apply the next color and allow to dry. Apply another coat as needed.
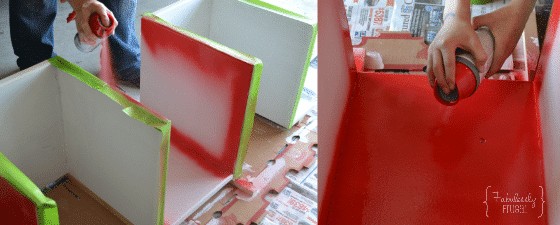
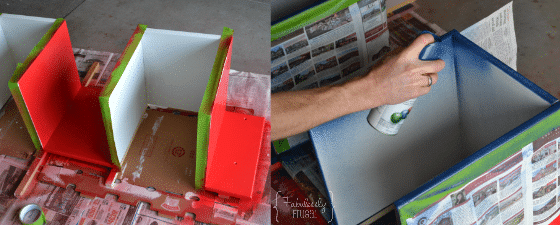
Step 7: Mounting
You will want to locate the studs in your wall for hanging the shelf because of the weight of it. I got this stud finder for my husband and it works very well! If you are not able to locate or utilize one of the studs you’ll want to have wall anchors.
Once you’ve decided how you’re going to hold up the lego shelf, pre-drill 2 holes in the top and bottom pieces, as well as the middle section. Have someone help you hold the display up as you mount it onto the wall.
If you need some new Lego sets to fill up your new Lego shelf, check out these hot Lego deals!
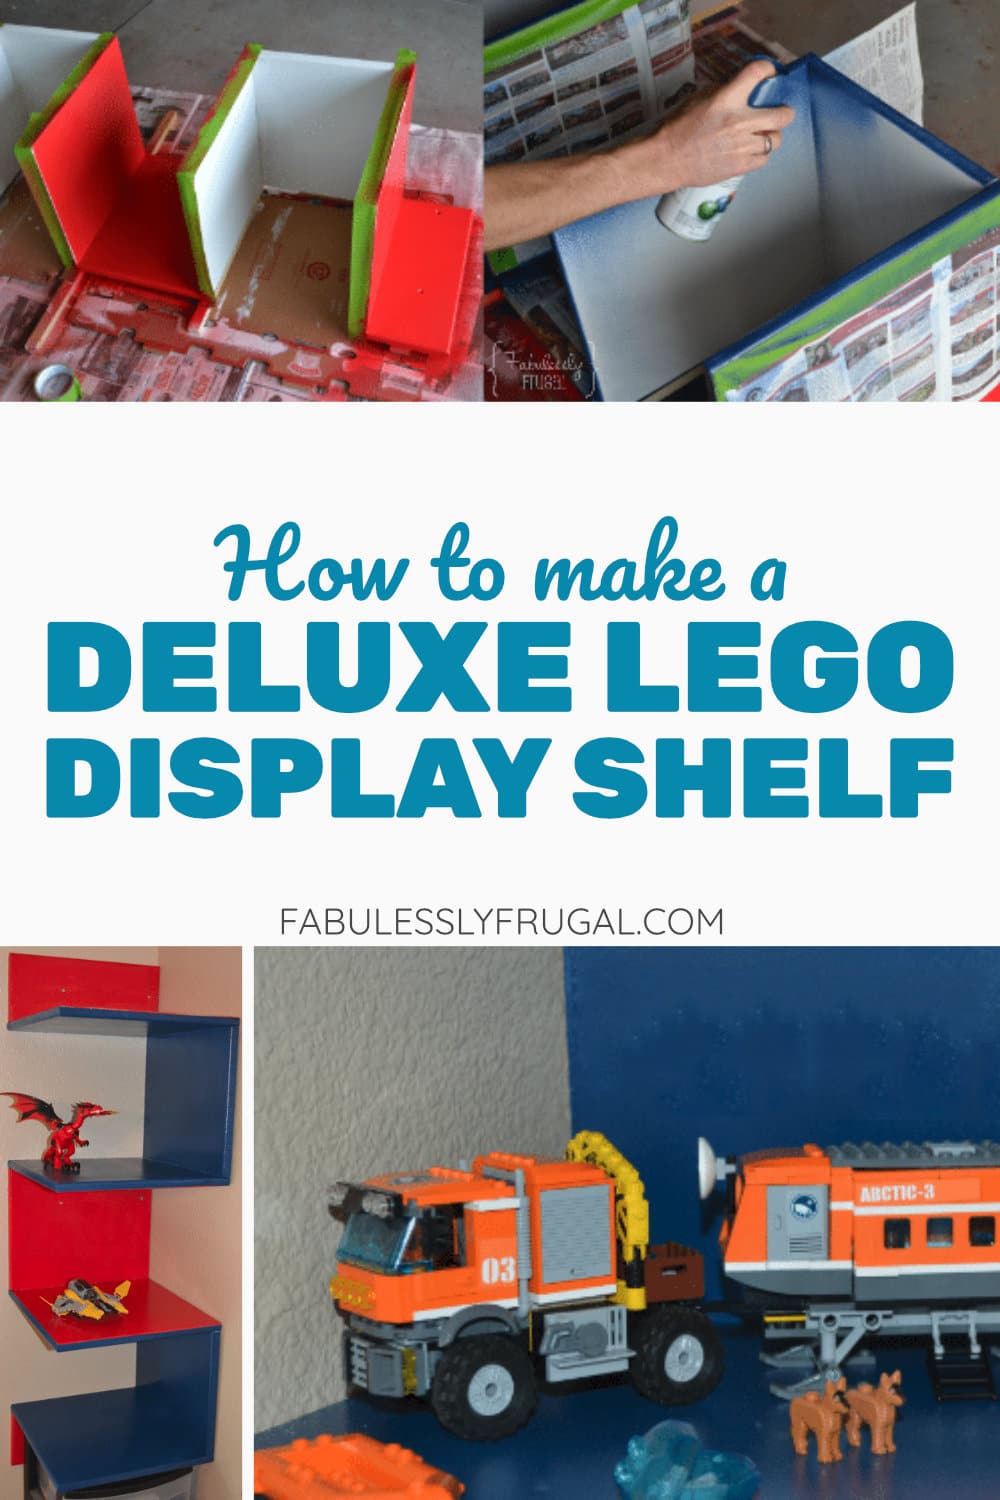
Trending Diys
Report a Problem
Please select the problem you are facing with this deal:
- Price Increased
- Price Decreased
- No longer available
- Expired
- Link doesn't work
- Suggestion
- Compliment
- Other
Add more details:
Thank you for your feedback. We really appreciate it.
Enter your email address if you would like
to receive a follow up.
Please Try Again
Thanks for providing the email address.
We will reach out to you as soon as possible.


