How to Make Throw Pillows with Napkins
Easy DIY Throw Pillows
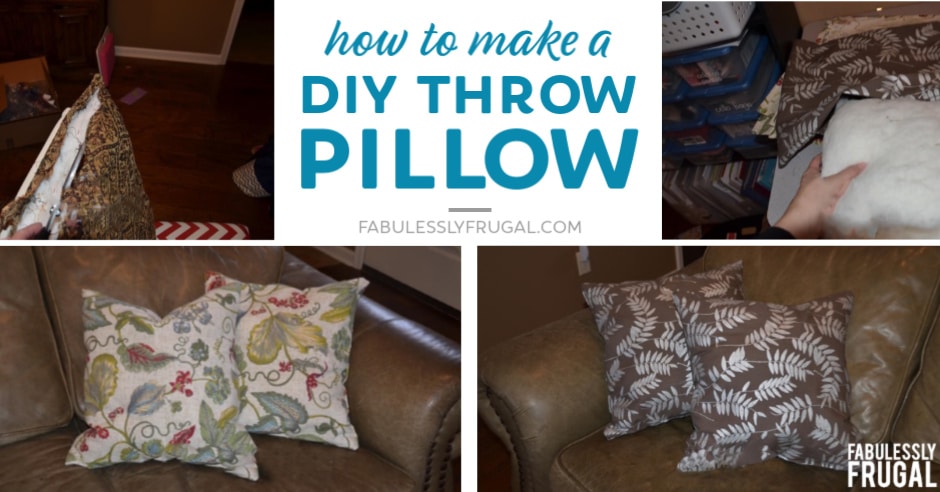
I know what you’re probably thinking: “Pillows made from napkins? What?!” It sounds kind of crazy at first when you think of paper napkins, but these DIY throw pillows are actually made from cloth napkins! That’s a lot more reasonable, right?
This DIY project idea came to me one day as I was wandering around Target. I often look for clearance deals there and this particular day I came across some awesome clearance napkins. When I saw these napkins I instantly had the idea to turn them into pillows.
Now you may be wondering…”Why not just buy some pillows?” Well, we just moved to a new house and I have been wanting new things to go with my new house, but being on a budget, I can’t just go and spend a lot of money on expensive pillows (a non-essential). So when I saw these napkins I grabbed them and knew I would figure out how to make some cute pillows for cheap!
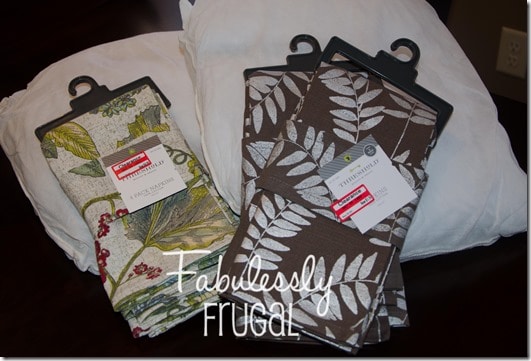
Supplies for DIY Throw Pillows
- Clearance Napkins
- Polyfil or Pillow forms
- Sewing Machine
Step 1:
First, you want to iron your napkins
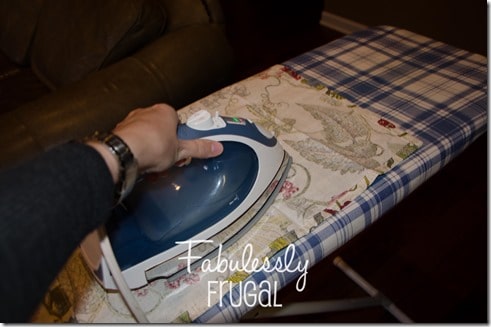
Step 2:
Next, put the napkins together with the right sides facing in and line up the edges. I did discover that the napkins weren’t all the same size so I matched up as best as I could. I just pinned in the corners because I hate spending a lot of time pinning and we are just sewing a straight line, so you don’t need a lot of pins!
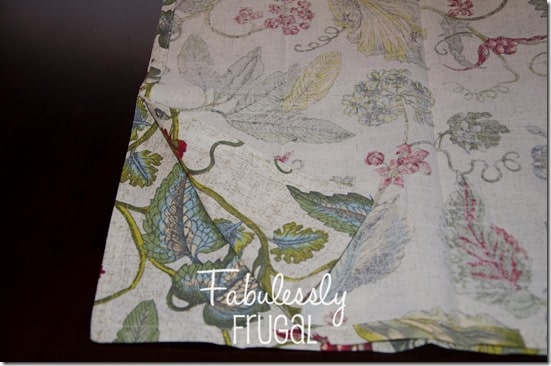
Step 3:
Now you just start sewing. I couldn’t find my cord for my sewing machine during this project so I borrowed my sister’s machine and I really liked it. I’ve had my machine for over 15 years and it is getting old! I like this one I found on Amazon. I probably won’t get a new machine anytime soon, but it is fun to look!
I lined up the edge of the presser foot along the seam of the napkins. My mom taught me when you are sewing go forward a little bit, then push the button to go backward for a few stitches, then go forward again. It “seals” the seam so It won’t come apart. I do this at the beginning and end of the pillow.
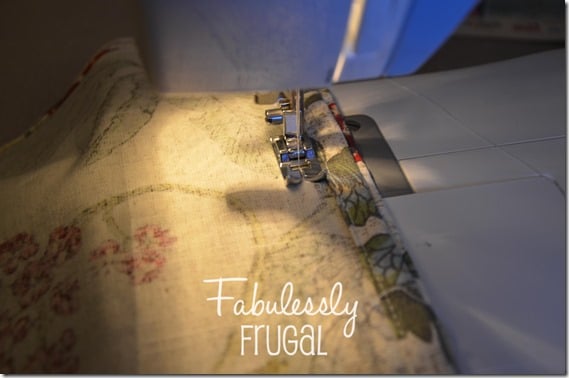
Step 4:
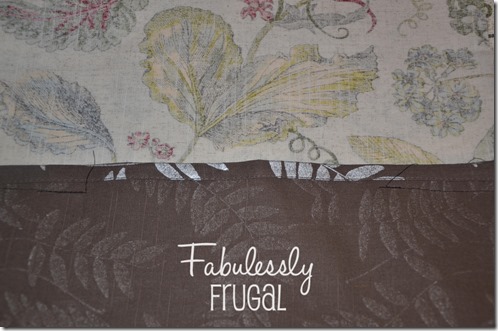
One important thing to note, don’t sew all the way around the pillow, or you won’t be able to stuff it! If you are using a pillow form, then leave a large gap at one end. If you are using Polyfil, you can leave a smaller gap. I left about a 5-inch gap (see below)
Step 5:
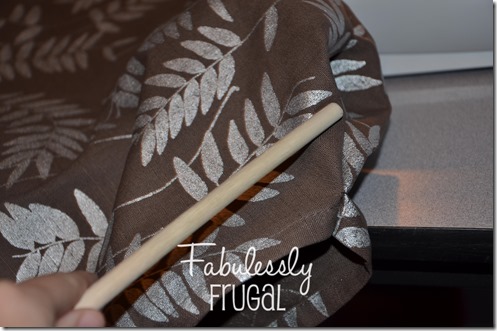
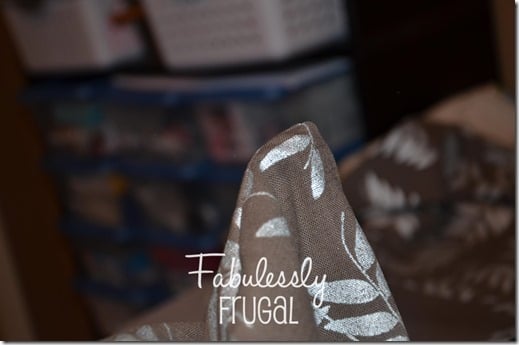
Once you have your pillow sewn, turn it right side out. I use a wooden spoon handle (a trick my Mom taught me) to push the corners out.
Step 6:
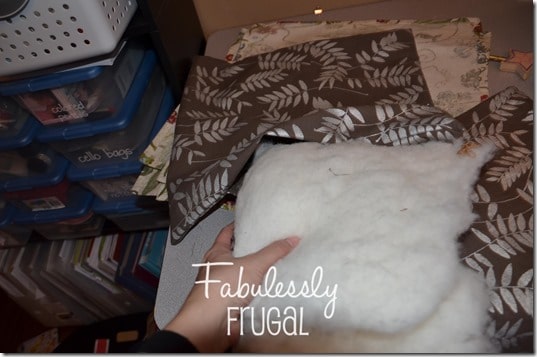
Once all the pillows are turned the right way, you are ready to stuff them. I had some old pillows that I didn’t like anymore and I thought about recovering them, but they were bigger than I wanted so I decided to cut them open and see how the filling looked and if I could reuse it.

The Polyfil from the old pillows was great so I decided to use it so I didn’t have to go buy anything (even better since I was trying to make these pillows as inexpensive as possible).
Step 7:
Stuff all your pillows and then you are ready to close up the hole.
Step 8:
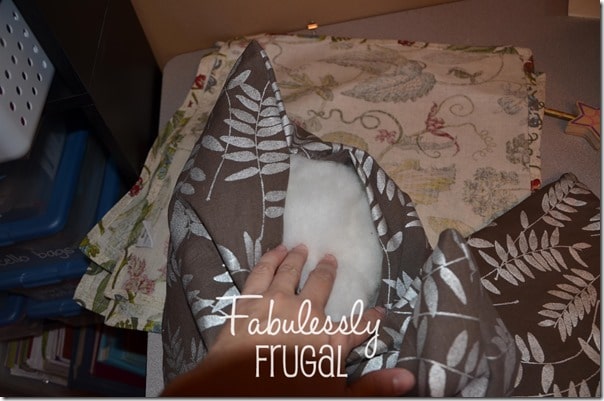
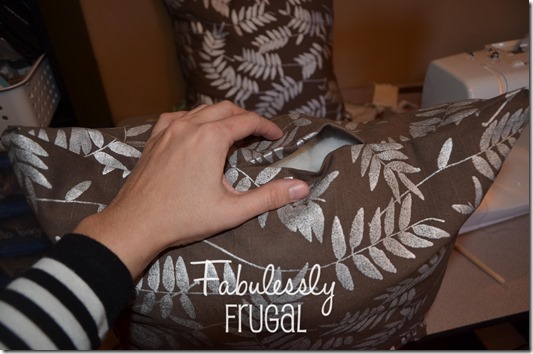
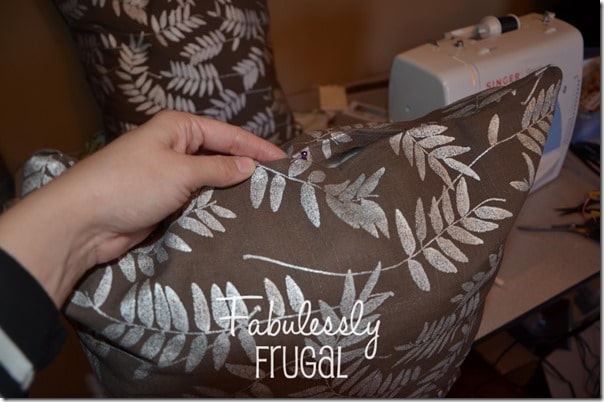
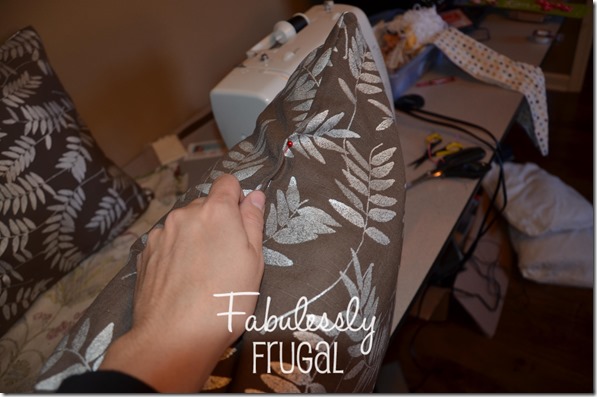
This part is a little tricky. You need to pin the opened edges together.
Step 9:
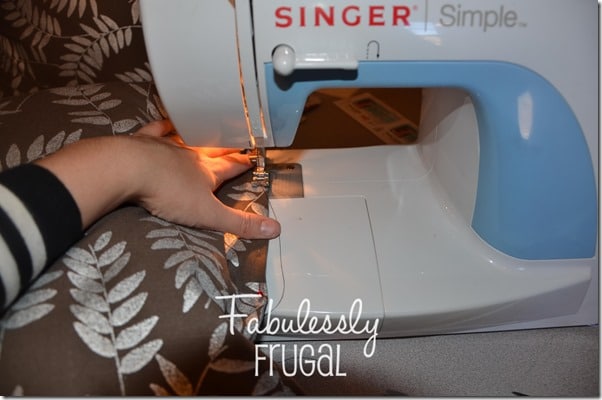
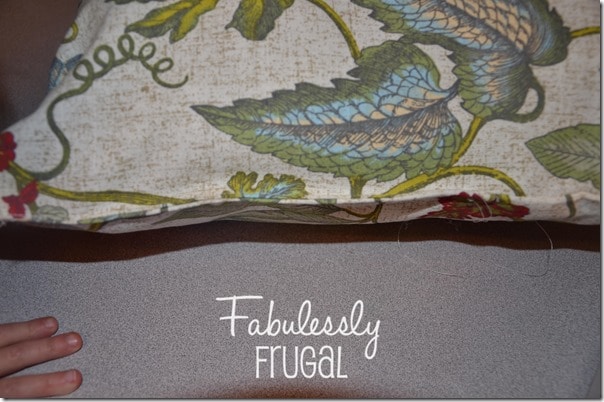
It is a little hard to get it under the presser foot. Go forward a few stitches, then backward and forward again. I went slowly to make sure the seam was as straight as possible since it will show on the outside of the pillow.
Step 10:
Trim off extra strings and fluff your pillows and you are done!


My daughter Averi loves them!

That’s How to Make DIY Throw Pillows for Cheap!
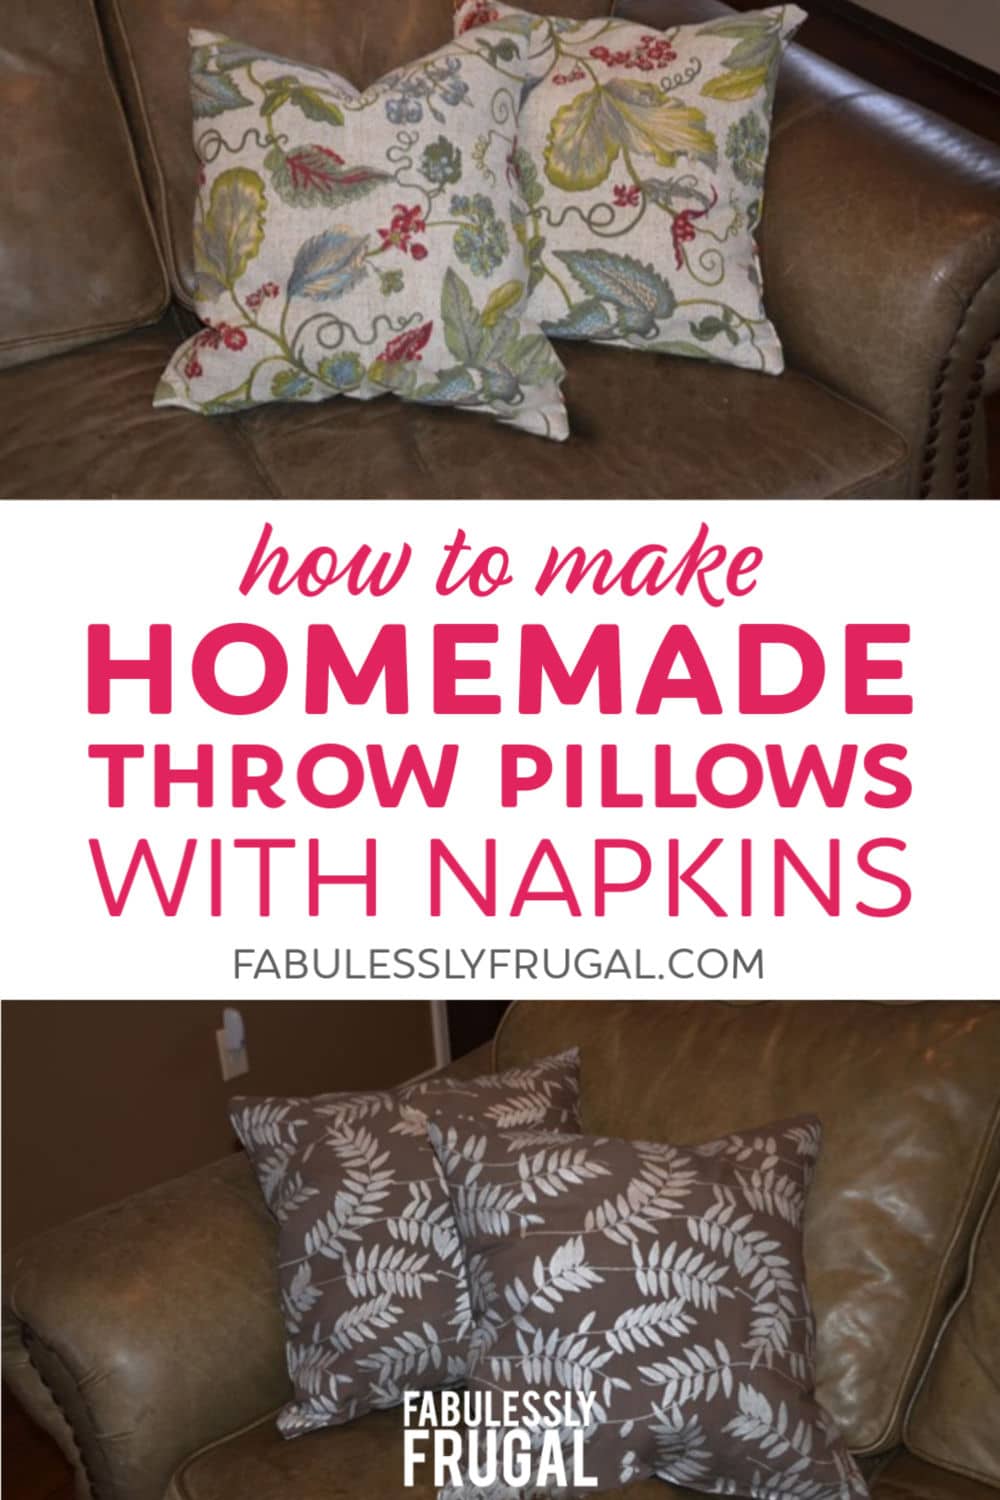
I LOVE how these DIY throw pillows turned out and LOVE that I made 4 pillows for under $8!!!! Now keep your eyes out for some cute napkins that will make great pillows for your house!
More DIY Sewing Crafts:
- 6 Easy DIY Laptop Sleeve Ideas
- 5 Easy DIY Purse Organizer Projects
- 5 DIY Poncho Ideas That Look Great
Find all our DIY sewing crafts here!
Trending Diys
Report a Problem
Please select the problem you are facing with this deal:
- Price Increased
- Price Decreased
- No longer available
- Expired
- Link doesn't work
- Suggestion
- Compliment
- Other
Add more details:
Thank you for your feedback. We really appreciate it.
Enter your email address if you would like
to receive a follow up.
Please Try Again
Thanks for providing the email address.
We will reach out to you as soon as possible.


