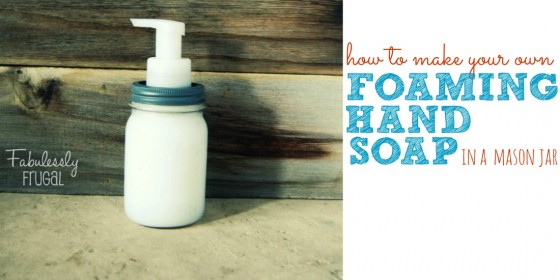
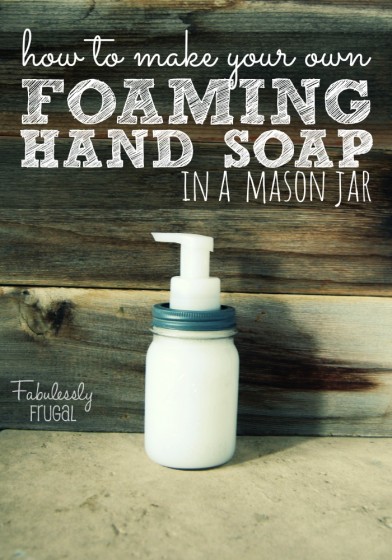
DIY Foaming Hand Soap and Mason Jar Dispenser
Make your own foaming hand soap and mason jar dispenser!
All of us who have kids know they are notorious for using too much hand soap. You walk in the bathroom to find your little one with their hands drenched in soap, and the bathroom sink filled to the brim with bubbles. What a waste! No thanks to most soap dispensers, one full pump is enough to wash your hands 3-4 times!
This is where my love for foaming hand soap began. Even still, most foaming hand soap will cost you a pretty penny. It’s so easy to make, and with this charming mason jar dispenser, you can’t go wrong!
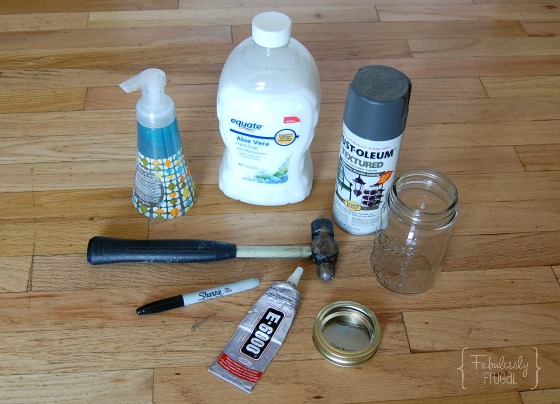
Supplies for Mason jar foaming hand soap dispenser:
- Pint-sized Mason jar with lid
- Cheap plastic foaming hand soap dispenser (I used this Method brand dispenser from Target)
- Knife/scissors
- Sharpie
- Hammer and nail
- Tape (optional)
- Spray paint
- E-6000 glue
Supplies for DIY foaming hand soap:
- Your favorite liquid hand soap
- Water
For the Mason jar dispenser:
I purchased my plastic Method brand foaming hand soap dispenser at Target, and there are other brands available as well! The first thing you need to do is unscrew and remove the pump from your plastic dispenser. Then, using scissors or a knife, cut off the top, leaving a little ledge below the threading.
Next, you need to create a hole in your Mason jar lid that is big enough for the top of the plastic dispenser to slip in, but not go all the way through. If you happen to have a drill bit that’s the right size, use that. If not, it’s very simple to create a hole using a hammer and nail. Use your sharpie to draw a circle on the center of your lid. You need your finished hole big enough to fit the threaded top of the plastic dispenser, but a nice snug fit.
Then, use the circle as a guide and poke holes all around the circle with your hammer and nails. I found it was rather convenient to tape the seal part of the lid onto the top of the ring, thus creating an empty space underneath where you can poke your nail through without damaging the surface below.
Once all your holes are made, the center of the circle can easily be removed by tapping on it with the hammer. If, like me, your hole ends up being slightly too small to accommodate the plastic dispenser top, simply use a pair of needle nose pliers to gently bend back the edges of the circle, creating a wider opening.
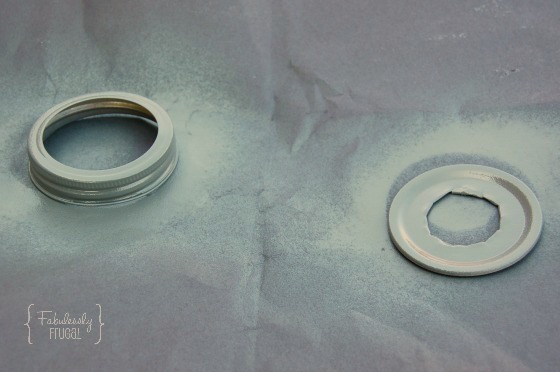
It’s now time to spray paint your Mason jar lid in the color of your choice. I love the Rust-oleum Textured Dark Pewter, as it makes the lid appear vintage.
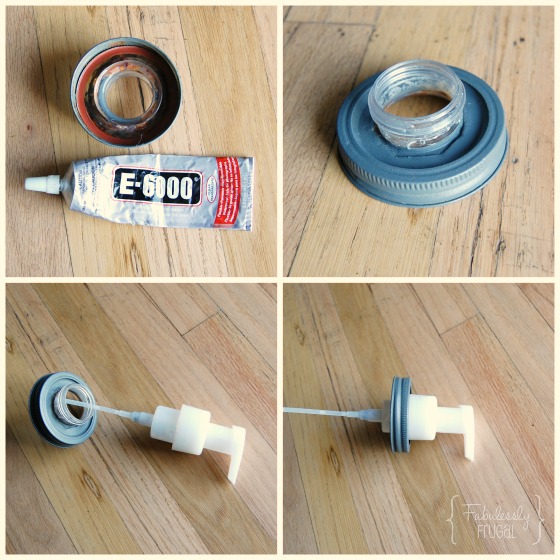
Next, place a ring of E-6000 glue all around the ledge below the threading on the plastic dispenser. Then, slip the Mason jar lid on top of the plastic dispenser top and let dry. Once dry, screw the plastic pump onto your new dispenser lid, and you are done! I also plan to make a quart-size Mason jar dispenser (non-foaming) to hold my dish soap near my kitchen sink.
For the DIY foaming hand soap:
Simply add no more than ½ cup of your favorite liquid hand soap into the bottom of your mason jar, and fill up the rest of the jar with water, until just below where the threading on the jar begins. Shake well.
If you are not using the mason jar dispenser, but just refilling another plastic dispenser, try to keep to the 3:1 ratio of water to liquid hand soap. It typically works well to put about 1 inch or less of liquid hand soap in the bottom of the bottle, and fill the rest of water. If there is too much soap in the bottle, the dispenser will not be able to pump properly.
That’s it! Enjoy all the savings that come from no longer wasting liquid hand soap in your home!
Trending Diys
Report a Problem
Please select the problem you are facing with this deal:
- Price Increased
- Price Decreased
- No longer available
- Expired
- Link doesn't work
- Suggestion
- Compliment
- Other
Add more details:
Thank you for your feedback. We really appreciate it.
Enter your email address if you would like to receive a follow up.
Please Try Again
