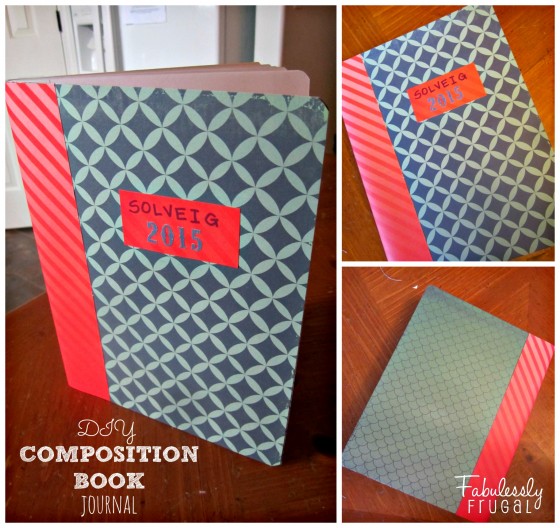
Stylish DIY Composition Book Cover
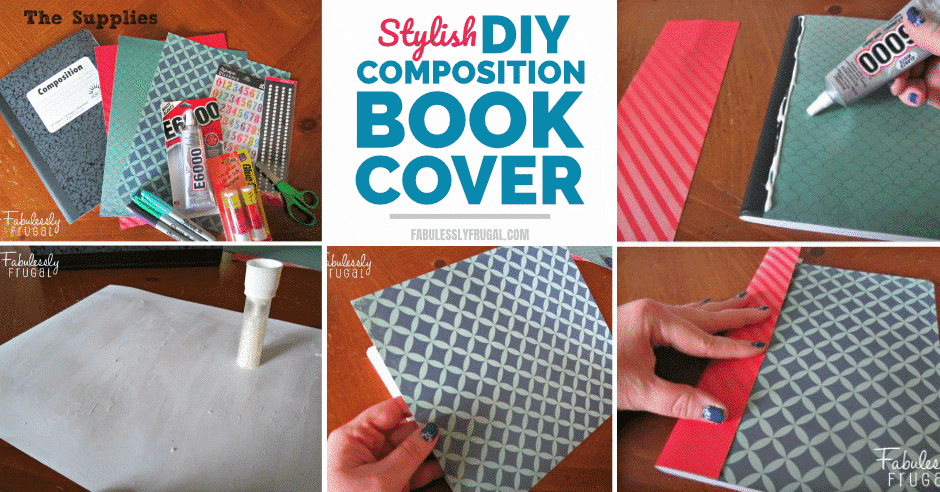
DIY Composition Journal Cover
A journal or notebook is a great way to record your new undertakings. This made-over composition notebook can be a daily journal, an exercise or food log, a gratitude journal, a study journal, a quote book, or anything you would like it to be.
Creating a DIY journal cover is a great way to add your own touch to a new notebook, and it’s also a great way to give an old notebook new life. You can choose paper that matches your personal style, and you can decorate your cover however you want to make this project one of a kind.
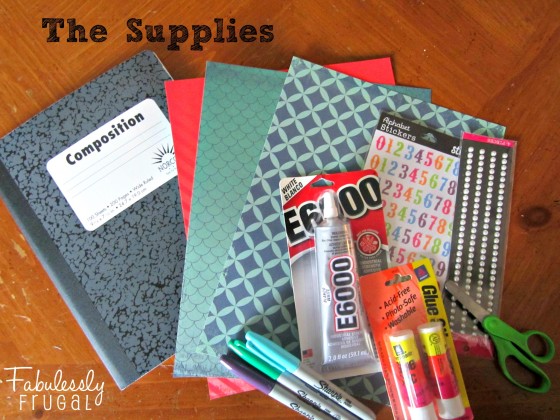
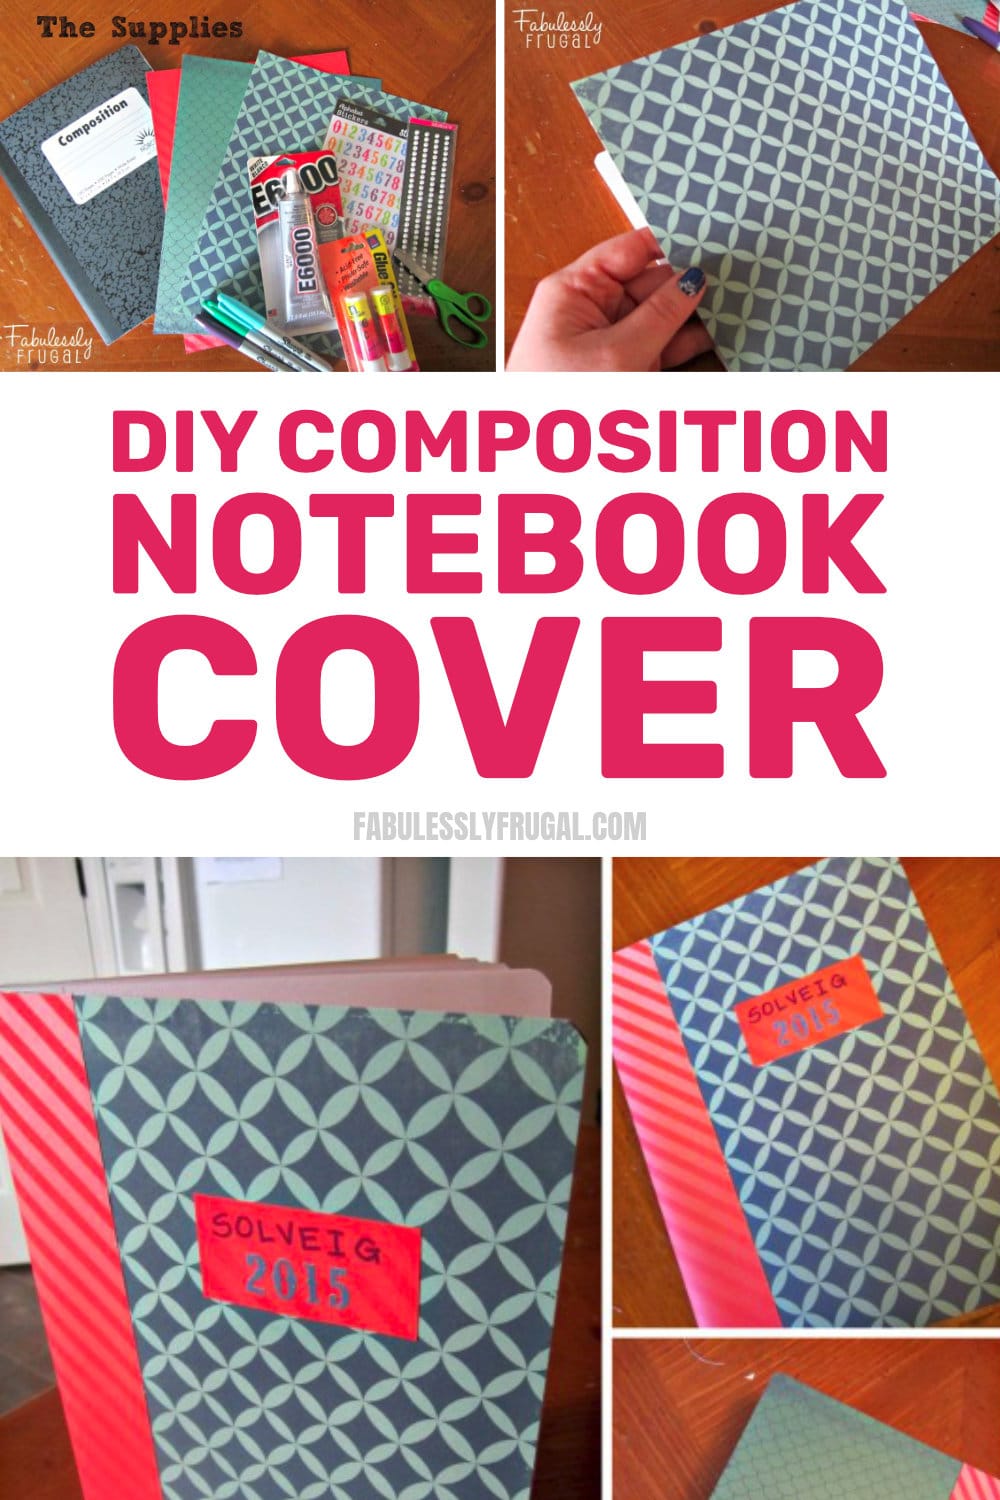
The Supplies:
- Composition notebook
- 3 sheets of cardstock scrapbook paper (size 8 1/2 x 11)
- 1 glue stick
- Scissors
- E6000 glue
- Sharpie markers
- Numbers stickers or other embellishments (optional)
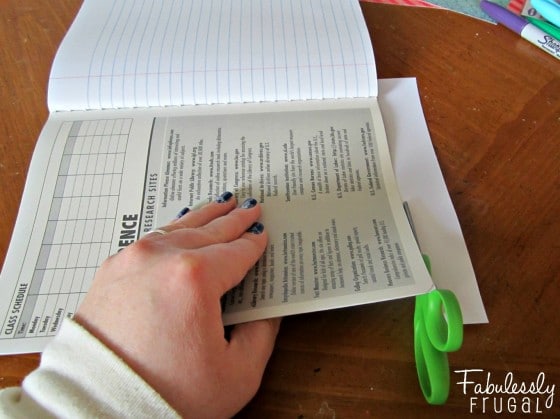
Step 1:
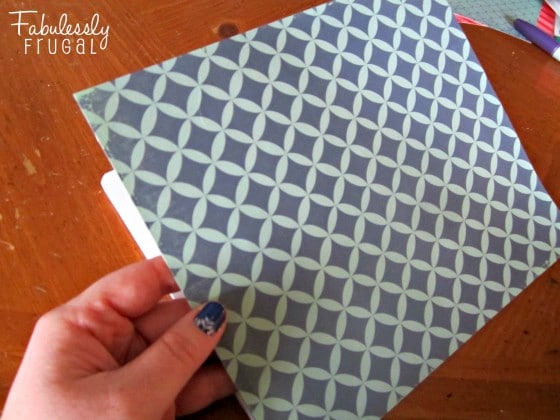
Choose the sheet of paper that will cover the front of the notebook and match the top corners. With the notebook open, trim off the excess paper. You could also trim the paper after gluing, just a matter of preference. I trimmed it first so I would not get glue all over the place.
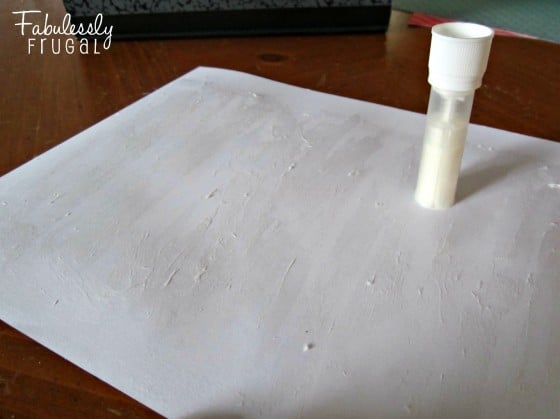
Step 2:
Next, use the glue stick to cover the scrapbook paper. The paper should be thick enough that any little chunks will you can see will disappear when you adhere it to the composition book.
Step 3:
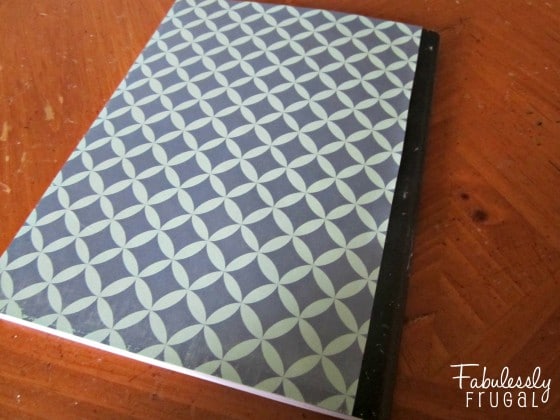
With the glue-covered paper, line up the corner of the paper with the corner of the book and press firmly all over. One nice thing about glue-sticks is they are very forgiving. If it does not line up right the first time, you can peel the paper back and try again. The glue does not set immediately.
Step 4:
Trim any extra paper so the original binding is exposed. The cut does not have to be perfectly straight, it will be covered. Once the paper is correctly placed and trimmed, you can leave it alone to dry for a few minutes.
Step 5:
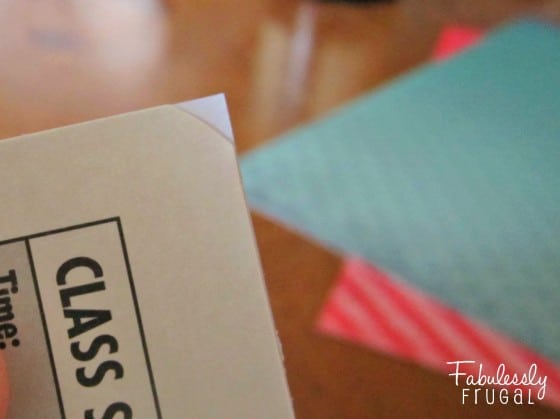
At any point in the drying process, trim the excess scrapbook paper hanging over the curved corners of the composition book. Once both the front and back sides are glued, trimmed, and set then it’s time to make your binding.
Step 6:
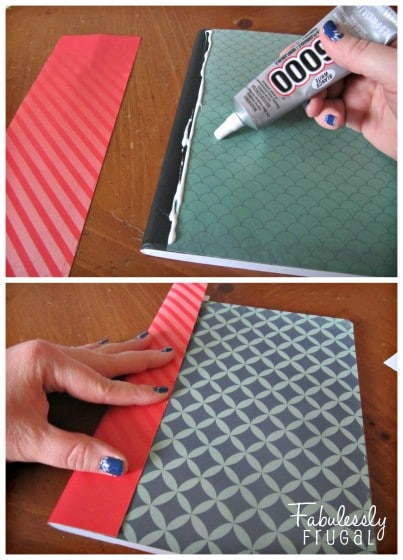
Take the third piece of paper and trim it to the width you like for the binding. I cut my binding paper about 4 inches wide for a bigger, bolder look, but your binding can be smaller if you prefer.
Make a strip of E6000 glue along the edge of the original binding, then line up the binding paper and press firmly. You will have to hold it in place for a minute or two, as it tends to slide around without pressure.
Once it is set, flip it over and glue the other side. There is no need to have glue all over the curve of the binding. It’s better for your binding cover to have the ability to move a little. That way it won’t pop off when the book is opened.
Finish & Customize Your DIY Journal Cover
Trim any excess paper that overhangs the edges of the composition book, and embellish the cover any way you like. You can add a title, pull out your sticker collection, or leave it simple and clean.
And that’s basically all there is to it! A cute, easy DIY composition book cover project. Now you can keep all your ideas in a safe, stylish spot.
More DIY Crafts:
- 20 Easy String Art Projects & Ideas
- 6 Easy DIY Laptop Sleeve Ideas
- 5 Beautiful DIY Glass Marble Crafts
Find all our DIY craft ideas here!
Trending Diys

More Related Diys


Trending DIY Projects
- DIY
- Recipes
- Deals
- Blog


Report a Problem
Please select the problem you are facing with this deal:
- Price Increased
- Price Decreased
- No longer available
- Expired
- Link doesn't work
- Suggestion
- Compliment
- Other
Add more details:
Thank you for your feedback. We really appreciate it.
Enter your email address if you would like
to receive a follow up.
Please Try Again
Thanks for providing the email address.
We will reach out to you as soon as possible.


Popular
Recommended
About Us

At Fabulessly Frugal, our goal is to help you live HEALTHY, WEALTHY, and WISE! My team and I work hard to bring you the best, online deals, clean eating, DIY's, freezer meal recipes, and more! I LOVE coaching and inspiring people to improve their health in my fitness challenge! You should also check out my favorite cleanse! Learn more about me and the rest of my team.

Copyright © 2008–2026
Fabulessly Frugal: A Coupon Blog Sharing Gift Ideas, Amazon Deals, Printable Coupons, DIY, How to Extreme Coupon, and Make Ahead Meals. All rights reserved