DIY Holiday Pine Cone Craft
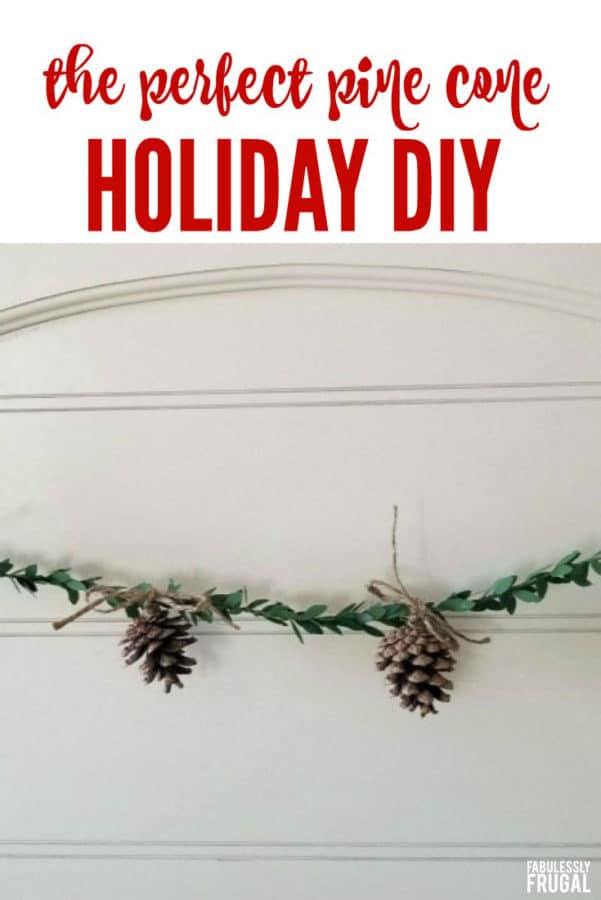
The other day I was getting my house all ready for Christmas and I wanted to find a cute little banner to put on my bed. I got on Amazon and Etsy, and everything was extremely expensive! I do not want to spend that much money on a decoration I can only use a few months out of the year. So, I decided to create a little Pine Cone Garland DIY so that you can enjoy the beautiful Christmas crafts, without spending 20+ dollars on it.
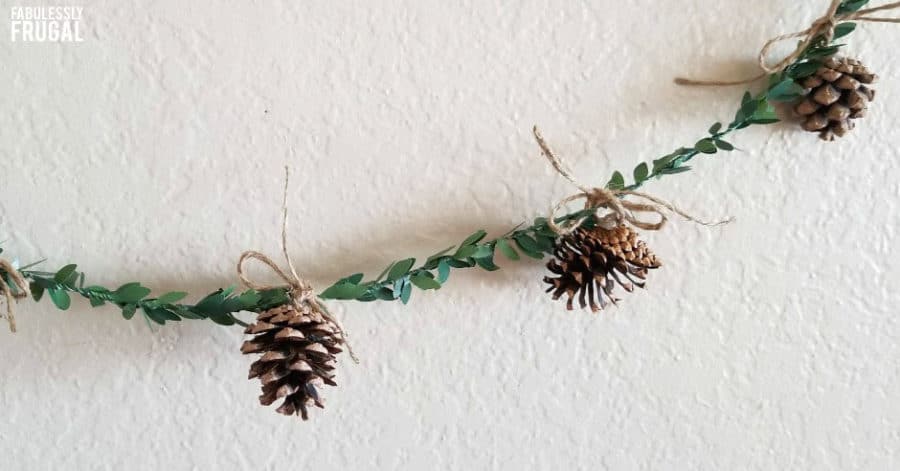
DIY Pine Cone Garland
I made this out of materials once again, that I had in my own home. I will admit I spent $1!! I bought this cute greenery garland at the dollar spot at Target. They have had this garland there for the last couple of years. I used this as my base and the rest of the items I used, I already had in my home. Even if you had to go out and buy every single item on this list, this DIY would still be under $20!
What You’ll Need:
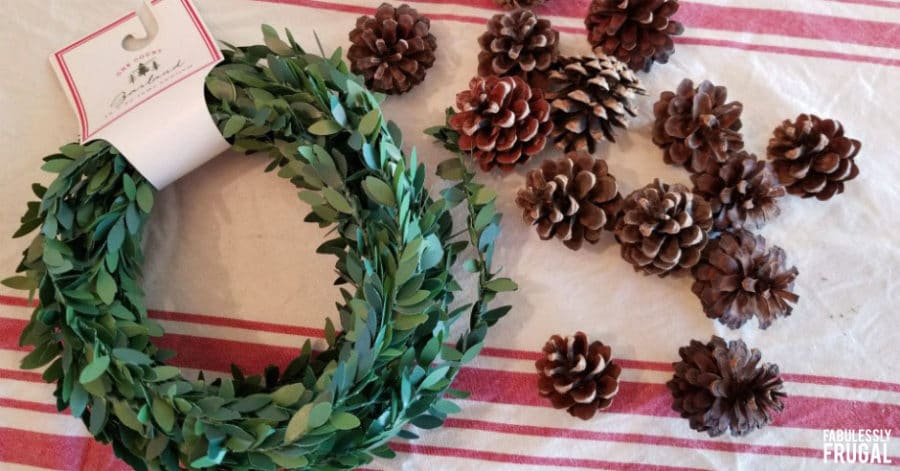
- Green Garland (I found mine at target for $1)
- Pinecones
- or Jute Twine
- Scissors
- Hot Glue Gun
As you can see, there is not much to this project. It is quick, easy, and simple! Just how I like it!
How To Assemble Your Garland
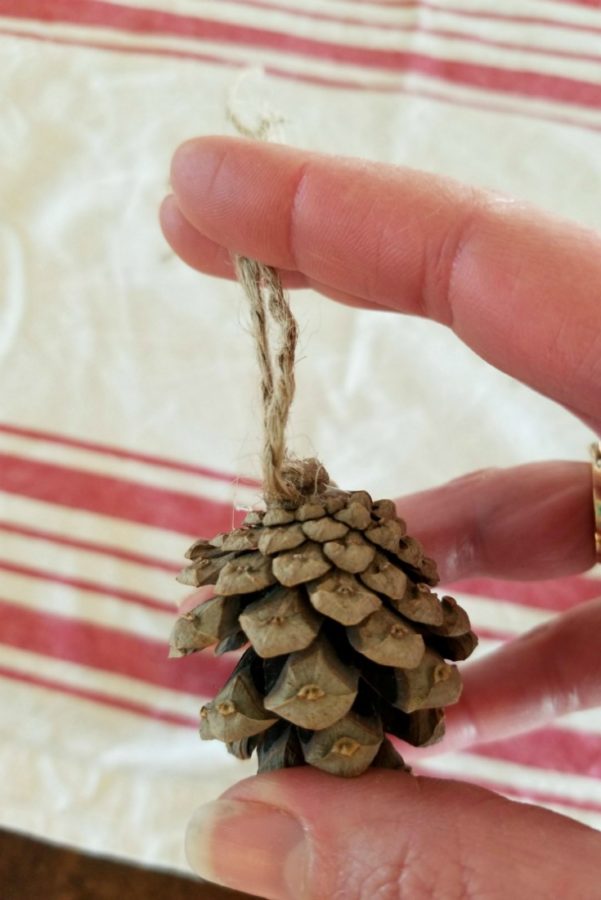
Assembly is super easy! All you need to do is cut the garland to the length that you are wanting. I was wanting mine to go on my headboard so I made it a little longer than the width of my headboard so it could dangle. After you decide, cut the garland to the length that you are wanting. I then cut a piece of jute twine about 10″ long and hot glued the center of the twine to the top of the pine cone . I repeated this for all the pine cones. Then I simply tied the pine cones on to the greenery vine about every 3 and a 1/2 inches.
If you wanted some Christmas red, you could add red and white Baker’s twine instead of the jute twine to give the project a little pop of color. This would look so cute across a mirror or on the headboard of your bed or even on a fireplace mantel! Or draped across a window! Guys, the options are endless!
My Finished Project
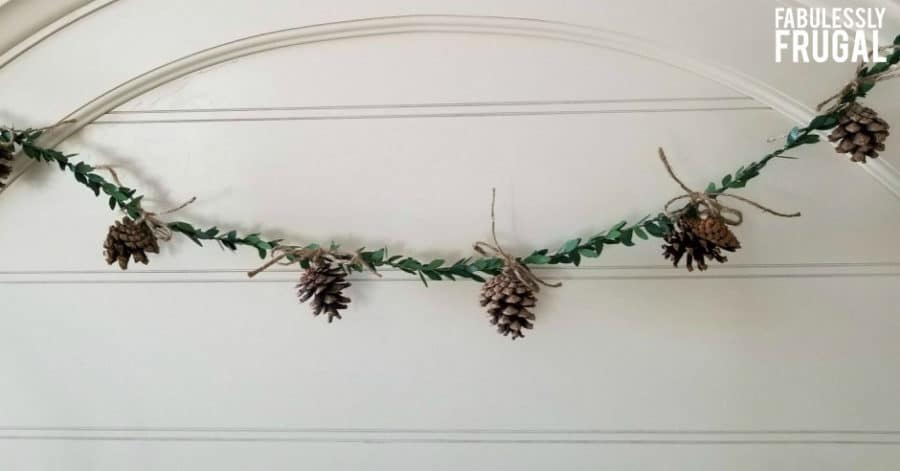
I was so pleased with how this turned out. It was so simple! I was done in less than 10 minutes and clean up was quick and easy. I am a very minimalistic decorator so this piece is perfect for our bedroom. And the best part is, this is not a decoration that you have to take down right after the holidays end. This is the perfect, winter decoration! You could leave it up until March!
Who is up for it?
Now it is your turn to decide! Are you up for making this craft! Of all my DIYs I think this one might be one of my favorite. It is cost effective, beautiful, and so simple. This would be the perfect addition to your home this holiday season!
Trending Diys
Report a Problem
Please select the problem you are facing with this deal:
- Price Increased
- Price Decreased
- No longer available
- Expired
- Link doesn't work
- Suggestion
- Compliment
- Other
Add more details:
Thank you for your feedback. We really appreciate it.
Enter your email address if you would like
to receive a follow up.
Please Try Again
Thanks for providing the email address.
We will reach out to you as soon as possible.















Comments
Trackbacks
[…] TUTORIAL: Fabulously Frugal […]