
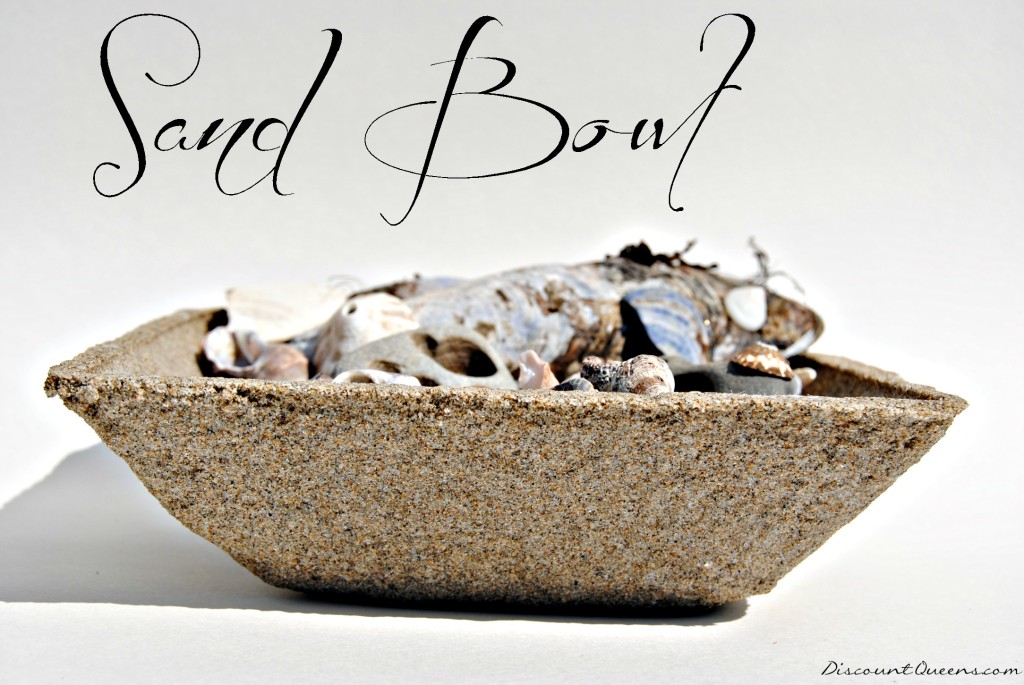
DIY Sand Bowl
 We recently took a family vacation to the Oregon Coast. Â It was my kids first time seeing the ocean.
I just knew that they were going to come back with a lot of keepsakes from the shores 😉
I thought what a better way to keep all that fun stuff than with a sand bowl.
Here is how you can make your own…
What you will need:
Sand
Glue
Saran Wrap
Bowl
Mixing bucket
Craft stick
work surface
Lets get messy!!! 😀
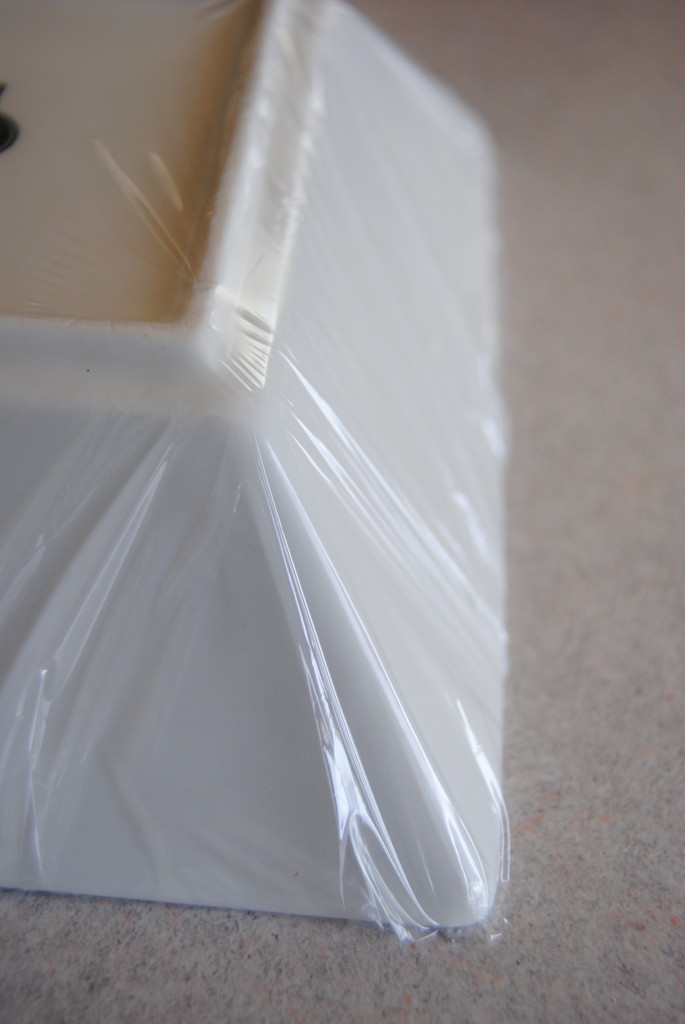 First cover the bottom of your bowl with the saran wrap.
Smooth it out as much as you like.
Whatever is not smoothed will leave an impression in your sand.
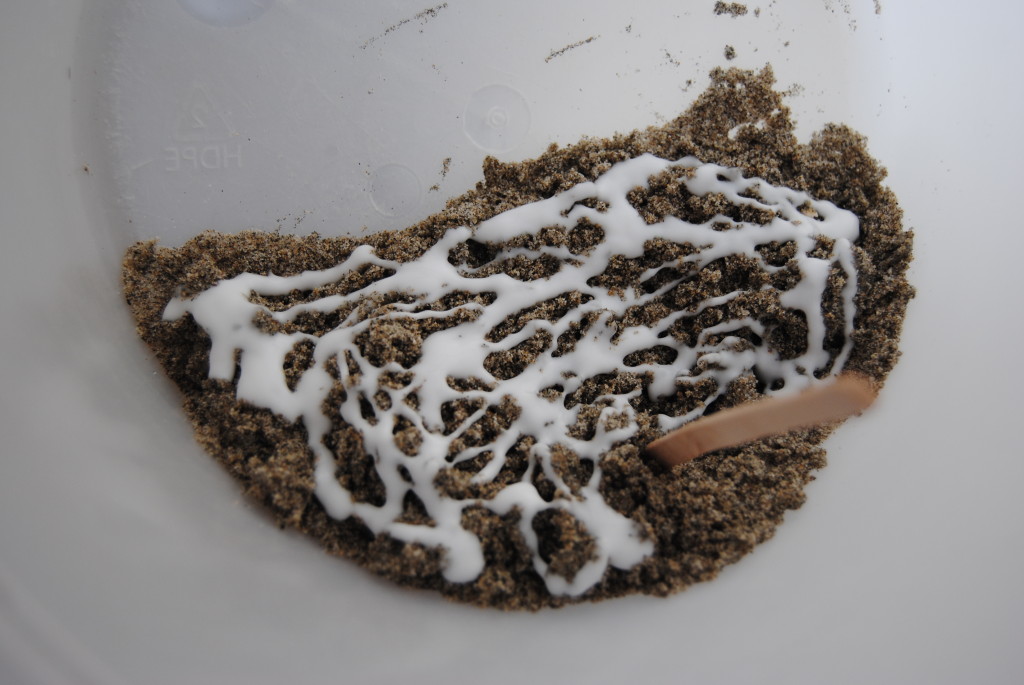 Put your sand in a throw away bucket, squirt the glue and stir with your craft stick.
You are going to want it thick but pour-able. Â I had to add glue, stir and add more glue.
I just eye-balled the amount of sand and had to add more.
{Your hands get messy!}
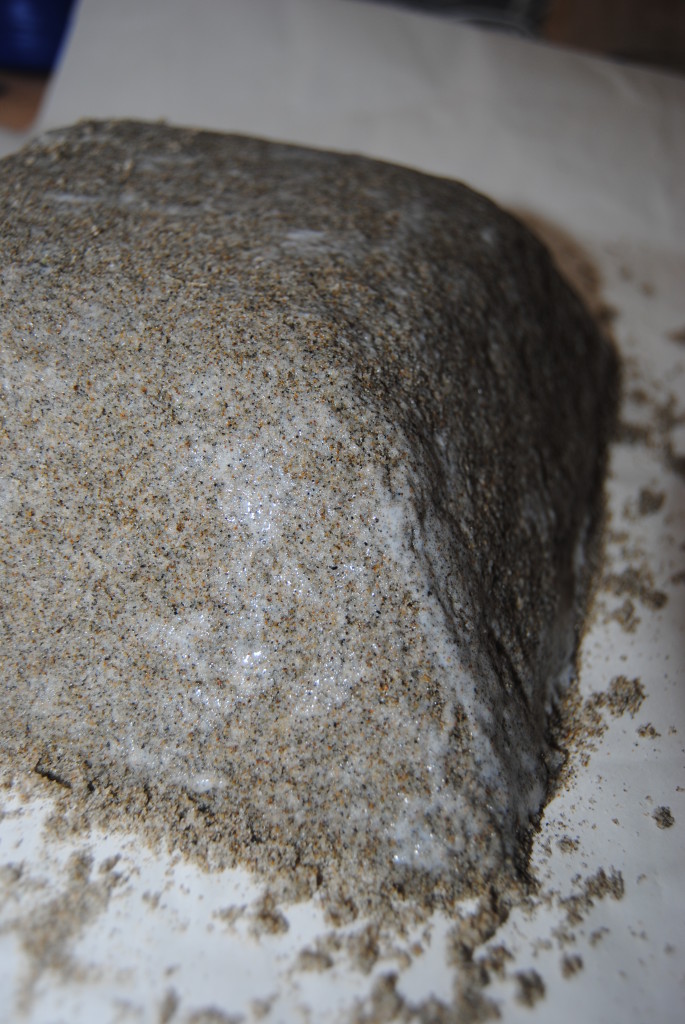
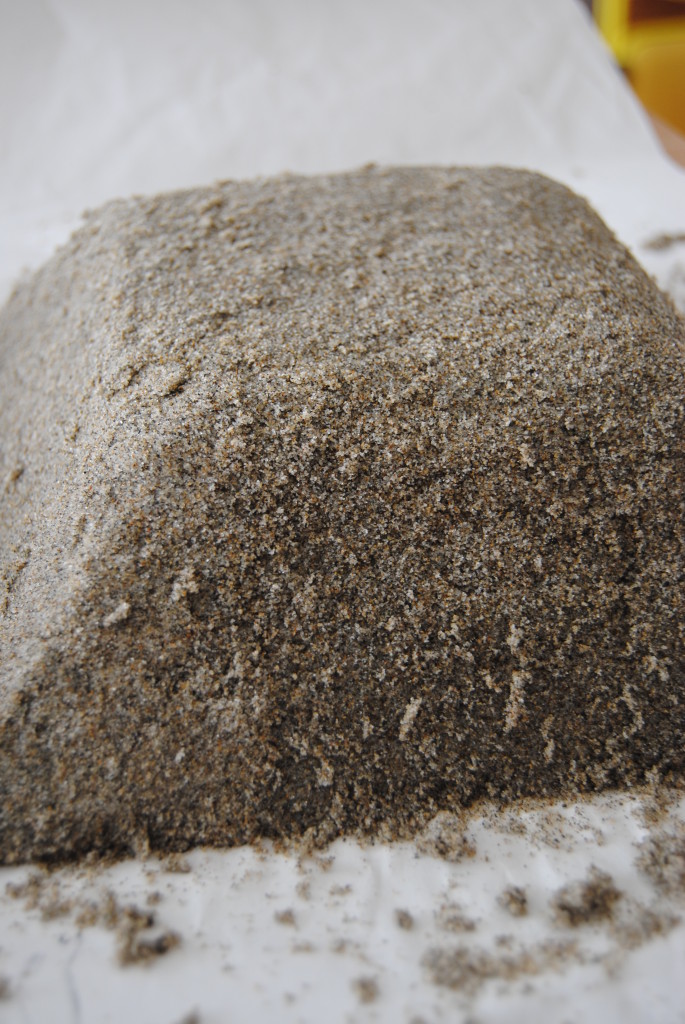 After your sand is the right consistency pour the sand onto the bottom of the bowl.
Use your hand and spread the sand to cover the bowl completely.
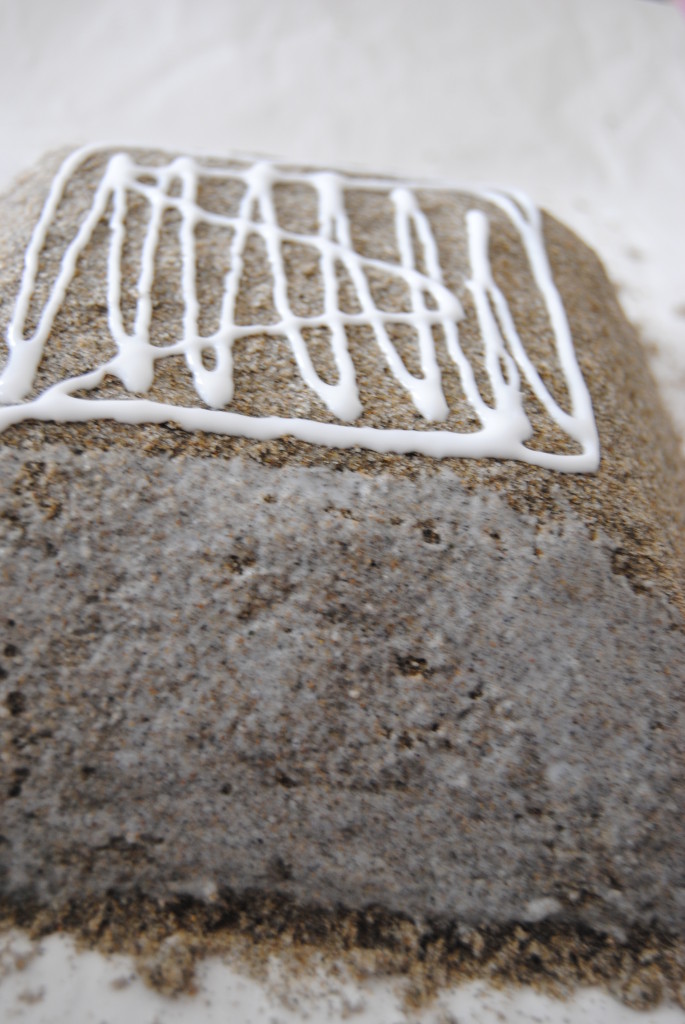 Let it dry for 3 hours. Â After it has sat put a layer of glue over the now bottom of your sand bowl. Â Let it sit overnight.
After it has sat overnight add another layer of glue and let sit to dry.
Once dry remove the sand bowl from the bottom of your bowl and then peel off the saran wrap.
The bottom of my bowl on the inside was still a little wet so I smoothed out the sand, added some glue and let dry overnight.
I smoothed out the edges a little and called it good.
I loved how it turned out and it is the perfect spot for all our fun treasures! 😀
Make sure to pin this to Pinterest to save for later!
If you are not following us on Pinterest, make sure to do so now so you don’t miss out on some great pins.
Trending Diys
More Related Diys


Trending DIY Projects
- DIY
- Recipes
- Deals
- Blog


Report a Problem
Please select the problem you are facing with this deal:
- Price Increased
- Price Decreased
- No longer available
- Expired
- Link doesn't work
- Suggestion
- Compliment
- Other
Add more details:
Thank you for your feedback. We really appreciate it.
Enter your email address if you would like to receive a follow up.
Please Try Again
Thanks for providing the email address.
We will reach out to you as soon as possible.


Popular
Recommended
About Us

At Fabulessly Frugal, our goal is to help you live HEALTHY, WEALTHY, and WISE! My team and I work hard to bring you the best, online deals, clean eating, DIY's, freezer meal recipes, and more! I LOVE coaching and inspiring people to improve their health in my fitness challenge! You should also check out my favorite cleanse! Learn more about me and the rest of my team.


Copyright © 2008–2026
Fabulessly Frugal: A Coupon Blog Sharing Gift Ideas, Amazon Deals, Printable Coupons, DIY, How to Extreme Coupon, and Make Ahead Meals. All rights reserved