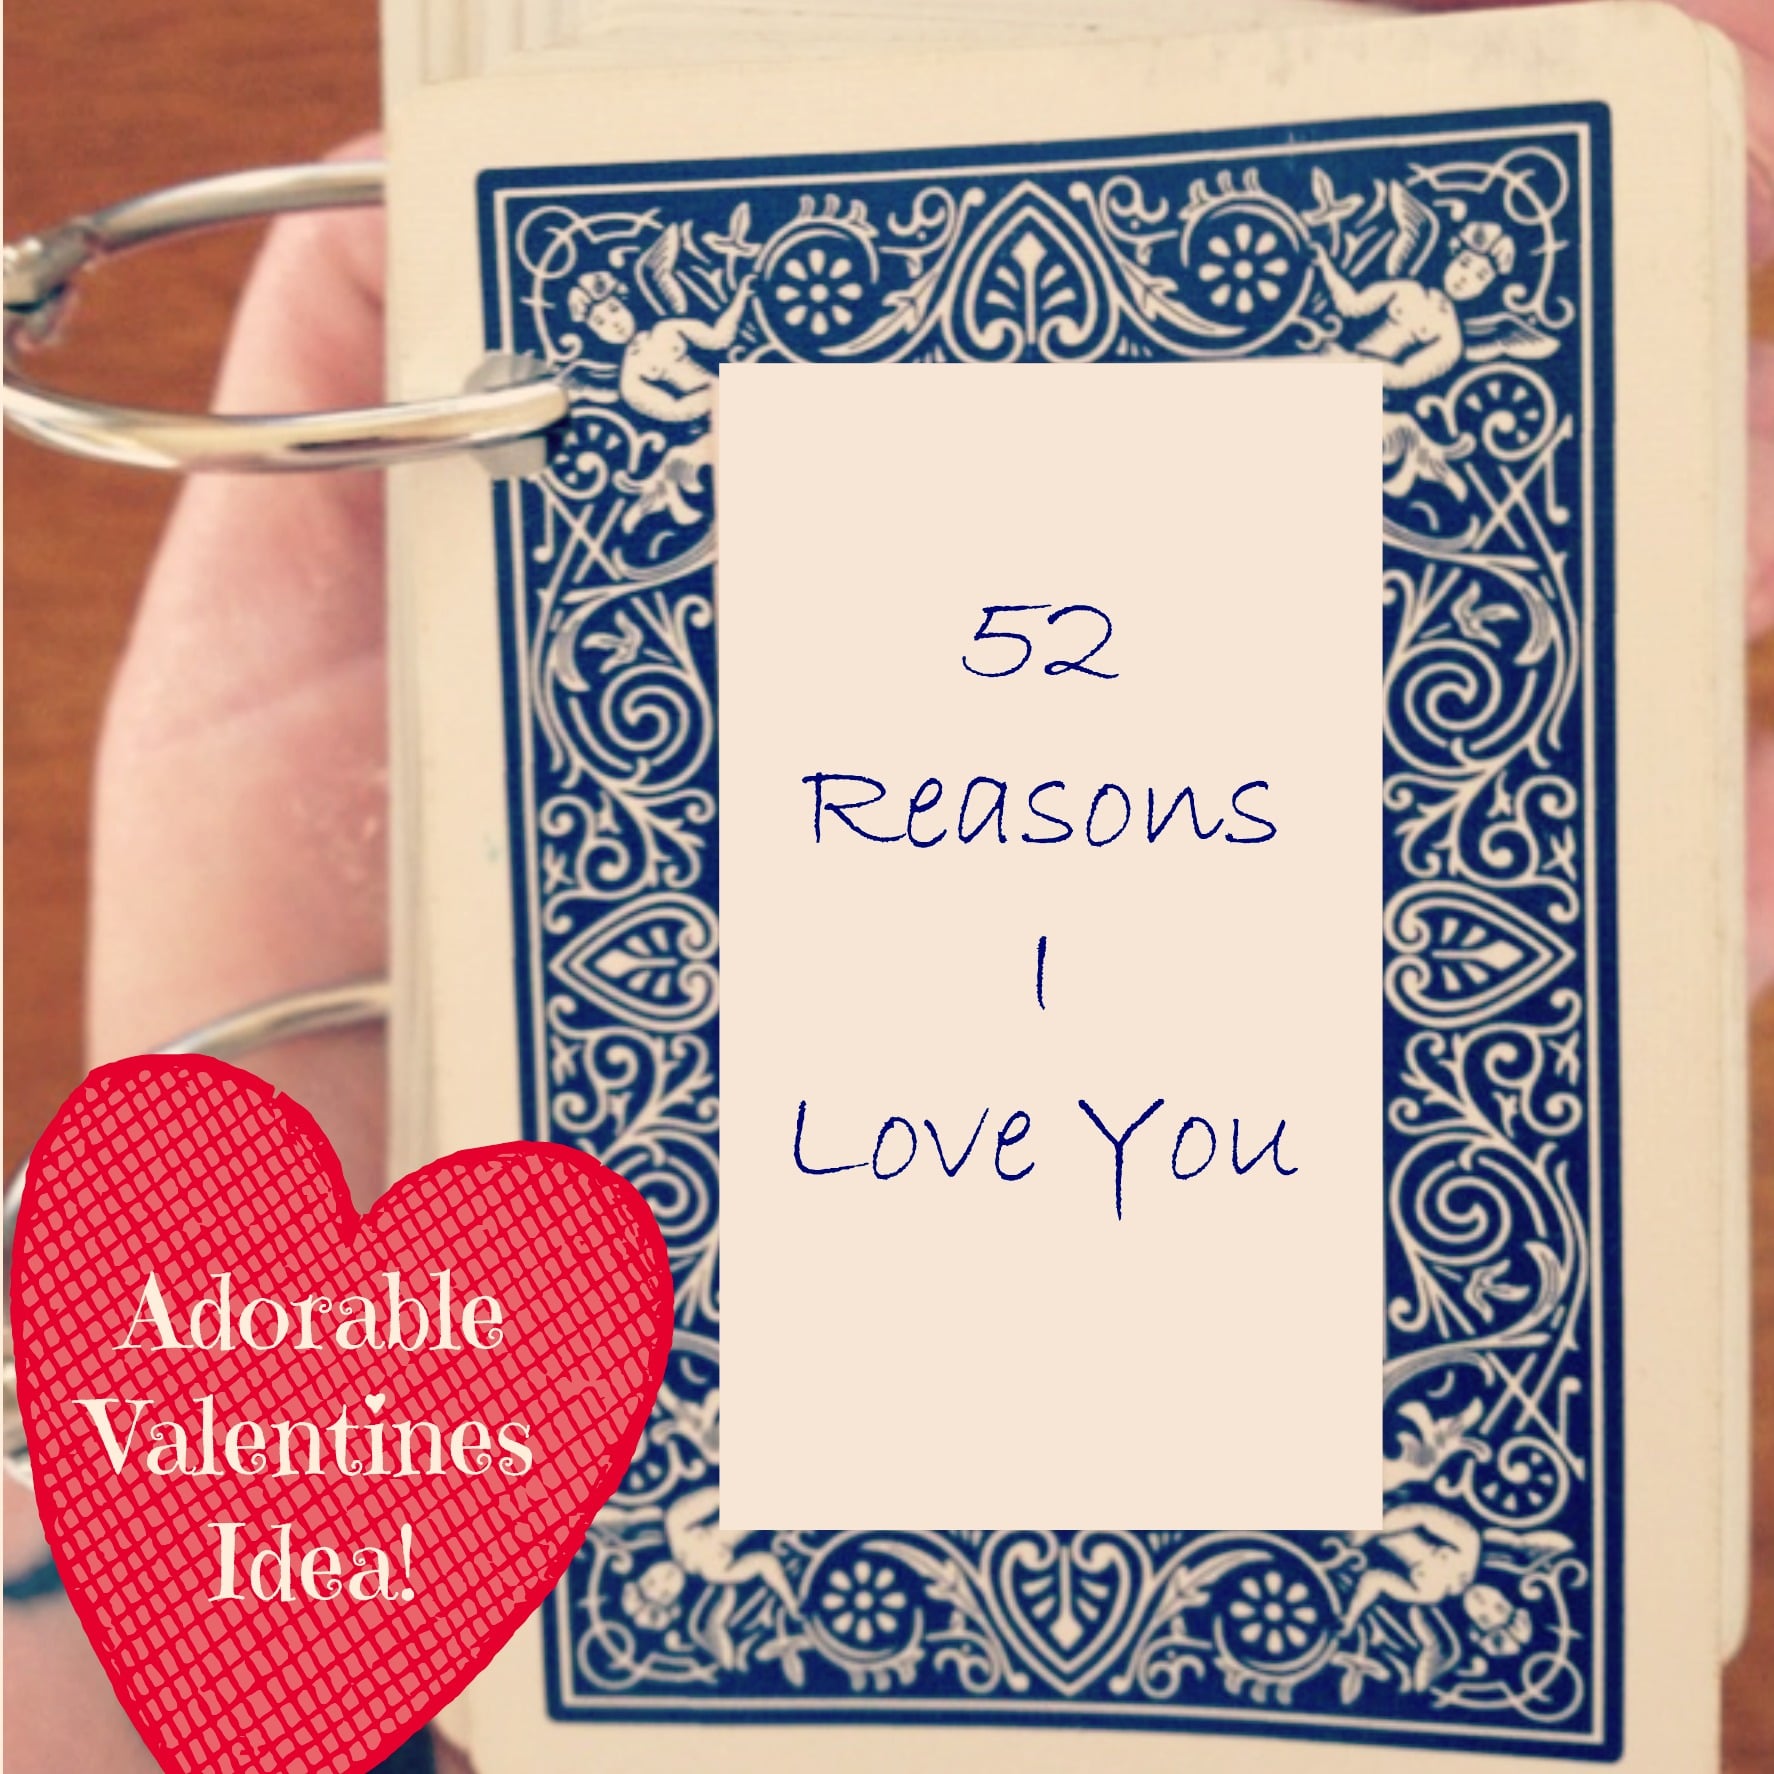
52 Weeks of Pinterest: Week 6 – “52 Reasons I Love You” Valentine’s Day Craft!
This year I wanted to go with a resolution I would have no problem sticking to! Then as I was pinning an item on Pinterest, a light bulb flashed on above my head. Ok, maybe not literally, but this great idea popped into my head. Those of us who are Pinterest users know that we pin hundreds of things a week, but do we ever do them? So I decided this year I would do one of my pins every week. At the moment, 52 weeks of Pinterest was born. Each week I will do something I found on Pinterest rather it be a craft, new recipe, organizing technique, or whatever!
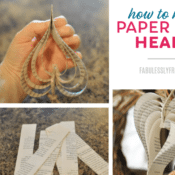
It being the week before Valentine’s Day, I went with a pin from our Valentine’s Day Board: “52 Reasons I Love You.”
What You Will Need:
52-54 Cards
Hole Punch
Metal Rings, twine, ribbon, or whatever you want to use to hold the cards together.
Cardstock or other thick paper
Mod Podge
Sponge applicator or paint brush
Hole Punch
Ruler
Pencil/Pen
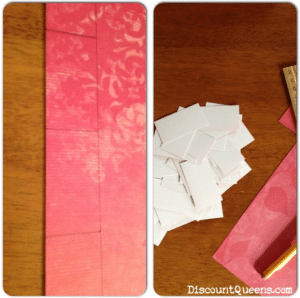
First thing I did was measure the little square on the playing card where my “reason” was going to go. The measurement I got was 3 x 5.7 mm for a standard set of playing cards. I actually have a bunch of scrapbook paper so I found some that was white on the back. One 12 x 12″ scrapbook page will give you 50 squares. I needed 54: 52 reasons, Title, and a Love, Amber one. So I ended up using 2 sheets of scrapbook paper. You can use any thick paper you would like, it doesn’t have to be scrapbooking paper.
The next thing I did was sit there and punched two holes in each of the 54 cards. 108 holes later, my hand had a cramp! I didn’t measure or use a guide card to get the holes exactly the same on each card because I knew I would be putting them on the rings and that they would be pretty loose fitting.
After I had my holes punched, I started to fill out all of my cards. I just went with hand printed, I think this makes it more personal too. Â Once you have your cards all filled out with your reasons, it’s time to get messy. 🙂
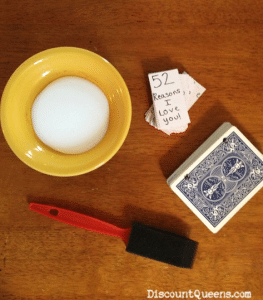
Get your supplies ready. Next thing we are doing is getting the squares glued to the cards. This part goes fairly quick, but if you are anything as messy as I am, expect glue all over your hands. Get your Mod Podge, applicator, cards, and little “reasons” ready.
I applied a thin layer of Mod Podge to the back of each “reason” and set it onto the center square of the card. I put some pressure for a few seconds, focusing on the outer edges of the “reason” because they seemed to be wanting to pull up there.
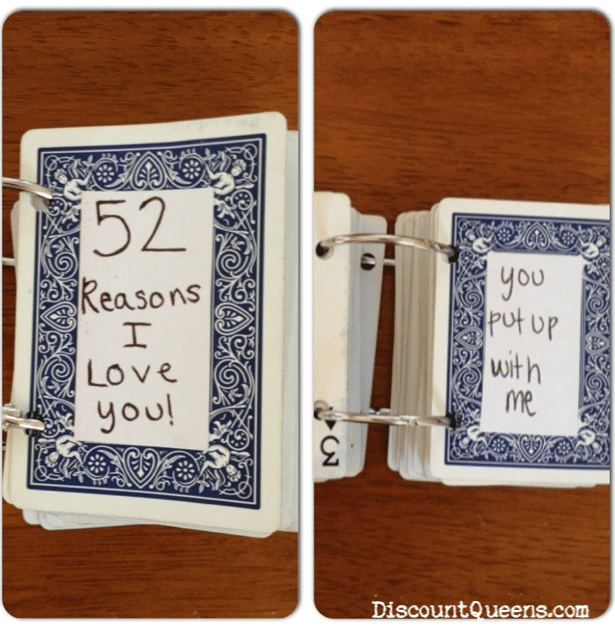
Once you have them all glued on have been drying for a few minutes, go ahead and start to put them all together the way you choose.
I went with the metal rings. I actually found these in the sewing section at Michaels with a regular price of $1.99, but I used my 40% off coupon! 🙂 The price of the metal rings was the total cost on this product for me, everything else I had laying around.
Once you have the cards bond together, you are done. The whole process actually took me a few hours, but I had fun with it. When I was doing my “reasons” I was remembering, and laughing about old memories. I am sure the husband will enjoy it!
Make sure to pin this to Pinterest to save for later! If you are not following us on Pinterest, make sure to do so now so you don’t miss out on some great pins!
Hope you enjoyed Week 6 of 52 Weeks of Pinterest, come back next Saturday for another attempted pin!If you don’t want to wait a week for a new pin idea, checkout our DIY posts, there are some great ideas there as well!
Trending Diys


More Related Diys


Trending DIY Projects
- DIY
- Recipes
- Deals
- Blog


Report a Problem
Please select the problem you are facing with this deal:
- Price Increased
- Price Decreased
- No longer available
- Expired
- Link doesn't work
- Suggestion
- Compliment
- Other
Add more details:
Thank you for your feedback. We really appreciate it.
Enter your email address if you would like
to receive a follow up.
Please Try Again
Thanks for providing the email address.
We will reach out to you as soon as possible.


Popular
Recommended
About Us

At Fabulessly Frugal, our goal is to help you live HEALTHY, WEALTHY, and WISE! My team and I work hard to bring you the best, online deals, clean eating, DIY's, freezer meal recipes, and more! I LOVE coaching and inspiring people to improve their health in my fitness challenge! You should also check out my favorite cleanse! Learn more about me and the rest of my team.

Copyright © 2008–2026
Fabulessly Frugal: A Coupon Blog Sharing Gift Ideas, Amazon Deals, Printable Coupons, DIY, How to Extreme Coupon, and Make Ahead Meals. All rights reserved