How to Build a Towel Rack for Your Pool or Hot Tub
How to Build a Pool Towel Rack for less than $35!
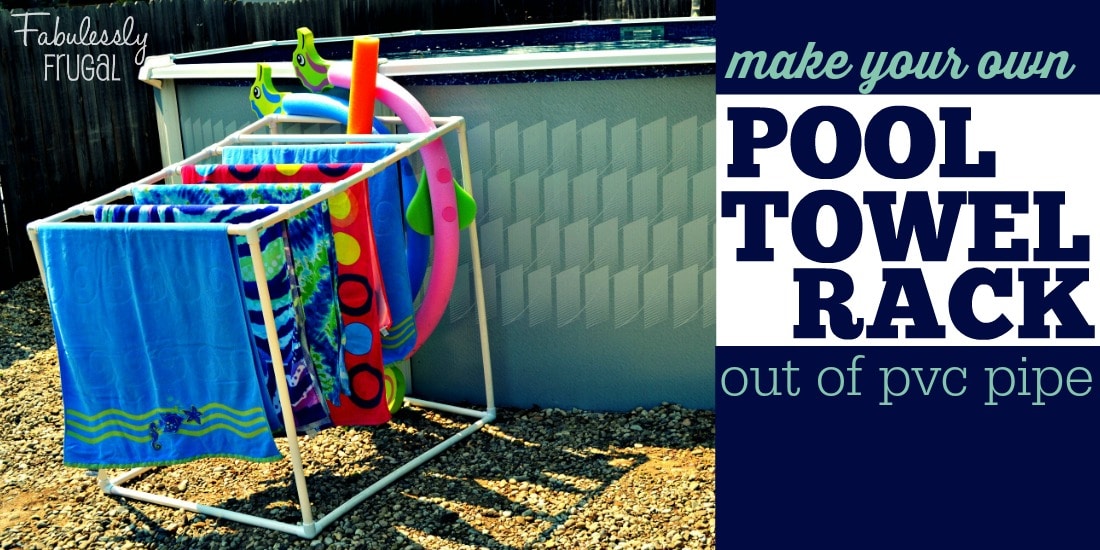
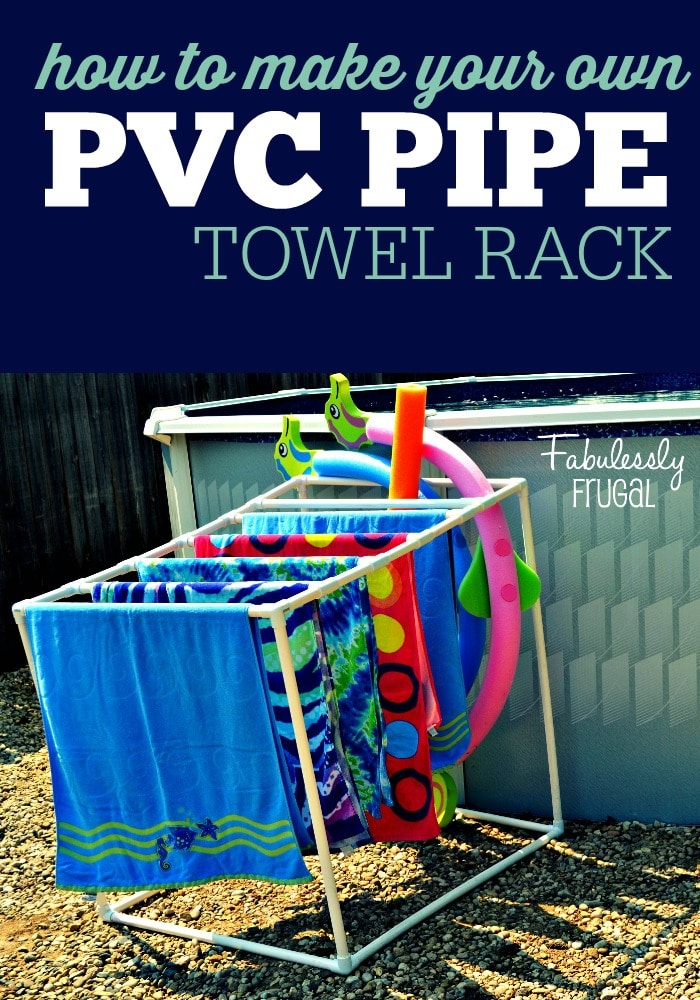
We have had amazing spring weather so we thought it would be fun to make a towel rack. After picking up what seemed to be an endless pile of wet, soggy towels last year I knew something had to change for this summer. This PVC Pool Towel Rack is just the answer to keep towels organized and dry in between the trips in and out of the pool. If you buy this at the store you will pay well over $100. I decided to make my own and share it with you to help you keep your summer fun frugal!
Supplies Needed:
- (5) 3/4″ x 10′ PVC Pipe (You will use every inch of these 5 pipes, so cut carefully!)
- (10) 3/4″ T connectors
- (8) 3/4″ 3-way T connector
- PVC Pipe cutter or Miter Saw & Box
- Tape Measure
- Sharpie
- Sand Paper
- Gravel or Sand
- PVC Pipe Cement or Duct tape (optional)
Step 1: Sand down Markings on PVC Pipe
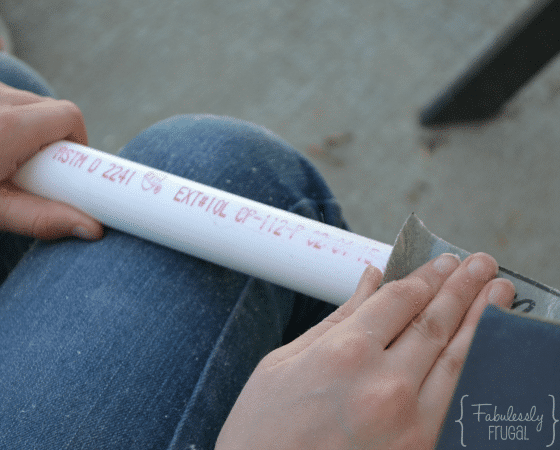
- This is not necessary, but make the finished piece look nicer. So, taking an extra 1/2 hour to sand it off is well worth it!
- Get the kids involved and have them help to cut down on the time for this step!
Step 2: Cut down to sizes needed.
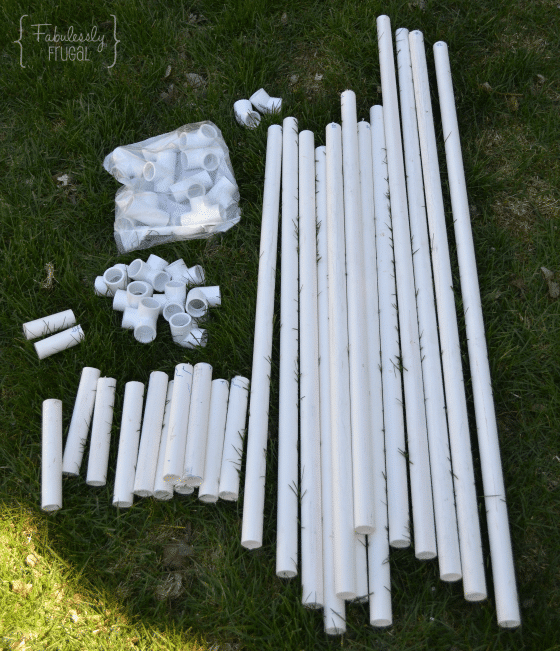
- Cut down and label the following pieces:
- (2) 3″
- (2) 6″
- (8 ) 7″
- (9) 32″
- (2) 34″
- (4) 42″
Step 3: Assemble the bottom section of the rack
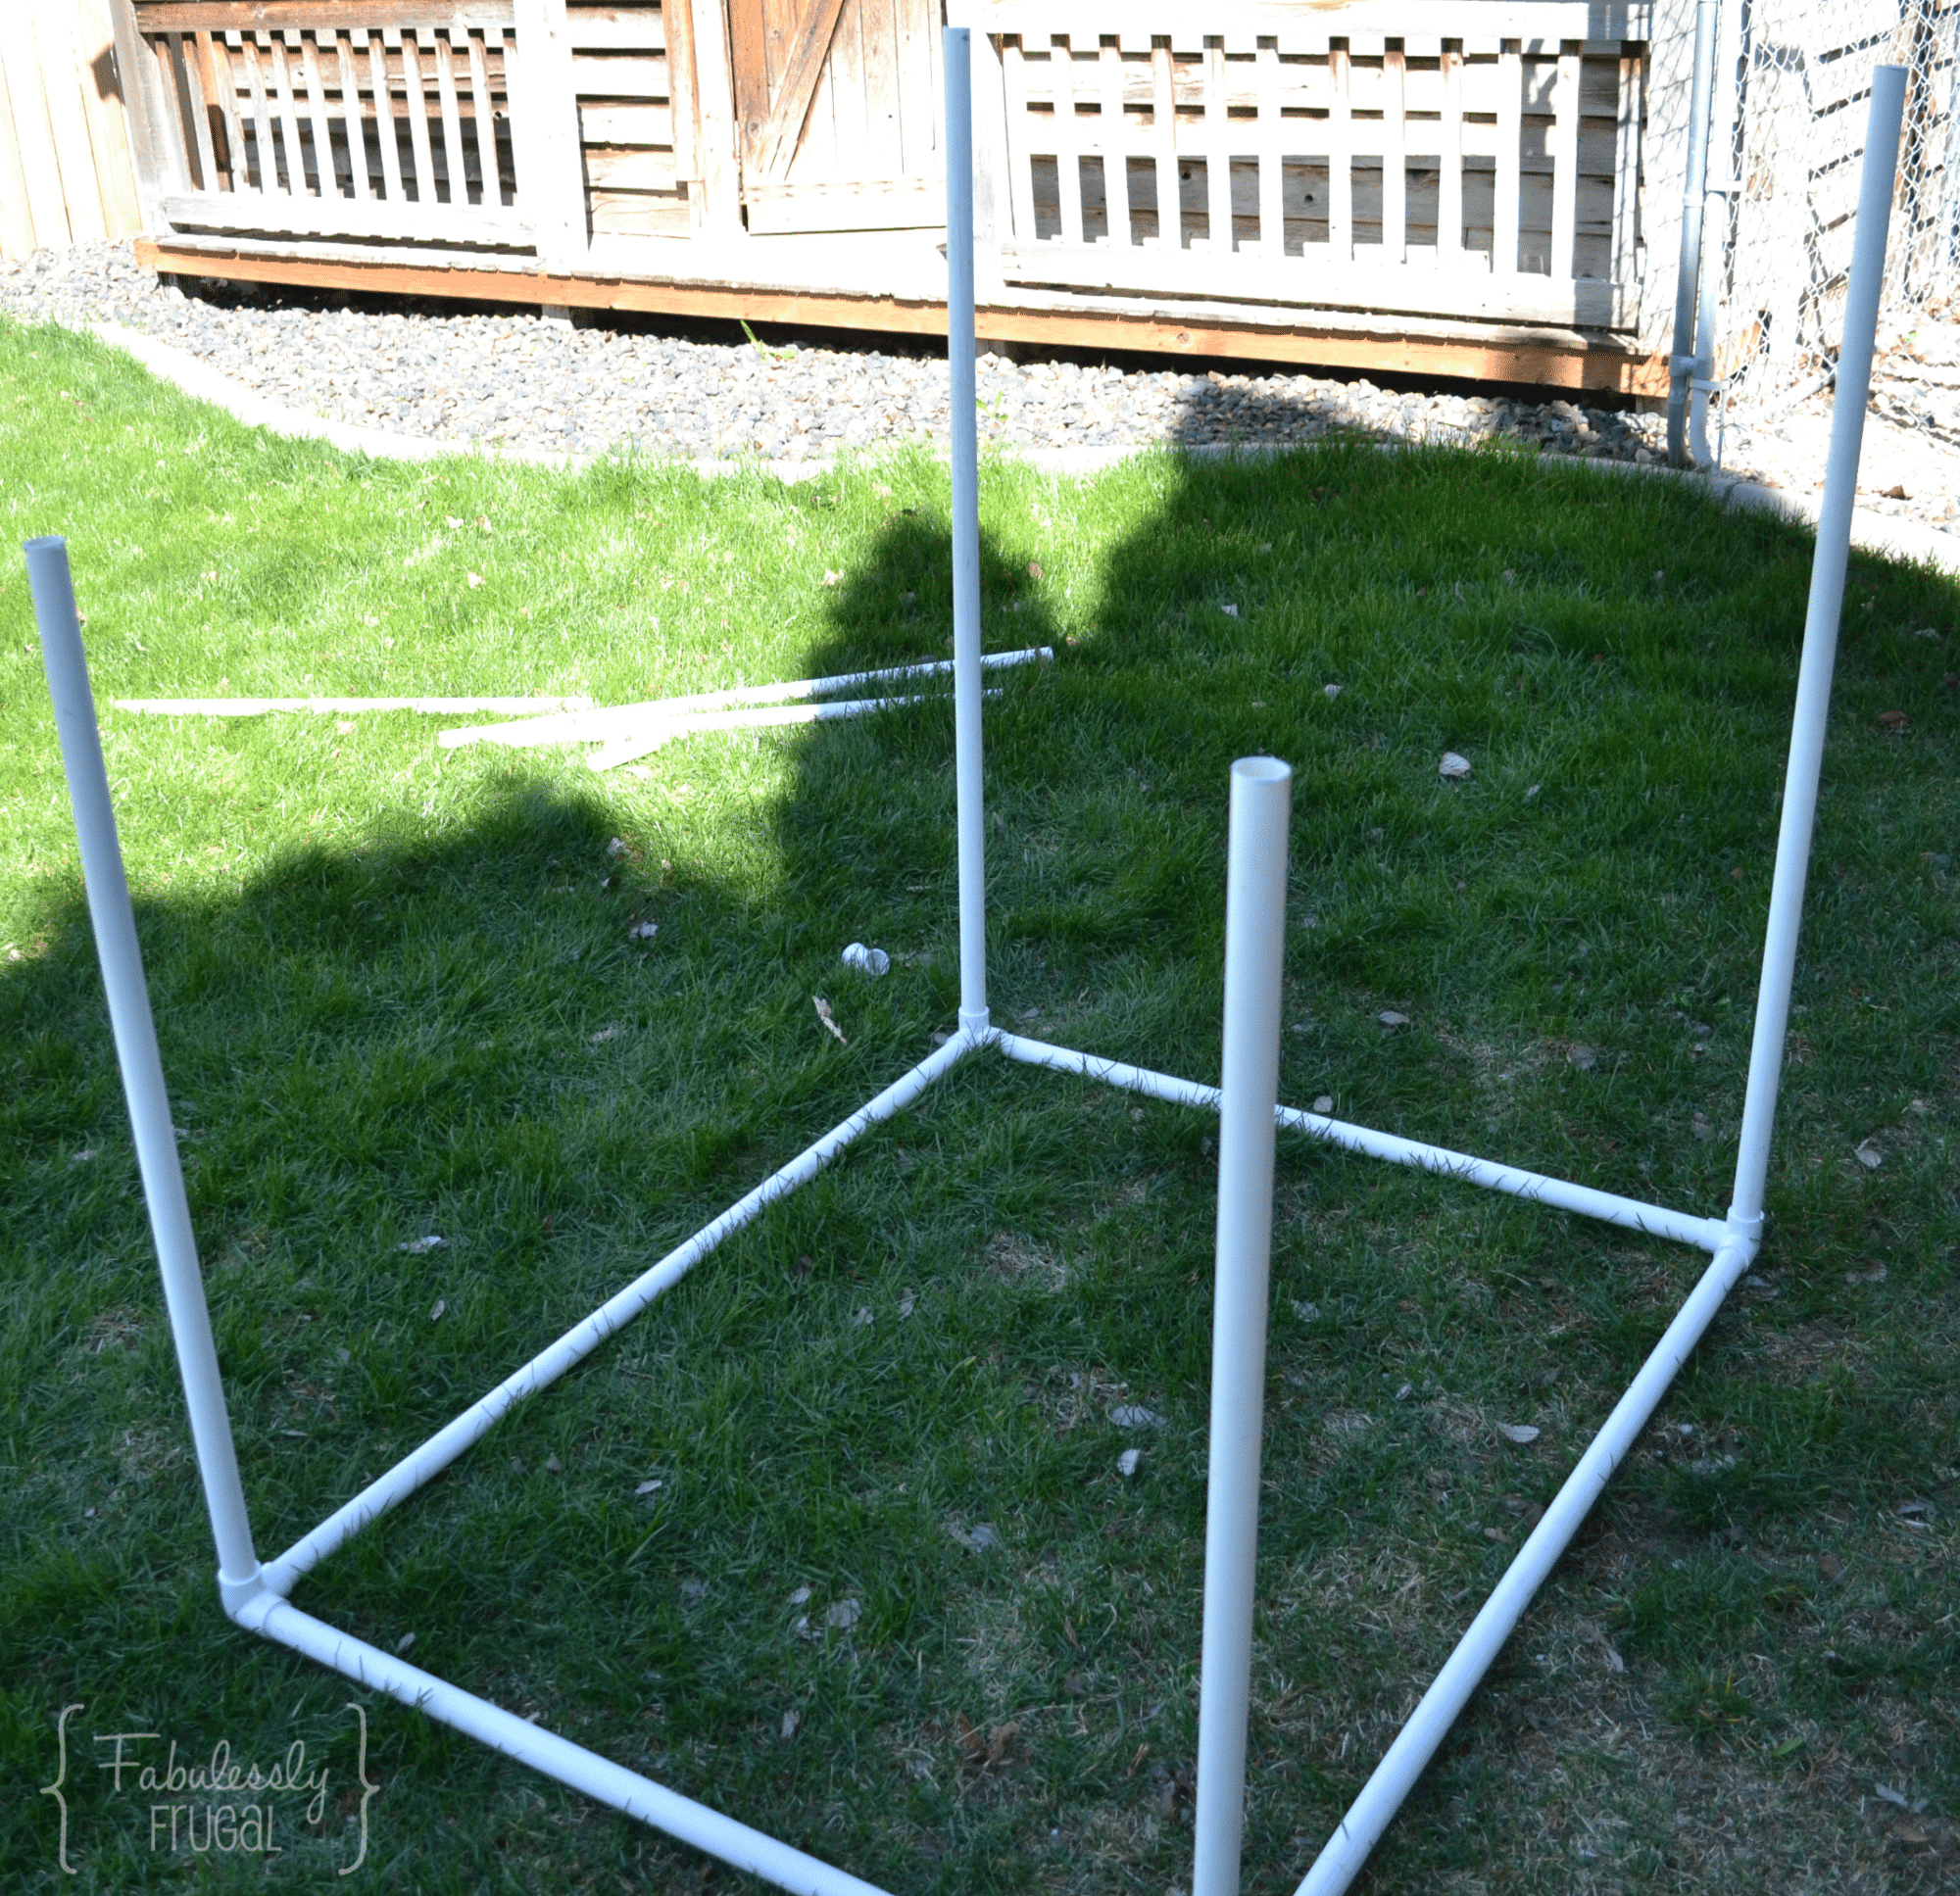
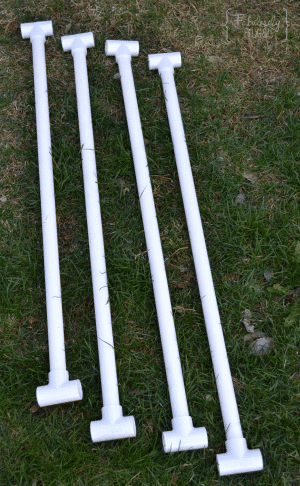
- Use (2) 42″ pieces and (2) 32″ pieces and make a rectangle with (4) of the 3-way T connectors.
- On the back end of the rectangle put in (2) 42″ pieces of the vertical slot of the 3-way T connector.
- On the front end of the rectangle put in (2) 34″ pieces of the vertical slot of 3-way T connector.
Step 4: Tape/Cement the joints and then fill with gravel/sand
- These are both optional, and I did not do anything to secure the joints of the rack at this point, but if you are wanting to make the structure permanent this is a good option.
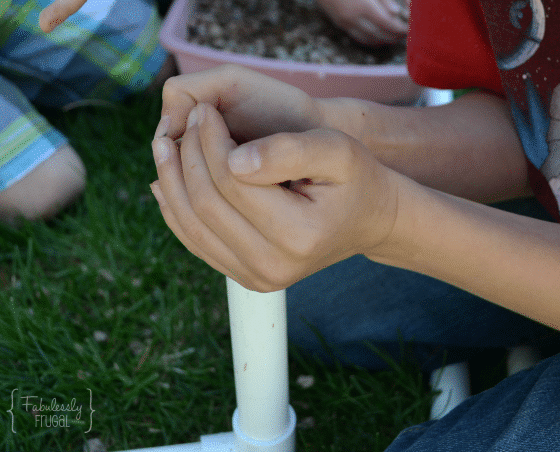
- I filled the vertical pieces with small gravel to help weigh down the rack.
- This was a fun part for my kids to help out with…but I suggest using a funnel if you don’t want a sand or gravel pile in the yard. 🙂
Step 5: Assemble the towel & toy storage portion of the rack.
- Connect (10) T Connectors and (5) of the 32″ pieces. (One of the assembled pieces is missing in the picture.)
- Connect (4) of the 3-way T connector to (2) of the 32″ pieces to use as the front and back.
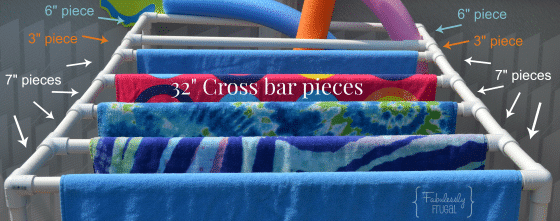
- Connect the assembled portions mentioned above with 7″ pieces starting with the front of the rack and working your way to the back.
- Then, to create the toy storage portion of the rack, connect the 3″ piece, followed by the T Connector portion, and then finally connect the 6″ piece to the back portion 3-way T connector cross piece. Here is a detailed look at the final assembled top portion:
Step 6: Secure all of the pieces together, and you’re done!
- Overall, since I already had the tools needed, this project cost me just under $31. I am eager to start using it for pool noodles, to hang life jackets on, and dry out our towels!
Options for Modifications:
- Use 1 or 1 1/2″ pipe and connectors. It runs more expensive for the parts, but will be even more sturdy. (Once weighted down, the one I made was more than enough to hold 5 towels.
- Add another leg in the middle of the rack to provide more support if you notice drooping. To do this you will need (2) T connectors, and (2) 38″ leg pieces. Cut down the 42″ lengths to 20.5″ pieces (to accommodate the T connector), and add in the T-connector.
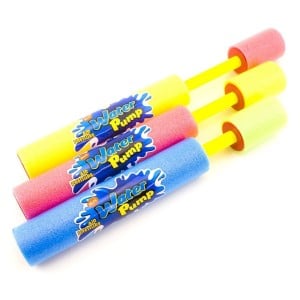
3pc 10″ Foam Squirt Water Cannon
Ships Free with Amazon Prime (Try a FREE Membership)
- These are a lot of fun for kids and adults!
- This water cannon shoots up to 30 ft
- Perfect for playing water tag in the pool or in the yard.
Trending Diys
Comments
Leave a Reply
Report a Problem
Please select the problem you are facing with this deal:
- Price Increased
- Price Decreased
- No longer available
- Expired
- Link doesn't work
- Suggestion
- Compliment
- Other
Add more details:
Thank you for your feedback. We really appreciate it.
Enter your email address if you would like to receive a follow up.
Please Try Again






An important thing to include…. HOW to cut your 5 long PVC pipes. After feeling like we were doing our 7th grade math homework, we figured it out. Cut four of the pipes like this: 42, 32, 32, 7,7. Cut the last pipe like this: 34, 34, 32, 6, 6, 3, 3. You’ll have 2 inches left over on that last pipe, and that’s it.
I appreciate this DIY publish. We enjoyed making this. I purchased a heavier PVC if the same diameter to avoid the sagging and to avoid having to add additional work to the project. It worked amazingly. We had a good time working on this together
Glad to hear it! Thanks for the review!