
6 Fun Halloween Art Projects
Halloween Art Projects: 6 Easy DIY Ideas for Festive Decor
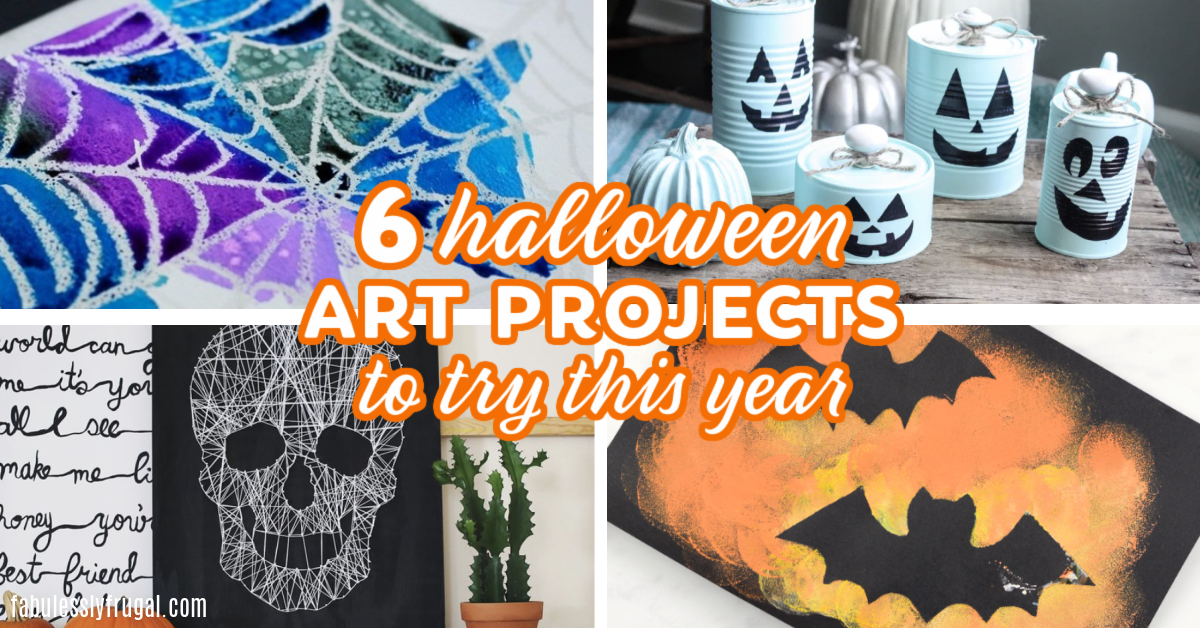
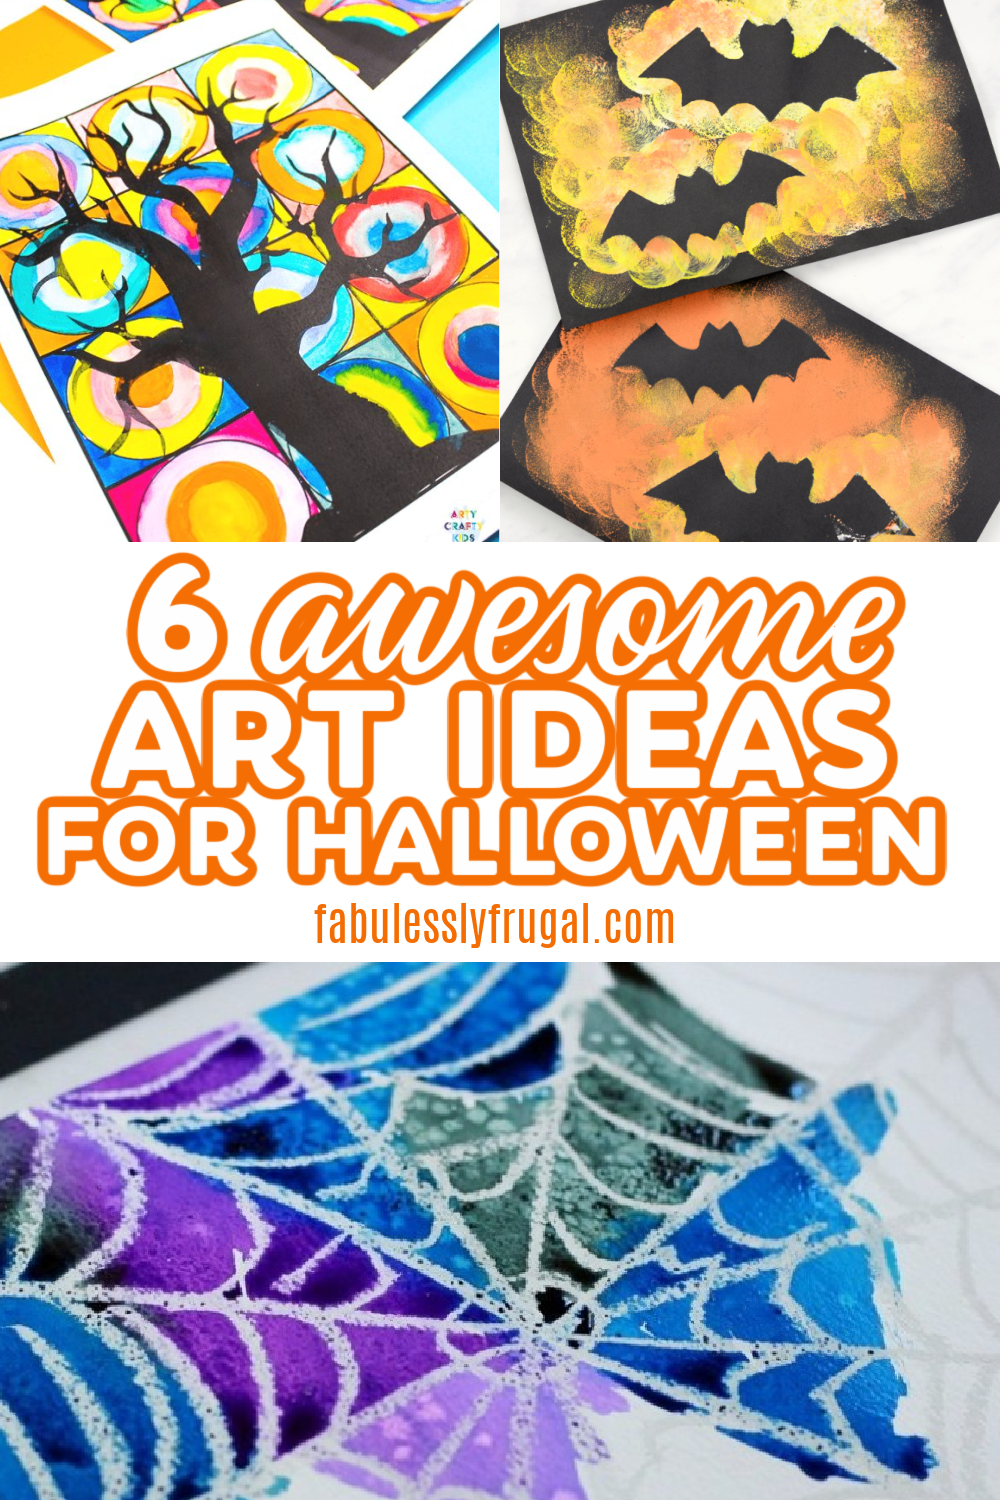
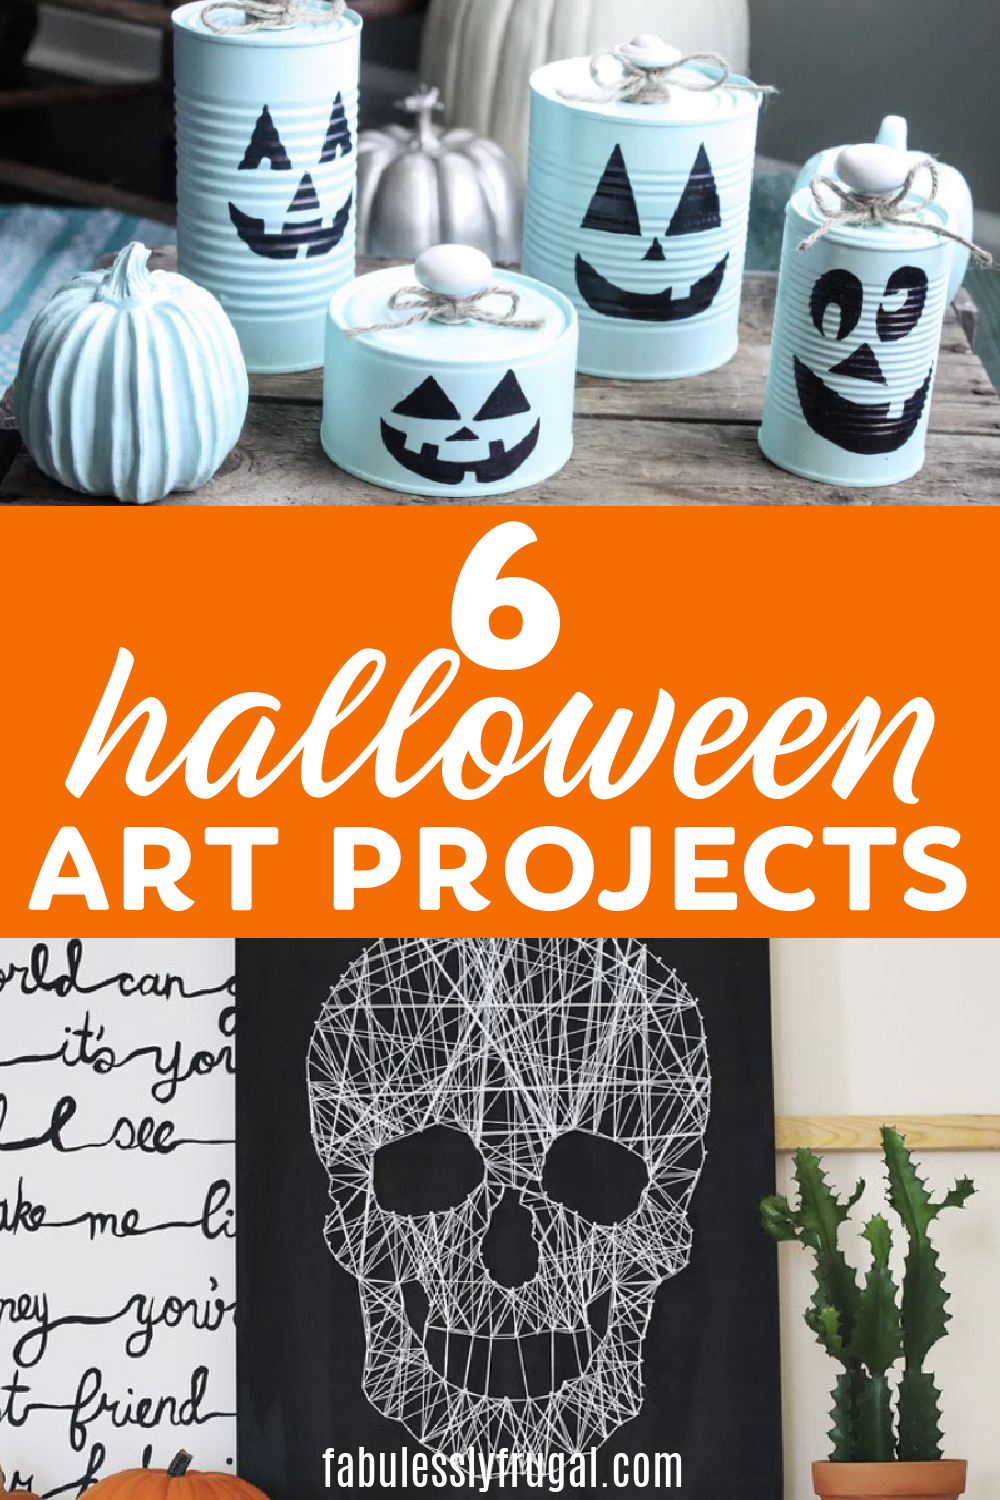
6 Halloween Art Projects You’ll Actually Display 🎃
Make some Halloween decor that looks store-bought—without the price tag. If costumes get all the love in October, these easy Halloween art projects are your secret weapon for doors, mantels, and entryways. Each one is beginner-friendly, budget-conscious, and perfect for a quick craft night with the kids (or a solo cozy evening with a movie). I included supply lists, clear instruction links, and pro tips to help your results look polished—not “Pinterest fail.”
Quick note on quality: painted/inked pieces look best on smoother surfaces and heavier paper. If you’re new to paint, these basic painting tips can help prevent smudges, streaks, and bleeding.
1) DIY $1 Halloween Frame
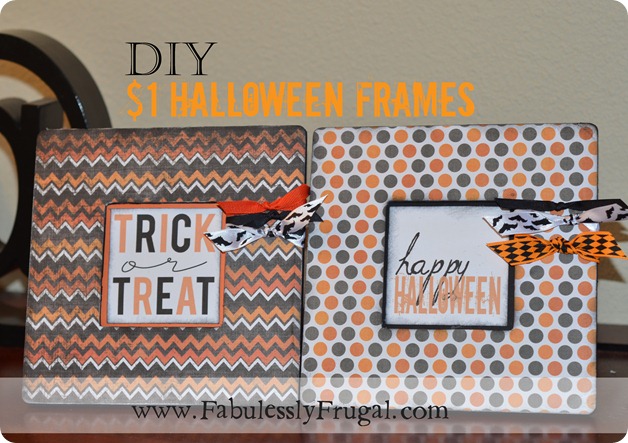
Frugal, fast, and adorable. Use budget frames and a printable to create instant seasonal art for shelves or a gallery wall.
Supplies:
- Square $1 Frames (Wal-Mart or Michaels)
- Black Paint, Mod Podge
- Decorative Halloween Paper, Cardstock, Ribbon
- Sanding sponge or big emery board
- Printable: download here
2) Bat Silhouette Halloween Art
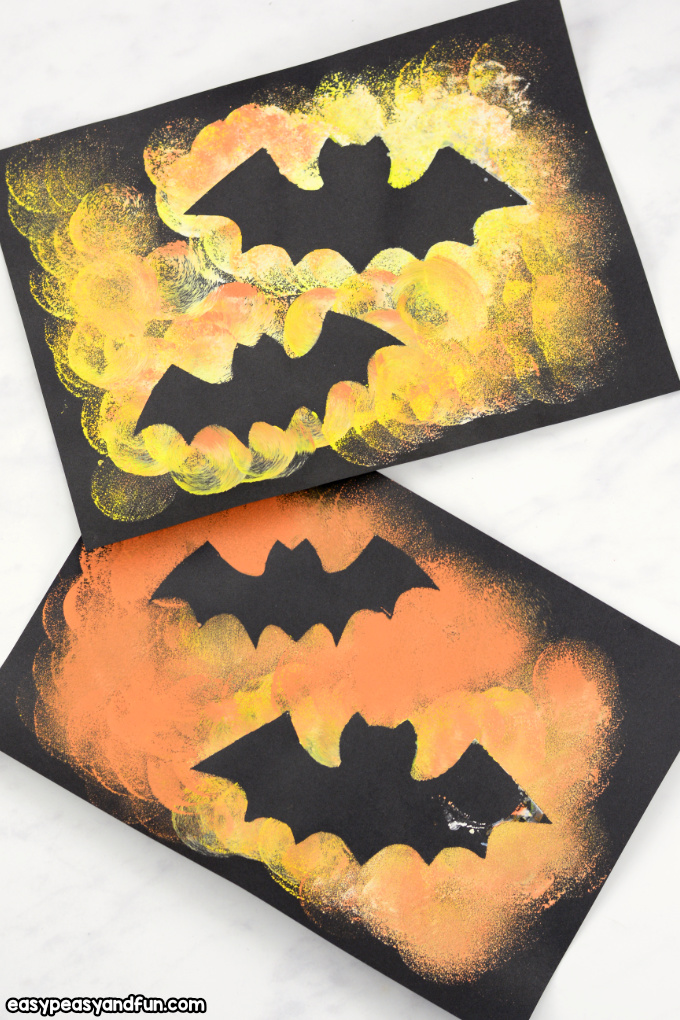
Bold color + a crisp silhouette = big impact. Great for all ages—let kids sponge the background while adults handle the cutting.
Supplies:
- White card stock, Black cardstock
- Scissors, marker, sponge brush, paints; optional: washi tape
3) Watercolor Spider Web Art
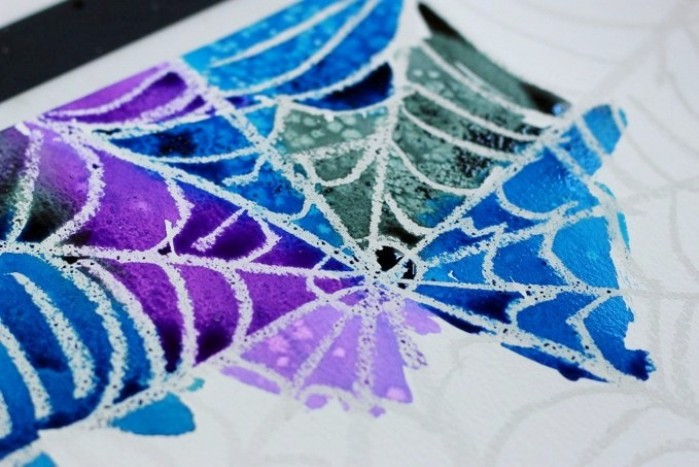
Oil pastel (or crayon) resists watercolor to reveal a web pattern. Sprinkle salt while wet for a magical, starry texture.
Supplies:
- Watercolor paper
- White or light oil pastels or crayons
- Watercolor paint (black/blue/purple), salt
4) Spooky Tree Circle Art
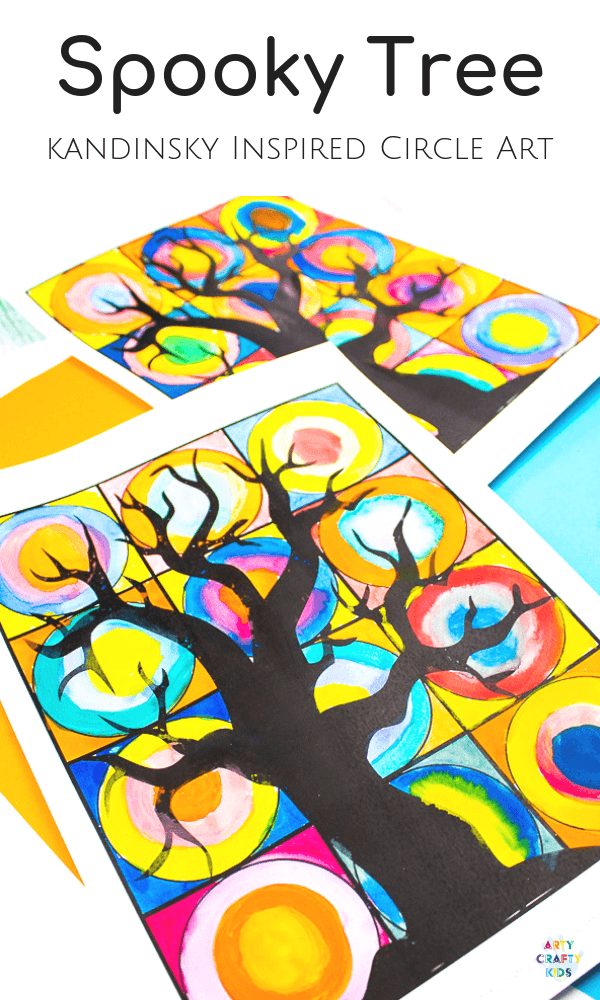
Kandinsky-inspired circles meet a stark tree silhouette. Layer color first, then add the tree for that dramatic, spooky contrast.
Supplies:
- Choose your medium: watercolors or acrylics, pencil, oil pastels
- Cloth or tissue paper
- White cardstock or mixed media paper
5) Skull String Art
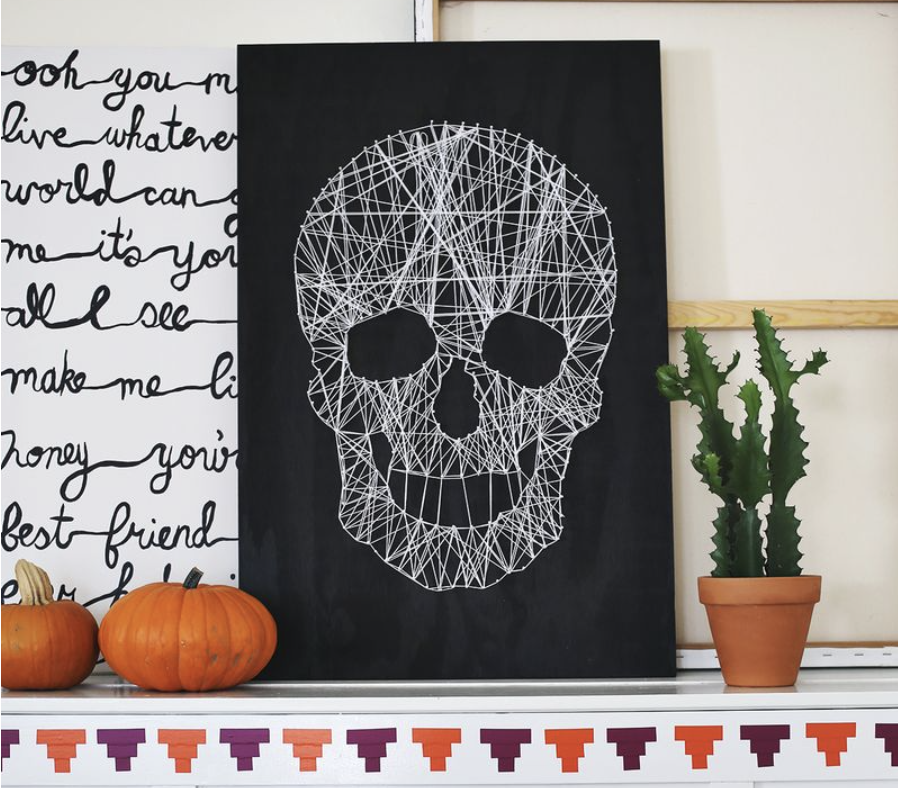
A satisfying, TV-friendly craft: hammer, outline, and weave. Choose dense stringing for bold contrast or airy lines for a minimalist vibe.
Supplies:
- 2’×3’ wood (½″ thick), white nails
- Black paint, white string
6) DIY Tin Can Pumpkins
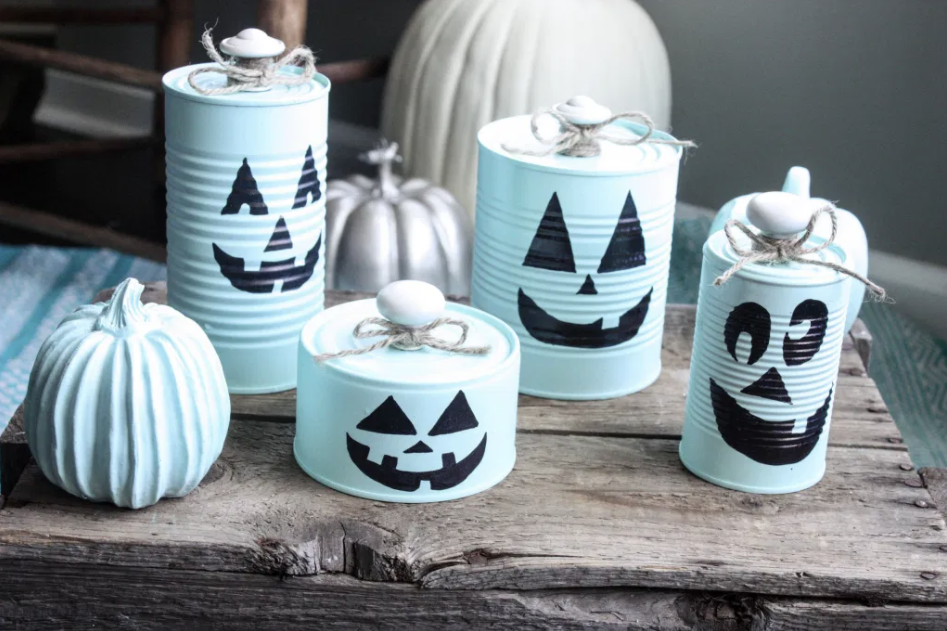
Upcycle cans into cheerful pumpkins for porches or shelves. Mix heights for an instant “pumpkin patch” centerpiece.
Supplies:
- Tin cans, old knobs, black Sharpie
- Spray paint, twine, hot glue gun
Pro Finishing Tips (Make It Look Luxe)
- Seal it: A thin coat of matte Mod Podge or clear spray sealer helps resist smudges and makes art look “finished.”
- Mind your paper: Heavier paper buckles less with paint. Tape edges to a board and remove tape while paint is slightly damp.
- High-contrast frames: Black, white, or metallic frames instantly elevate seasonal art.
- Batch your projects: Prime/paint multiple pieces at once, then detail and seal together to save time.
Halloween Art Projects FAQs
How do I keep watercolor paper from warping?
Tape all edges to a firm board and allow pieces to dry flat. Use 140 lb (300 gsm) paper for best results. Remove tape at a low angle while the paint is still slightly damp to avoid tears.
Can kids help with these?
Yes! Let kids paint backgrounds, glue, or place nails (adults hammer). Keep sharp tools and hot glue with an adult.
Best way to display seasonal art?
Create a small gallery wall, swap frames on your entry table, or clip smaller pieces to a wire with mini clothespins for an easy rotation.
More Easy DIY for Halloween & Fall
- 20 Homemade Halloween Costumes for Teens
- 20 Kid-Friendly DIY Halloween Decorations
- Halloween Crafts for Preschoolers
- Top 5 Halloween Milk Jug Crafts
- 10 of the Easiest DIY Fall & Pumpkin Decoration Ideas
Love easy seasonal ideas? Join our email list for fresh DIYs, recipes, and smart savings.
Trending Diys

More Related Diys


Trending DIY Projects
- DIY
- Recipes
- Deals
- Blog


Report a Problem
Please select the problem you are facing with this deal:
- Price Increased
- Price Decreased
- No longer available
- Expired
- Link doesn't work
- Suggestion
- Compliment
- Other
Add more details:
Thank you for your feedback. We really appreciate it.
Enter your email address if you would like to receive a follow up.
Please Try Again
Thanks for providing the email address.
We will reach out to you as soon as possible.


Popular
Recommended
About Us

At Fabulessly Frugal, our goal is to help you live HEALTHY, WEALTHY, and WISE! My team and I work hard to bring you the best, online deals, clean eating, DIY's, freezer meal recipes, and more! I LOVE coaching and inspiring people to improve their health in my fitness challenge! You should also check out my favorite cleanse! Learn more about me and the rest of my team.


Copyright © 2008–2026
Fabulessly Frugal: A Coupon Blog Sharing Gift Ideas, Amazon Deals, Printable Coupons, DIY, How to Extreme Coupon, and Make Ahead Meals. All rights reserved