
DIY Manicure for Pennies
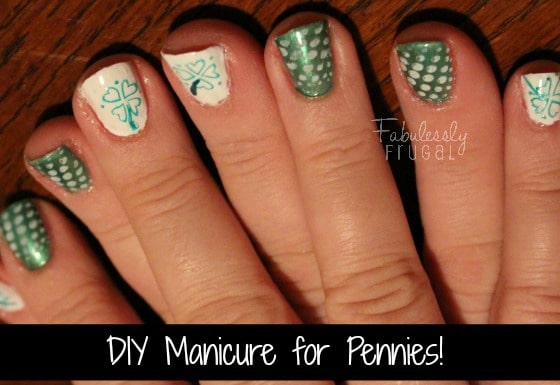
Do you love getting your nails done? What if I told you that you could do it for a fraction of the cost, have access to hundreds of designs, AND you can do it as often as your heart (or nails!) desire?
Well, it turns out, you can! I’ve had the longest pregnancy recovery ever. I recently finished up my 10th (and hopefully LAST) surgery, and one way my sweet sister has been blessing me is to do my nails. We decided to get all fancy with them for St. Patrick’s Day, and I thought I would share how easy it is with you!
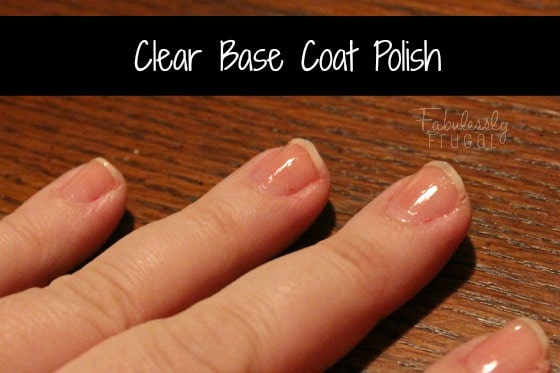
Step 1:
Apply a clear base coat. Now, you can use a cheap base coat polish. But if you decide you want to do your nails all the time, this is what protects them. You don’t really want to skimp. I love this OPI Base Coat.
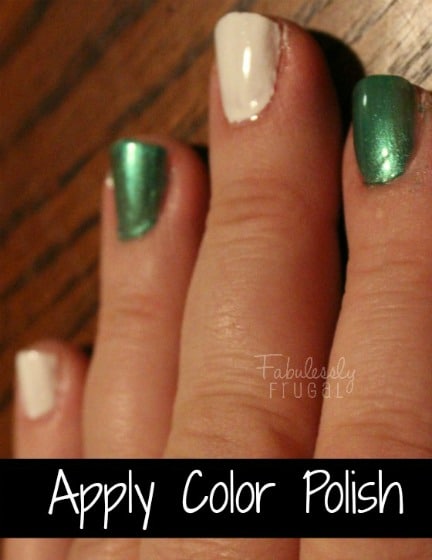
Step 2:
Apply color polish. For this, you can do them many ways. You can paint them all the same color, alternate nails, have a fascinator (where all the nails match except 1, and that one is never the thumb), do every nail a different color, or basically anything you want. It’s only limited by you, and your personal sense of style and fashion. However, when stamping you want to have a good quality, thick base coat. Since you have to let your nails dry completely before moving on to the next step, you don’t want to have to paint them with 2 or 3 coats. I love both of these Shany nail sets. There is the big set, SHANY Cosmetics The Cosmopolitan Nail Polish Set (each bottle is 0.6 oz, or slightly bigger than an OPI bottle) and there is the SHANY Nail Art Set. The Nail Art set has a thinner brush, and is only 0.27 oz per bottle. But the colors and thickness are AMAZING for stamping!
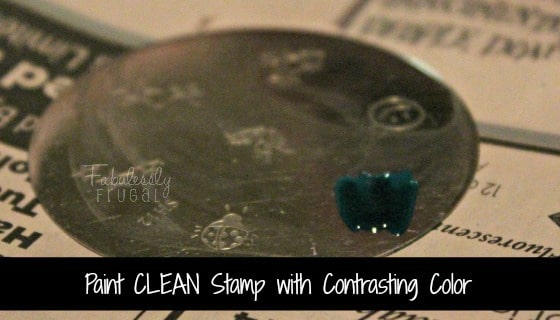
Step 3:
Paint your CLEAN stamp plate with a contrasting color (or subtle change, again, it’s totally up to you!). It’s really important that you totally clean your stamp and stamp plate between each application with nail polish remover. Otherwise you will get old dry paint, or not the entire design and you’ll have to start over.
The design plates are relatively inexpensive. There are a BUNCH of Image Plates that ship for under $15 for a set of 25. Each design plate comes with 5-18 different images, so you are looking at about 175 images for less than $15! That’s pretty darn good, if you ask me. These have dropped price drastically in the last year or so. They use to be about $25 for the same set, and you had to wait for 3 weeks for them to ship from China. Now, they are on your doorstep in 2 days with FREE shipping from Amazon Prime.
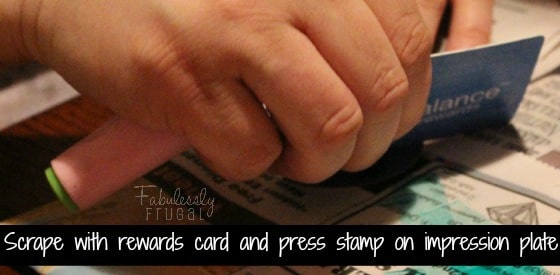
Step 4:
After you paint the Image Plate, you need to quickly scrape the excess paint off the plate and quickly stamp the image. The stamps range in price, but you can get a good, double sided stamp for less than $6. I have found most of the scrapers in them tend to not work quite as well as your friendly drugstore rewards card though. The just have more flexibility, are easier to hold, and if damaged, are easily replaced.
After stamping the Image Plate with the Double Sided Stamp, you want to quickly check to be sure you got the entire design on the stamp. Nothing is worse than stamping your finger just to realize 1/3 of your design didn’t show up, and you have to start all over.
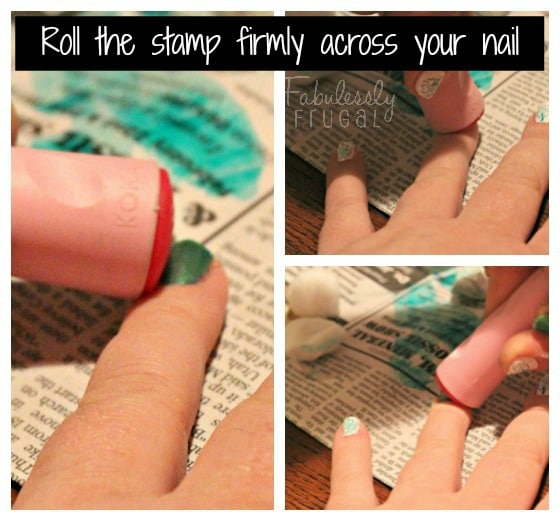
Step 5:
After checking your design quickly, and firmly, roll your stamp over your nail. Then allow to dry completely, finish with a top coat, and enjoy your new nails! All in less time than it takes to watch Parenthood (just don’t mess up your nails when you wipe away the inevitable tears!). But, if you do mess them up, it’s easy to start over, and you haven’t just wasted $35 and now need to get them fixed!
Trending Diys

More Related Diys


Trending DIY Projects
- DIY
- Recipes
- Deals
- Blog


Report a Problem
Please select the problem you are facing with this deal:
- Price Increased
- Price Decreased
- No longer available
- Expired
- Link doesn't work
- Suggestion
- Compliment
- Other
Add more details:
Thank you for your feedback. We really appreciate it.
Enter your email address if you would like to receive a follow up.
Please Try Again
Thanks for providing the email address.
We will reach out to you as soon as possible.


Popular
Recommended
About Us

At Fabulessly Frugal, our goal is to help you live HEALTHY, WEALTHY, and WISE! My team and I work hard to bring you the best, online deals, clean eating, DIY's, freezer meal recipes, and more! I LOVE coaching and inspiring people to improve their health in my fitness challenge! You should also check out my favorite cleanse! Learn more about me and the rest of my team.


Copyright © 2008–2026
Fabulessly Frugal: A Coupon Blog Sharing Gift Ideas, Amazon Deals, Printable Coupons, DIY, How to Extreme Coupon, and Make Ahead Meals. All rights reserved