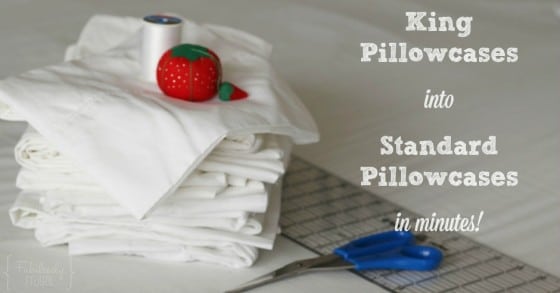
Make King Pillowcases into Standard – with the Professional Hem!
When my husband and I were first married, we bought the cheapest queen mattress set we could find. Years later it was time to move up in the world and get a king. You know, when you get king-size sheet sets, you get king-size pillowcases. I thought, “We might as well try out these king-size pillows then,” but it turns out that I really don’t like them. Maybe it is because I am usually a side-sleeper? I don’t know, but I much prefer standard size pillows (especially my memory foam pillow).
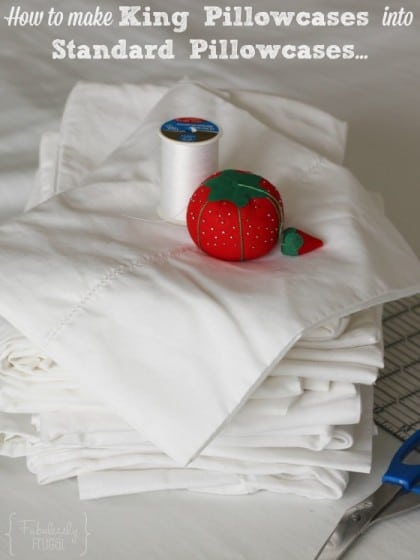
Anyway, now I have standard, or queen-size, pillows and a stack of king-size pillowcases. Maybe it isn’t a big deal to most people, but extra fabric and poor fitting pillowcases are really annoying to me! At one point, I even bought standard pillowcases so I didn’t have to deal with the king ones. Now that I am older and wiser (and have a sewing machine), I know that with only a few minutes and minimal sewing skills, I can convert those king pillowcases into professional-looking standard ones. Save myself some money and annoyance!
Just in case you have the same first-world issues as I do, I thought it would be fun to share just how easy it is to adapt your pillowcases and keep the professional hem – you know, the one that looks nice and matches the hem of your sheets too. For some, this may be overly simple, but for me (with my limited sewing experience) it is really helpful to have it all laid out by someone that has done it before. (Thanks go out to my talented seamstress friend, Shannon, for making sure I didn’t mess it up.)
First, turn the king pillowcase inside out.
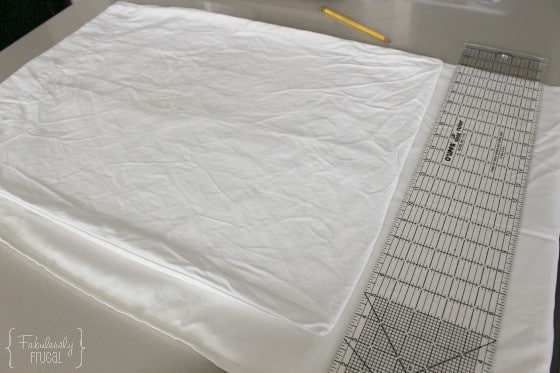
Use one of your favorite standard pillowcases as the template. Lay it on top of the king pillowcase, aligning the open ends and one of the edges. Be sure to flatten and straighten the fabric of the pillowcases so the layers line up nicely – you may or may not need to iron the pillowcases to help with this. Ironing is a last resort for me and doesn’t happen often, as you may be able to tell. 😉 One of the beauties of this easy sewing project is that it does not need to be perfect.
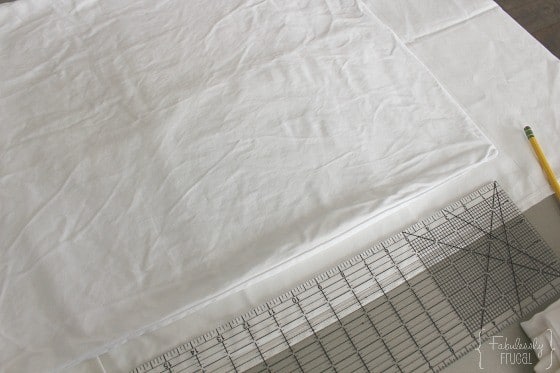
Note that some king pillowcases are larger than others. Some of mine were wider by several inches and some were the same width as the standard. If the king is only an inch or so wider, I would leave the width and adjust only the length.
Use a straight edge and pencil to mark the edges of the standard pillowcase onto the king, leaving space for a hem (about 1/2 to 1 inch). If the king is the same width as the standard, you will only need to mark along the short closed end of the pillowcase in order to adjust the length.
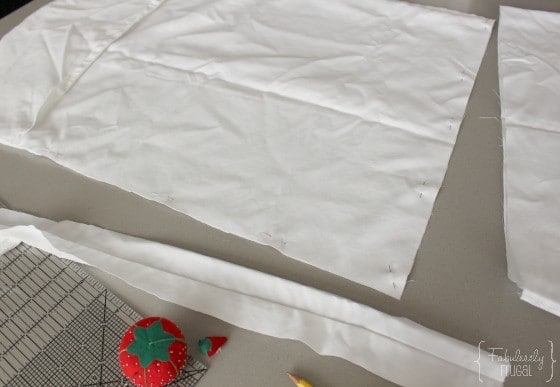
Set aside the standard pillowcase, then pin the layers of the king pillowcase together, inside the pencil lines. Cut, with fabric scissors or rotary cutter, along the pencil lines on the king pillowcase. Easy, right? Now it is time to pull out the sewing machine or serger…
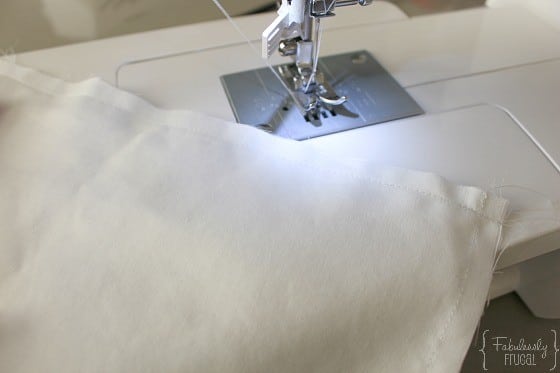
Do a simple stitch along the cut edges, removing pins as you go. Try to keep your lines straight!
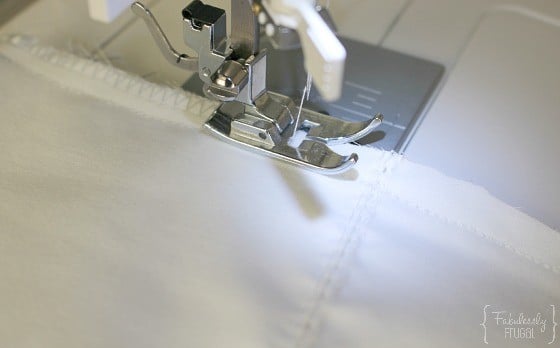
(If you use a serger, you can skip this next step.) To keep the cut edge of the fabric from fraying too badly, use a zigzag stitch along the edge of the cut fabric. It will still fray a bit in the washing machine, but this will keep it from coming apart and continuing to fray.
That’s basically it. Turn the pillowcase right-side-out and admire your work. 😉
Goodnight, sleep tight!
Trending Diys
Report a Problem
Please select the problem you are facing with this deal:
- Price Increased
- Price Decreased
- No longer available
- Expired
- Link doesn't work
- Suggestion
- Compliment
- Other
Add more details:
Thank you for your feedback. We really appreciate it.
Enter your email address if you would like to receive a follow up.
Please Try Again
