
How to make your own Kinetic Sand and save big!
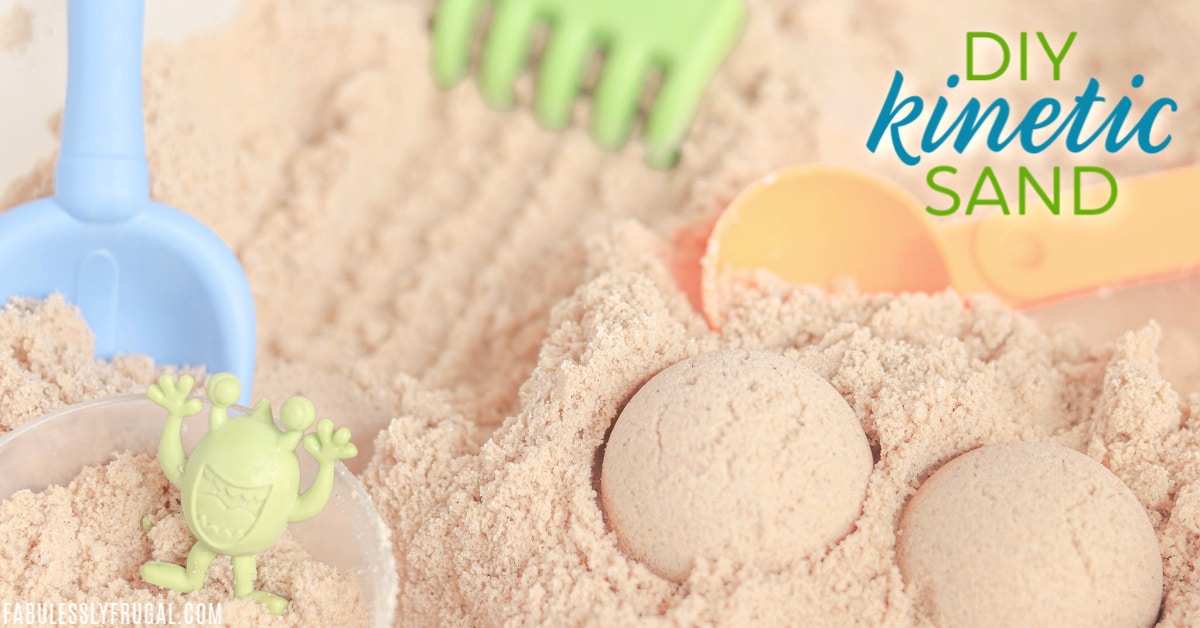
Easy DIY Kinetic Sand Recipe
Sensory sands, like Kinetic Sand and Moon Sand, are a lot of fun for kids of all ages. They can be very pricey though! See what it’s going for right now on Amazon HERE.
With just a few ingredients – some you may already have on hand – you can make your own batch for a fraction of the cost. And you can choose to make a small batch or a big one for very little difference in cost.
After spending $5 on a bag of sand and cornstarch (I had Dawn, Melaleuca Oil, and a container on hand) I made a double batch and I have lots of sand still on hand for more batches. Such a bargain!
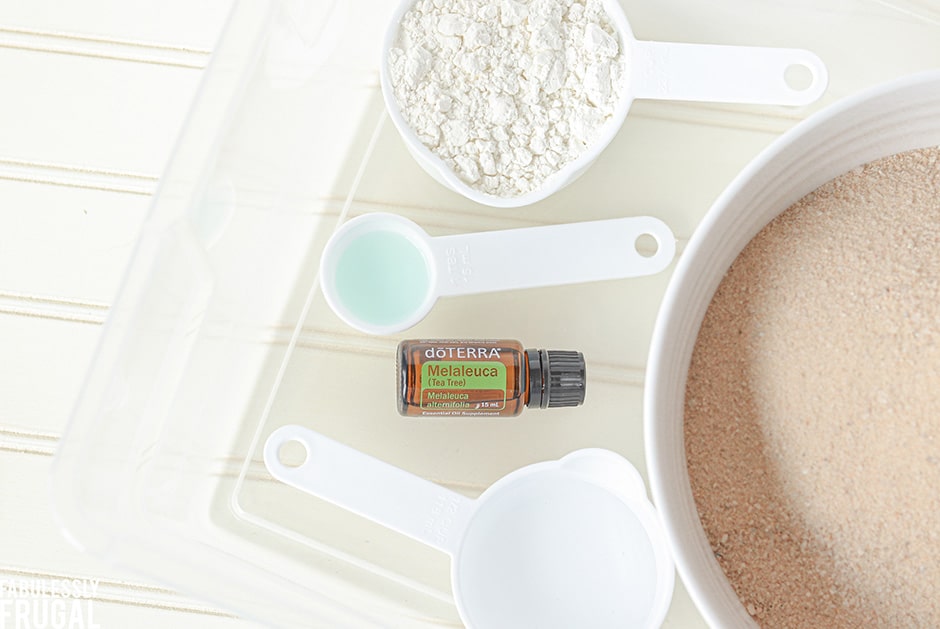
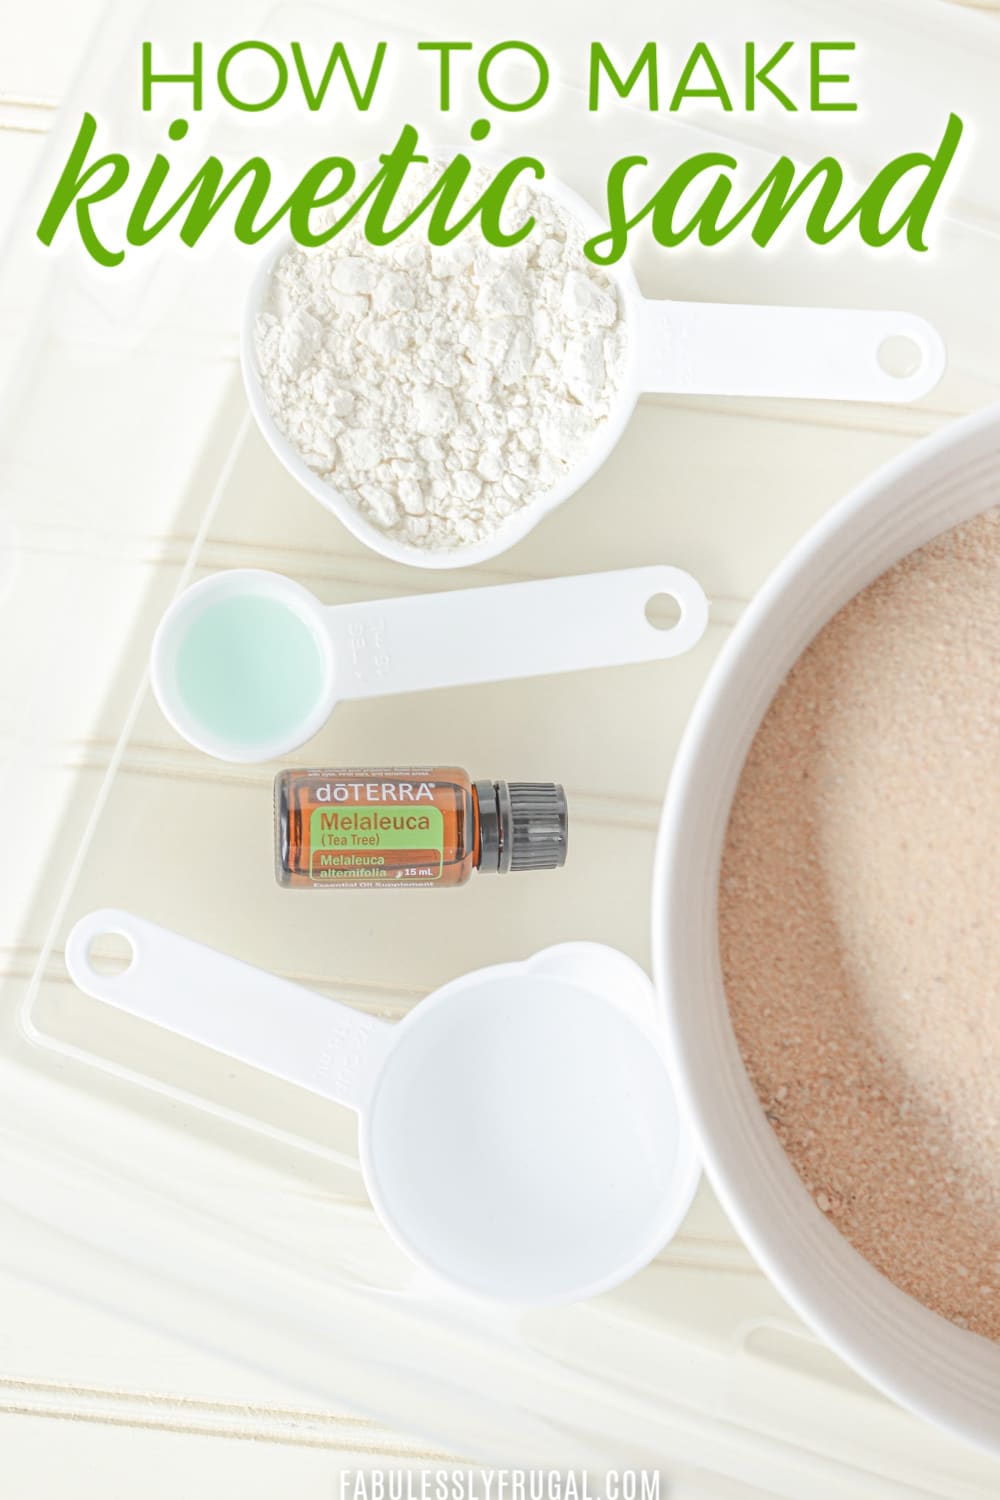
Kinetic Sand Ingredients:
- 5 to 7 cups of play sand (the finer the grain the better)
- Container for mixing and storage
- 1 to 1.5 cups cornstarch
- 1/2 Tablespoon (or 1.5 teaspoons) of Dawn Dish Soap
- 3-5 drops of Tea Tree (Melaleuca) Oil
- Water
How to Make Kinetic Sand at Home
On a hard surface floor (or outside if the weather is nice) pour 5 cups of play sand into the bottom of a container. Note that in the photos I doubled my recipe to fill my 16×11 container.
Also, I used completely dry play sand because my Home Depot kept it dry under an awning but since sand is usually kept outside at the stores, depending on your local weather, it may be quite wet or it may be just moist.
By the way, play sand was in a totally separate place from the outdoor paver sand at my store so I had to ask where it was.
Be aware of the moisture content of your sand as we continue. If your sand is too wet, the cornstarch may get a little goopy before it has the chance to mix in with the sand. If your sand needs to dry out a little, spread it out in the container and give a few hours (or a day) to dry.
When your sand is ready, sprinkle 1 cup of the cornstarch in an even layer over the sand:
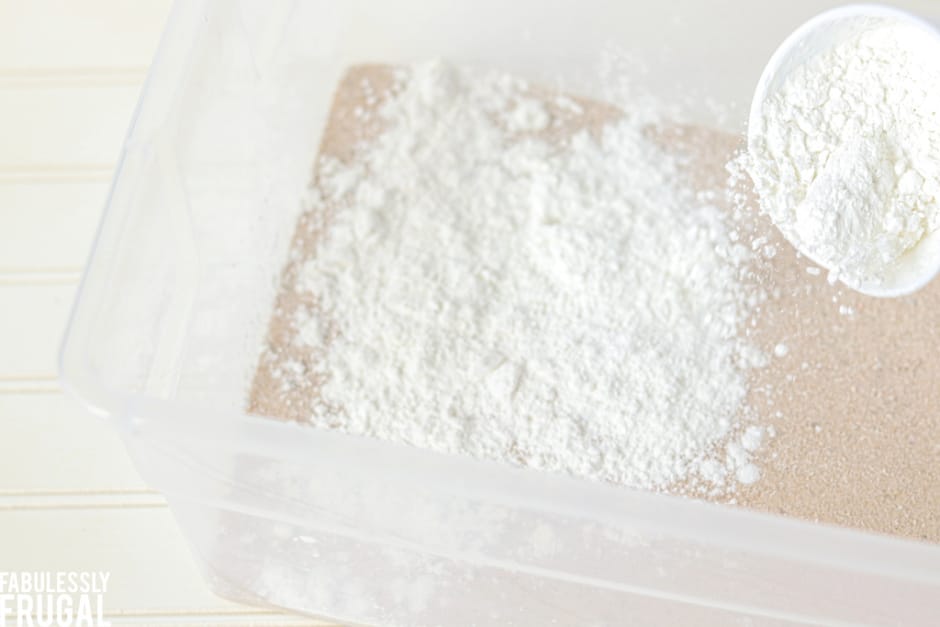
Mix it!
Begin mixing it all together. I started with a big kitchen spoon but ended up just rolling up my sleeves and going for it. It was really soft! If you have any cornstarch clumps, pinch them between your fingers and rub them in with the sand.
You may have noticed the varying amounts of sand and cornstarch in the supply list above. That is because I had to troubleshoot a little to get the right consistency. I share it with you so that you can also know how to make any needed adjustments as you go.
From all of my reading on making your own sensory sands, everyone’s experience is a little different – probably because no two areas are going to have the same sand grain with the same existing water content. You might have to play with the ratios a little bit, but hey – playing with the sand is what this post is all about.
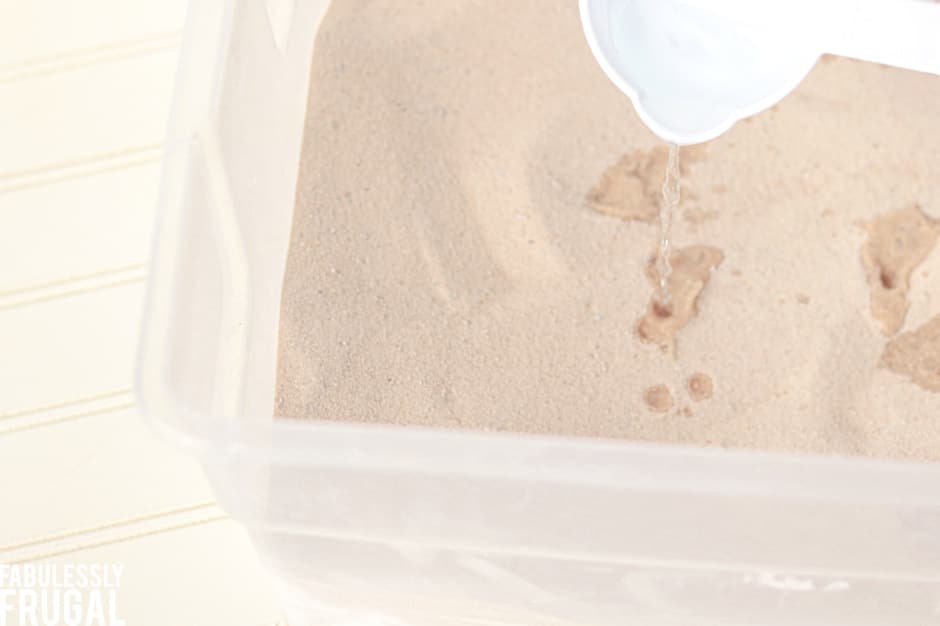
Add the Remaining Ingredients
In addition to doubling my kinetic sand recipe, I added about 1 cup of water to it, plus 1 more tbsp dish soap, plus about 1 more cups of cornstarch.
The water makes it sticky to hands, the dish soap makes it clumpy, and the cornstarch makes it soft. So it is DEFINITELY something you have to play with and keep adding the different ingredients around until it’s just right.
The Tea Tree (Melaleuca) Oil has an antibacterial quality that will help keep your sand and cornstarch from going bad. The tea tree oil is definitely a very strong woodsy smell at first, but it does dissipate into a pleasant soft smell after mixing and playing. Still, if you really don’t like the smell you can opt for Lemon Oil or Orange Oil instead.
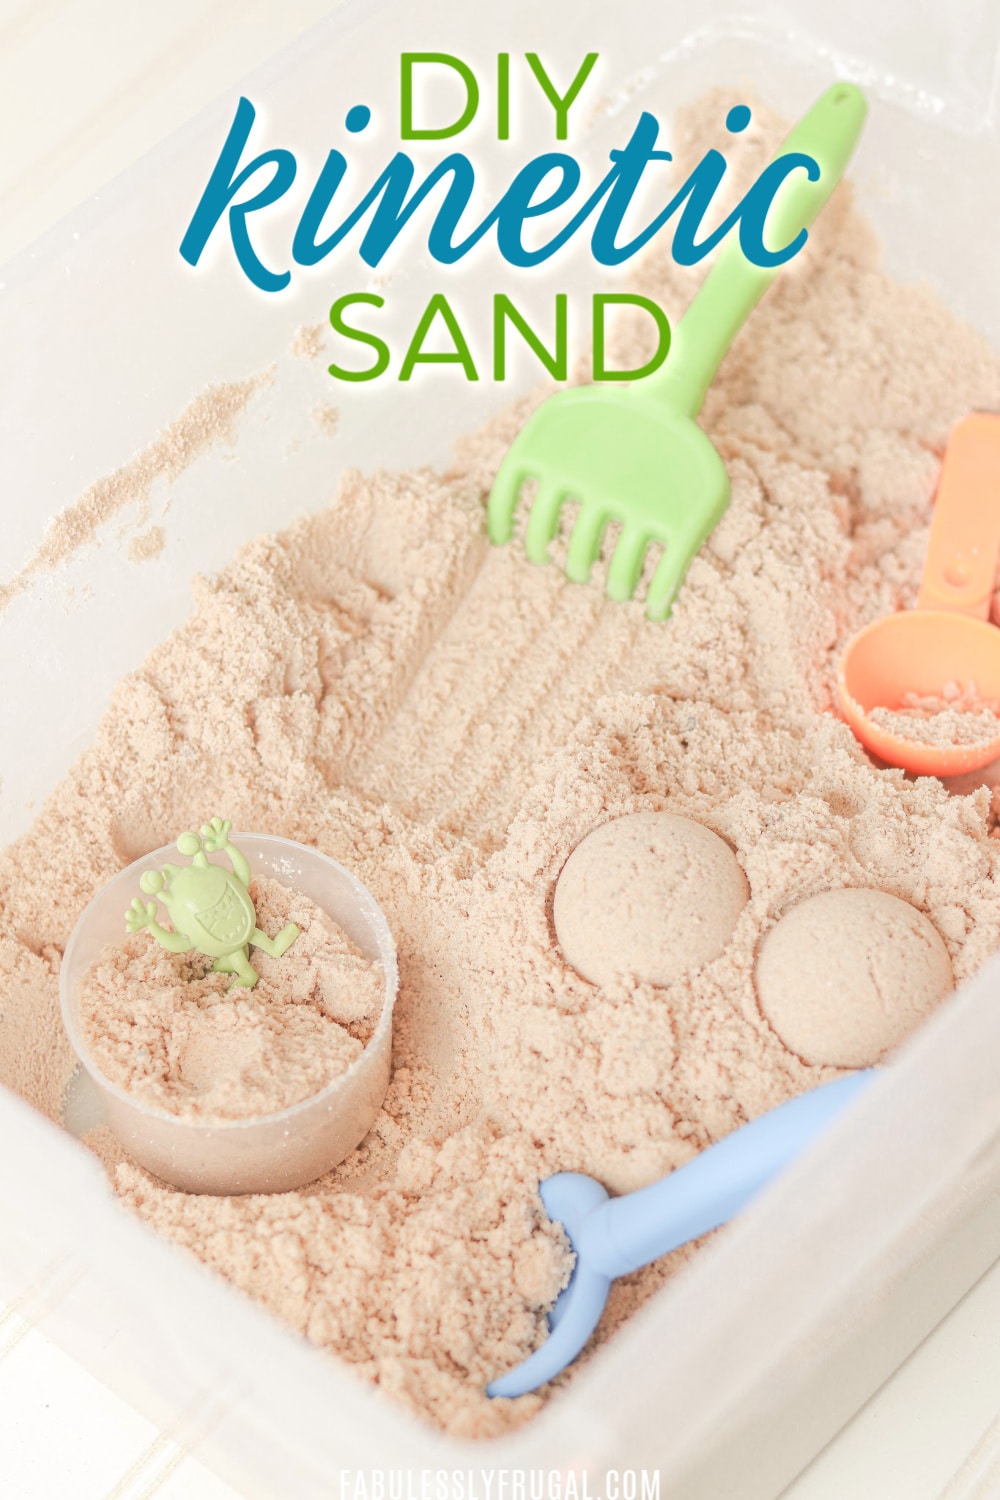
Play With It!
I felt like no matter what I did, it never got quite as pleasantly sticky as the store-bought kinetic sand – it just got sticky to your hands as regular beach sand does. So I ended up erring on the side of just soft smooth fluffy sand so it didn’t stick to hands.
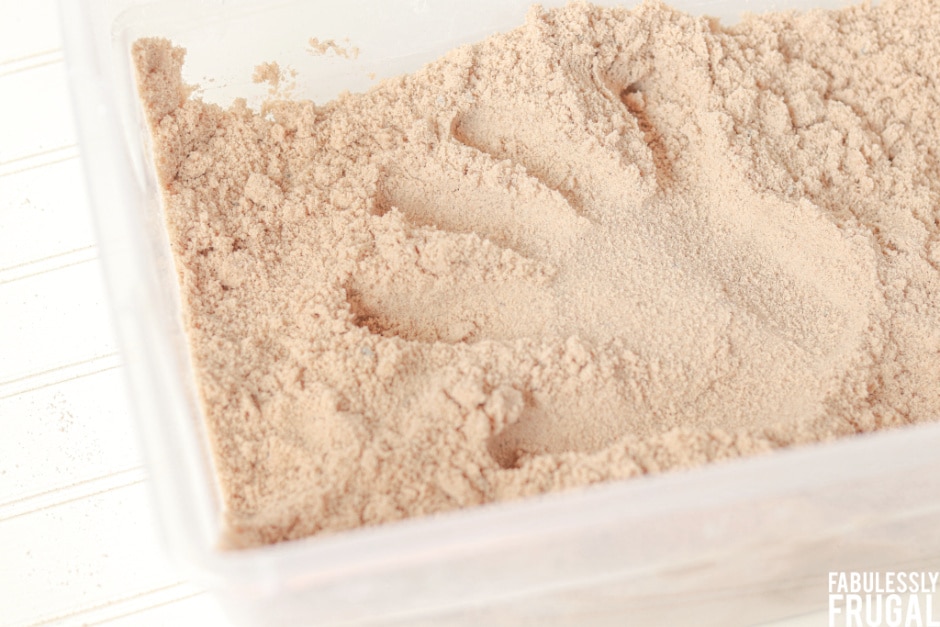
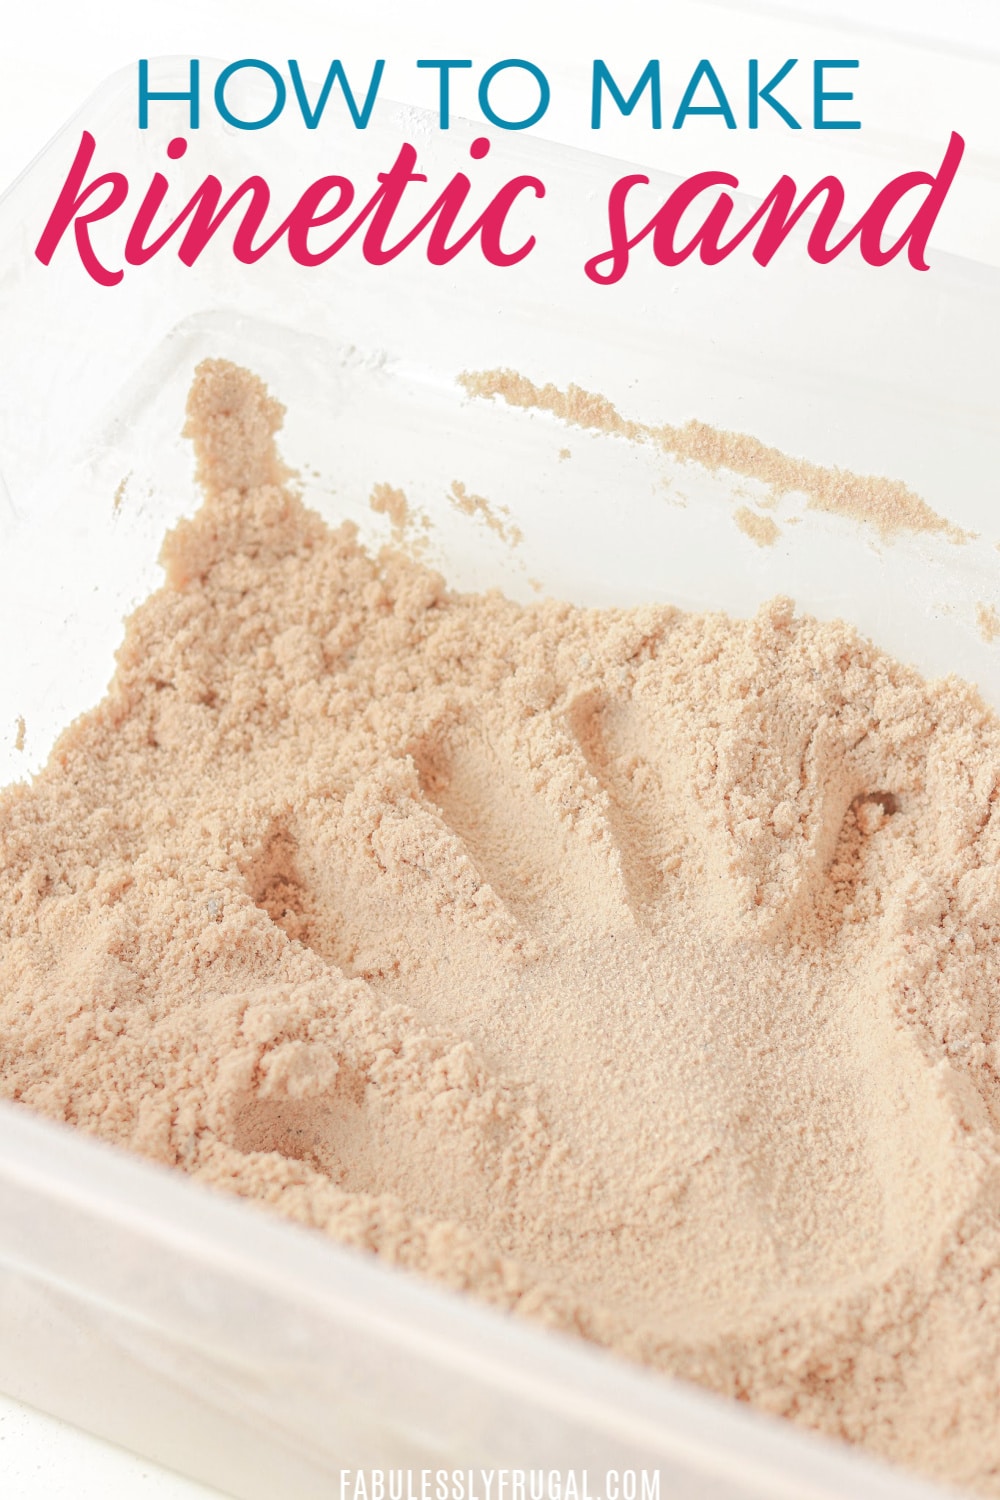
Maybe you can come up with some better results than I did! Still, I had fun making a handprint in the sand, and it was fun to mold and feel the soft texture in my hands. I don’t think it holds shapes quite as well as some manufactured sensory sands, but its unique texture is fun to play with and holds a shape much better than regular sand, wet or dry.
The nice thing about making Kinetic Sand is you can always adjust by adding a little more sand/cornstarch mixture, or a little more water and soap, or just by letting it sit and dry for a bit. Once you have it how you like it, store it with an air-tight lid to keep that moisture in, and to keep it from spilling in your home.
Final Thoughts
Now you know how to make your own kinetic sand! As I said, it’s not quite as good as the store-bought sensory sands but it’s still a lot of fun and it’s interesting to make! I hope you have fun making and playing with your own Kinetic Sand! Enjoy!
P.S. If you’re wondering, I got the mini shovel accessories originally at Michael’s craft store a few years ago in their kinetic sand area. You can find them on Amazon too.
More Fun DIY Ideas:
- 11 Fun and Easy Crafts for Kids to Do At Home
- How to Make Glitter Slime in 5 Simple Steps (no borax)
- The Best Homemade Playdough Recipe Tutorial
- DIY Ice Chalk for Hours of Summer Fun
- 5 Easy DIY Crayon Art Project Ideas
How to make your own Kinetic Sand and save big!

Ingredients
- 5 to 7 cups of play sand (the finer the grain the better)
- Container for mixing and storage
- 1 to 1.5 cups cornstarch
- 1/2 Tablespoon (or 1.5 teaspoons) of Dawn Dish Soap
- 3-5 drops of Tea Tree (Melaleuca) Oil
- Water
Instructions
- On a hard surface floor (or outside if the weather in nice) pour 5 cups of play sand into the bottom of a container. It may be quite wet or it may be just moist. Be aware of the moisture content of your sand as we continue. If your sand is too wet, the cornstarch may get a little goopey before it has the chance to mix in with the sand. If your sand needs to dry out a little, spread it out in the container and give a few hours (or a day) to dry.
- When your sand is ready, sprinkle 1 cup of the cornstarch in a even layer over the sand.
- Begin mixing it all together. You can use a kitchen spoon or your hands. If you have any cornstarch clumps, pinch them between your fingers and rub them in with the sand. My sand was still a little wet, so it took a few minutes to get all the cornstarch blended. By the end, I could pull the sand mixture into one large mound.
- Mix a 1/2 Tablespoon (or 1.5 teaspoons) of the dish soap and 5 drops of Melaleuca Oil with 1/2 cup of water. Just pour it over the top and mix it with the sand.
- To fix the moisture content, mix another 2 cups of sand with another 1/2 cup of cornstarch.
- Let the sand sit out for a few more hours. It dried slightly and was a great consistency. The nice thing about making Kinetic Sand is you can always adjust by adding a little more sand/cornstarch mixture, or a little more water and soap, or just by letting it sit and dry for a bit. Once you have it how you like it, store it with an air-tight lid to keep that moisture in, and to keep it from spilling in your home
Comments
Leave a Reply
More Related Diys


Trending DIY Projects
- DIY
- Recipes
- Deals
- Blog


Report a Problem
Please select the problem you are facing with this deal:
- Price Increased
- Price Decreased
- No longer available
- Expired
- Link doesn't work
- Suggestion
- Compliment
- Other
Add more details:
Thank you for your feedback. We really appreciate it.
Enter your email address if you would like to receive a follow up.
Please Try Again
Thanks for providing the email address.
We will reach out to you as soon as possible.


Popular
Recommended
About Us

At Fabulessly Frugal, our goal is to help you live HEALTHY, WEALTHY, and WISE! My team and I work hard to bring you the best, online deals, clean eating, DIY's, freezer meal recipes, and more! I LOVE coaching and inspiring people to improve their health in my fitness challenge! You should also check out my favorite cleanse! Learn more about me and the rest of my team.


Copyright © 2008–2024
Fabulessly Frugal: A Coupon Blog Sharing Gift Ideas, Amazon Deals, Printable Coupons, DIY, How to Extreme Coupon, and Make Ahead Meals. All rights reserved
My sand did not turn out like that. It’s all crumbly and not kinetic. What do I do?