DIY Razor Scooter Stand
Plus a Razor DeltaWing Review…
How to Build a Razor Scooter Stand…
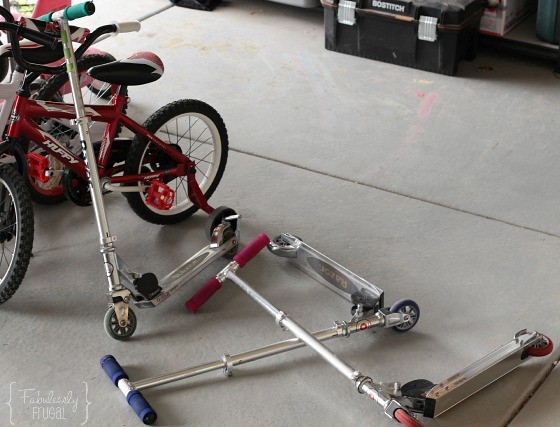
I think nearly every kid in our neighborhood has a Razor scooter! They are great and we love them, but I am sick of scooters lying around all over the garage. Since the scooters don’t stand up by themselves, they are either leaning up against other things or just being dropped to the floor. We only have a few scooters lying around, but it feels like they are all over the place sometimes. 😉
Time for designated scooter parking spots! I looked around online at all of the different scooter rack designs that people have come up with to find something that I like.
What I am looking for in scooter storage:
- kid-friendly scooter parking – easy to use
- scooter stability – scooters won’t tip over easily
- small, unobtrusive footprint – wouldn’t hurt if it isn’t ugly too
- quick and easy to put together
- cheap, but sturdy
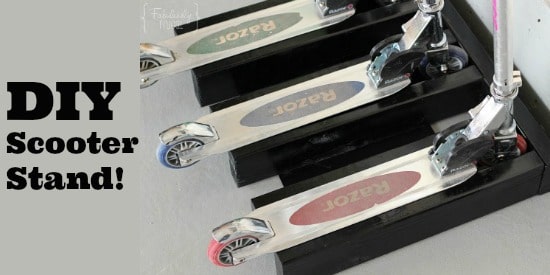
Wood is a great choice because it is easy to work with, inexpensive, and versatile. The scooter stand design I decided to try out is very simple, takes up little space, and meets all of my other priorities too. Thanks for sharing this great idea for a scooter stand, Batchelors Way!
Supplies:
- 2×4 wood
- 1/8-inch hardboard
- saw
- sand paper
- 2 1/2- to 3-inch wood screws
- 1 5/8 screws or something similar
- tape measure
- Primer and paint (optional)
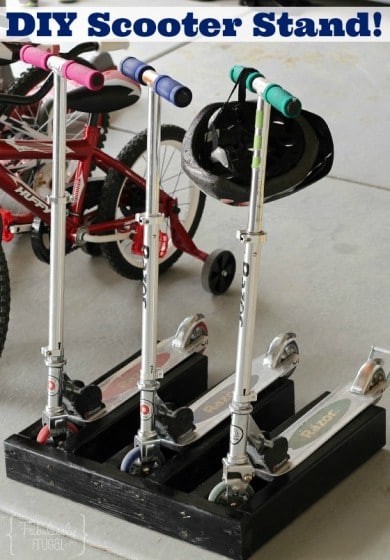
I messed around with the idea of being able to roll the scooter in and out of the parking stall for ease, but the scooter wasn’t as stable as it could be. Letting the deck of the scooter rest on the boards offers great stability and it is still easy enough to get the scooters into place. An addition to hang helmets would be cute, and I strongly considered it, but it is also easy and practical to hang the helmets on the scooter handlebars. Keeping it simple over here, people!
Though it is simple, I ran into a few bumps with this project. Literally. It started raining, so I brought the supplies into the garage. My husband then ran over everything with his truck! Hmm. Thankfully, the supplies were all still salvageable and all is well.
I originally wanted to make the spaces between the scooter stalls larger to avoid bumping handles. I made my measurements assuming that 2×4 wood is actually 2 inches, but alas, it is really 1 1/2 by about 3 1/2 inches. My spaces ended up being too large – it looked awkward and wasted too much space. So, I just decided to unscrew and move the boards around to be more evenly spaced, then cut the long 2×4 and the flat board down to size. When you are taking your measurements, remember that a 2×4 isn’t actually a 2×4. 😉
Anyway, here’s how you do it…
Decide on how many scooter stalls you want and cut your boards to length. Your local home improvement store may offer a certain number of free cuts, so you may not even need to have a saw.
Lightly sand the boards to remove any splinters, then you can prime the wood if you want to. Painting is not necessary, but I thought a glossy black color would look cool. 😉 I just used spray primer and spray paint so it didn’t take long to do. And yes, it will get all scuffed up anyway, but that’s fine.
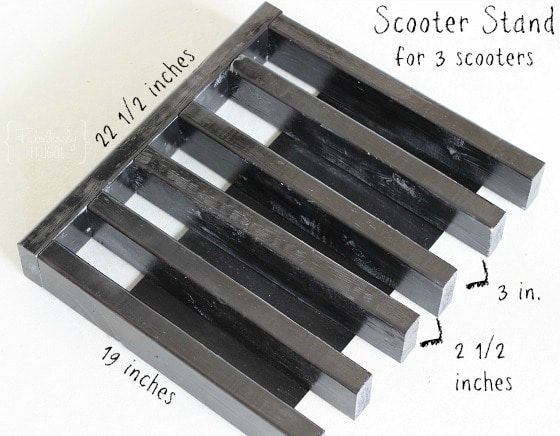
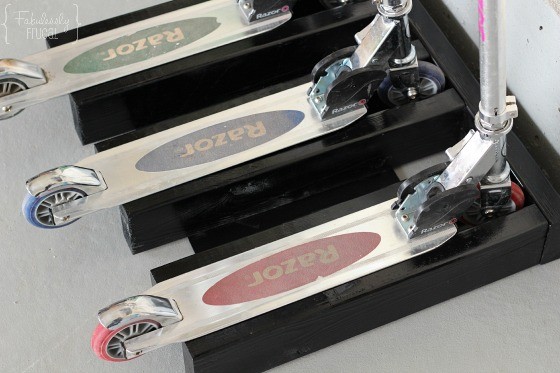
My stand is for 3 scooters, so I have six pieces of 2×4 that are 19 inches long. Each scooter stall needs 2 1/2 inches between boards in order to allow the scooter deck to rest on them. The space between each stall is up to you, but my spacing is about 3 inches between stalls.
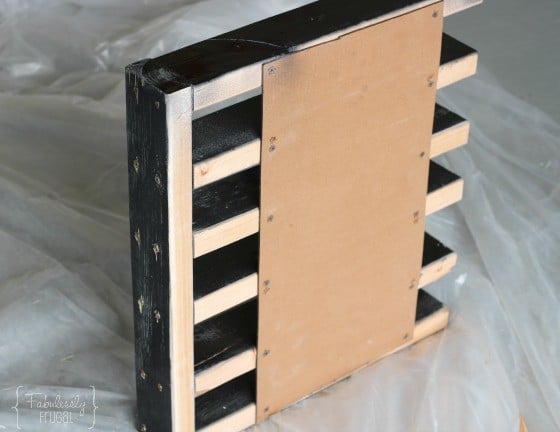
The longer piece of 2×4 needs to be long enough to fit all of the scooter stalls and spacing, so my end piece is about 22 1/2 inches long. The 1/8-inch hardboard on the bottom of the stand is for the support and stability of the 2×4 pieces. My hardboard is about 12 inches by 22 inches. I used 3-inch screws for the 2×4 pieces and 1 5/8 screws to attach the hardboard.
It doesn’t need to be perfect or exact, just try to get the stall measurements right so the scooter will fit nicely. Attaching the boards square and straight is helpful with that too.
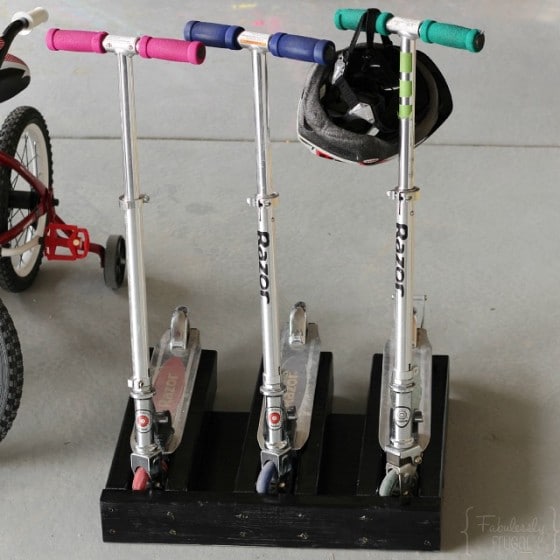
A simple and effective scooter stand! Another nice feature about this stand is that it has some weight to it. It won’t be sliding around anywhere while the kids are taking the scooters on and off.
This scooter stand really is an easy, affordable, and fast project. It works well so far and we are happy with it!
If building a stand isn’t in your future…
There are other great options for scooter storage and organization. I have a few of the Rubbermaid FastTrack pieces in my garage and I love them for garage organization. It would even work well for scooters and helmets! It isn’t a super cheap option though.
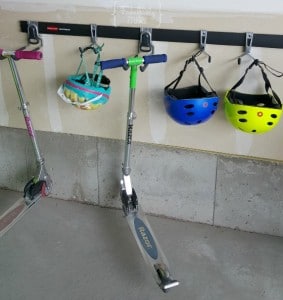
Along the same line, you could purchase utility hooks to screw into your garage wall, then hang the scooter handlebars on the hooks.
There are also plastic scooter stands available to buy online. I haven’t tried them personally, but they look like another great option if you don’t want to make your own.
Razor DeltaWing Review…
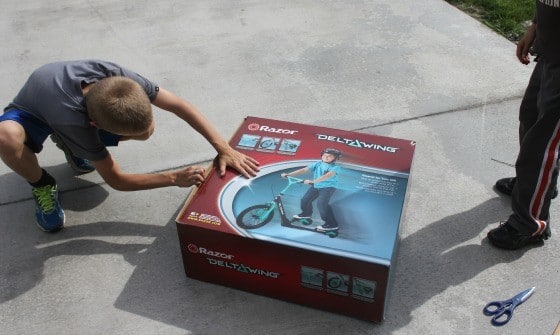
We recently received a Razor DeltaWing to review. I knew my boys would like it, I soon discovered that they love it! Out of the box it required some assembly, but all the tools were included and it was easy enough for me to do for them. I did have my husband tighten the handlebars extra well for me though.
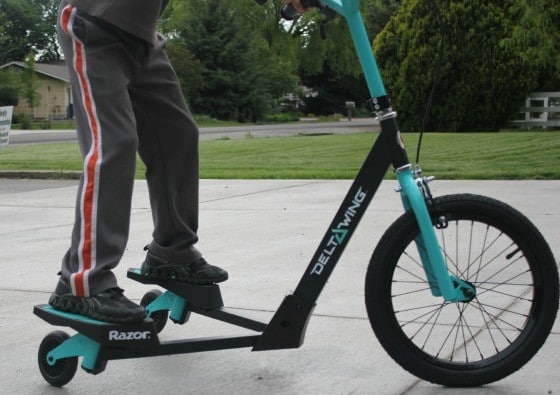
The Razor wheels on the back end make it go by moving side to side. They make for a nice smooth ride. We found that it was extra fun to set up an obstacle course to maneuver the Razor DeltaWing through.
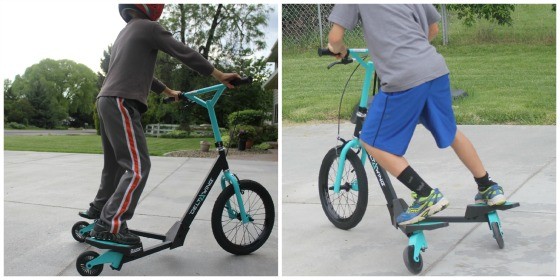
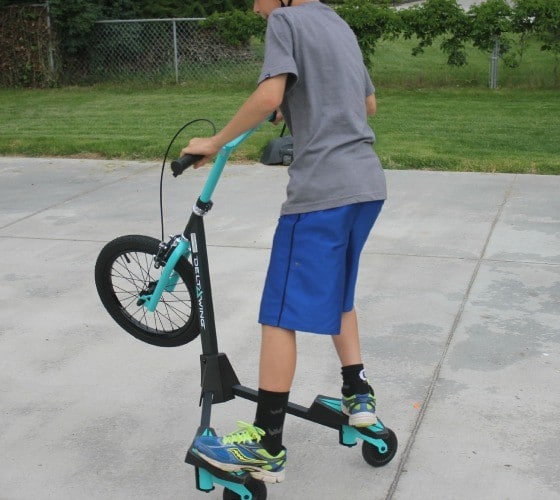
It did not take long before my older son was doing wheelies and 360 tricks. I was really impressed with how quickly he was getting comfortable on the Razor and how easily he could maneuver it. I would recommend the Razor DeltaWing for boys or even girls age 6 to 16.
Comments
Leave a Reply
Report a Problem
Please select the problem you are facing with this deal:
- Price Increased
- Price Decreased
- No longer available
- Expired
- Link doesn't work
- Suggestion
- Compliment
- Other
Add more details:
Thank you for your feedback. We really appreciate it.
Enter your email address if you would like to receive a follow up.
Please Try Again




Hi. I love this idea. But when I was measuring, by scooter deck is 3.5″ wide (and I think it is a normal Razer scooter). How is the space between boards-the scooter stall-2.5″ wide? Thanks!
Hi, Jen! I made the scooter stall space 2.5 inches wide on this DIY scooter stand because I want the scooter deck to rest on top of the boards, but still allow space for the wheels to fit between the boards. Hope that answers your question. Thanks!