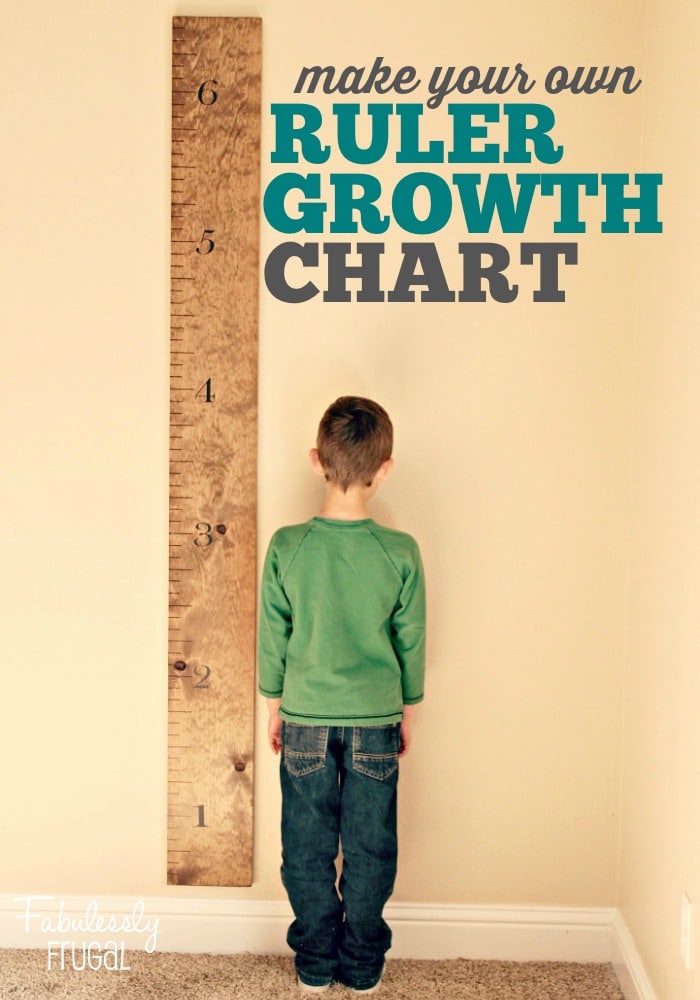
Giant DIY Growth Chart Ruler Tutorial
DIY Growth Chart Ruler
My husband has been marking our kids’ height in our kitchen for years. It is pretty cool, my boys love to compare their heights and ages on the wall. I have been looking for a way to make it look a little better and I loved this idea! Inspired by Pinterest I decided to make a chart that I could take with us where ever we go!
This giant DIY growth chart ruler is not only easy on your budget, but there are so many fun ways to customize it to your style! Paint or stain, bright colors or natural, vinyl or stencil, ruler pattern or chevron… there are lots of options! Because these are so cheap and easy, they also make great Christmas gifts!
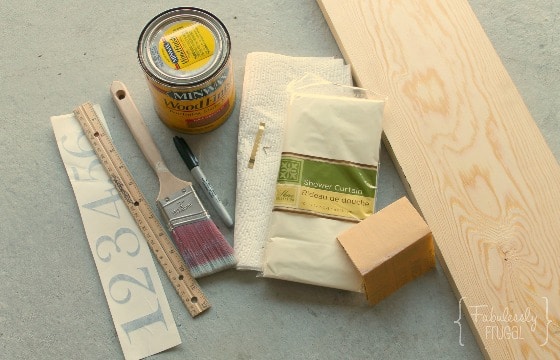
The Supplies:
- 1 in. x 8 in. x 6ft. common board (under $7 at Home Depot)
- Sandpaper
- Drop cloth (Dollar store shower curtains are cheap and easy to throw away!)
- Wood stain
- Brush (I recommend a 2-3 inch foam brush instead of a regular paint brush)
- Paper towels or clean rag you don’t mind throwing away
- Ruler
- Sharpie or Paint Pen (you can also do your marks in vinyl if you prefer)
- #’s 1-6 (you can do these in vinyl, paint them on with a stencil or purchase some)
- Mounting hardware
How to Make a Growth Chart Ruler
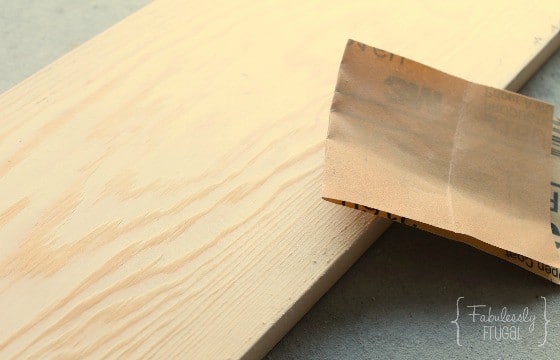
Step 1. Preparation
Using sandpaper, simply sand down the front and side edges of your board to smooth away any rough spots. Wipe the dust off thoroughly with a clean rag or paper towel.
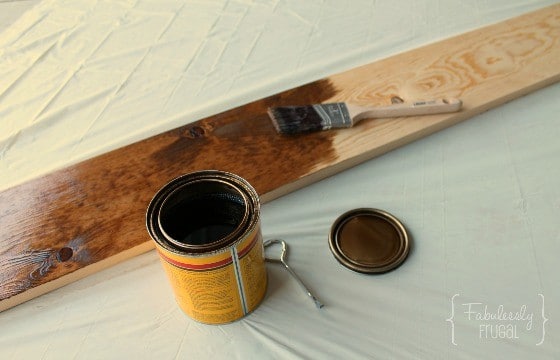
Step 2. Apply Stain
Apply a thin coat of stain to the entire front and sides of the board. For a stronger color or better coverage, you can add a second coat if you’d like.
I recommend using a cheap 2-3 inch foam brush instead of a paintbrush like I did here. It’s easier to apply the stain with and you can just throw it away when you’re done for easy clean-up.
Let the stain sit on the board per stain instructions or until you’ve reached your desired color. The longer you let the stain sit, the richer the end color will be. I believe I let mine sit for about 20 minutes.
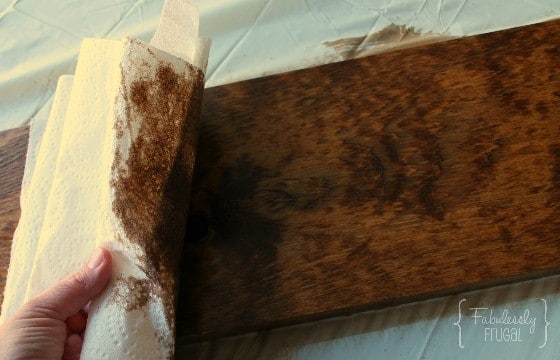
Step 3. Remove Excess Stain
Using paper towels or a clean rag you don’t mind ruining, gently wipe away any excess stain. Be sure to wipe down the entire board and let it dry completely. I waited overnight but you might not have to wait quite that long, a couple of hours should probably do the trick!
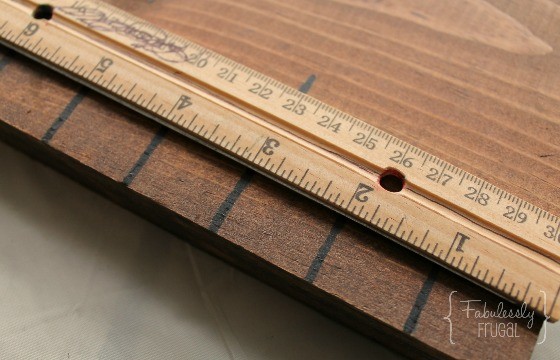
Step 4. Measure and Mark Your Growth Chart Ruler
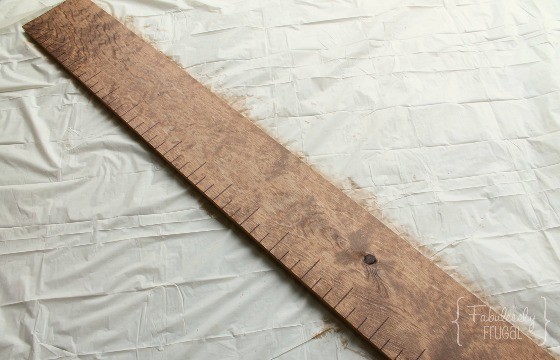
Once your ruler growth chart is completely dry, decide which end of the board you want to be the top/bottom. Starting at the bottom, use a ruler (ha, a ruler on a giant ruler) and make a small 1/4″ tic mark with your sharpie (or a pencil if you prefer) every inch all the way up the board.
I got ahead of myself and forgot to take a picture of this step, but in the picture above, you can see what I’m talking about with the marks every inch.
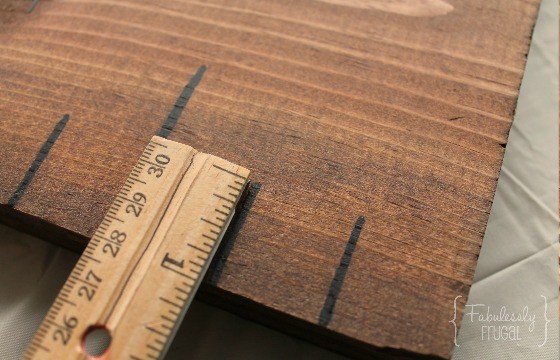
Step 5. Extend Your Measuring Lines:
After making your tic marks, go back to the bottom of the board and extend your lines using the ruler as your guide. To keep the project cost at a minimum I just used a black Sharpie marker but you can also use a black paint pen or paint.
I decided to make my pattern (2) 1″ marks and then (1) 2″ mark. You can do it this way or do something different like all of the marks the same length or various lengths to make it look more like an actual ruler. You choose!
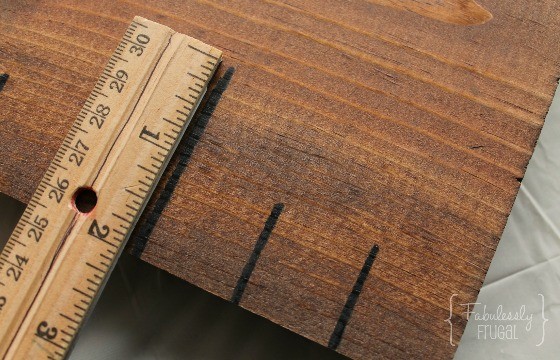
Here is my 2-inch mark after (2) 1-inch marks. So basically the pattern is short, short, long, short, short, long etc…
Do this all the way up the board. We’re getting closer!
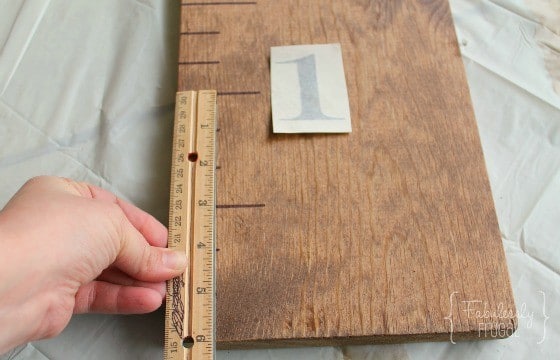
Step 6. Add Numbers to Your Growth Chart
The next step is to add the numbers. I decided I wanted to hang my ruler chart on the wall about 6 inches off the floor so I placed my 1-foot mark 6 inches up from the bottom of the board so that when I hang it, the measurement will be accurate.
If you want to have your board touching the floor when you hang it, you would place your 1-foot mark 12 inches from the bottom of the board. I chose to place my numbers vertically on the board but you could do them horizontally if you want too! Simply count every 12 inches and place your numbers in numerical order the rest of the way up the board.
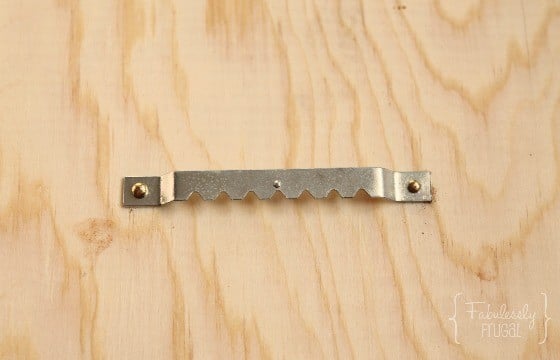
Step 7. Mount Your DIY Growth Chart Ruler
There are several different options as far as mounting and hardware. I chose to use a simple sawtooth hanger and anchored screw. I placed it in the middle of the top end of my board.
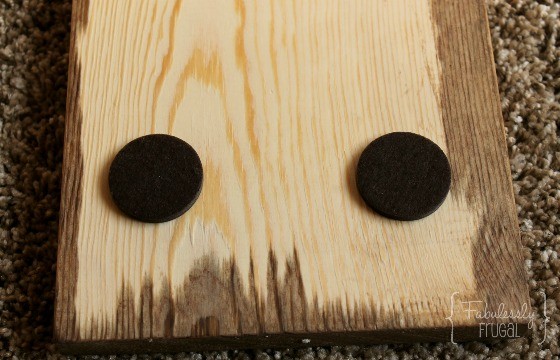
Step 8. Hang Up Your Growth Chart
I recently painted my walls and didn’t want them scratched by the board so I added some round chair foot pads I had on hand to the bottom back of my board. This is totally optional.
All that’s left now is to hang it on the wall!
Conclusion: DIY Growth Chart Ruler
Once you’ve found a great place to hang your growth chart ruler, you can take turns measuring each member in your family and marking their height/age etc. on the board. It’s so fun to see the different marks add up over time as everyone changes!
As an added bonus, the chart is portable so you can take it with you if you ever move! Overall this was an easy, budget-friendly project and I’m so excited to get measuring and watch my kids grow!
More DIY Ideas:
- Top 10 Ways to Reuse Old Towels and Sheets
- 6 DIY Detox Ideas You Can Do at Home to Cleanse Your Mind and Body
- How to make your own Kinetic Sand and save big!
- 5 Comfy DIY Bean Bags
- How to Start an Indoor Herb Garden
More Related Diys


Trending DIY Projects
- DIY
- Recipes
- Deals
- Blog


Report a Problem
Please select the problem you are facing with this deal:
- Price Increased
- Price Decreased
- No longer available
- Expired
- Link doesn't work
- Suggestion
- Compliment
- Other
Add more details:
Thank you for your feedback. We really appreciate it.
Enter your email address if you would like
to receive a follow up.
Please Try Again
Thanks for providing the email address.
We will reach out to you as soon as possible.


Popular
Recommended
About Us

At Fabulessly Frugal, our goal is to help you live HEALTHY, WEALTHY, and WISE! My team and I work hard to bring you the best, online deals, clean eating, DIY's, freezer meal recipes, and more! I LOVE coaching and inspiring people to improve their health in my fitness challenge! You should also check out my favorite cleanse! Learn more about me and the rest of my team.

Copyright © 2008–2025
Fabulessly Frugal: A Coupon Blog Sharing Gift Ideas, Amazon Deals, Printable Coupons, DIY, How to Extreme Coupon, and Make Ahead Meals. All rights reserved