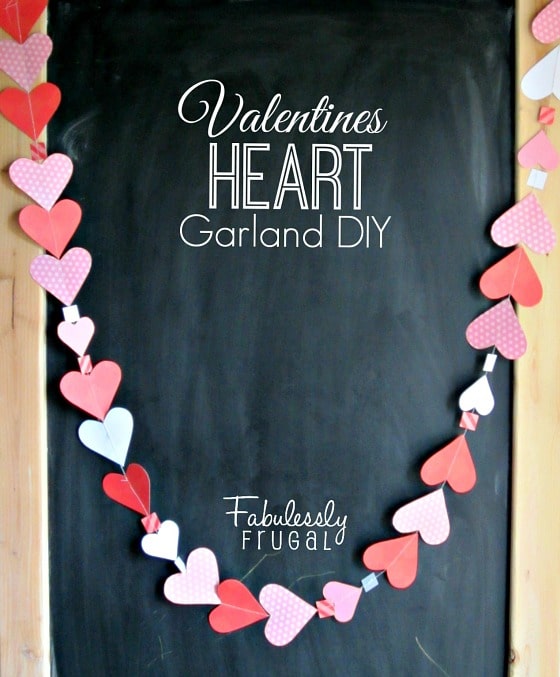
Valentines Heart Garland DIY
I love hanging garlands around my home for nearly every occasion. Even though Valentine’s Day is not a big holiday, it’s one of my favorites to decorate for. Who doesn’t love pink and red hearts all around? It puts me in a happy mood. This Valentines heart garland is so easy to make, and it brightens up any space. Here is what you will need.
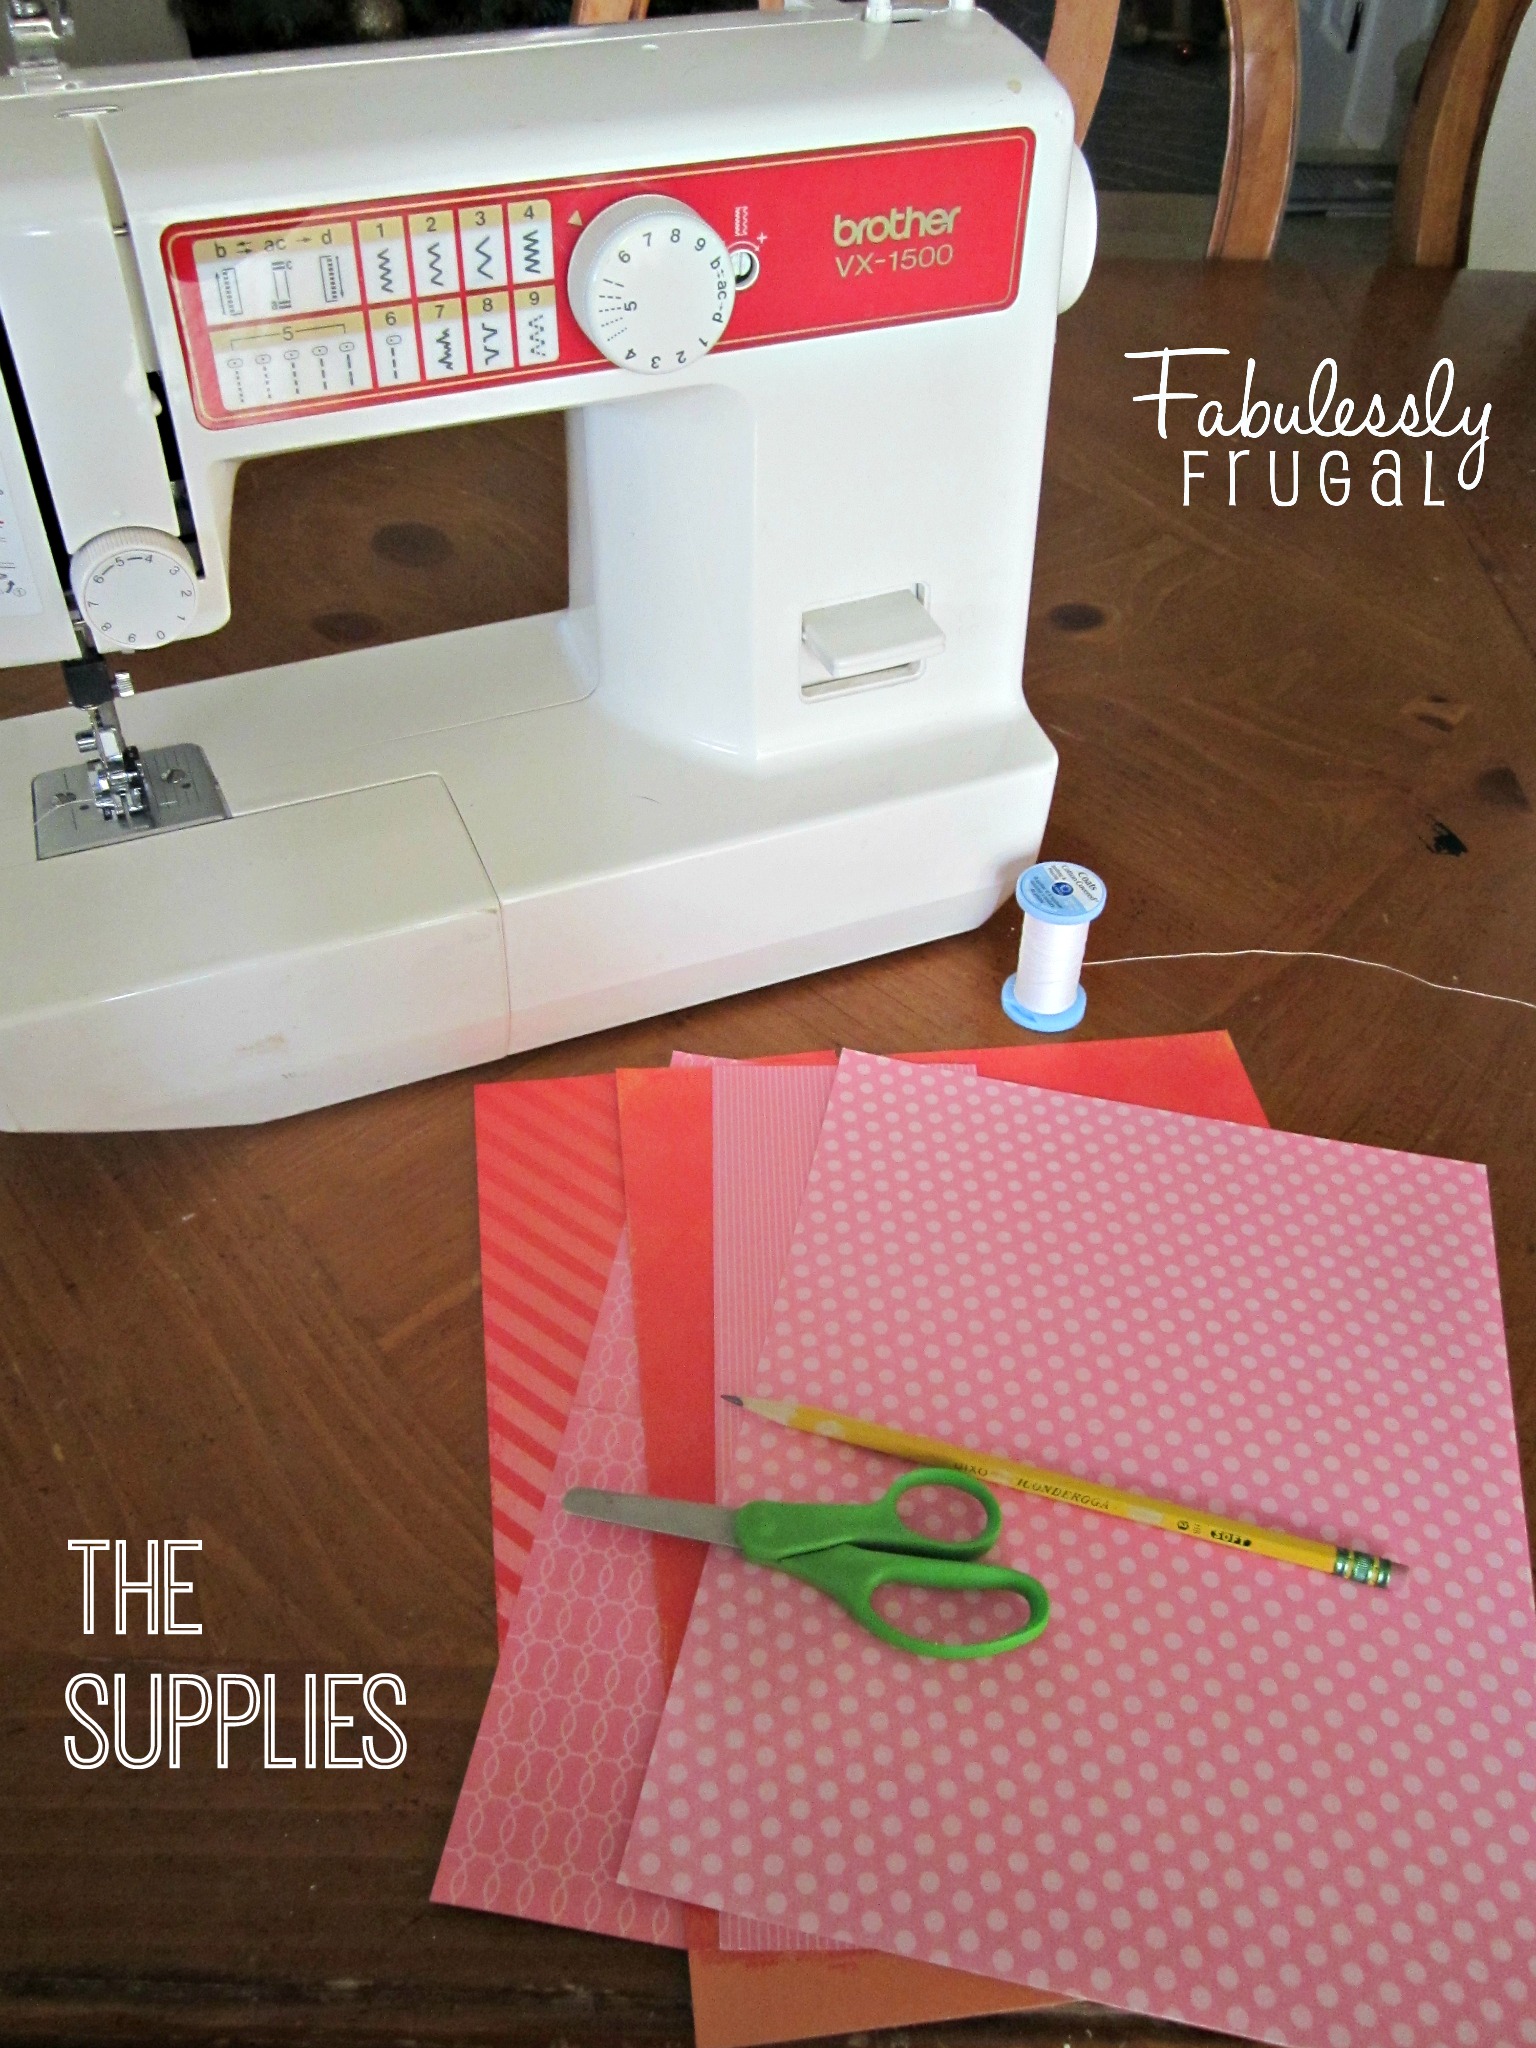
The Supplies:
- Pink and red card stock scrapbook paper (a mix of solids and prints is a fun)
- pencil
- scissors
- sewing machine
- thread
The Instructions:
 Start by taking any piece of card stock and making a fold. Draw half of a heart with the middle lining up with the fold in the paper- just like you did in elementary school. Easy and fun! Cut it along the line, and unfold it to make a heart-shaped template. You could repeat this process for all of your hearts, and cut each one along the fold to get a variety of sizes, but I chose to make a template because I did not want to have a fold in the middle of all the hearts. Whatever you prefer to do is fine.
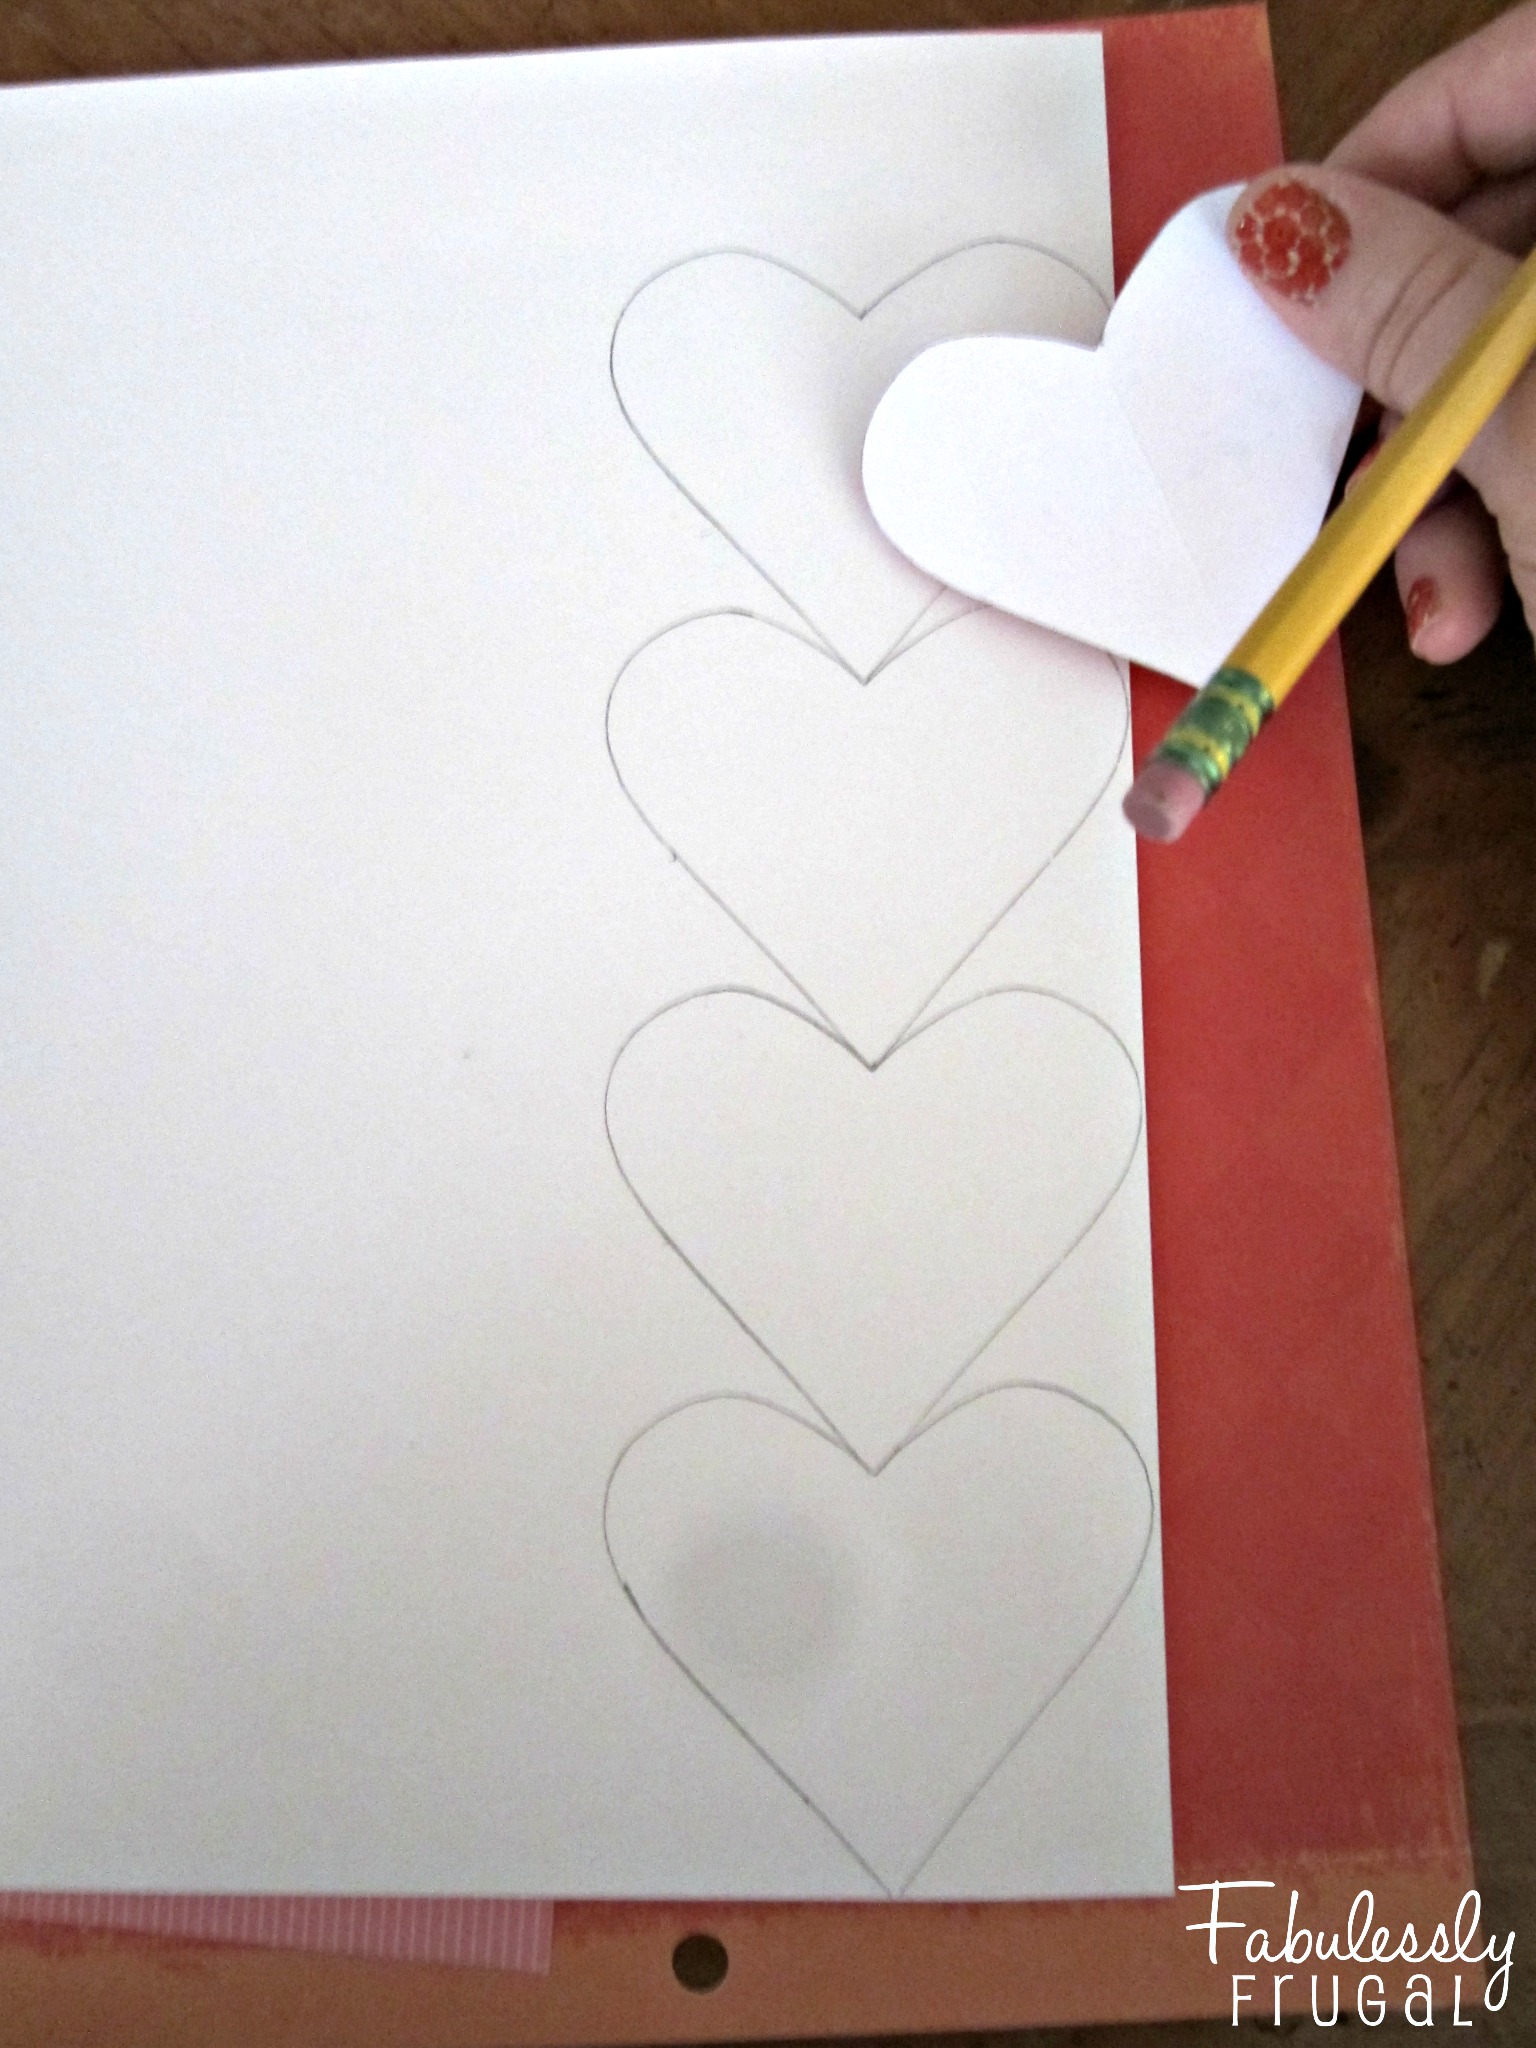 Next, if you have decided to make your hearts all uniform, trace the heart template in a row. You can get more out of your paper if you line them up one above the other like in the picture above.
 You might also be able to get more out of your paper by alternating the direction of the rows. If I lined these hearts up side by side, without alternating directions, I would have only been able to fit two rows.
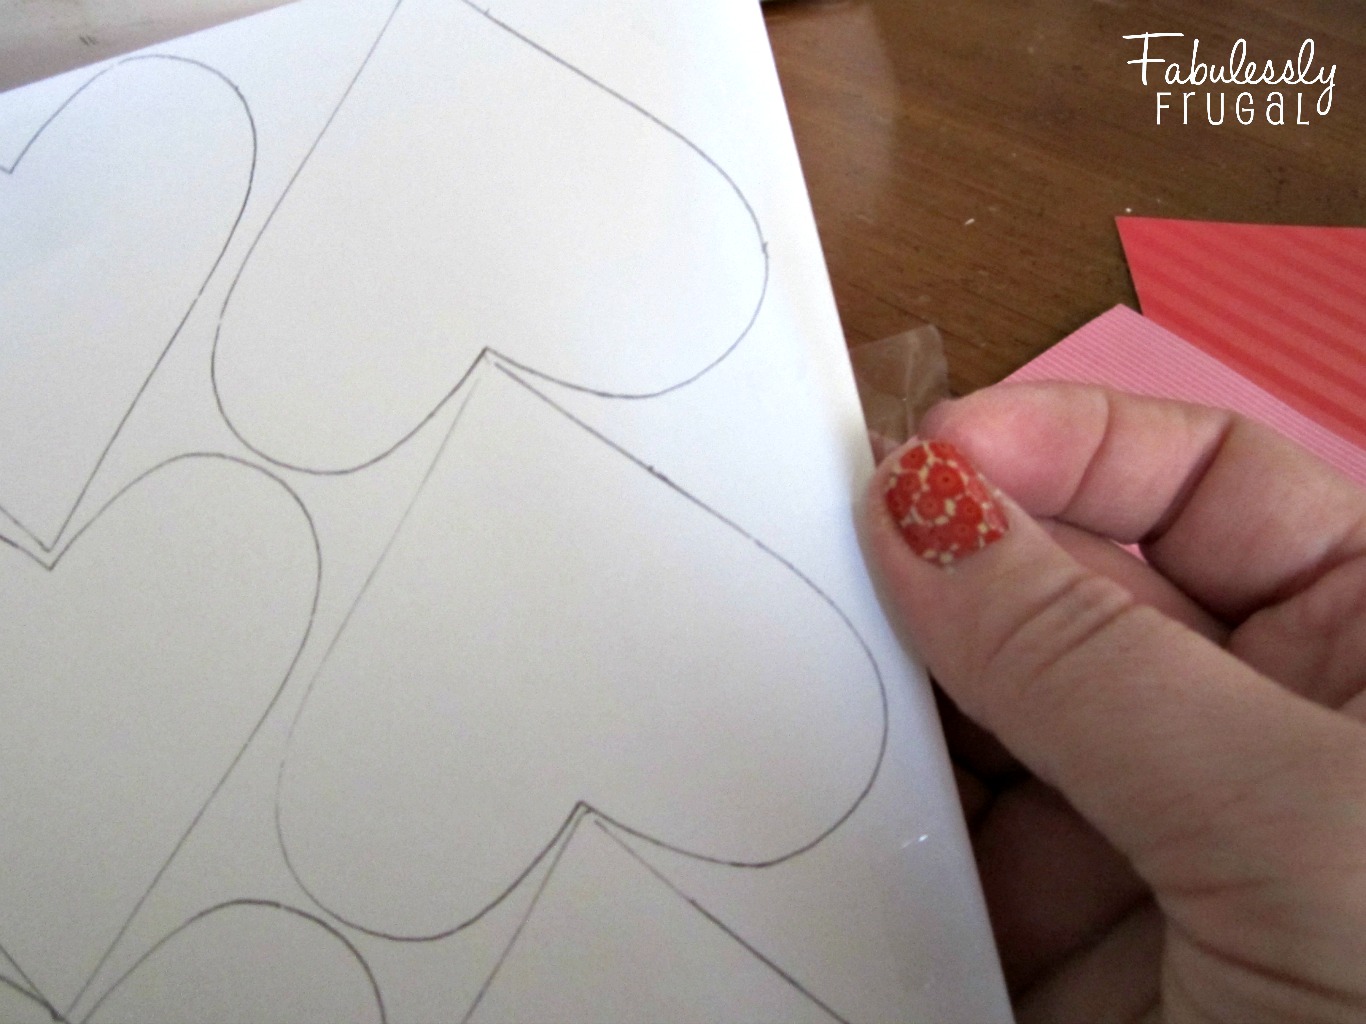 To save a little time, you can place another page of scrapbook paper behind the one with the traced hearts and tape the edges together. That way you can cut twice as many hearts, and you will not have to trace as many.
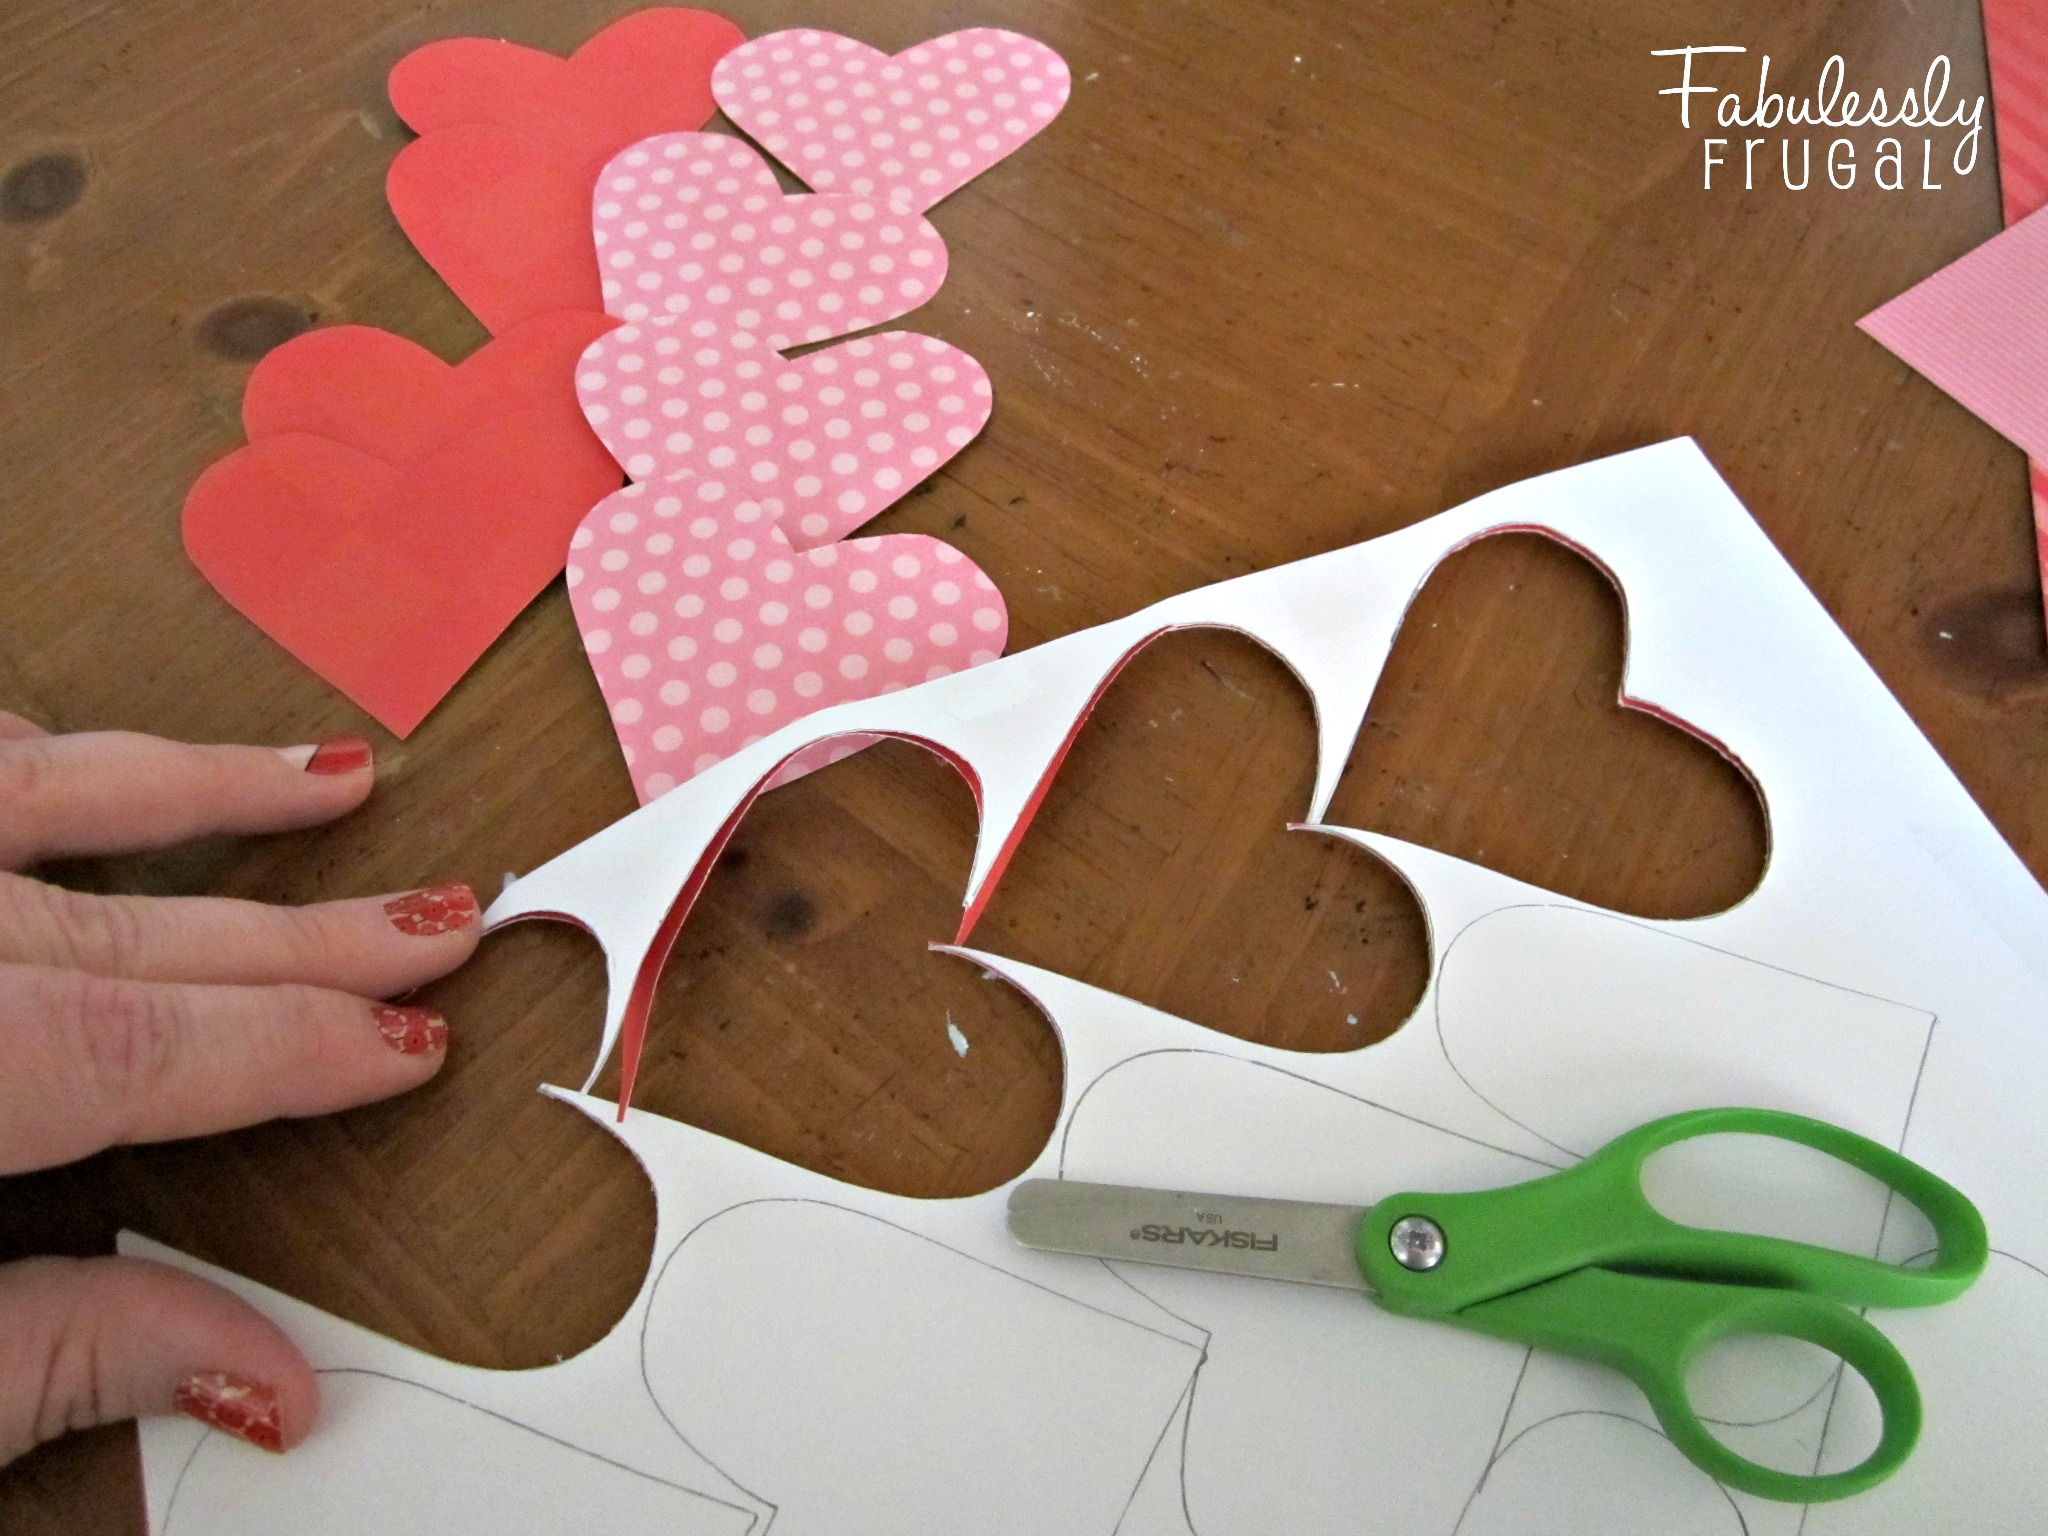 Just cut along the lines, and the tape should keep everything aligned correctly as you cut. I trimmed down my template to make some smaller hearts as well. I also cut a few squares to add some variety. Decide on the pattern you want, and then you are ready to start sewing.
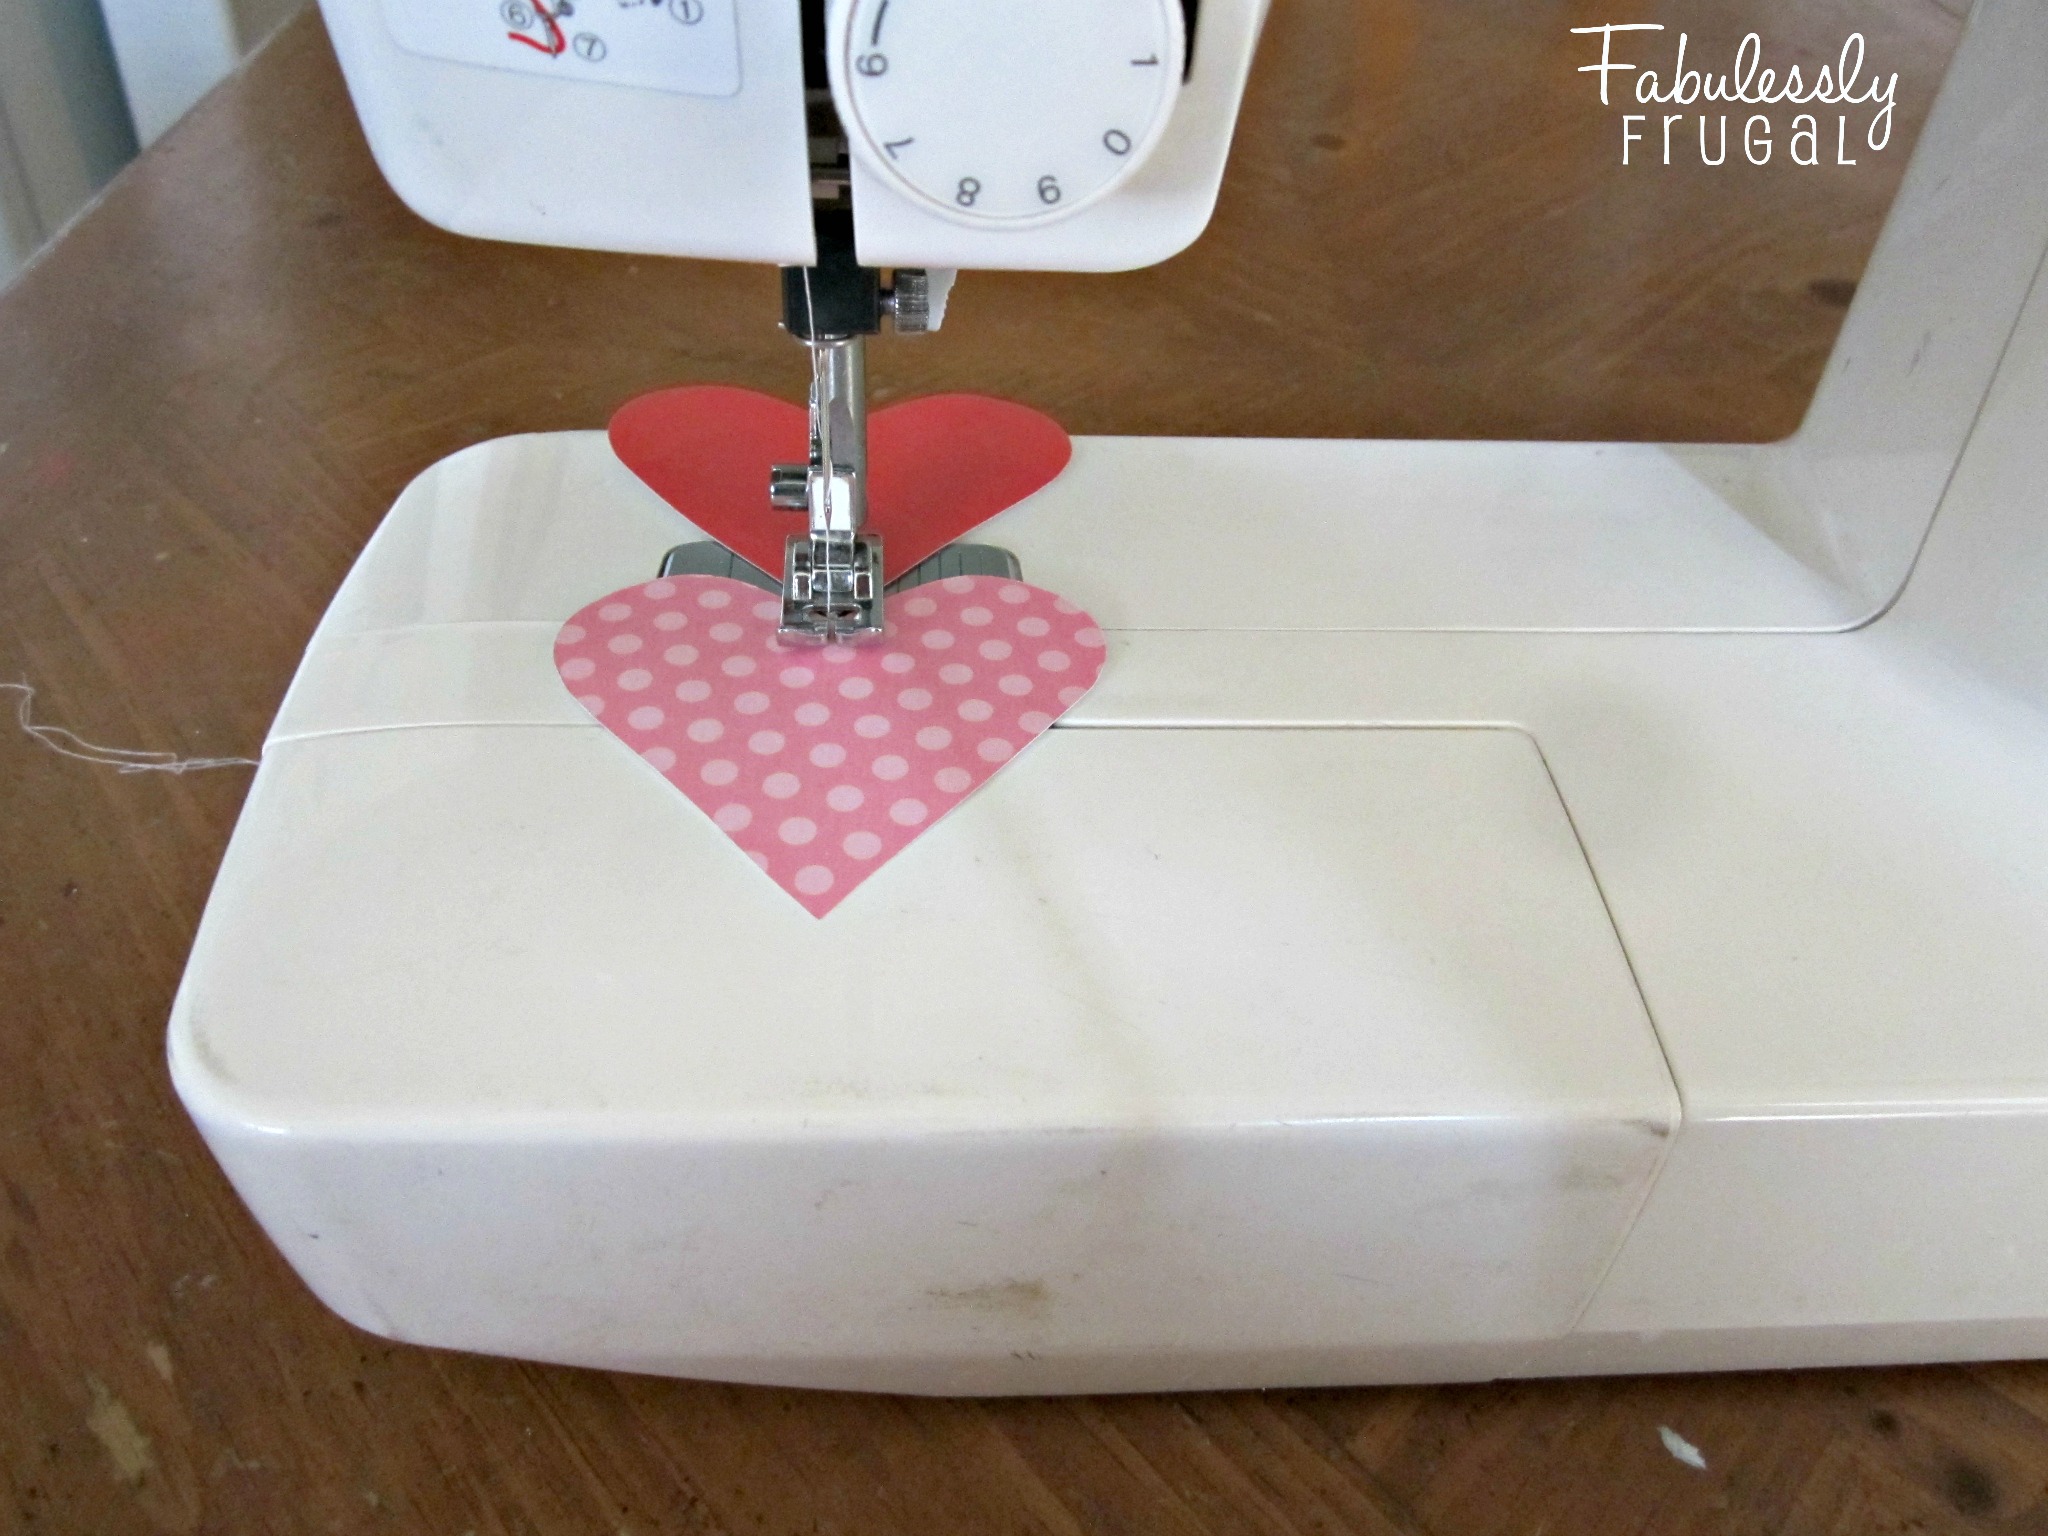 Set your machine to the widest (or loosest) stitch length and loosen the tension. If your stitch is too small it will puncture the paper too much and could cause it to tear. You could also do this part by hand with a needle and thread, and you would only need to stitch through each heart a few times. With the machine, leave about 10 inches of both the top and bobbin threads hanging over. Align your first heart and start to sew, slow and steady. Once you are through the first heart, align the next. Even if there is a little gap, the machine will pull the second heart close to the first anyway. Continue adding more hearts until you have the length and pattern that you like.
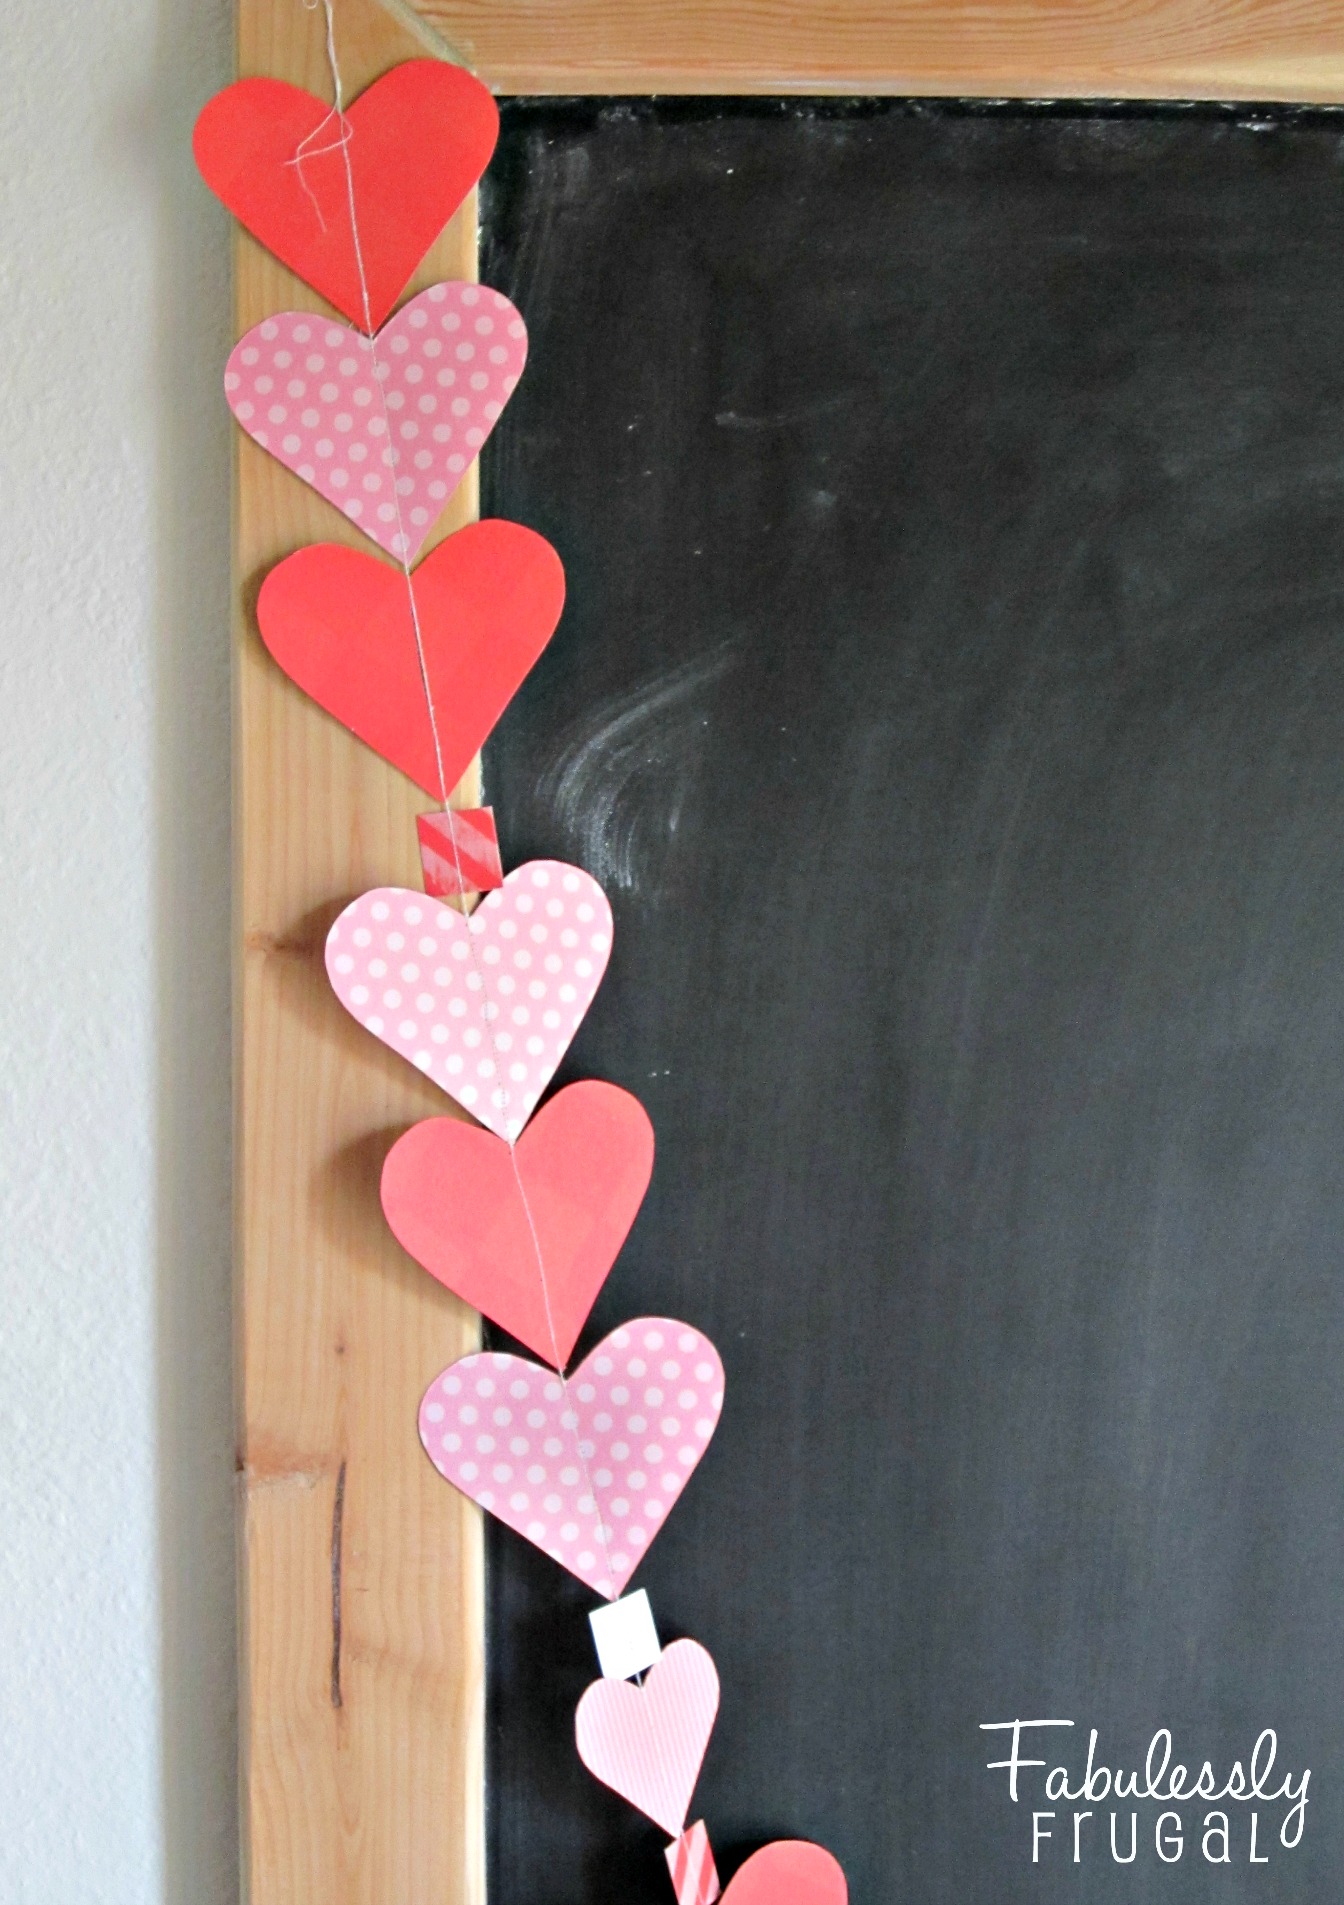 Make sure to leave about 10 inches of the top and bobbin threads when you get to the end too. You can hang the garland by the thread, no heavy-duty string is necessary. That’s all there is to it! Have fun making your own!
More Related Diys


Trending DIY Projects
- DIY
- Recipes
- Deals
- Blog


Report a Problem
Please select the problem you are facing with this deal:
- Price Increased
- Price Decreased
- No longer available
- Expired
- Link doesn't work
- Suggestion
- Compliment
- Other
Add more details:
Thank you for your feedback. We really appreciate it.
Enter your email address if you would like
to receive a follow up.
Please Try Again
Thanks for providing the email address.
We will reach out to you as soon as possible.


Popular
Recommended
About Us

At Fabulessly Frugal, our goal is to help you live HEALTHY, WEALTHY, and WISE! My team and I work hard to bring you the best, online deals, clean eating, DIY's, freezer meal recipes, and more! I LOVE coaching and inspiring people to improve their health in my fitness challenge! You should also check out my favorite cleanse! Learn more about me and the rest of my team.

Copyright © 2008–2024
Fabulessly Frugal: A Coupon Blog Sharing Gift Ideas, Amazon Deals, Printable Coupons, DIY, How to Extreme Coupon, and Make Ahead Meals. All rights reserved