
Do It Yourself PHOTO Shrinky Dinks!
I can only remember making Shrinky Dinks ONCE as a child but for some reason, the need to play with these things has consumed me for a while. So, I finally went to Michael’s Art Store and found a package of Shrink Art. I used a 50% off coupon and walked out with my kit for just about $4.00.
I didn’t want to use my Shrinky Dinks in the typical manner; coloring little pictures on them. What I wanted to do was see if I could make PHOTO Shrinky Dinks!! And guess what?! Mission Accomplished!!!
Ready to learn how to make your own Photo Shrinky Dinks?
Here we go!!

Here’s what you’re going to need:
- Shrink Art paper (you can pick it up at most arts and crafts stores or Amazon)
- Copy paper
- Photo you want to use
- Inkjet printer
- Scissors
- Tape
- Oven
- Baking Sheet
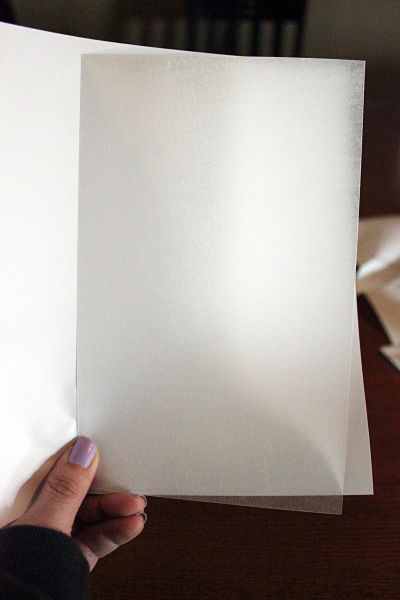
The first thing you want to do is prep your shrink art paper to go through the printer.
Place your shrink paper up against a regular sheet of copy paper. Cut the copy paper so that the length is just a tad longer than the shrink paper. Make sure the width is cut even with the shrink paper.
Make sure your shrink paper is right side up (rough part on top). Next, fold the edges of the copy paper over the ends of your shrink paper.
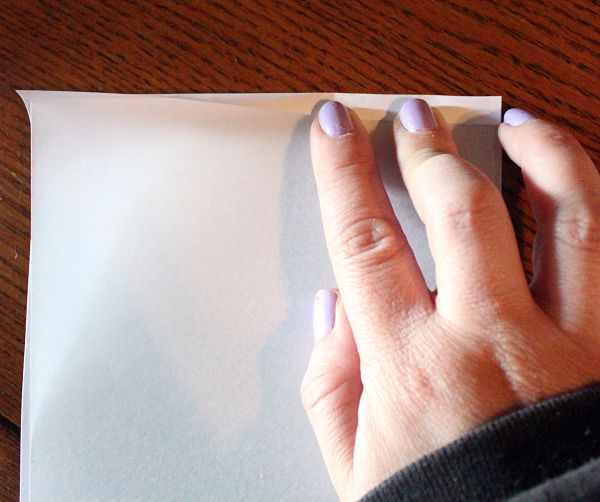
Use a small piece of tape to tape the edges to the shrink paper.
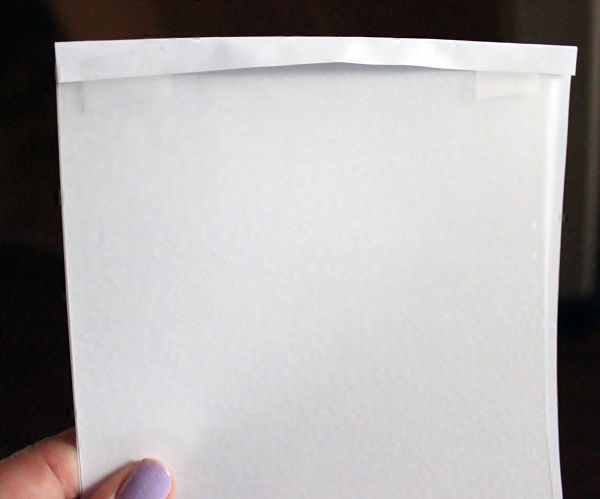
Make sure the copy paper is taped to the shrink paper at the top and the bottom! This is going to help the shrink paper make it through your inkjet printer without getting stuck.
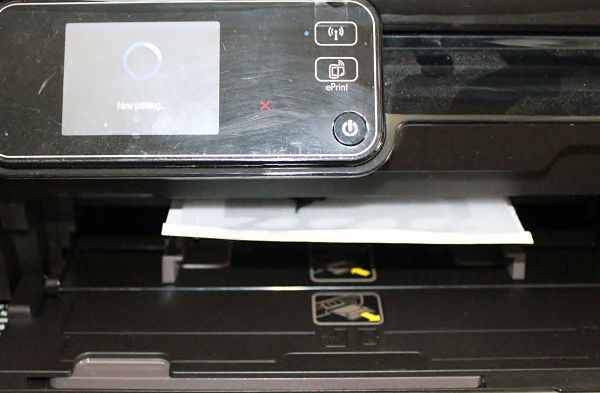
Place your paper into your printer. Be sure to place the paper in the correct way! You want the shrink paper to be printed on, not the copy paper, so, you will (in most cases) place the copy paper side up in the printer.
Next, select the photo you want to work with.
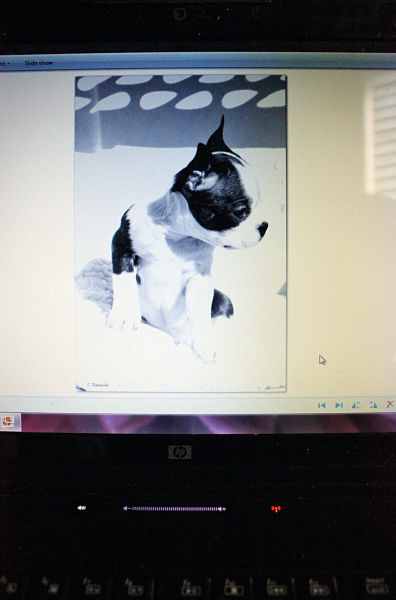
Now here is the important part! Once you’ve selected the photo you want to work with and you are ready to print, go into your printer properties. Where it says “Paper Type”, select Transparency Film. Do not select any other type of photo paper. I used the “other photo paper” selection the first time I tried this and I ended up with blobs of ink all over my shrink paper.
*Note: If you are printing anything with lettering, be sure to invert your photo before printing!
Once your print settings are changed to transparency film, go ahead and hit print.
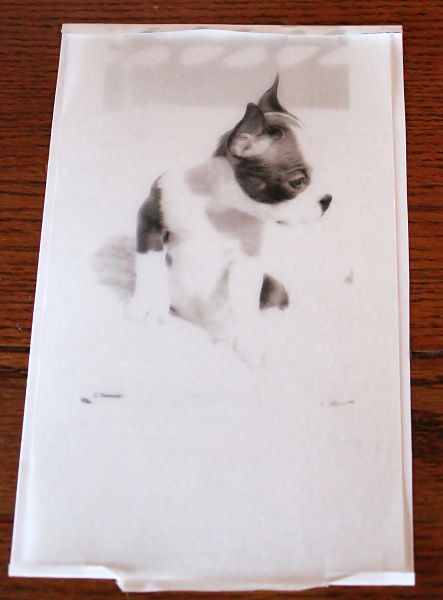
Now, remove the tape and separate the copy paper from the shrink paper.

Use your scissors to trim the photo to your liking. If you’re going to want to string your photo up in any way, be sure to punch your hole prior to shrinking your paper.
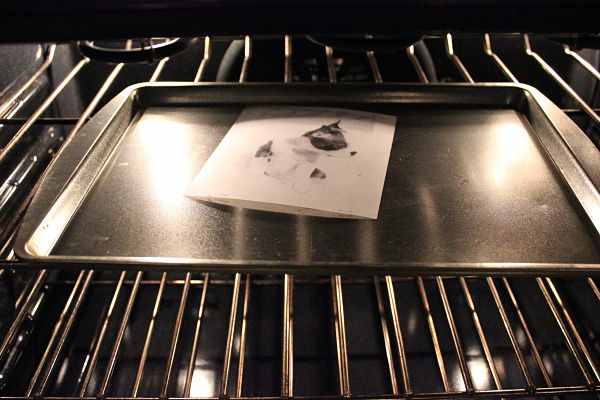
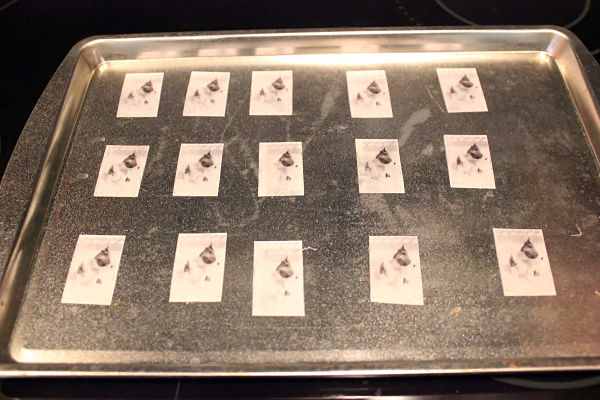
Place the shrink paper on a baking sheet and follow the directions on the box to shrink your photo.
*My particular shrink paper required the oven to be set at 325*. Once the oven was hot, I placed my baking sheet into the oven for just about 2 minutes.
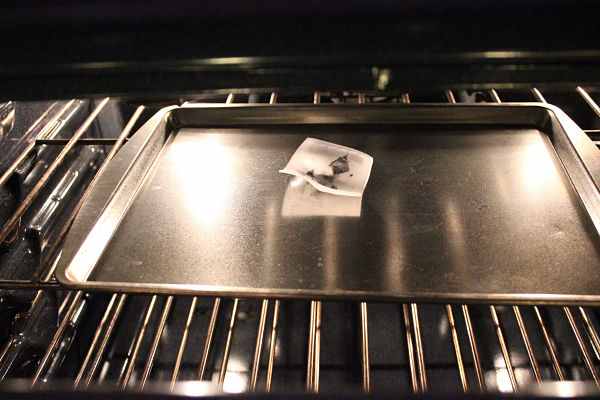
I printed a “contact” sheet too so I was able to do 16 smaller photos (perfect for earrings or a necklace pendant).
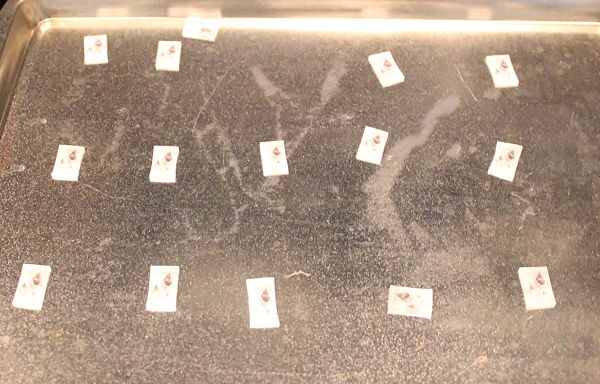
This is what I ended up with after 5 minutes in total (2 with the bigger picture, 3 with the smaller ones).
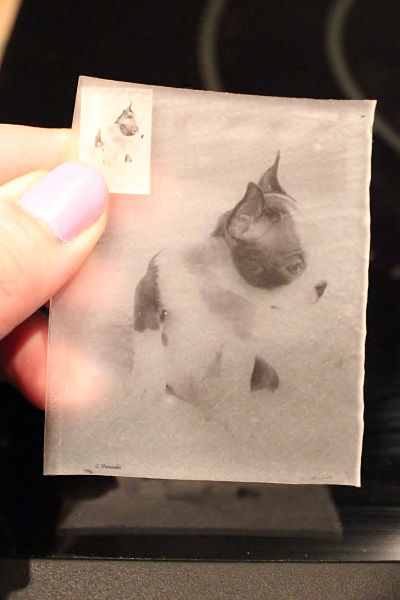 Personally, I love the matte look but you can flip them over for a more dramatic glossy image (this may not be possible if you use lettering).
This is the flip side…
Either way, I LOVE THEM!! I can’t wait to turn them into pendants for necklaces and earrings! I see magnets in their future too!!
I hope you’ve enjoyed this little project. You will LOVE the results and I’m sure once you get started, you’re going to have a hard time stopping!
Thanks for reading! Please remember to like, share, tweet, and pin this post! 🙂
Can’t get enough of our Projects?
You can now visit our —> DIY Project Gallery!
Comments
Leave a Reply
More Related Diys


Trending DIY Projects
- DIY
- Recipes
- Deals
- Blog


Report a Problem
Please select the problem you are facing with this deal:
- Price Increased
- Price Decreased
- No longer available
- Expired
- Link doesn't work
- Suggestion
- Compliment
- Other
Add more details:
Thank you for your feedback. We really appreciate it.
Enter your email address if you would like to receive a follow up.
Please Try Again
Thanks for providing the email address.
We will reach out to you as soon as possible.


Popular
Recommended
About Us

At Fabulessly Frugal, our goal is to help you live HEALTHY, WEALTHY, and WISE! My team and I work hard to bring you the best, online deals, clean eating, DIY's, freezer meal recipes, and more! I LOVE coaching and inspiring people to improve their health in my fitness challenge! You should also check out my favorite cleanse! Learn more about me and the rest of my team.


Copyright © 2008–2024
Fabulessly Frugal: A Coupon Blog Sharing Gift Ideas, Amazon Deals, Printable Coupons, DIY, How to Extreme Coupon, and Make Ahead Meals. All rights reserved
Planning a birthday party for 6 year olds and this is going to be a HIT!!!! Thanks so much for this post and the numerous other posts. Luv ’em!
I’m so glad you’re having fun with our posts! We love sharing them!
Wow this is so help full could not ove done it with out your instructions thank you so much
Can you give us the sizes you ended up with? I don’t see that posted.
Hi, Sherri!
I’m sorry I didn’t add specifics. They are going to vary based on what you start with. They also vary in shrinking size. I noticed that when I did the contact photos. They all started off the same but they varied slightly when I pulled them out of the oven.
Awesome. I am thinking of using this tute to make a charm bracelet for my sister – with various pictures of her kids!
Thanks for putting this up! Shrinky Dinks provides an inkjet printable shrink plastic… at about double the cost of plain frosted ruff’n’ready. Plus it doesn’t give nearly the same effect. This is perfect!
Going to try this for an end of the year present for my 4YO pre school class.
How you make the ink permanent? If used as jewellery and you accidentally get perfume on them the image is ruined
I am not 100% sure about this but I have an idea that may or may not work! What about if you painted it with clear finger nail polish? That would coat it, dry, and keep it permanent!
I’ve seen utee used!
Oh really? I will have to try that! Thank you!
I use spray acrylic sealer on my shrunken pieces. You want to do a few coats but not too many it will chip. You should sand your paper even if it’s the ruff n ready kind. I find a finer sanding helps my pencil stick better. After I’ve used the sealer I’ve also brushed on clear , high-end gel uv nail polish and cured them. Be careful though with anything that has acetone in it, too much in a spot will melt your plastic!
Good luck!
Happy Shrinking!
Thanks for the tips!
I use super gloss mod podge or glossy accents or dimensional magic
Would it work with lazer jet ?
It should, I can’t guarantee that though! I have just used it on InkJet! Try it out and let us know 🙂
No, you can’t use with a laser printer. The instructions on the package say this. Laser printers use heat, so it will begin to shrink the plastic as it goes through. You will be lucky if only your project is ruined and not your printer as well.
Love this! My son is graduating next year and I made keychains for him and his friends. I had a picture of them all together out at the barn that was perfect – nice reminder of home. I put UV Craft Resin on it to seal the picture plus it gave it a nice “dome” look.
Oh what a fun and fantastic idea! Thanks for sharing Kimberly!
Great idea!
OMG Cathy!
Thank you! I was looking for ideas to use Shrinky Dinks for a memory jar for my Sister Kathy, she’s turning really old this month, 60!
So, now we can include pictures with are memories.
Thank you again! Nancy
You are welcome Nancy! Sounds like an awesome party for your YOUNG sister! 🙂
Hi,
I had sand my shrink paper but inkjet ink do not seemed to be able to sink into the paper even after 2 days. Is there anything I could do to make the ink sink?
is Transparency film ok to use? The old school kind they used for the projectors?
Hi, Ana!
I’m the original creator of this project. I wouldn’t use transparency film. It isn’t designed to melt the same way Shrinky Dink plastic is. I’d stay clear of putting that in the oven. 😉
-Christina
Would this work if you printed in color? Thanks
Thank you, thank you, thank you for telling us how to do. I wanted to do this with Elf on the Shelf and now I know how to do.
Yay! You are welcome!
Hi! I’m confused about inverting the picture of the are words. How exactly to do this?? Haha, sorry
Hi, Tracy!
Just flip your image. When you do that, your letters will invert. Hope this helps!
I tried this with my kids and the ink does not dry. In oven or left out on counter. Any idea what I might be doing wrong
What kind of ink did you use?
Hi, Kris!
Double check your paper settings. If it’s not on the correct setting, you’ll get too much ink on your sheet. You might also want to check print quality. If it’s set at best, you might run into the same issue and find that too much ink is being used. Try economy or draft print quality. That will reduce the amount of ink used.
Has anyone tried a magnify glass dome to the shrinky dink photo for a charm bracelet? Of course you would have to add a tab with a hole in it.
I have a grand daughter that is leaving her heart throb boyfriend to go to college and thought a charm bracelet with photos would be perfect.
If you give it a try, let us know. That’s a nice gift idea ♥