
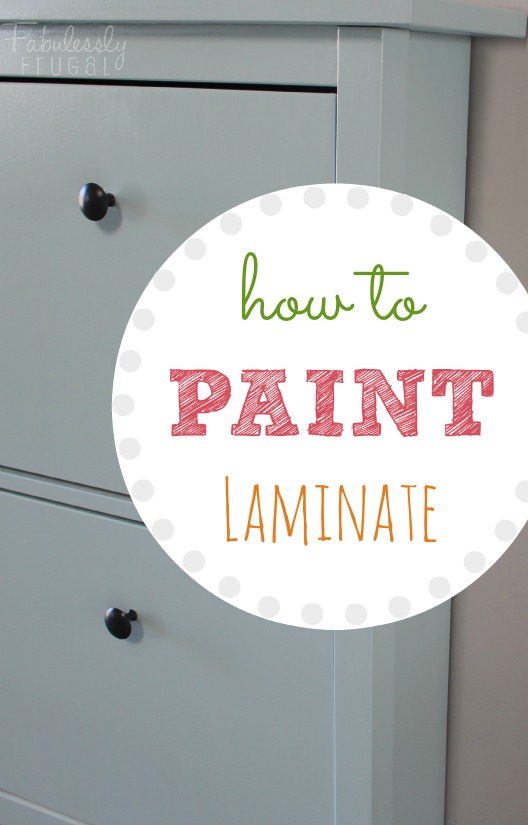
How to Paint Laminate
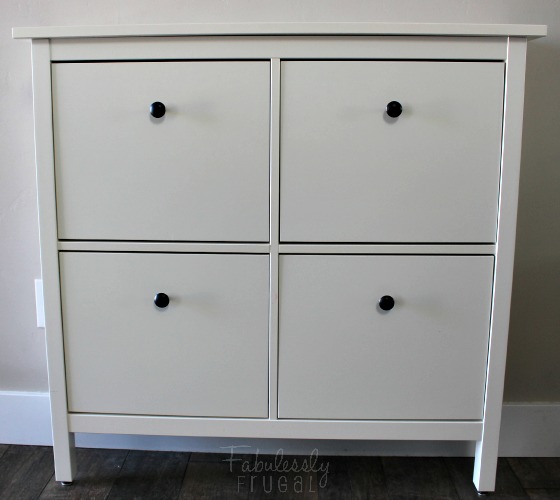
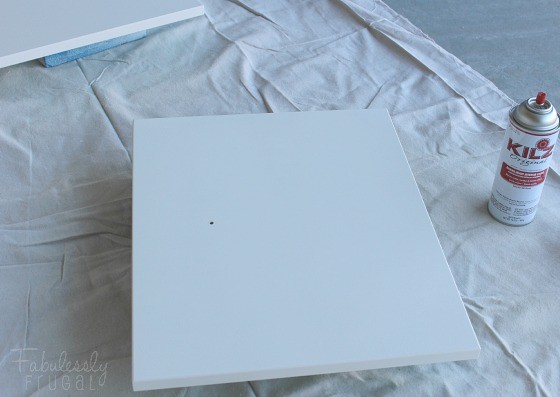
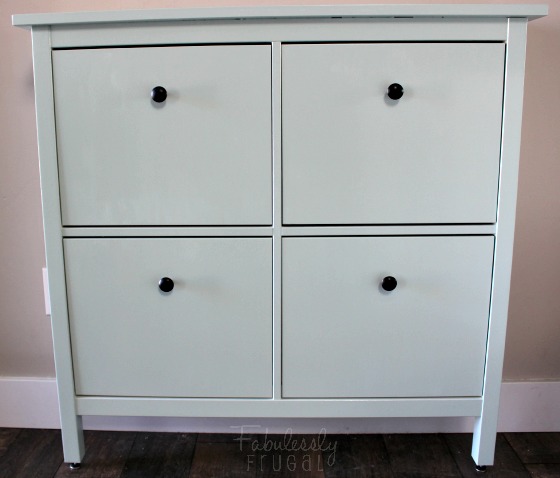
I have had this shoe cabinet for over a year now and it is great! (IKEA, baby!) I realize that it isn’t an ugly laminate, it is really quite nice, but I have plans for my entry and this off-white color is just not going to cut it anymore. That’s one of the beauties of painting furniture – you can customize it to your tastes and style. Also, it is often really cost effective and frugal! Especially, if you find a great piece at a thrift store, side of the road, or garage sale. Sometimes all it needs is a fresh coat of paint! 😉
Laminate furniture is usually quite a bit less expensive in the first place. But if you don’t paint it properly, the laminate may bubble and the paint will probably chip right off. The trick with painting laminate is to be sure that the paint will adhere properly. Sanding and priming are key!
I suppose I should note that I am not a painting expert or professional. If you are, then you probably know more than I do! I am happy with how my few painting projects have turned out though and I want to share what I have learned! If I can successfully paint laminate, then you can do it too!
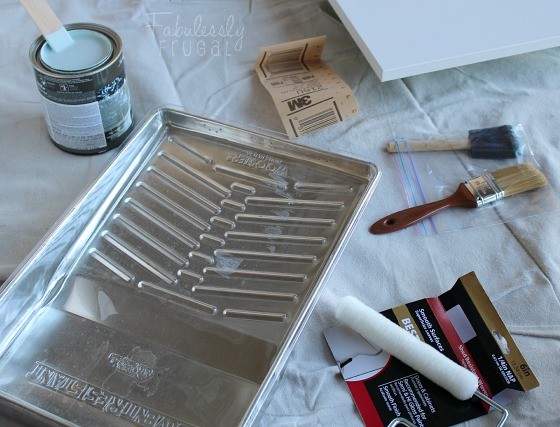
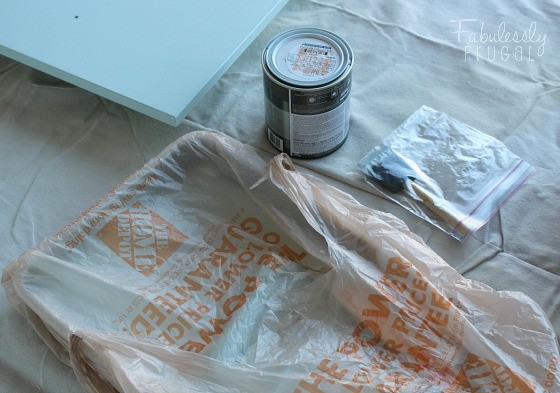
- furniture or other laminate piece
- fine finishing sandpaper (220 grit and/or more fine)
- Kilz or Zinsser primer
- microfiber cloth
- drop cloth, or other work surface protection
- 1/4-inch nap 6-inch roller made for smooth surfaces
- foam paint brush
- paint
- Polycrylic
Prep
To start off, you need to thoroughly clean the furniture. You will also want to remove drawers or other removable parts from the piece, including knobs and what not. In other words, dissemble the piece.
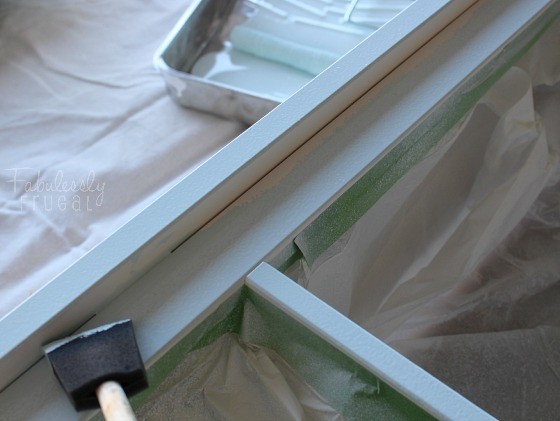
Work surface protection, like a drop cloth is a good idea too. If there are parts that you do not want to paint, use painter’s tape (and plastic, if necessary) to cover those parts.
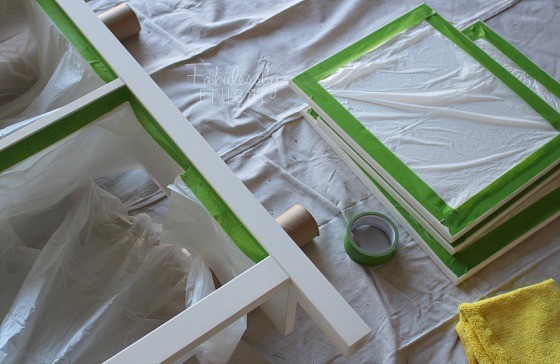
It is helpful to place a small, stable object underneath each piece that you are painting, like a scrap wood or cans or something, to elevate the piece off of the surface. I dug into my recycling and found some boxes that worked too. This keeps the furniture piece from sticking to your drop cloth with the paint and it makes the edges easier to paint.
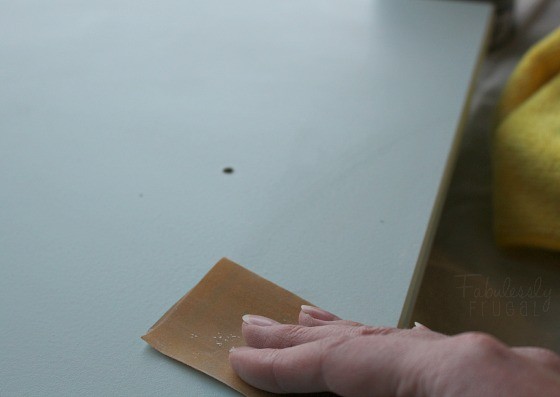
Sand
In a well-lit area, evenly and lightly sand (by hand) the laminate surface to be painted, until the surface is no longer so glossy and shiny. It is important not to over-sand though because you don’t want to go through the laminate and down to the particle board. I used a 220 grit fine sandpaper for this job, but any of the fine finish sandpapers would probably work.
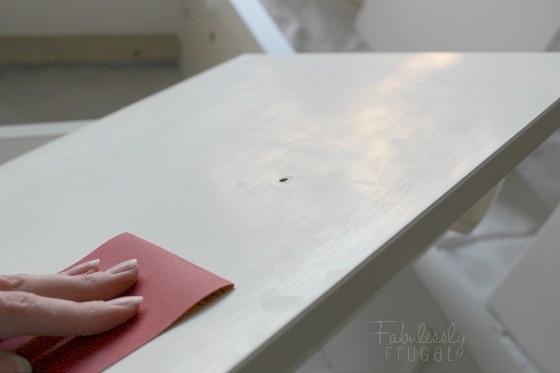
Be sure to remove all of the sanding dust from the piece before you prime. I like to use a clean microfiber cloth to wipe it down. If you need to use a damp cloth, just make sure the furniture is all the way dry before you start priming or painting.
Prime
The primer is not just to hide dark colors, but more importantly to improve the adhesion of the paint. (Kilz and Zinsser are highly recommended brands, by the way.) The Kilz spray primer that I have says right on the back of the can that it can be used on properly prepared glossy surfaces. Then it states that the proper preparation is to scuff sand the surface thoroughly before priming. There ya go!
You will want to do two or three thin coats of primer, letting each coat dry according to the primer directions. I used two cans of spray primer and I was able to do three light coats on my project, drying an hour between each. I also did a light scuff sand with a P400 sandpaper after letting the second coat dry in order to smooth the surface a bit more.
Paint
Let me tell ya, I had such a hard time deciding on the paint color. So many options! I am happy with the one I finally ended up with though! It is Behr Tide Pools, and I chose semi-gloss because of its wipe-able quality. (You may want to avoid a flat paint if you have little kids!)
I used a 1/4-inch nap 6-inch roller made for smooth surfaces, like doors and cabinets. Then I also used a foam paint brush to cut in the edges in the tight areas and corners of the furniture. I actually decided to brush on my final coat of paint just to get less of the rolled-on look too.
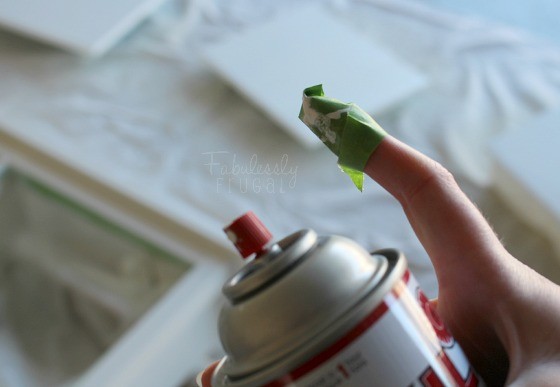
You can use a spray paint if you want to, just try to use a high-quality brand and do nice, even passes for a smooth finish. In case you didn’t already know, with spray paint your trigger finger gets a few coats of paint itself. If I remember to, I like to take a small piece of tape or something to cover the tip of my finger.
For a more professional and smooth finish, do light scuff sanding between coats of the paint too. This will help smooth out the first coats and eliminate any drips or blemishes. I used a super fine P400 sandpaper for this. Be sure to wipe off all sanding dust before painting again!
Wait the appropriate amount of time between coats, as directed on the paint container. Also, I like to cover my brush and roller in plastic to keep them from drying out before the next coat. You can expect to do 2-4 coats of paint depending on the paint and the look you are going for.
Seal
Especially with high traffic pieces, you will want to use a clear sealer to finish it all off. I use the ever-popular Minwax Polycrylic, in semi-gloss. I prefer the brush-on variety – it goes a long way and it is cheaper per use. Do 2-3 thin coats and watch out for drips, bubbles, and dust. Follow the instructions on the sealer container and you should be golden. Let the paint and sealer fully cure before using the piece.
Hope you find this tutorial helpful and motivating! Best wishes for you and your next DIY project!
Comments
Leave a Reply
More Related Diys


Trending DIY Projects
- DIY
- Recipes
- Deals
- Blog


Report a Problem
Please select the problem you are facing with this deal:
- Price Increased
- Price Decreased
- No longer available
- Expired
- Link doesn't work
- Suggestion
- Compliment
- Other
Add more details:
Thank you for your feedback. We really appreciate it.
Enter your email address if you would like to receive a follow up.
Please Try Again
Thanks for providing the email address.
We will reach out to you as soon as possible.


Popular
Recommended
About Us

At Fabulessly Frugal, our goal is to help you live HEALTHY, WEALTHY, and WISE! My team and I work hard to bring you the best, online deals, clean eating, DIY's, freezer meal recipes, and more! I LOVE coaching and inspiring people to improve their health in my fitness challenge! You should also check out my favorite cleanse! Learn more about me and the rest of my team.


Copyright © 2008–2024
Fabulessly Frugal: A Coupon Blog Sharing Gift Ideas, Amazon Deals, Printable Coupons, DIY, How to Extreme Coupon, and Make Ahead Meals. All rights reserved
How have they held up and how long have they held up?
I’ve been using it since I painted it, for over a year now, and it has been wonderful! One of the screws inside the cabinet stripped, but we fixed that up. I actually purchased another of the same cabinets to paint and place next to the first one. 🙂
Thanks for sharing your opinion, it sure will help me a lot.