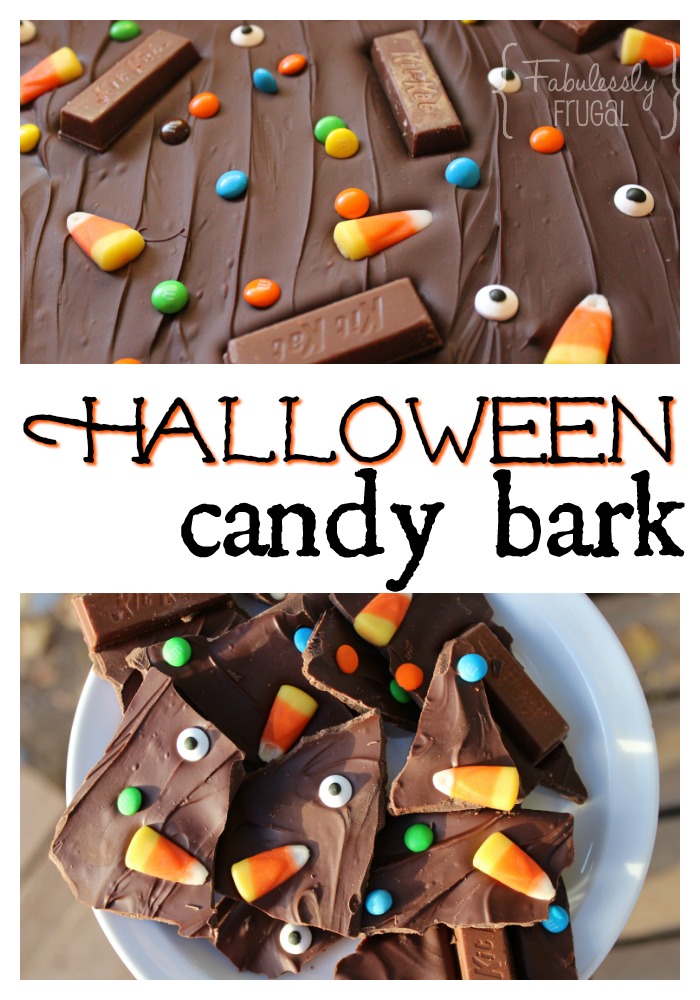
Crazy Cute and Easy Halloween Candy Bark
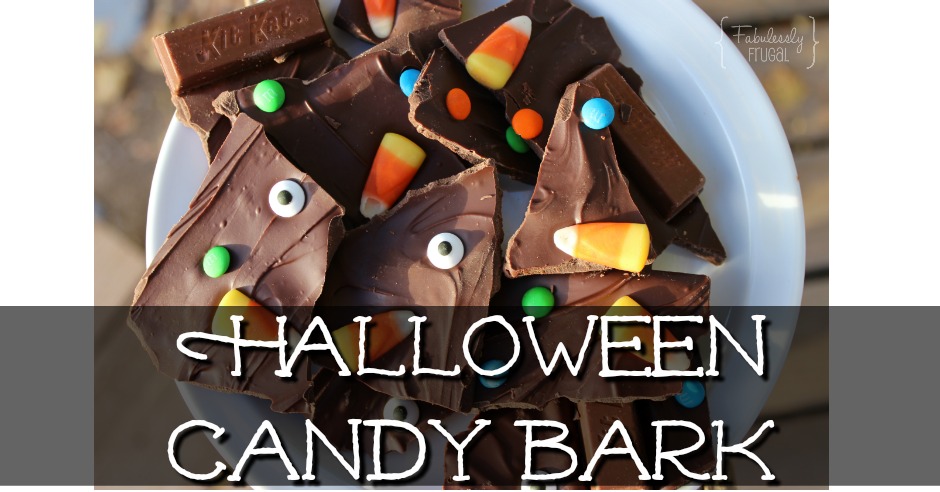
Use up that leftover candy with this fun bark recipe!
Making candy bark is my go to for almost every occasion. It is so easy to do and you can really use it for any holiday by changing up a few things. I especially love the Halloween version because it’s so darn cute!:) If you haven’t made candy bark before, now is the time and you can see just how easy it really is to do. Seriously guys… SO EASY!
What you need:
- 3 cups of chocolate chips
- assorted candy
- silicone baking mat, wax paper, or foil
You can make your bark a few different ways. Usually I will use a bag of regular chocolate chips and then a bag of white chocolate chips and I will use food coloring in the white one to make a color that is a symbol of that holiday. This time I only had regular chocolate chips on hand so that is what I used. If I would have had white though, I would have made a layer of orange chocolate in this bark. If you want to layer, all you need to do is put your first 1.5 cups (one bag) of melted chocolate onto your wax paper lined pan and set in the refrigerator to cool and then put your next layer on once the first has cooled.
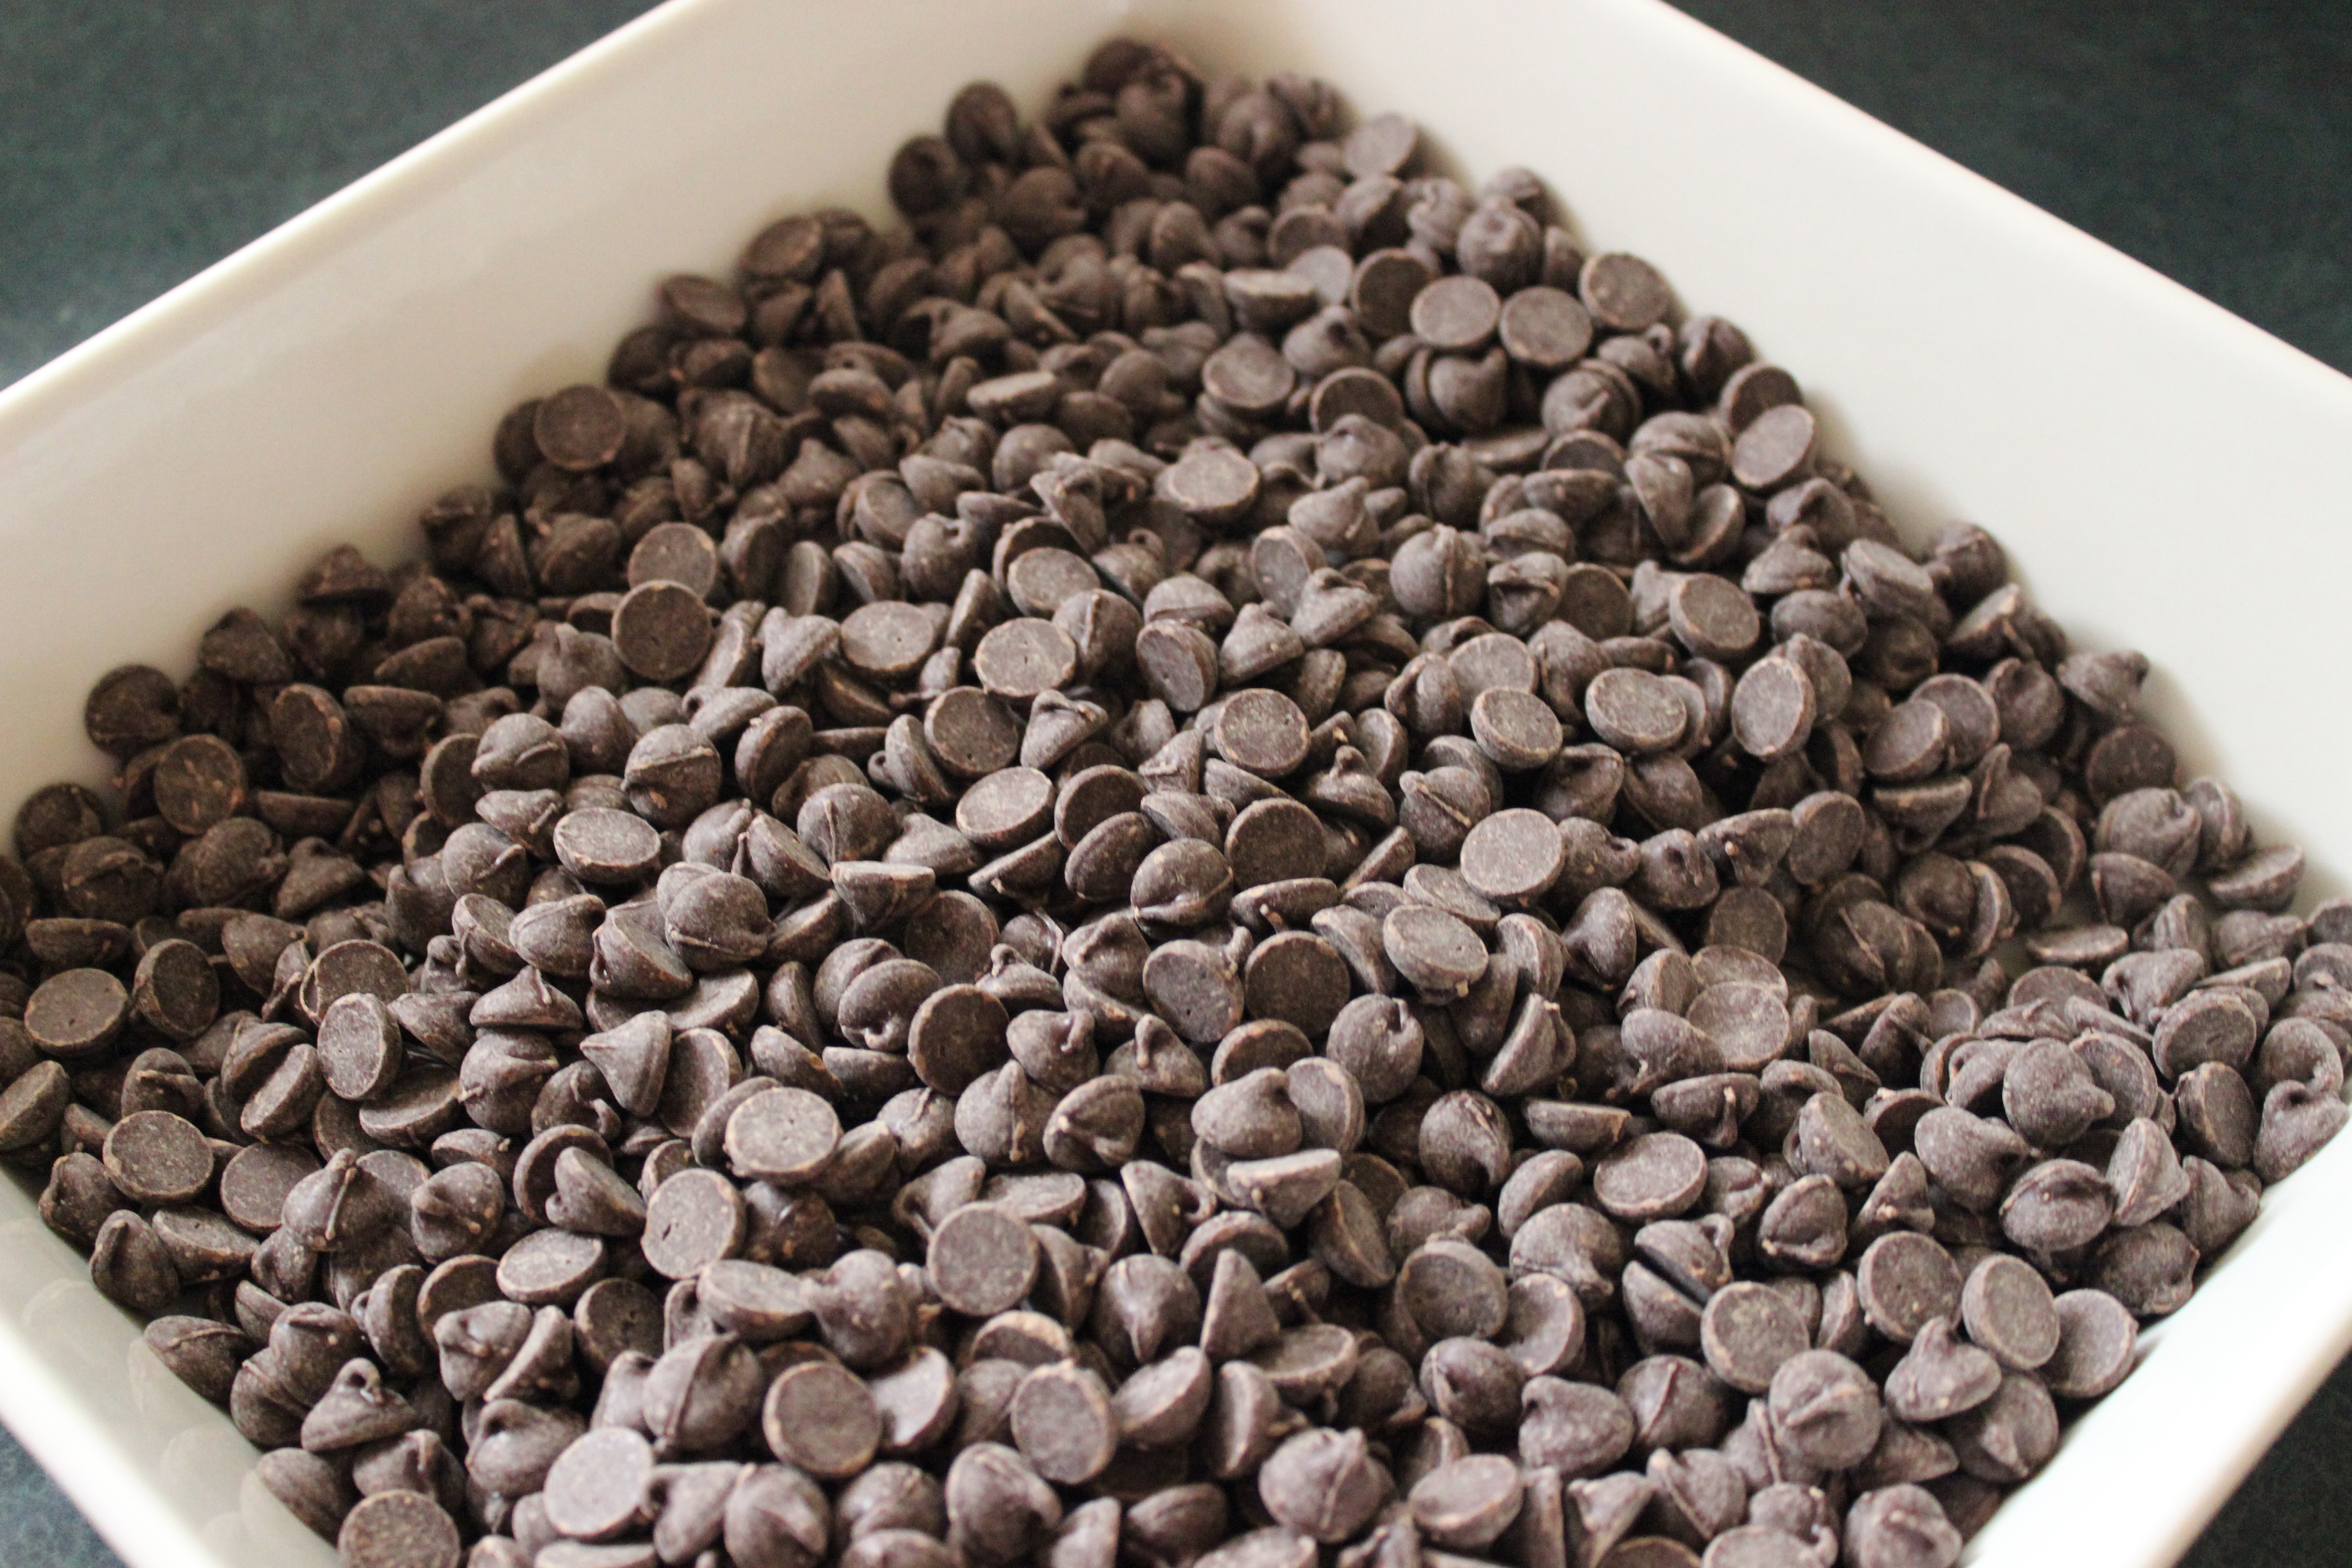
For the bark here I just used used 2 bags, or 3 cups of semi-sweet chocolate chips. I like to melt them in the microwave. It’s just more convenient for me but, if you want to melt them on the stove you can. I place all of my chocolate chips in a microwave safe dish and start heating them up. It took me about 3 minutes to melt 3 cups at once. BUT… do this in 30 second increments and be sure to stir every time! Do not just let the chips cook for 3 minute straight or you will get a rock hard chunk of burnt chocolate. You better believe too that burnt chocolate is not that great of a smell. Speaking from experience here people!
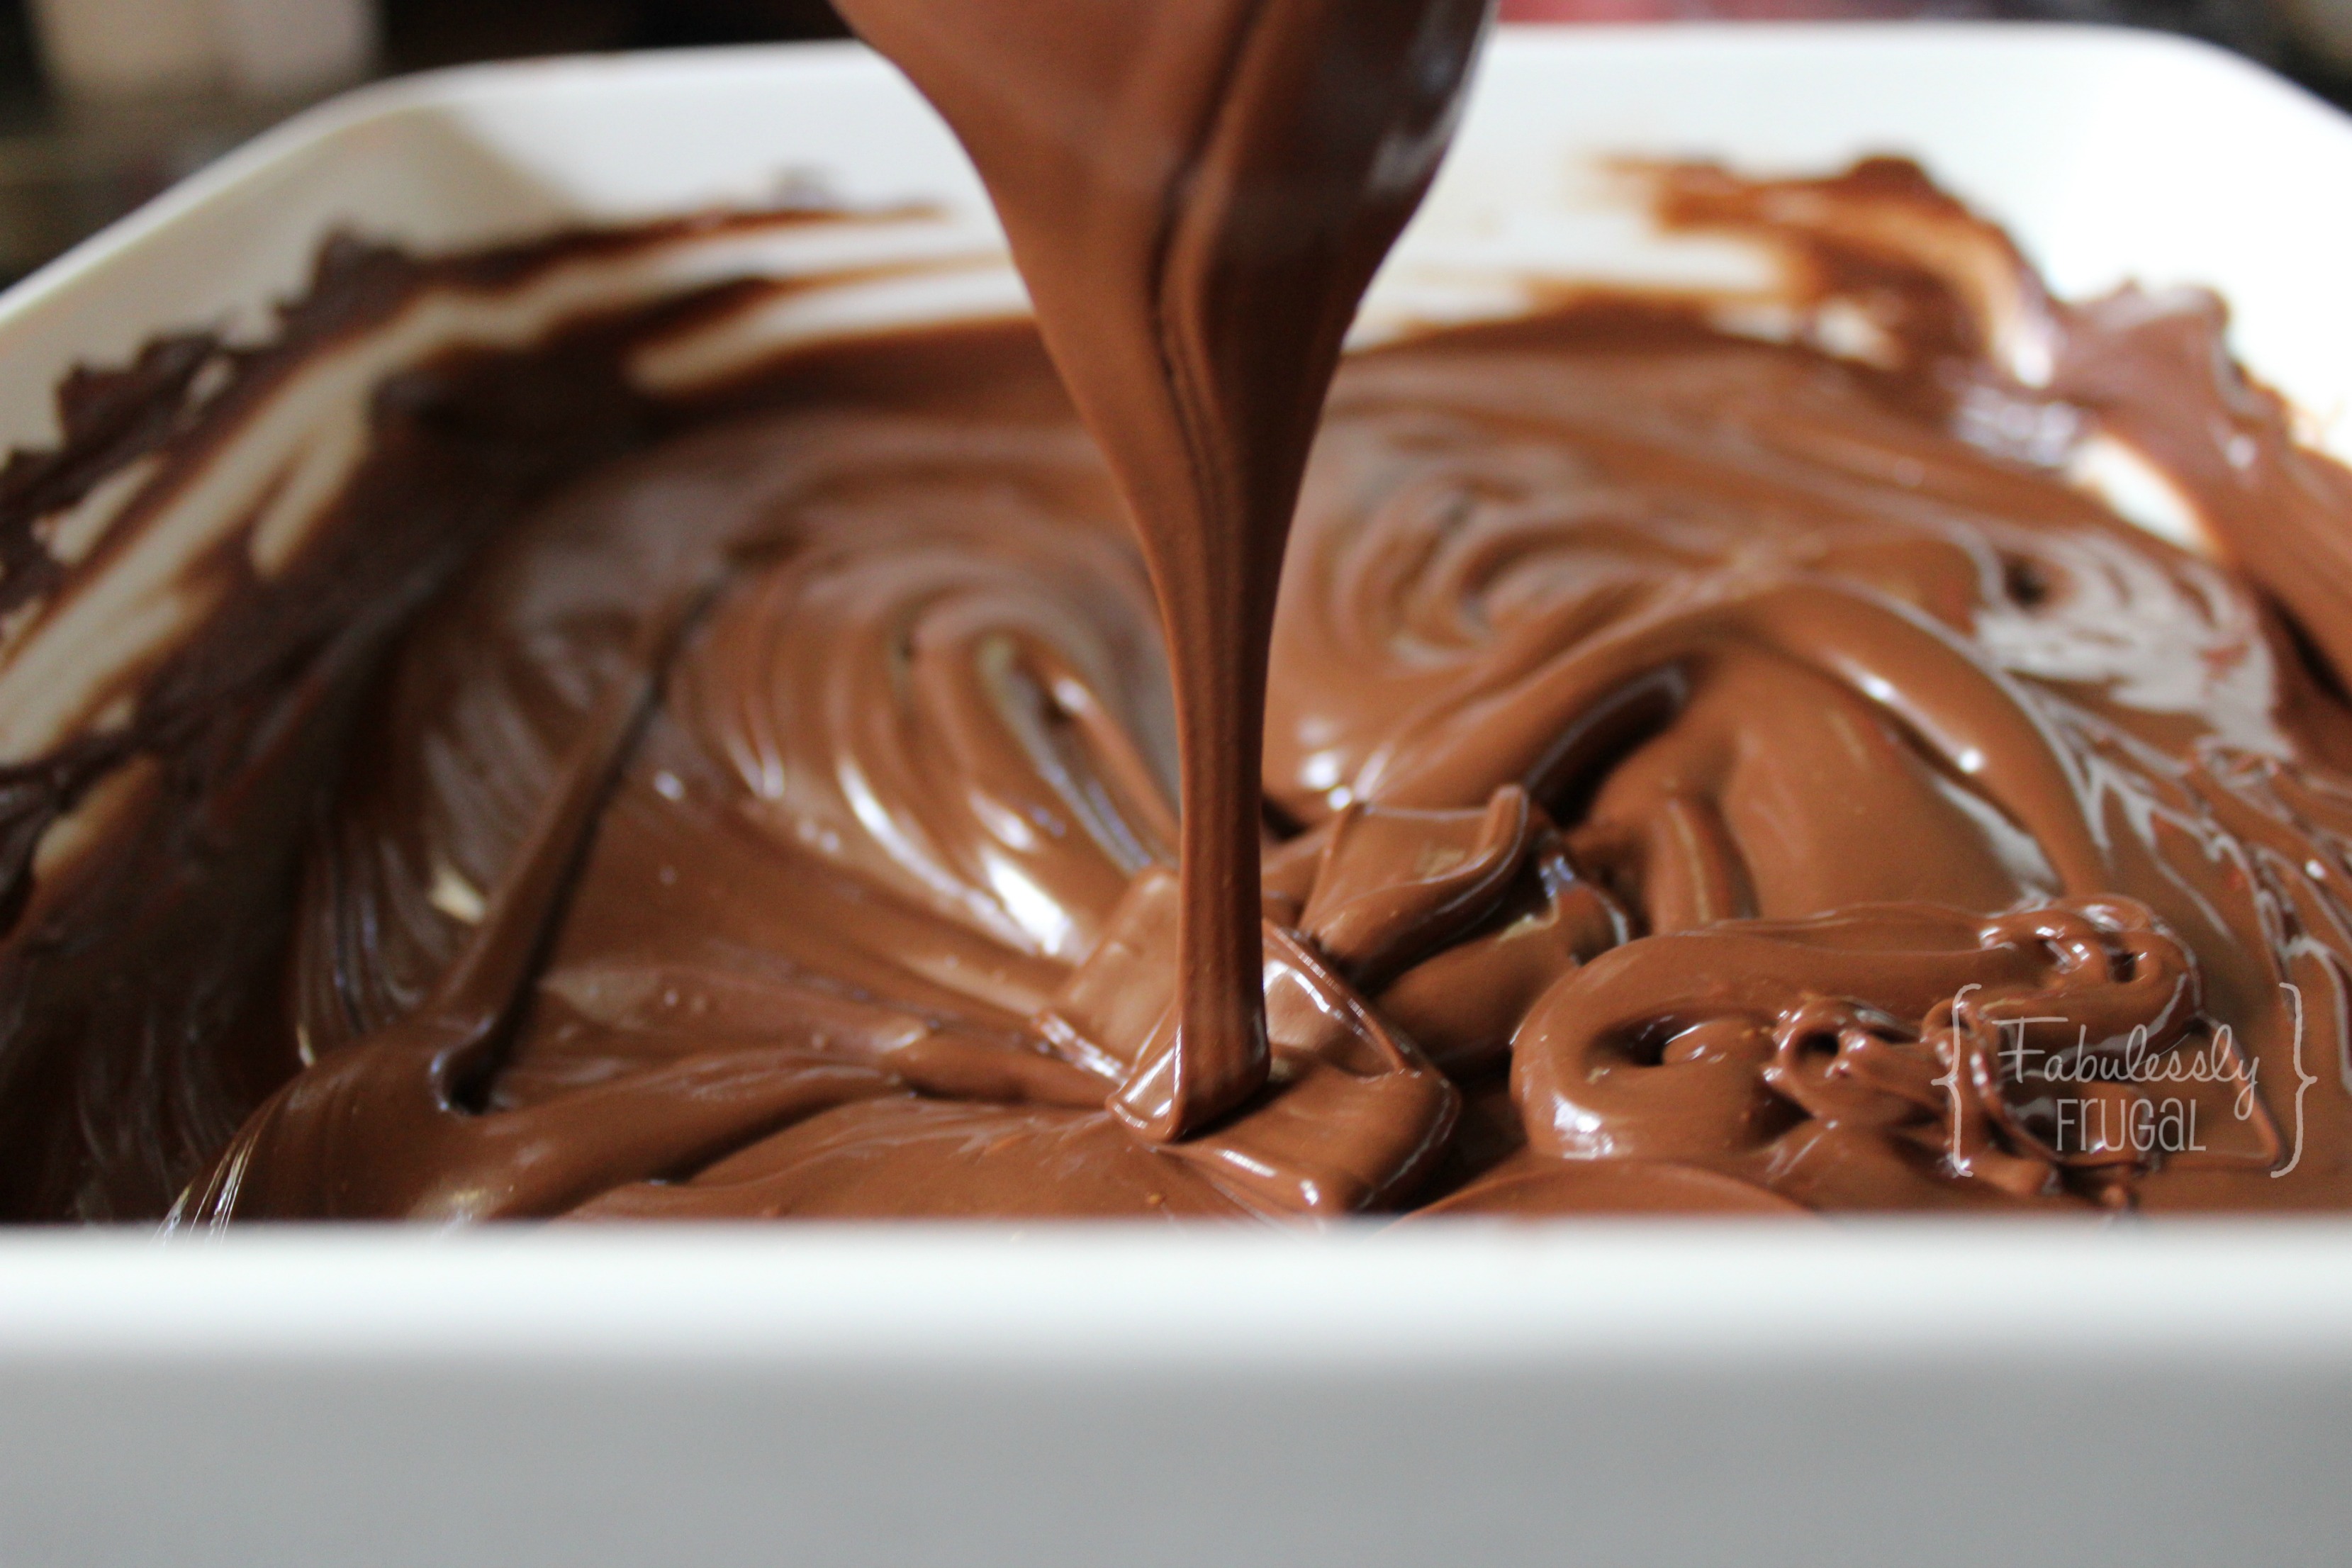
Once your chocolate is melted. Spread it out as evenly as possible on a wax paper lined baking sheet… if you have a silicone baking mat, try using one of those (they are less than $14 and worth their weight in gold!! You can also use silicone spatulas if you want a nice smooth and even melted chocolate layer. Today I opted for more texture so I used a good ol fashioned spoon instead!
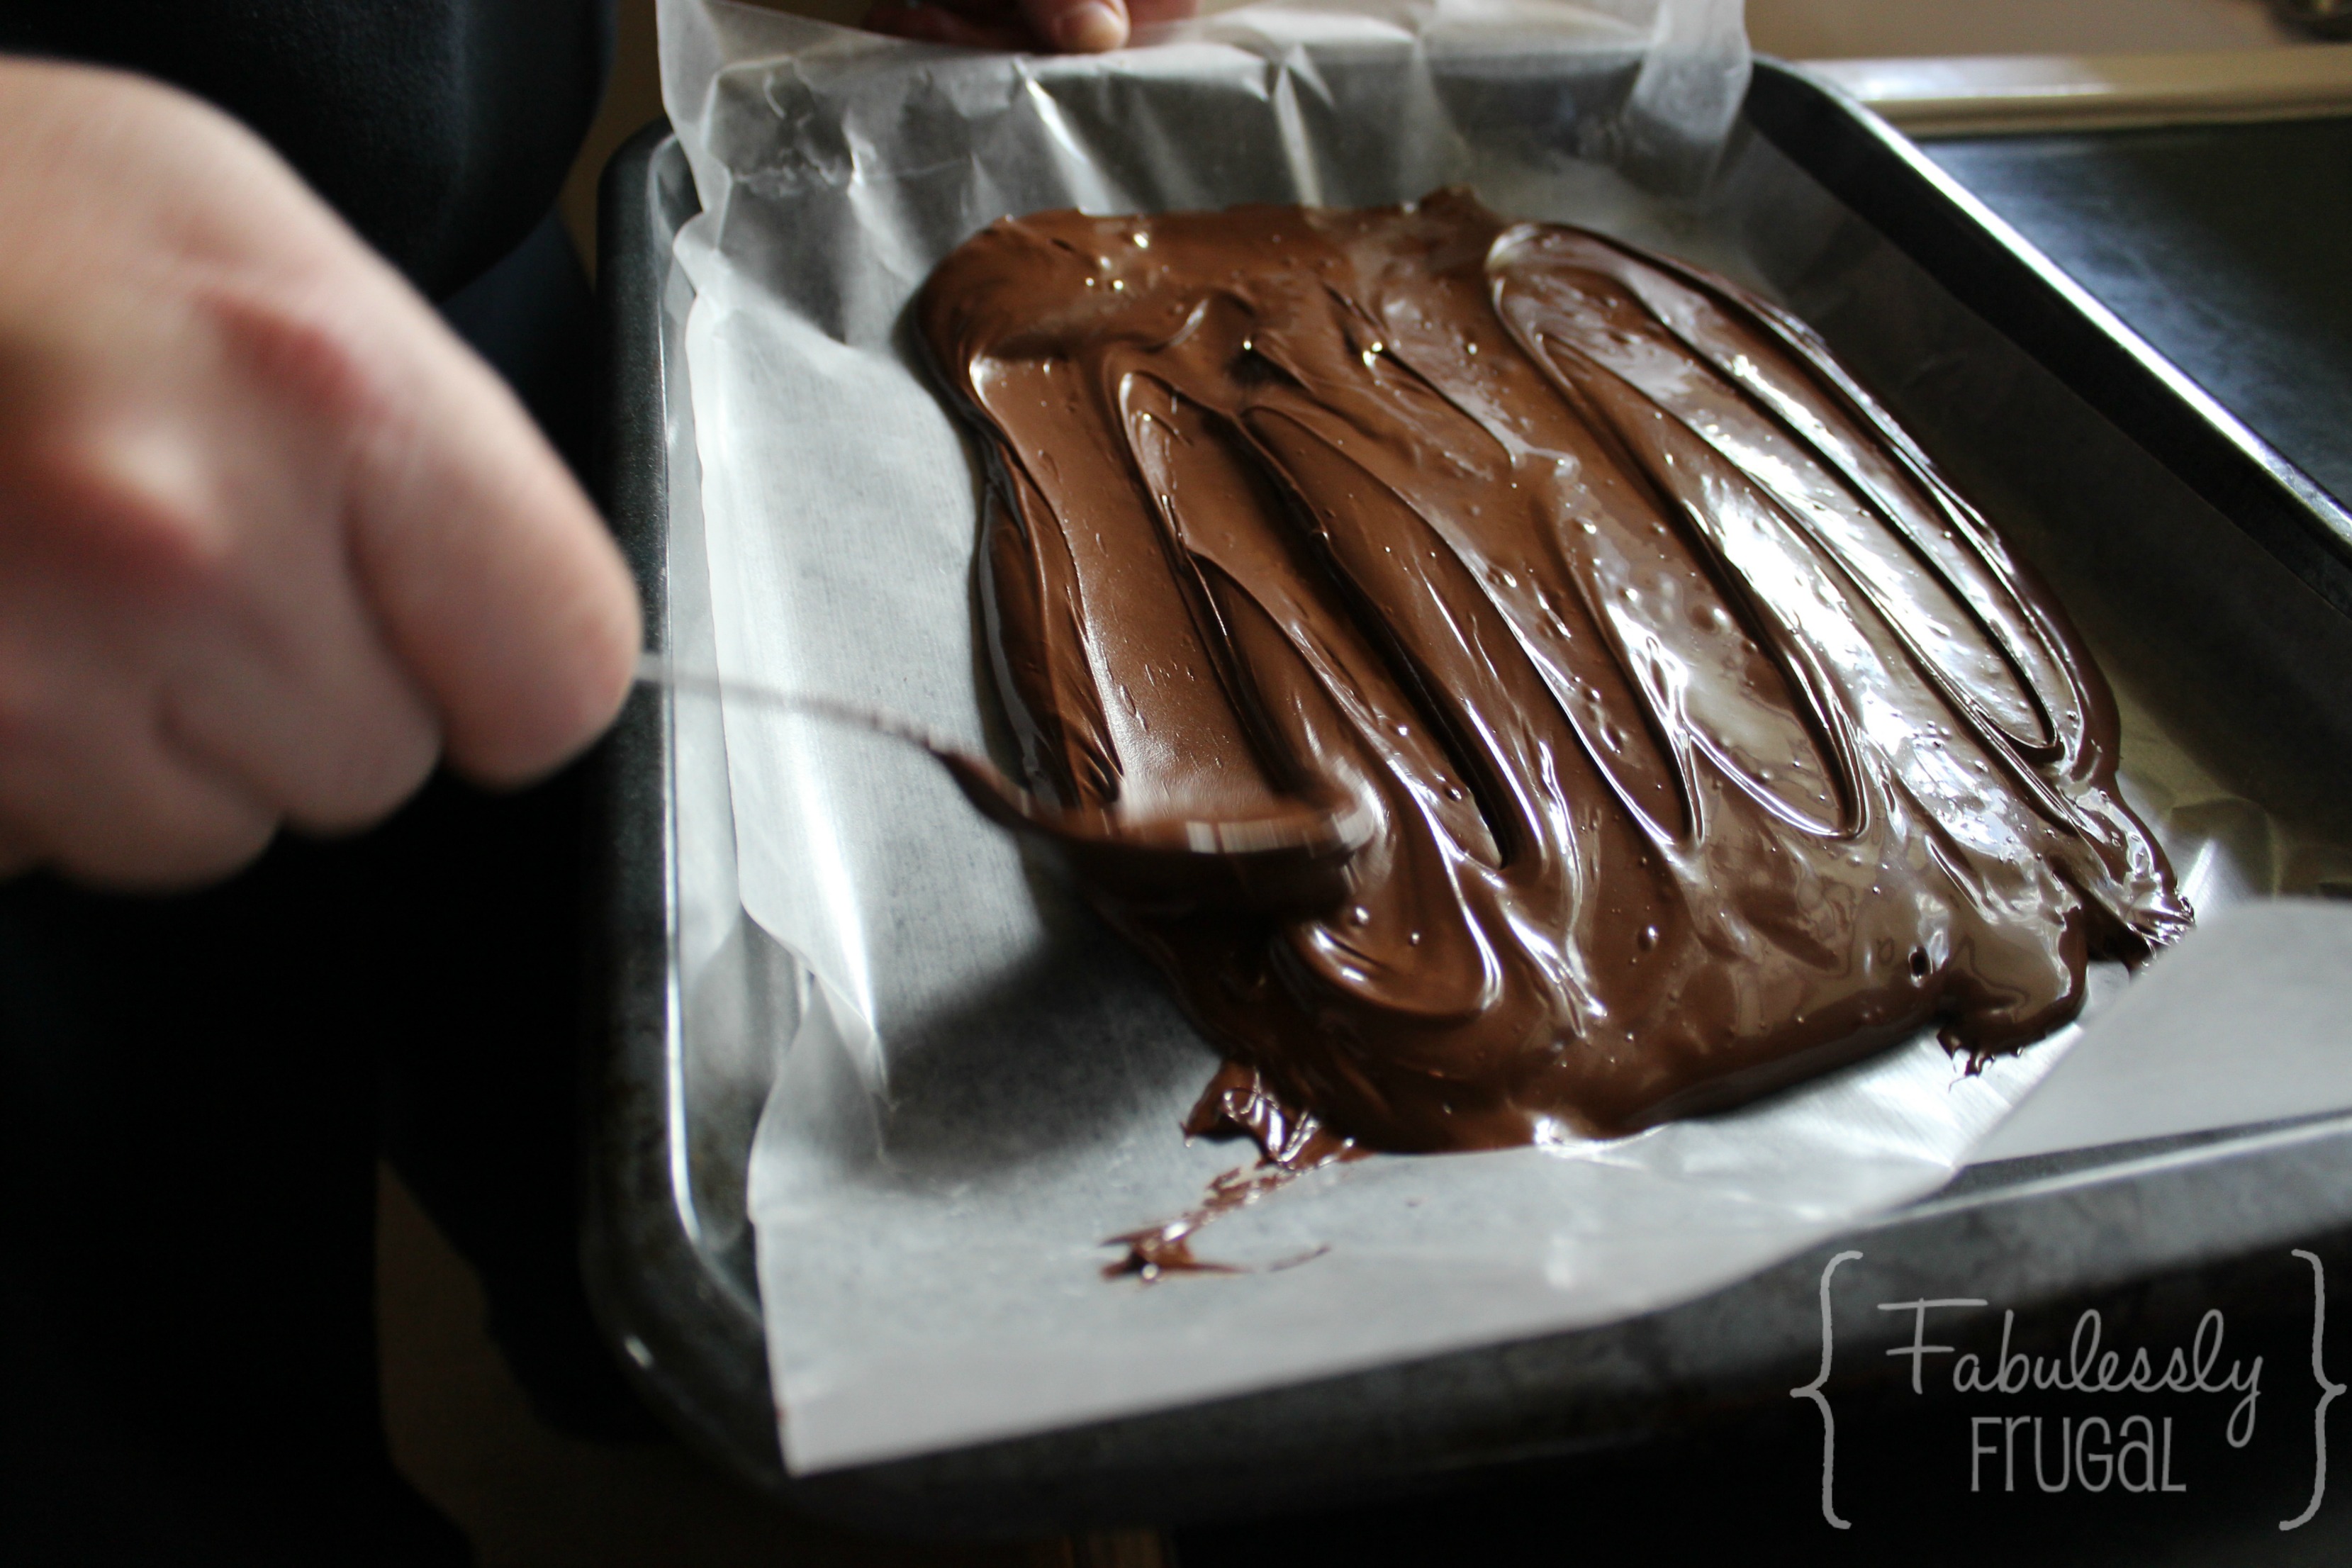
Once you have your melted chocolate all nice and smooth, it’s time to add your candy! Just put it all over the place, however you see fit. Just make sure you push the candies down into the chocolate to get them to stay put once it hardens.
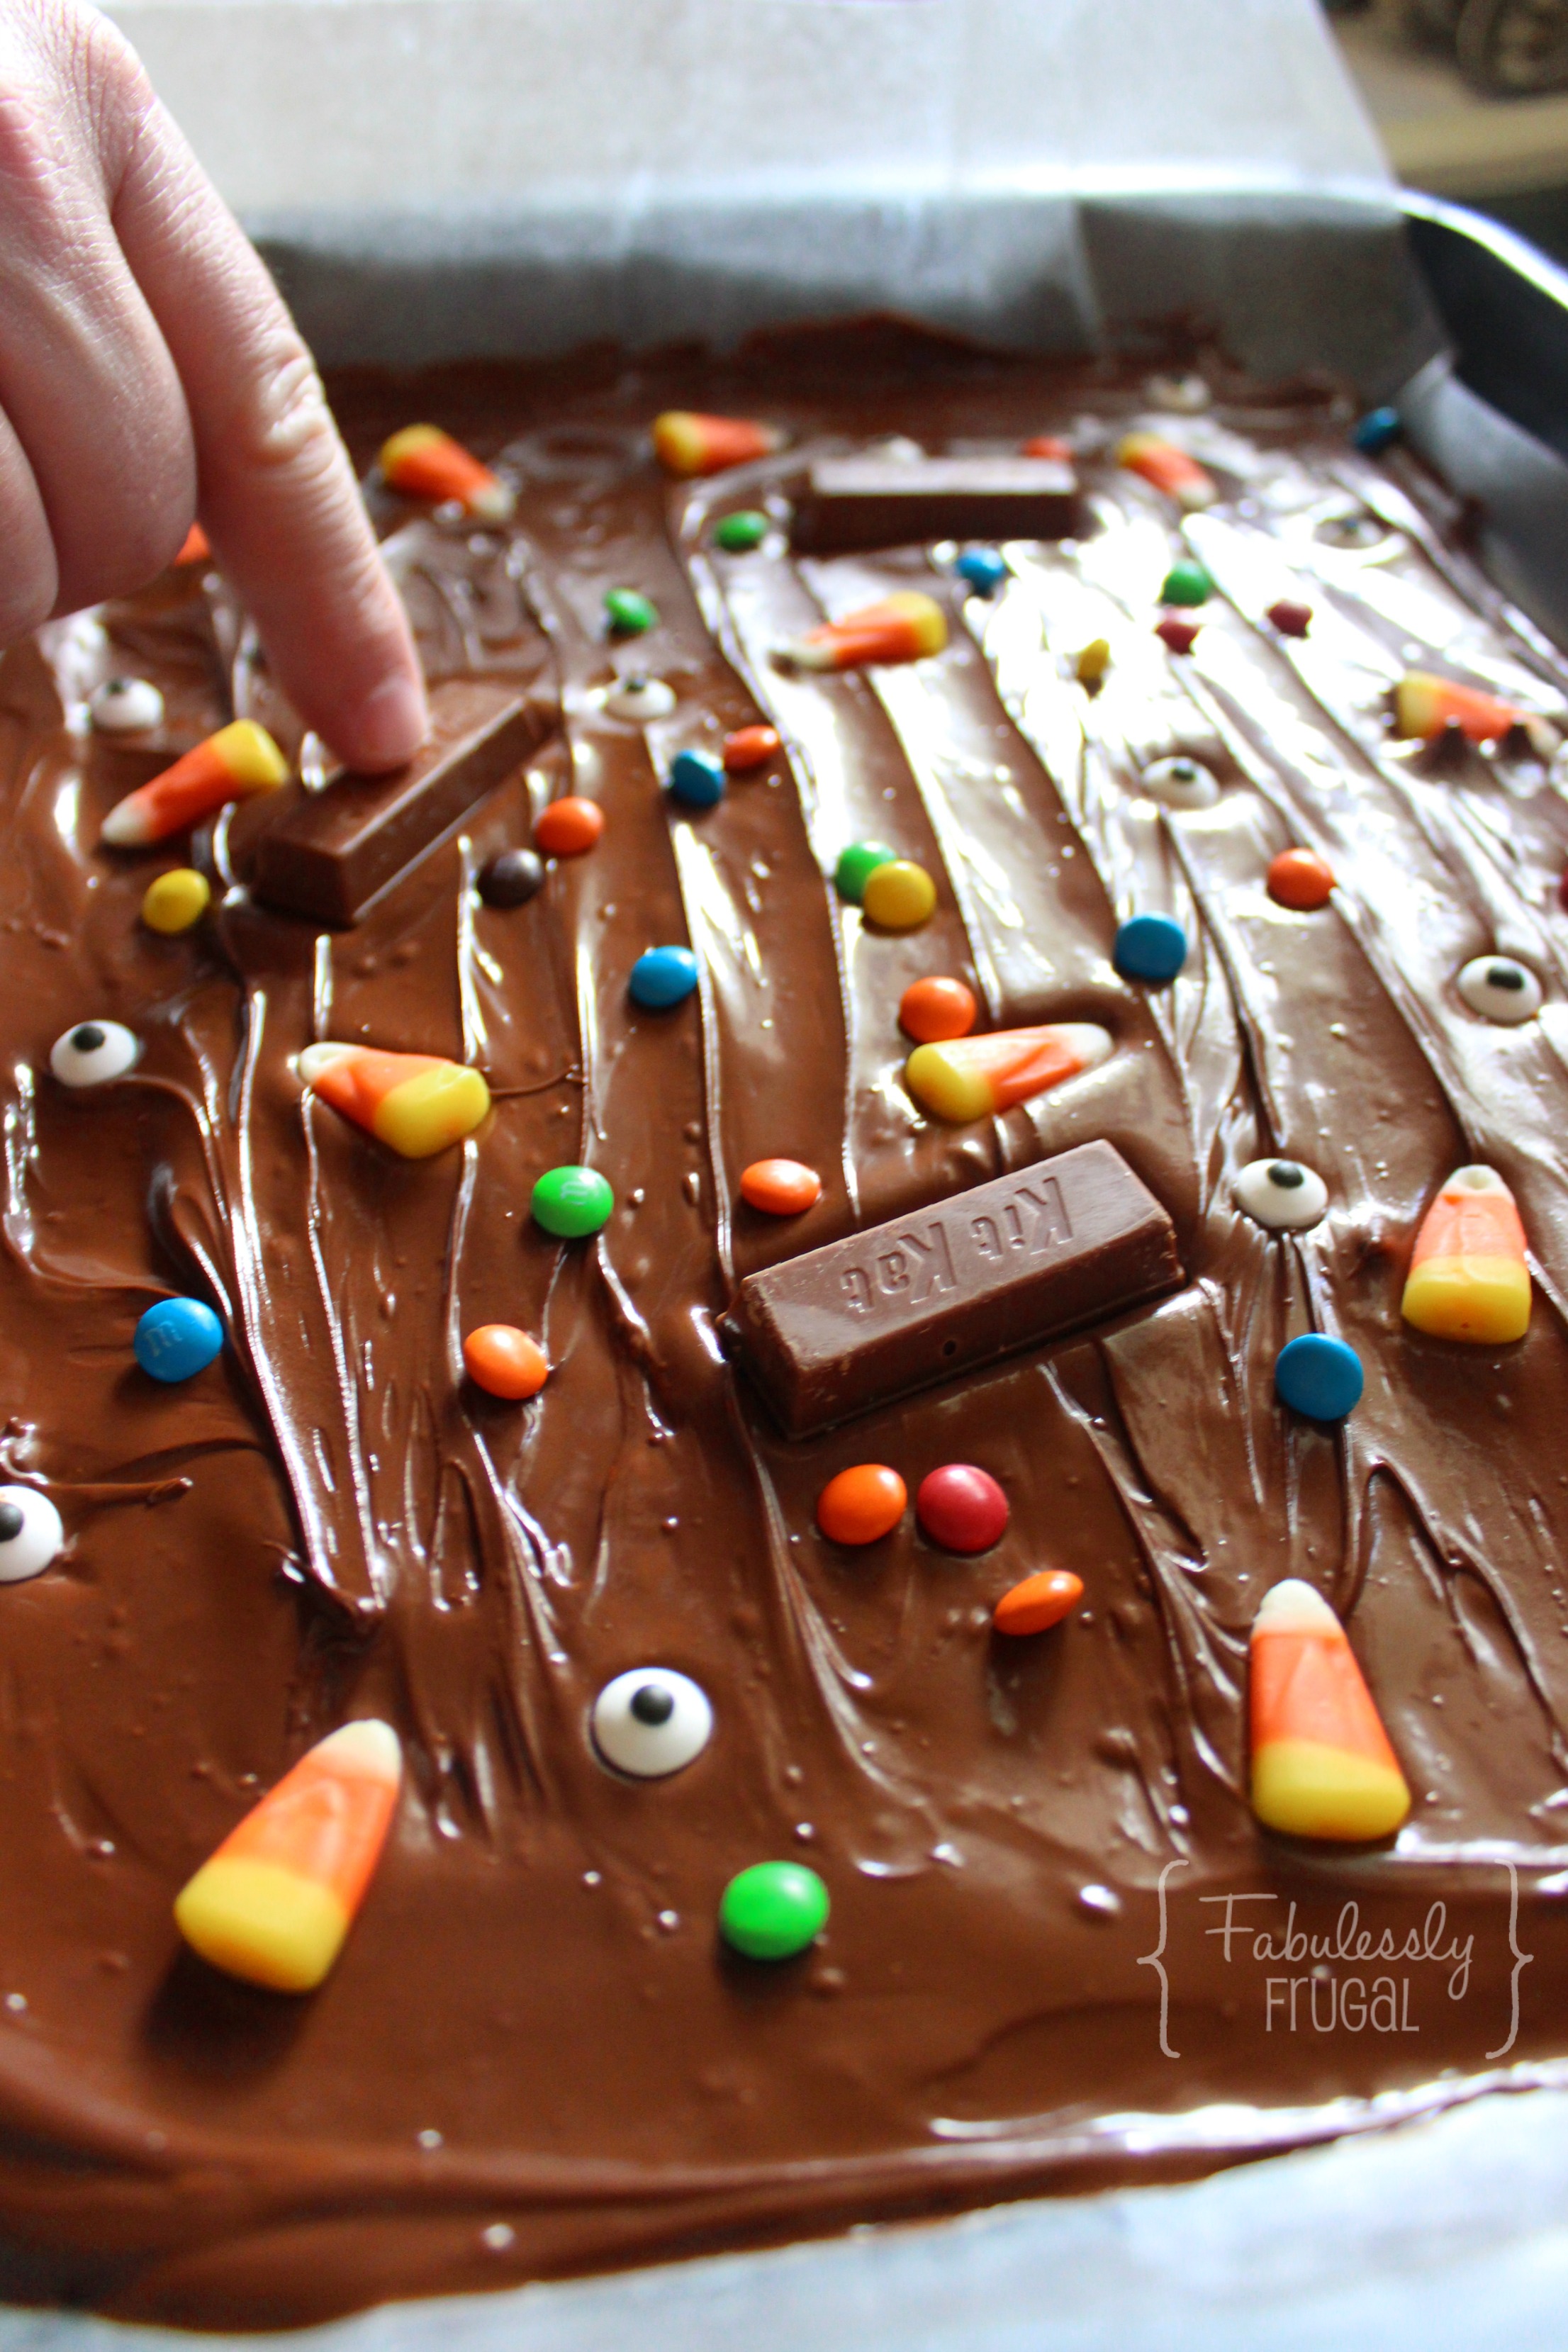
Once you have your candy sitting in the melted chocolate, transfer your pan to the refrigerator. In about 15-25 minutes, your bark is ready to go! You can now break it apart. you can do this with your hands or pushing a butter knife into and holding it with your hand.
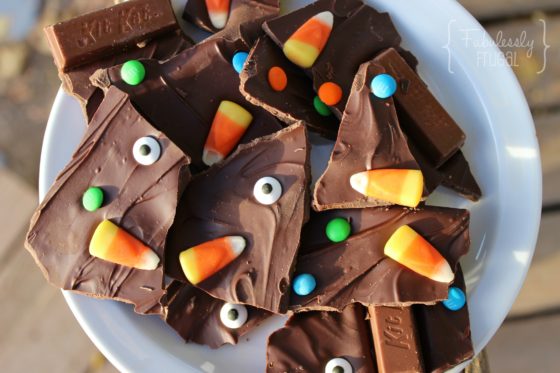
That’s all there is to it. You can be as creative as you want here and mix it up for different holidays too!
Trending Recipes


More Related Recipes


Trending Recipes
- Recipes
- DIY
- Deals
- Blog


Popular
Recommended
About Us

At Fabulessly Frugal, our goal is to help you live HEALTHY, WEALTHY, and WISE! My team and I work hard to bring you the best, online deals, clean eating, DIY's, freezer meal recipes, and more! I LOVE coaching and inspiring people to improve their health in my fitness challenge! You should also check out my favorite cleanse! Learn more about me and the rest of my team.

Copyright © 2008–2024
Fabulessly Frugal: A Coupon Blog Sharing Gift Ideas, Amazon Deals, Printable Coupons, DIY, How to Extreme Coupon, and Make Ahead Meals. All rights reserved