DIY St. Patrick’s Day Block Sign Decoration
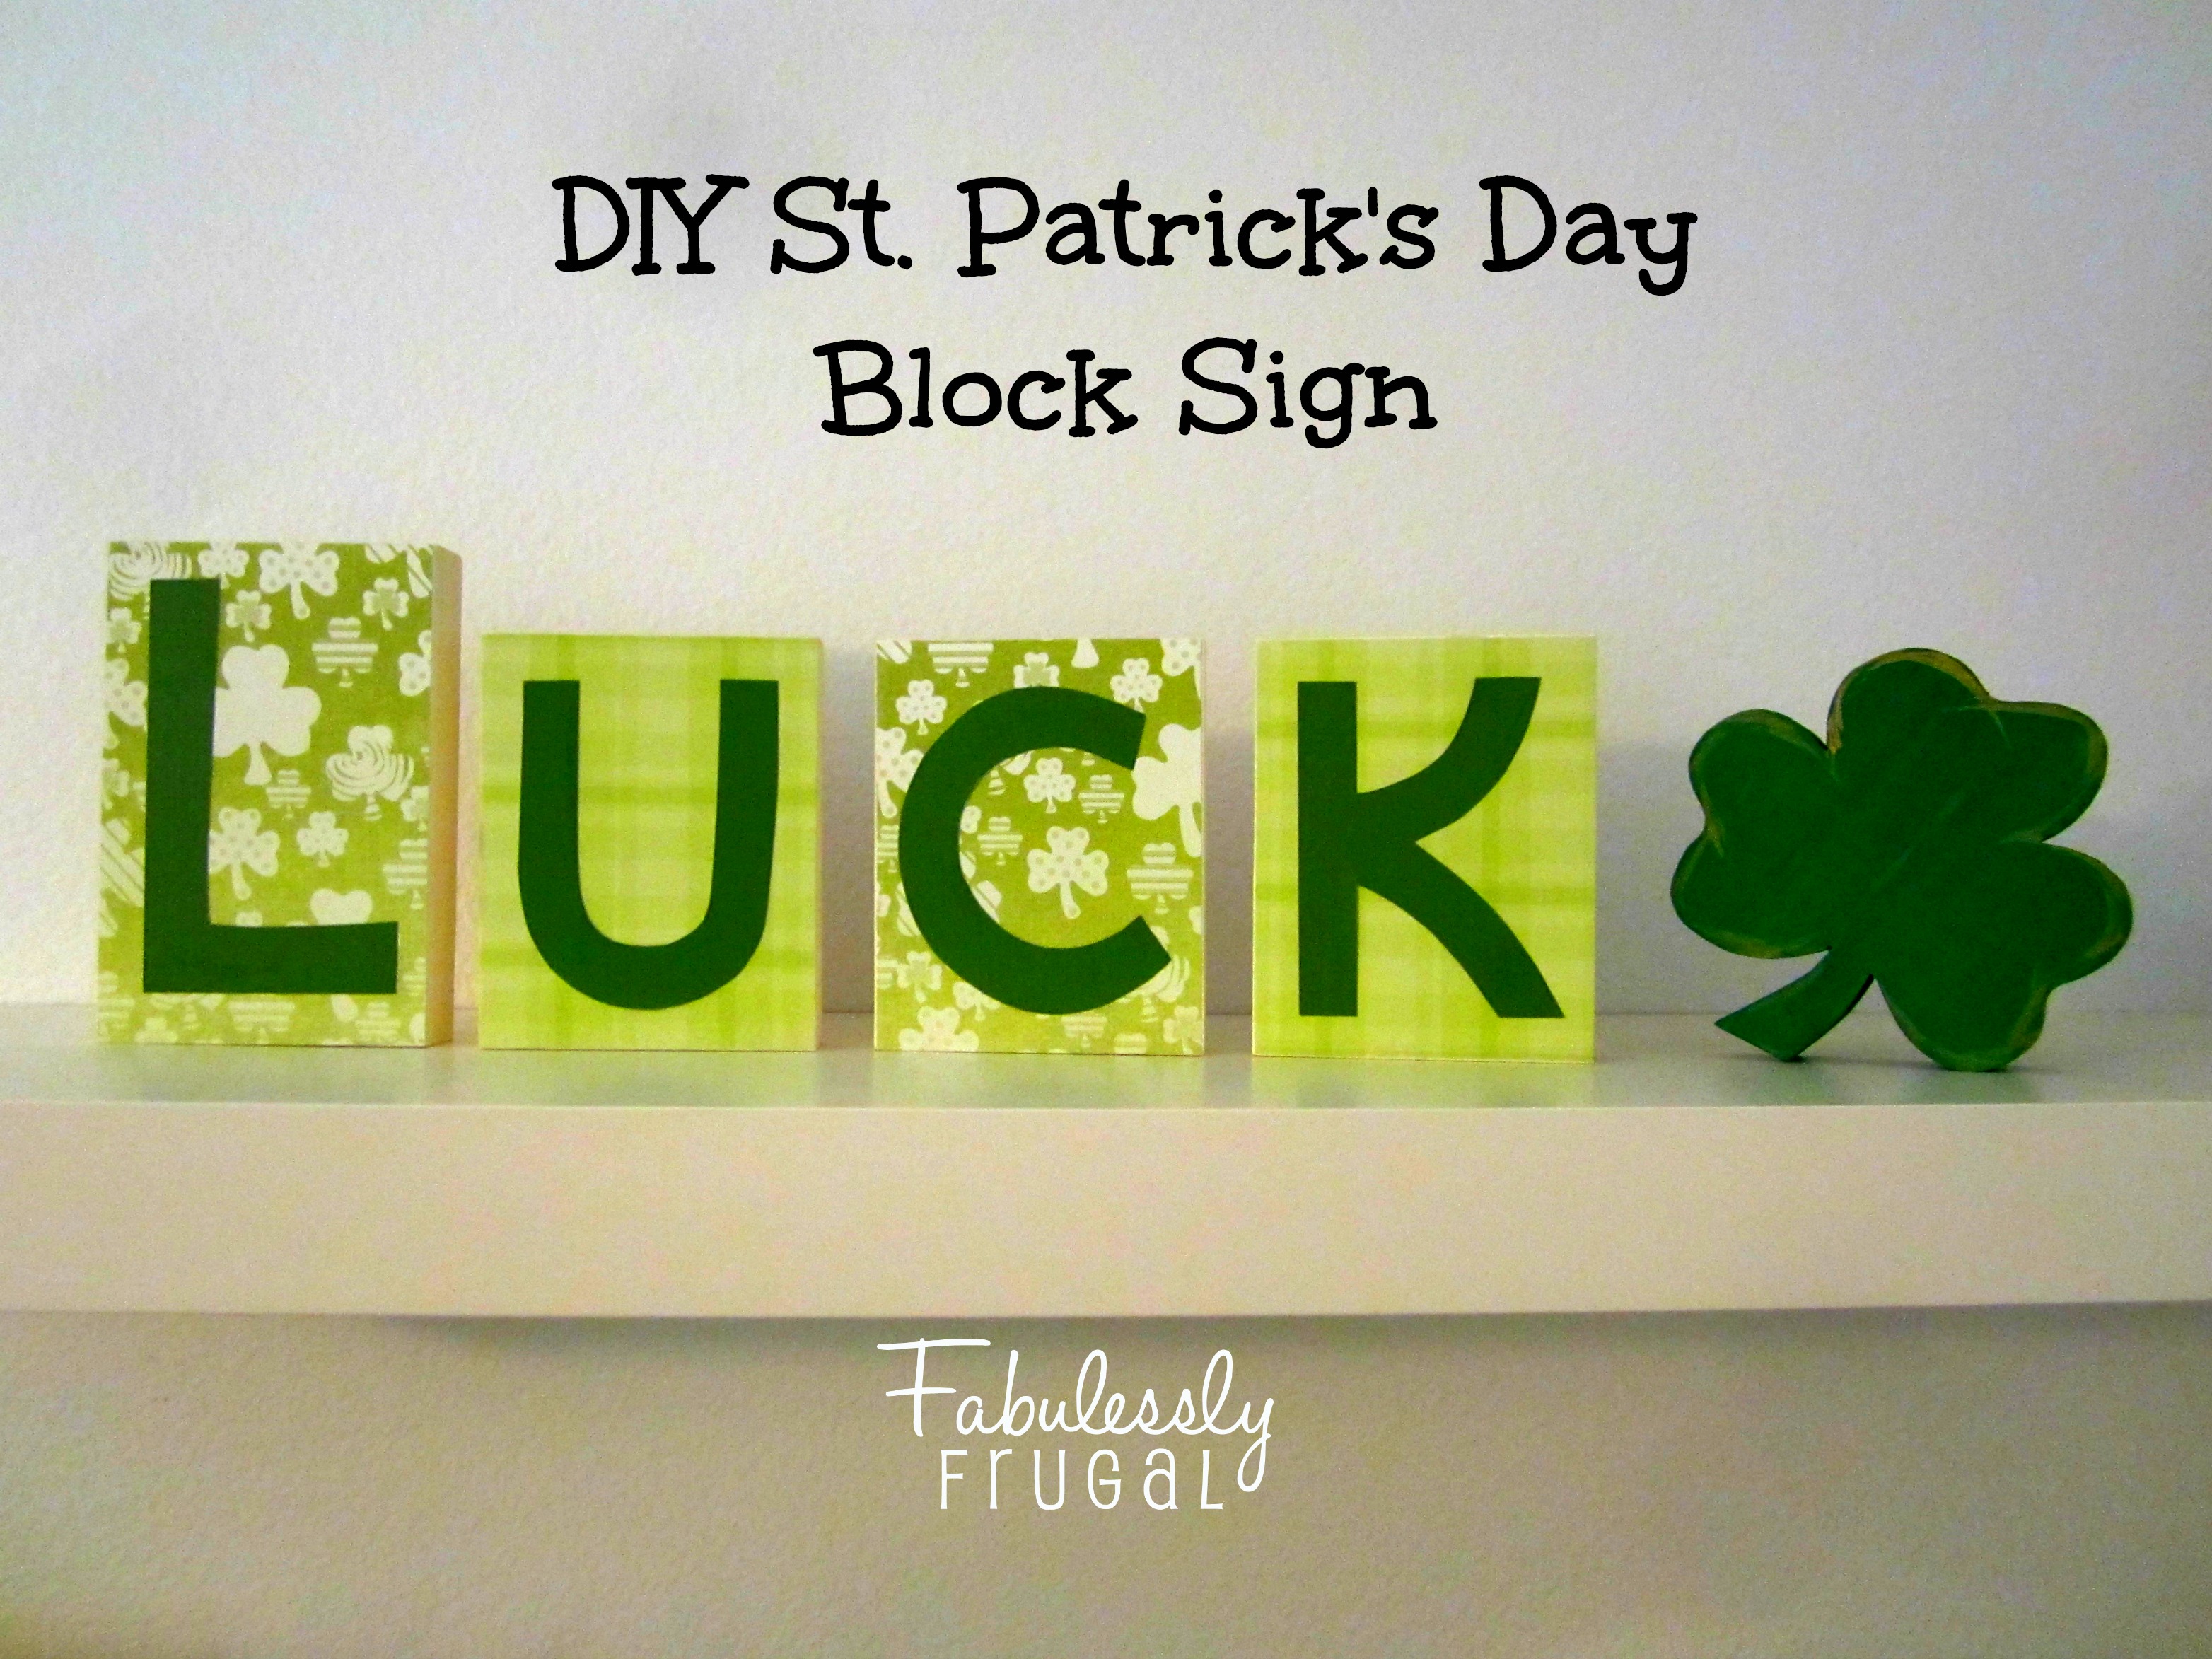
I am so happy with this project. It looks so cute up on my shelf. It was easy to make, and it can be customized to your style with different green scrapbook paper for the background.

The Supplies:
- 2 sheets of patterned green scrapbook paper
- 1 sheet of plain green scrapbook paper
- paint in a coordinating color
- 4 wood blocks
- pre-cut wood shamrock (or an extra block instead)
- scissors
- pencil
- paintbrushes (2 or 3)
- Mod podge (I made mine homemade, read about it below)
The Instructions:

Start by painting the sides of your blocks and the shamrock so they can begin to dry. You won’t need to paint much. The front will be covered with paper and the back won’t be seen, at least if it is going to be displayed on a shelf. It’s your call there. If you want to paint the backs, go for it. You want to make sure the paint goes over the edges a little bit, because the scrapbook paper that will cover the front of the block is going to be a tiny bit smaller than the block itself, and you don’t want any wood showing through. A neat trick for drying an item when all the sides have a little bit of wet paint, and you don’t want it to stick to newspaper, is to set it on top of something (like I did with the paint bottles) where no wet surfaces are touching anything.
Note: I bought my blocks pre-cut from a craft store, but you could also go to any home improvement store and ask for help cutting a 4” wide plank into smaller pieces (usually the first two cuts are free). Or cut it yourself at home. If you cannot find a pre-cut wood shamrock at your local craft store, you can make a 5th wood block just like the others, and cut a shamrock out of paper to decorate it.

When the paint is dry, align a wood block to the corner of the patterned scrapbook paper and trace the block. Cut inside of the pencil line to make sure the paper is slightly smaller than the wood block. I alternated patterns on every other block. You can do it that way, or do a different pattern for each block, or make them all the same. It just depends on what you like.

Make sure to hold the cut pieces of paper up to each block before you glue to make sure they fit correctly. For a simple gluing project like this, I like to use my homemade Mod Podge. It is just equal parts regular Elmer’s glue and water. Put it in an airtight container and shake to mix. I used a small glass jar I had on hand when I made mine. It works great. Just brush the glue onto the back of the scrapbook paper with a sponge brush and stick it to the wood block.
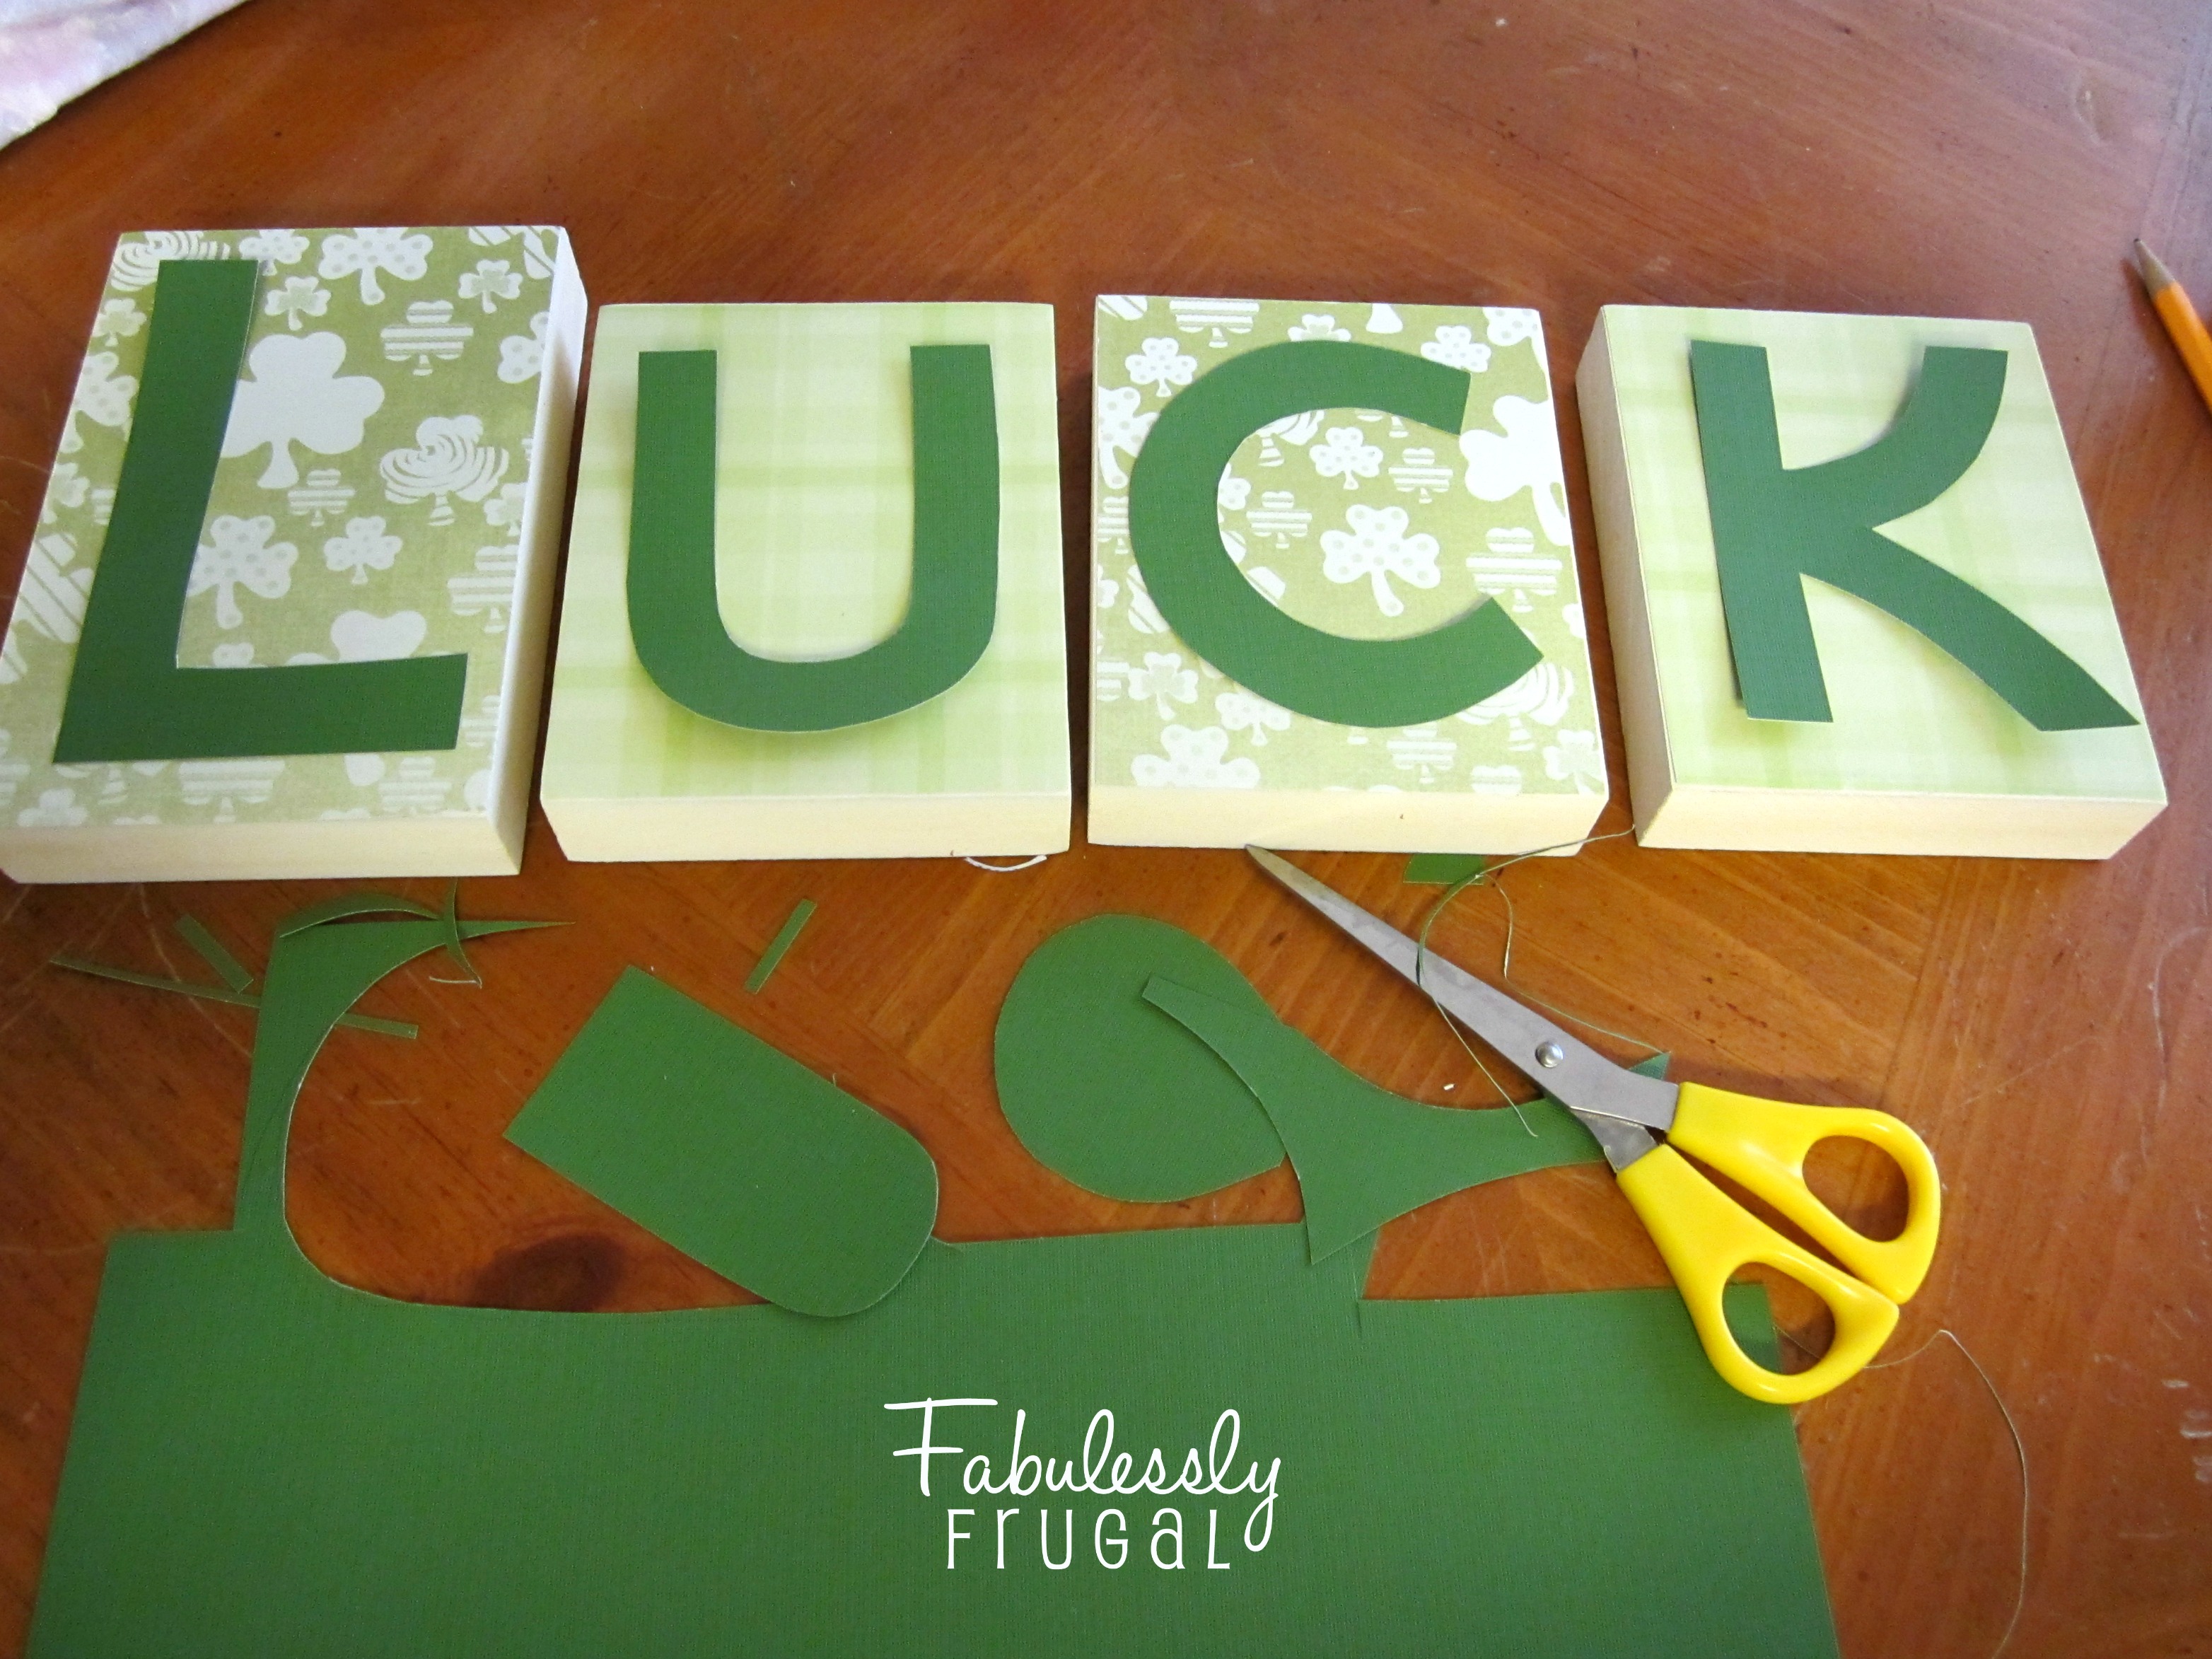
While the glue dries, cut out the letters for the work “luck” with the plain green scrapbook paper. I did mine free-hand, but if you’d rather have some help there is another easy way to do it. On your computer, type out the letters with some space in between each one. Choose a block-style font and print it out. Hold the printed letter over the green paper and cut them out together. You can discard the printer version and use the thicker green scrapbook paper letters for the project. Use the homemade mod podge to glue the letters to the blocks. Make sure there is enough on there that they won’t be loose and peel off.
At the end, I decided to add a little gold paint on the edges of my wood shamrock, just to make it pop.
And that’s it. Easy peasy and oh so cute!
Comments
Leave a Reply
More Related Diys


Trending DIY Projects
- DIY
- Recipes
- Deals
- Blog


Report a Problem
Please select the problem you are facing with this deal:
- Price Increased
- Price Decreased
- No longer available
- Expired
- Link doesn't work
- Suggestion
- Compliment
- Other
Add more details:
Thank you for your feedback. We really appreciate it.
Enter your email address if you would like
to receive a follow up.
Please Try Again
Thanks for providing the email address.
We will reach out to you as soon as possible.


Popular
Recommended
About Us

At Fabulessly Frugal, our goal is to help you live HEALTHY, WEALTHY, and WISE! My team and I work hard to bring you the best, online deals, clean eating, DIY's, freezer meal recipes, and more! I LOVE coaching and inspiring people to improve their health in my fitness challenge! You should also check out my favorite cleanse! Learn more about me and the rest of my team.

Copyright © 2008–2024
Fabulessly Frugal: A Coupon Blog Sharing Gift Ideas, Amazon Deals, Printable Coupons, DIY, How to Extreme Coupon, and Make Ahead Meals. All rights reserved
Love this!
This is so cute, and look pretty easy too! Thank you!