
DIY Race Bib and Medal Display Projects
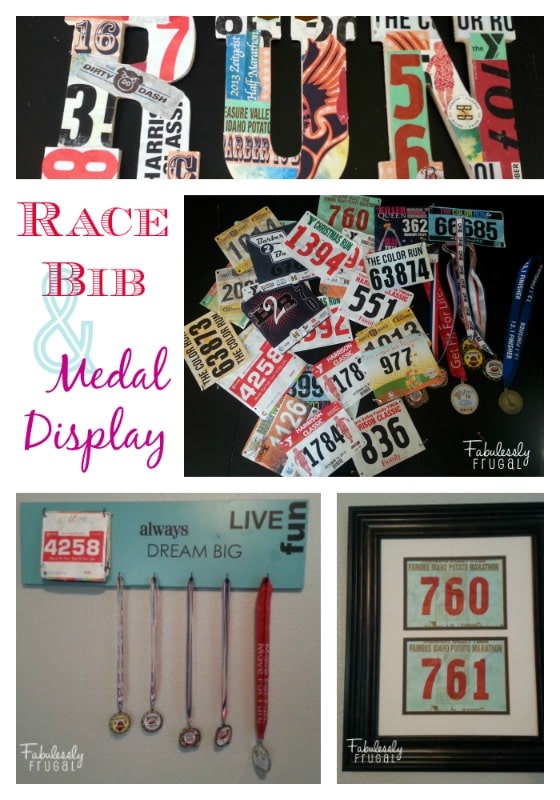
Display Race Bibs and Medals with these DIY Crafts!
My family and I love to run and participate in community races for both fun and fitness. Over the past few years, we have gathered several race bibs so I decided to display all of the hard work our family has put in.
I started looking for race displays, and for the most part, everything was REALLY spendy or not what I had in mind. Now, every once in a while I’ll splurge on race stuff…but the splurging goes into our gear…so I started looking around for ways to make something. I found some DIY race bib and medal display projects and they were fun and EASY to make!
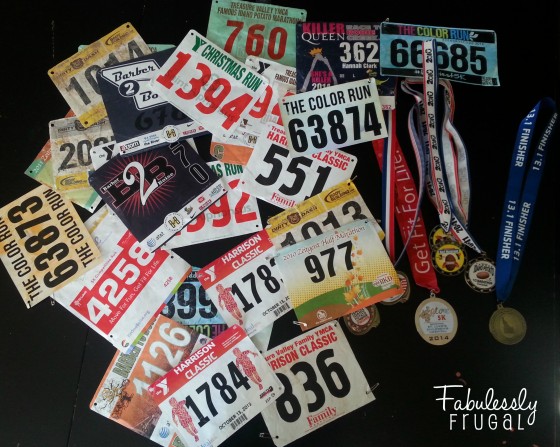
What We’re Working With:
As you can see from the photo above, my race bibs and medals are a bit of a mess! That’s why I need to get some organization going on! I decided on three separate projects that I would combine together to make the wall display that I had in mind.
Project #1 – Display for My First Race Bibs

Supplies:
- Frame
- Bibs
- Mat (Optional depending on what kind of frame you choose to use.)
My first race was a Half Marathon. I diligently trained for the run and by the time race day came around I was pumped! The race atmosphere was fun and exciting and a bit sentimental. After the race began I cried at the end of the second mile because in all my life I had never run more than this with so much passion and purpose.
So, our first bibs need a bit more attention! It just so happened that I had a frame laying around that my kids knocked off the wall and broke the glass – perfect! However, I am always on the lookout for old picture frames or less expensive ones. Garage sales and thrift stores are a great place to start, but if you are wanting something more specific, try looking here.
How to Make This DIY Race Bib Display:
This one is really easy to make. Tape the bibs to a mat or the outside edging of the frame and then hang on the wall. Easy and Frugal!!
Project #2 – Race Bib Collage on the Word RUN
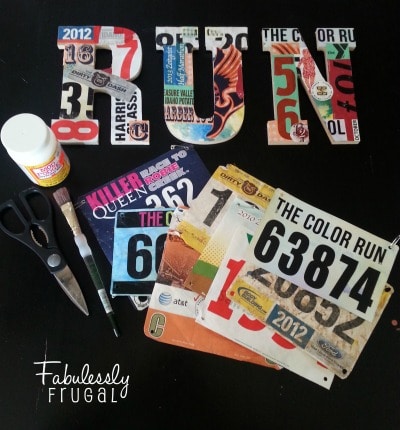
This was a FUN project to do!!
Supplies:
- Mod Podge
- Wood or Cardboard Letters R, U, N (I found the ones I used at Walmart for $2.50 each)
- Paintbrush
- Scissors
- Hammer
- Sawtooth Picture Frame Hangers
- Race Bibs
How to Make This Race Bib Collage:
Step 1:
To begin with, I used a hammer to pound in the sawtooth picture frame hangers. This was pretty easy to do, but you’ll want to make sure that you don’t bend the hangers in the process, and obviously make sure it’s on straight so you don’t have to do it twice like me. 🙂
Step 2:
Next, I had my niece help me cut out and lay bib pieces on the word RUN. Get a fun collage going by curring out the numbers, symbols, and graphics of each of the bibs. I decided to use a few that both my husband and I ran so there was a duplicate.
Step 3:
After we started getting a collage together we painted with Mod Podge to get the race bib pieces to stick to the cardboard letters. Once the collage was put together I put another layer of Mod Podge on it to even it out and make sure that all of the pieces were flattened out.
Step 4:
Allow the Mod Podge layer to dry and then hang on the wall. This was a bit time consuming, but nostalgic in the process because I got to talk about all of the races we had done with each of the bibs that were cut up.
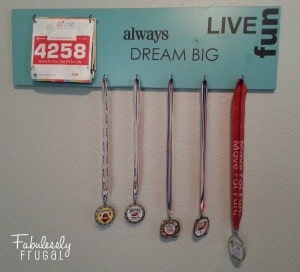
Project #3 – Race Bib and Medal Display DIY
Supplies:
- Wooden board (I used pine)
- Sawtooth Picture Frame Hangers
- Paint & brushes or Spray Paint which I recommend if you’re not color matching a wall
- Mug hooks
- Bibs & Medals
- Vinyl Letters or Quotes (see below for a few of my favorites)
- If you want to work with your own wood you will also need a table saw and sander.
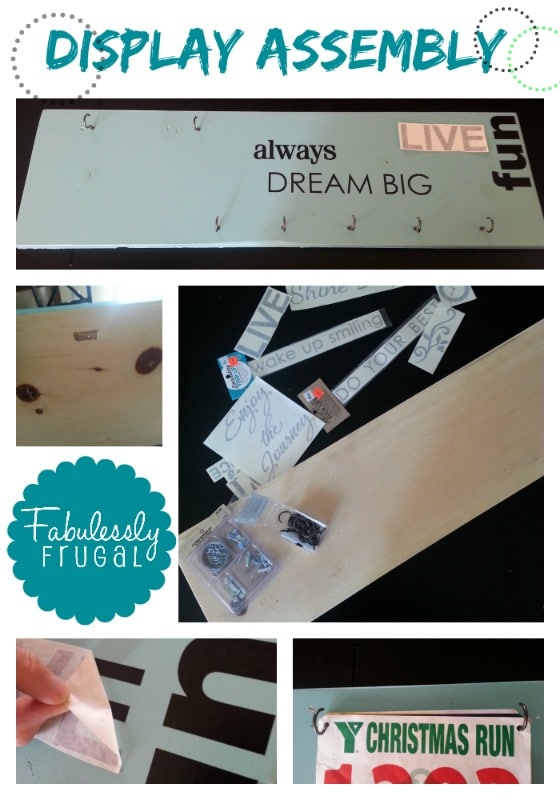
How to Make This DIY Race Bib and Medal Display:
Step 1:
Determine what size of board you will want to display on your wall. My husband does woodworking projects so he just happened to have a 12″ x 1″ x 8′ board in the garage. You can find these at Lowe’s or any hardware store. I started looking for these at a craft store and for the size I wanted, the least expensive ones I could find were $18.00–YIKES!!
So, I put my table saw skills to the test and cut down the (2) boards at 36″ and sanded them down until they were nice and smooth. Then I added the sawtooth wall hangers so I wouldn’t have to nail them in after I put everything else together.
Step 2:
Paint or Spray paint the board(s) to the color that you want. Allow to dry.
Step 3:
Arrange your bibs and medals where you will want them to be displayed. Screw in the mug hooks to hold the medals and bibs. (Most bibs will already have holes punched in them from the race, and are typically the same width so you should be good to measure based off of where the holes are.
Once you have everything in place you can add the vinyl decals or quotes to the display.
Step 4:
Hang on the wall and enjoy all of your accomplishments!
Vinyl Wall Art Options:
“Impossible” Vinyl wall art
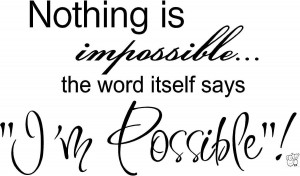
- Premium Vinyl that lasts 5-7 years in outdoor exposure and 10+ years indoors!
- Can be applied to any hard surface…walls, mirrors, doors, or any other surface you can think of!
- No background, free standing letters, comes with transfer tape to aid in installation.
Beautiful Flower Vine Wall Sticker Art
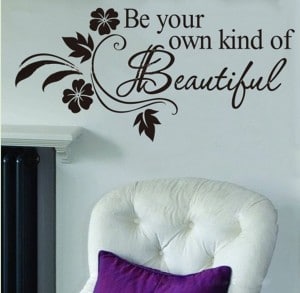
- Very elegant looking
- Made from non-toxic material
- Multiple color options
Shop online at Lowe’s and have your order ready for pick up when you get there!
More DIY Crafts:
More Related Diys


Trending DIY Projects
- DIY
- Recipes
- Deals
- Blog


Report a Problem
Please select the problem you are facing with this deal:
- Price Increased
- Price Decreased
- No longer available
- Expired
- Link doesn't work
- Suggestion
- Compliment
- Other
Add more details:
Thank you for your feedback. We really appreciate it.
Enter your email address if you would like to receive a follow up.
Please Try Again
Thanks for providing the email address.
We will reach out to you as soon as possible.


Popular
Recommended
About Us

At Fabulessly Frugal, our goal is to help you live HEALTHY, WEALTHY, and WISE! My team and I work hard to bring you the best, online deals, clean eating, DIY's, freezer meal recipes, and more! I LOVE coaching and inspiring people to improve their health in my fitness challenge! You should also check out my favorite cleanse! Learn more about me and the rest of my team.


Copyright © 2008–2024
Fabulessly Frugal: A Coupon Blog Sharing Gift Ideas, Amazon Deals, Printable Coupons, DIY, How to Extreme Coupon, and Make Ahead Meals. All rights reserved