DIY: Framed Chalkboard!
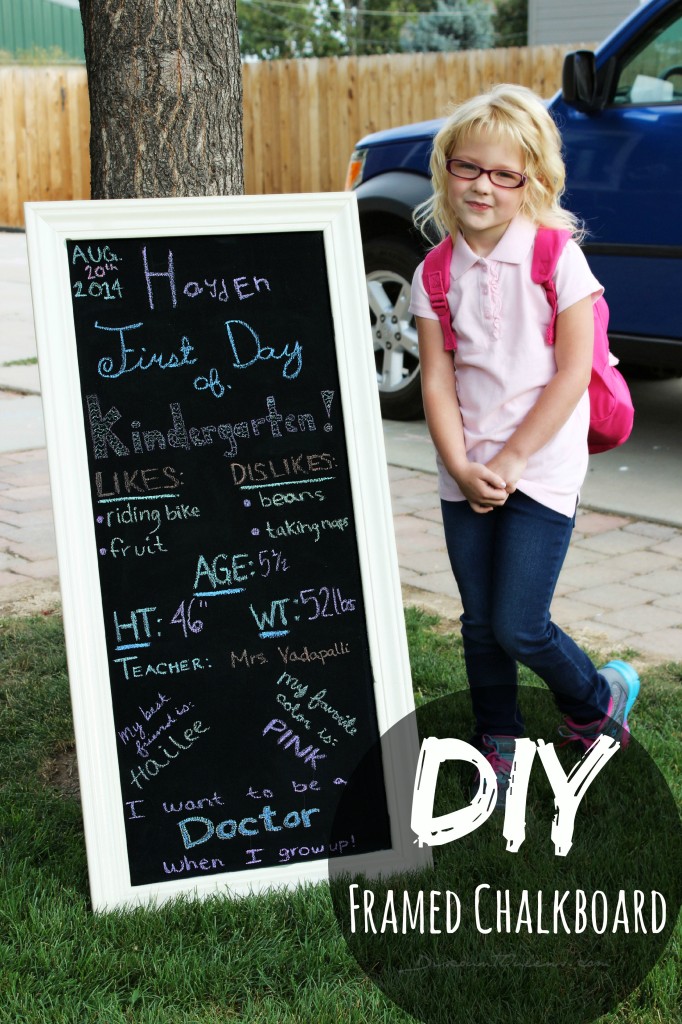
I love “first” photos for pretty much everything and because I take a lot of them I needed something I could use over and over again.
I decided to make a framed chalkboard so that I could hang it in my home when it’s not being used and still look nice.
What You Will Need:
Chalkboard Paint
Piece of Wood
Moulding for trim
Wood Glue
Clamps
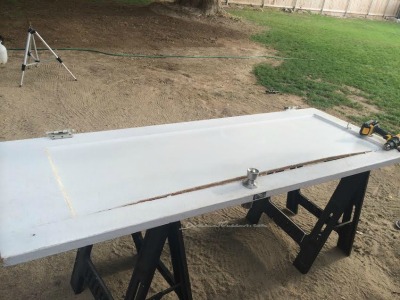
If you have a piece of wood laying around the house from an older project, this will keep your costs low. I actually had an old door that was ready to head to the trash so I decided to use that. Â Your trim will be sitting on top of your chalkboard so keep this in mind when deciding how big you want it.
I cut out the wood the size I wanted with a circular saw. If you can do some basic math, your piece won’t have to be perfectly square. I cut it as square as possible but of course, I was off a bit. Once you have it cut, take measurements of each of your four sides.  You can see mine was surely not square, but it was still doable. I took roughly 1/2″ off the smallest measurement on each side so I knew what size to cut my moulding. I did this because I planned on having miter joints on my moulding.

Next, you need to wash your piece of wood. I just used a damp cloth so it will pick up the fine dust from the saw.
Now you are ready for the chalkboard paint. You have multiple options for this. You can use a piece of chalkboard contact paper which would be the easiest. You can make your own chalkboard paint with a homemade recipe. I actually just used a combination of items because I didn’t have enough of one item. 🙂 It’s best to have a minimum of 3 coats of chalkboard paint on anything, I step it up and do 4 though. I used two coats of chalkboard paint from a spray can and two coats of Americana Decor Carbon Chalk Paint. By the way, if you haven’t used chalk paint before, you are missing out. Let your piece sit and dry.
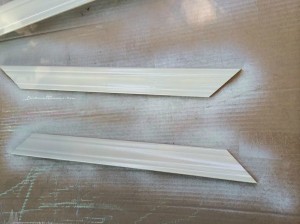
Next up is your trim. Again, I wanted to go with miter joints, a joint made between two pieces at an angle of 90°. I did this by taking the 1/2″ off  the smallest of each side of measurements. If you have a miter saw at home this makes it super easy. We have done a ton of crown moulding in our home so we had one. If you don’t, like most people, you can pick up a miter box for under $8  from The Home Depot.  TIP: if you are using a moulding with a design in it, make sure you are cutting the right side of the moulding so it lines up right. I wasted some pieces not paying attention to this.Â
Now, fit it up and make sure everything lines up and is square. 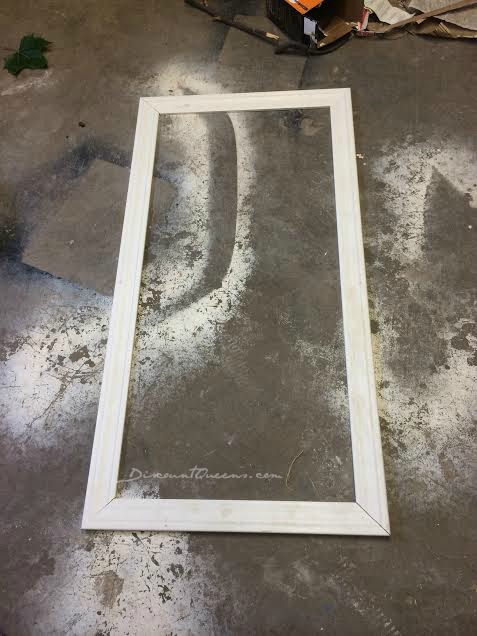
Finally, mine was good. Now you can paint your trim whatever color you would like. I grabbed some of the Rust-Oleum Painter’s Touch 2X in Almond from my local Home Depot. I LOVE this paint, it sprays on nice and thick and your don’t have to do very many coats to get it perfect. I did two.
Ready to finish this up? Put your pieces on the chalkboard now and line then up how they should be attached. Get a piece of chalk and mark your area where they will sit.
Take one piece off at a time to secure them. Take some wood glue, I prefer the Gorilla Wood Glue because it works great and it stores better than any other kind I have tried.
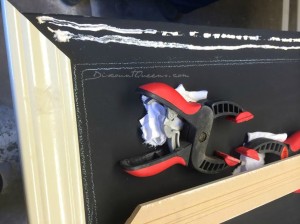
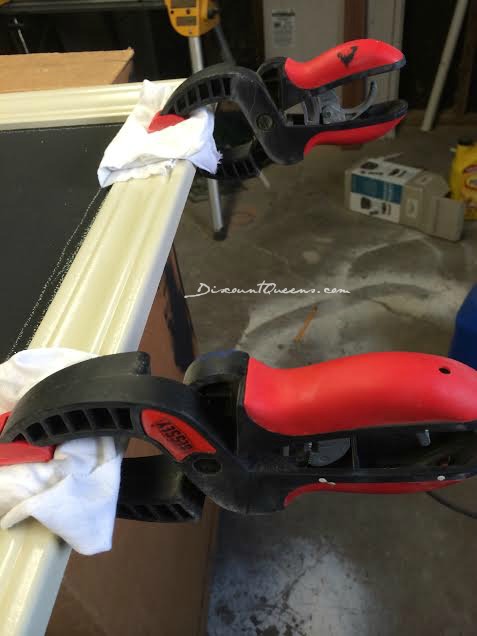
Place your piece of trim back on it and secure it with clamps. TIP: Be sure to place a cloth like an old t-shirt or something between the clamp &Â the moulding.
Do each piece one at a time.
It’s done! Â Now you can use it for whatever you like. Pick up some picture hanging pieces like wire and hooks to hang it on the wall if you would like.
There are a few steps but this can be knocked out in a single day.
PLEASE pin this Pinterest! Be sure to follow us on Pinterest too for more great ideas.
More Related Diys


Trending DIY Projects
- DIY
- Recipes
- Deals
- Blog


Report a Problem
Please select the problem you are facing with this deal:
- Price Increased
- Price Decreased
- No longer available
- Expired
- Link doesn't work
- Suggestion
- Compliment
- Other
Add more details:
Thank you for your feedback. We really appreciate it.
Enter your email address if you would like
to receive a follow up.
Please Try Again
Thanks for providing the email address.
We will reach out to you as soon as possible.


Popular
Recommended
About Us

At Fabulessly Frugal, our goal is to help you live HEALTHY, WEALTHY, and WISE! My team and I work hard to bring you the best, online deals, clean eating, DIY's, freezer meal recipes, and more! I LOVE coaching and inspiring people to improve their health in my fitness challenge! You should also check out my favorite cleanse! Learn more about me and the rest of my team.

Copyright © 2008–2024
Fabulessly Frugal: A Coupon Blog Sharing Gift Ideas, Amazon Deals, Printable Coupons, DIY, How to Extreme Coupon, and Make Ahead Meals. All rights reserved