DIY 4th of July Candle Luminaries!!!
I LOVE Independence Day!!! Well, I may be partial since my better half is a military man. So, Yes. I tend to go a bit overboard when it comes to patriotic holidays. They just makes me want to do everything red, white, and blue!!
Since we’re on the road at the moment, I had to come up with something easy to make but still says, I LOVE AMERICA!! 😉 So, I made this little cute (and totally inexpensive) 4th of July Candle Luminary!

Here’s what you need:
- Wide Glass Vase (Dollar Tree!!)
- Tea Light Candle Holder
- Plastic Bottle
- Scissors or a Sharp Knife
- Epsom Salt
- Cup (plastic works just fine)
- Red and Blue Chalk
Optional: Ribbon for bow (I would have loved to do this myself 🙁 )
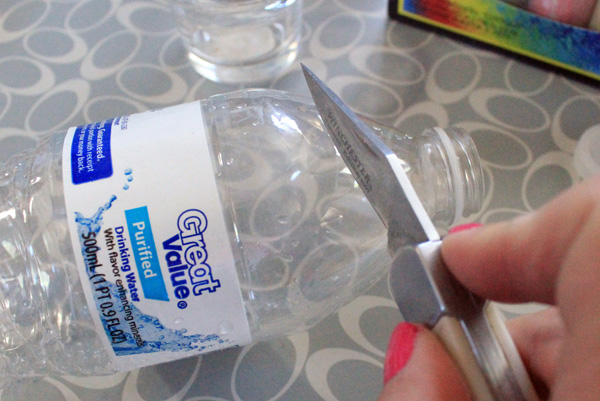
The first thing you want to do is take your plastic water bottle and cut the top off (just large enough to slip the tea candle holder into). Slip the label on the bottle off as well if you haven’t done so already.
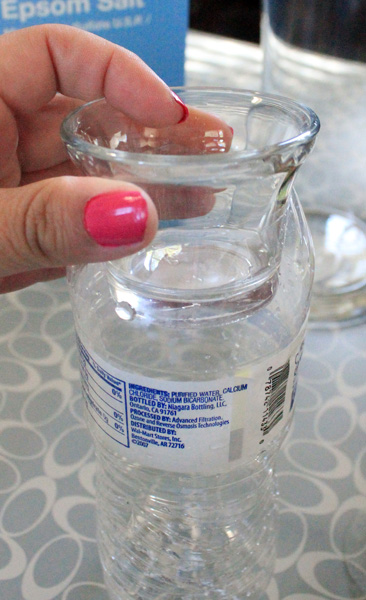
Now, make sure that your tea light holder will fit securely into the top of the plastic bottle.
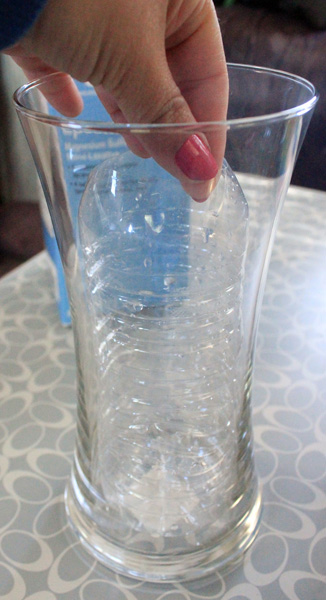
 Now, place the plastic bottle (sans label) into the center of your glass vase.
 This will save you from wasting Epsom salt!
Set the vase and bottle aside.
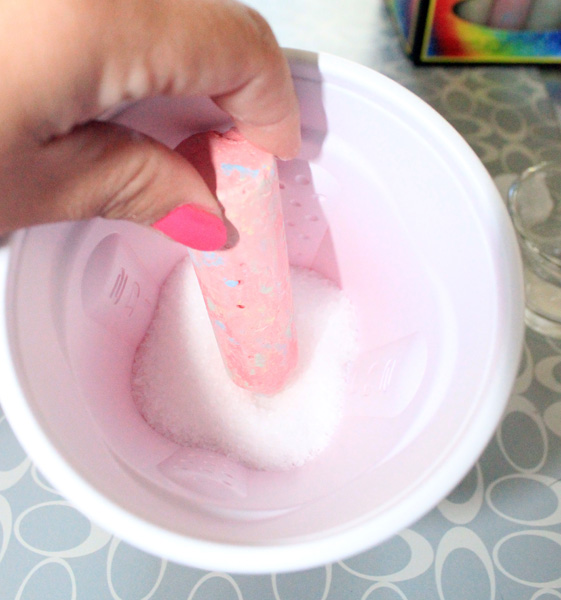
Fill half your cup with Epsom salt ( I used a Solo cup, just in case your wondering about the size of the cup itself).
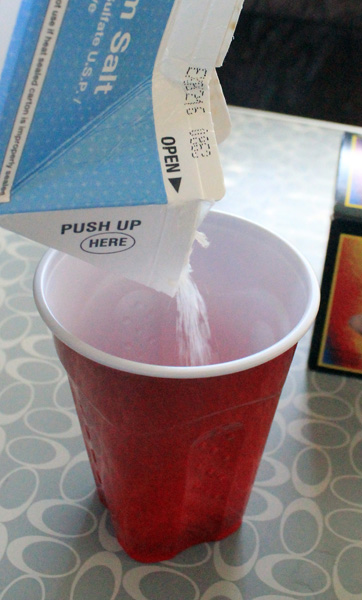
Once your salt has been poured, grab a red piece of chalk and swirl it into the salt until the salt takes on the red color. Repeat the process with new salt and blue chalk to create your blue layer.
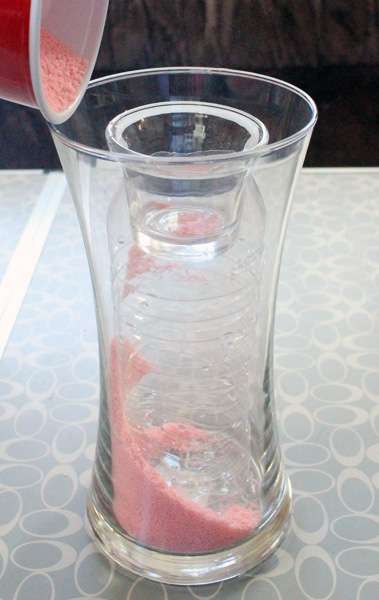
Once your red salt is ready, simply pour it into the glass vase around the plastic bottle.
*If you’re worried about getting salt into the plastic bottle, simply place the tea candle holder into the bottle to prevent that from happening. Should you get some salt in the small candle holder (like I did), just remove the holder and dump it out before you add the next layer of salt.*
Tap the vase to level the salt.
Once you’ve leveled your red salt, go ahead and pour straight Epsom salt on top to create a new white layer.
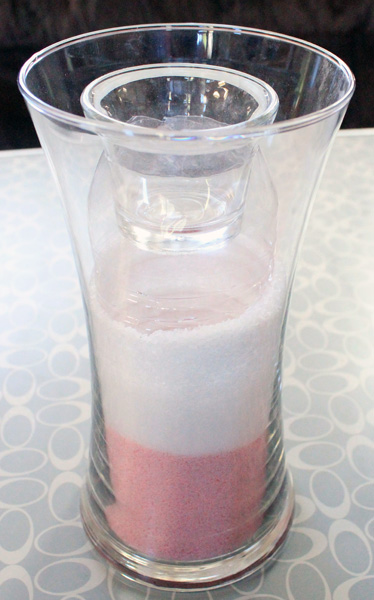
Instead of tapping to level this time, roll the vase back and forth between your hands (with the vase being level) to even the color. You don’t want to tap it since you don’t want your colors to mix.
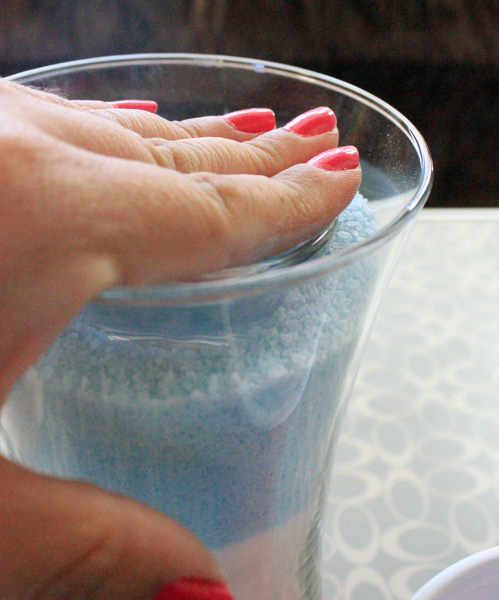
Once your white layer is level, take your cup of blue chalk and pour it over the white layer. You may want to cover your tea light holder with your hand at this point to prevent salt from falling in. You want the salt to reach the rim of the smaller vase.
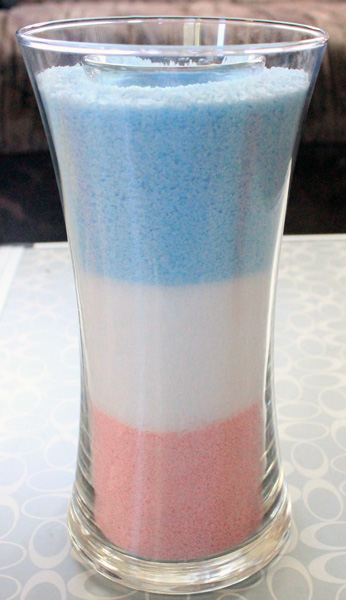
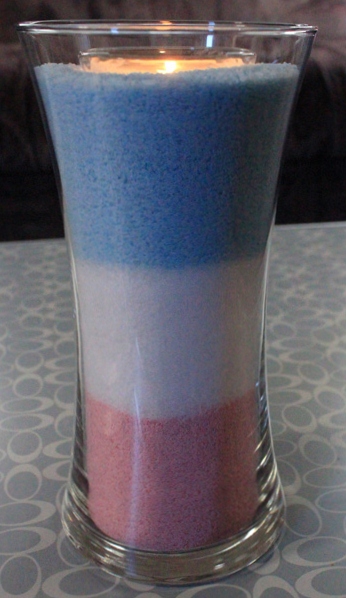
All you have to do now is place your tea light into the top and light!
 Feel free to accessorize your luminary!! You can add star shaped stickers or cut outs to the vase, you can create firework designs with metallic sharpies, or you can do like I would have like to have done and add a ribbon to the top and hang glittered stars from the center of the bow!! Yes, I’m kicking myself right now! I wish I had my supplies!!!
I hope you have fun with this simple and inexpensive Independence Day decoration project!!
Thanks for reading! Please remember to like, share, tweet, and pin this post!
Comments
Leave a Reply
More Related Diys


Trending DIY Projects
- DIY
- Recipes
- Deals
- Blog


Report a Problem
Please select the problem you are facing with this deal:
- Price Increased
- Price Decreased
- No longer available
- Expired
- Link doesn't work
- Suggestion
- Compliment
- Other
Add more details:
Thank you for your feedback. We really appreciate it.
Enter your email address if you would like
to receive a follow up.
Please Try Again
Thanks for providing the email address.
We will reach out to you as soon as possible.


Popular
Recommended
About Us

At Fabulessly Frugal, our goal is to help you live HEALTHY, WEALTHY, and WISE! My team and I work hard to bring you the best, online deals, clean eating, DIY's, freezer meal recipes, and more! I LOVE coaching and inspiring people to improve their health in my fitness challenge! You should also check out my favorite cleanse! Learn more about me and the rest of my team.

Copyright © 2008–2024
Fabulessly Frugal: A Coupon Blog Sharing Gift Ideas, Amazon Deals, Printable Coupons, DIY, How to Extreme Coupon, and Make Ahead Meals. All rights reserved
I tried this project with the help of my husband and daughter Molly. We were all surprised by the results it looks great and very inexpensive.
I’m so glad you liked it, Valerie!! There’s nothing like an inexpensive project that comes out looking like it costs more than it did! 😉 Have a safe and Happy Independence Day!!