
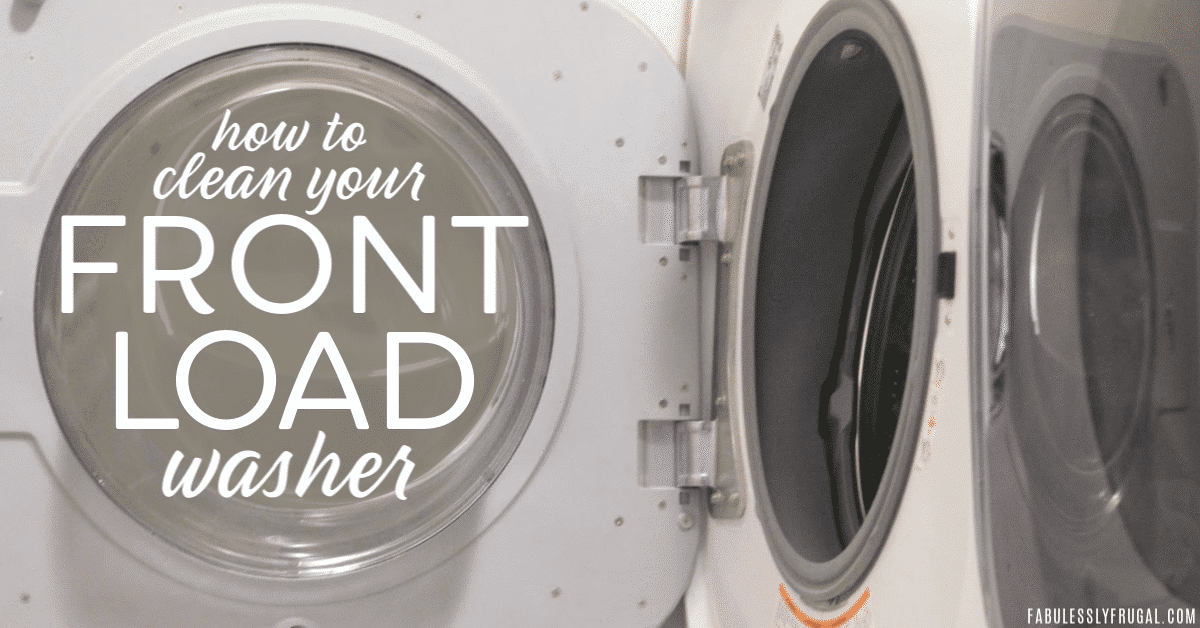
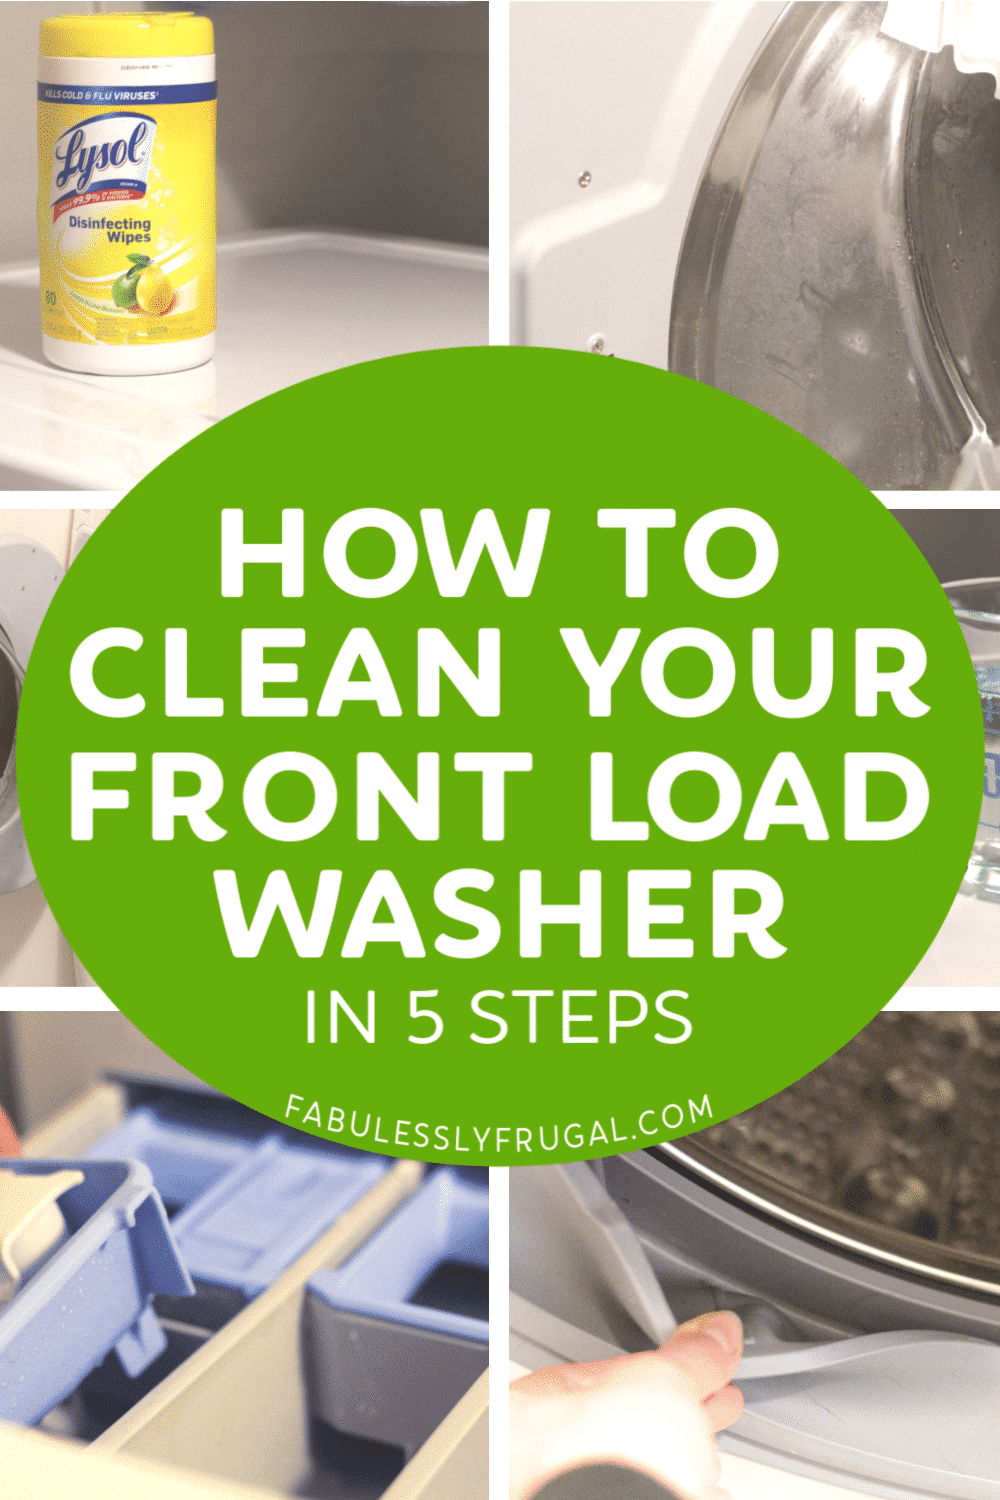
How to Clean Your Front Load Washer (5 Simple Steps)
Smelly Front Load Washer? I Know the Feeling…
Over the last few months, there has been a funky smell lurking in the laundry room. And, no matter how quickly I switched the laundry from the washer to the dryer, it wouldn’t go away.
I am diligent about letting it air out after a load, and then running it through the clean cycle as needed, but upon a deeper inspection, I realized that it was MUCH dirtier than I ever thought. So, I stopped the laundry cycle for a day to take time for a much-needed scrub down on the washer.
I learned A LOT along the way, and I’m excited to share with you some tips and tricks! Below I’ll show you how to clean your front load washer inside and out with some simple supplies and a DIY washing machine cleaner.
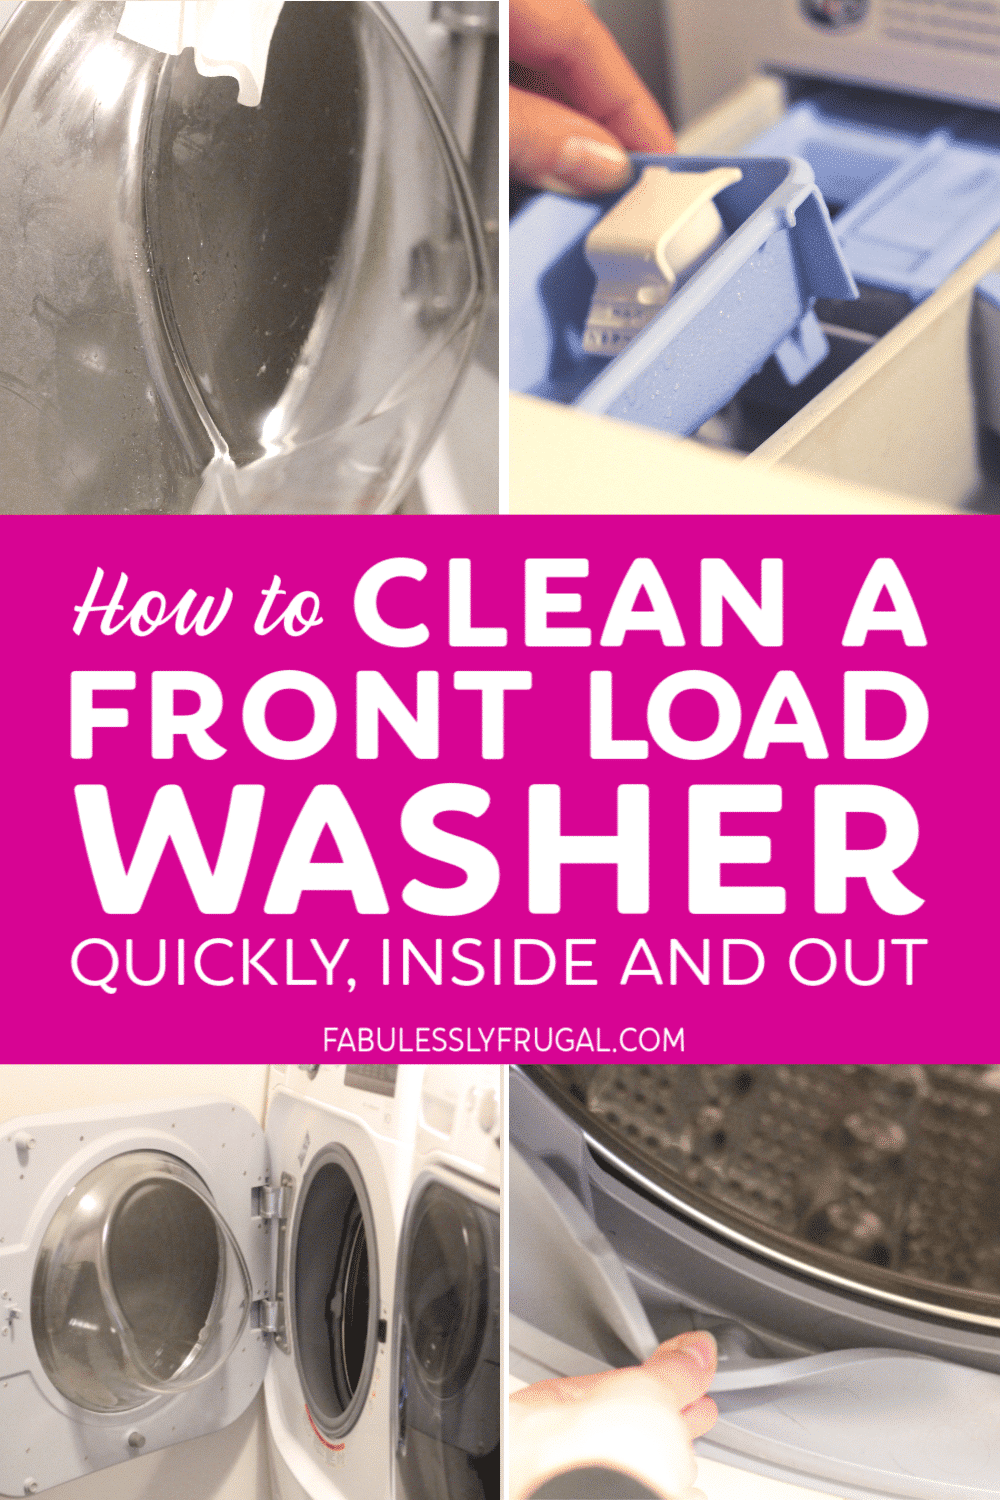
How to Clean a Front Load Washing Machine Quickly!
While the process of a deep clean is never really something I enjoy, I truly appreciate the outcome and that’s what I love about these three main parts to cleaning a front load washer for a fresh, clean look and smell.
Tip: This can be done as often as needed, but should be done every few months to keep the gunk build-up to a minimum.
Step 1. Cleaning the Outside of the Machine:
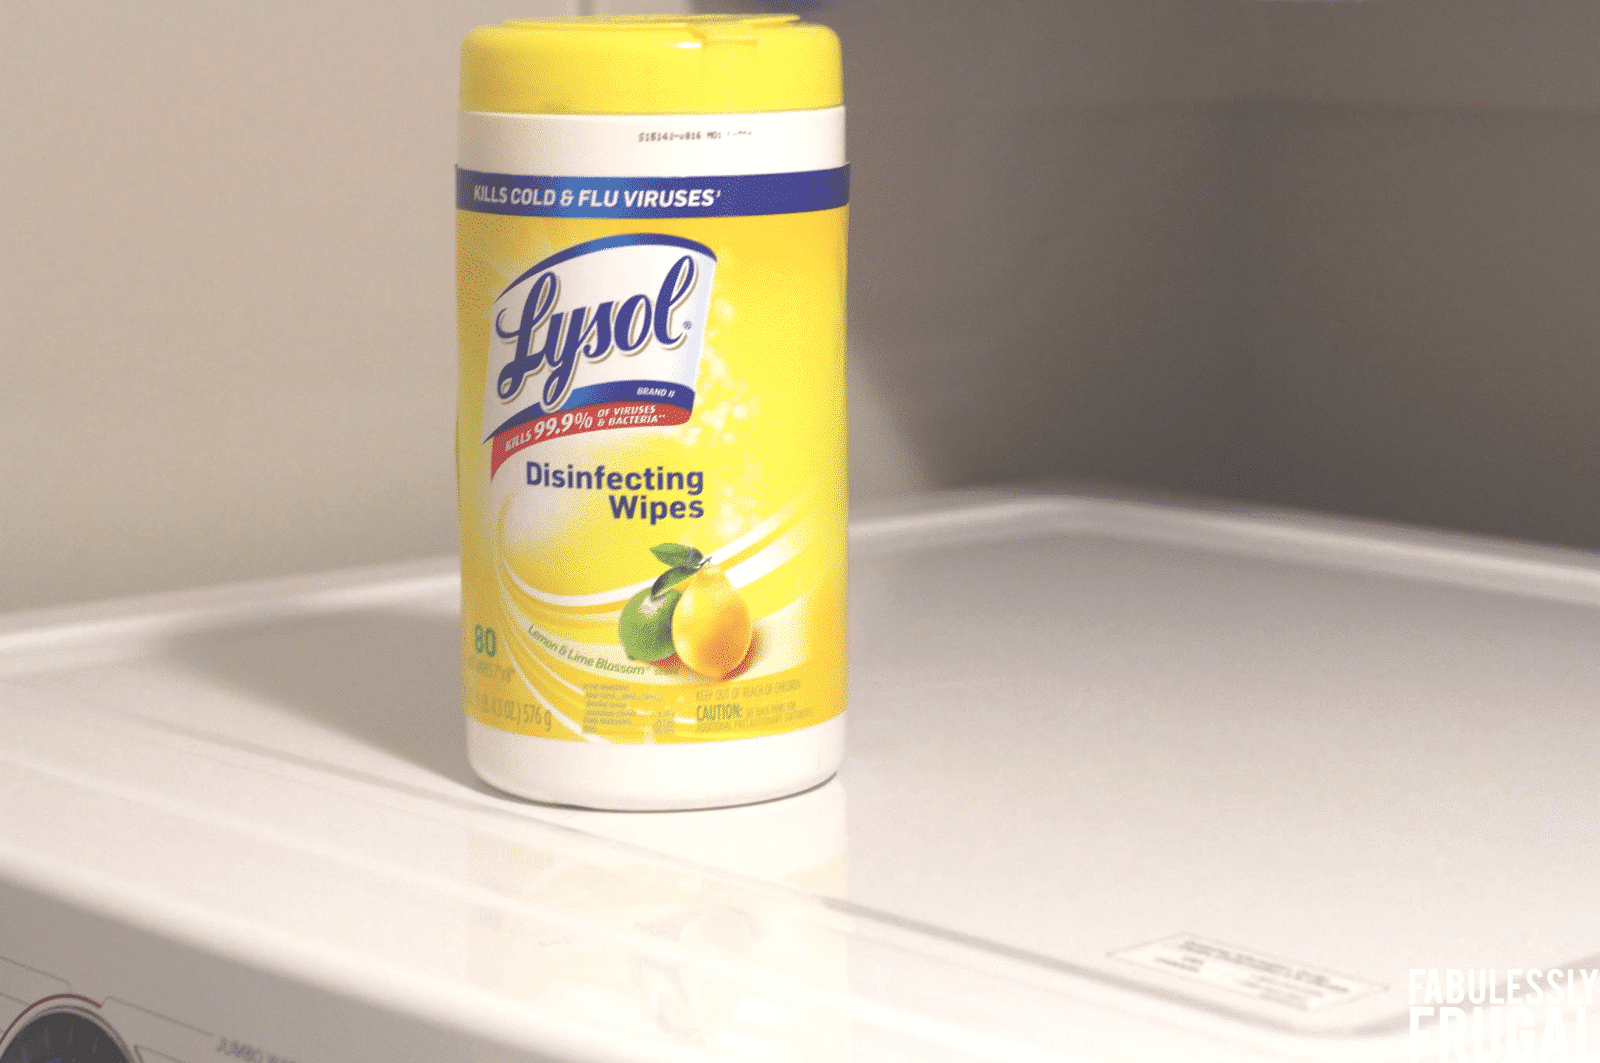
To start with, grab a few old towels or some Lysol Wipes. I chose to use Lysol wipes to disinfect as well, but you could also use a rag and an all-purpose cleaner or these DIY cleaning wipes.
Whatever your tool of choice may be, scrub down the outside of the machine nice and thoroughly. Between baskets being on top of the laundry machine along with piling laundry on top of the machine before or after a wash, I was surprised at how DIRTY this really was.
Step 2. Cleaning the Front Door:
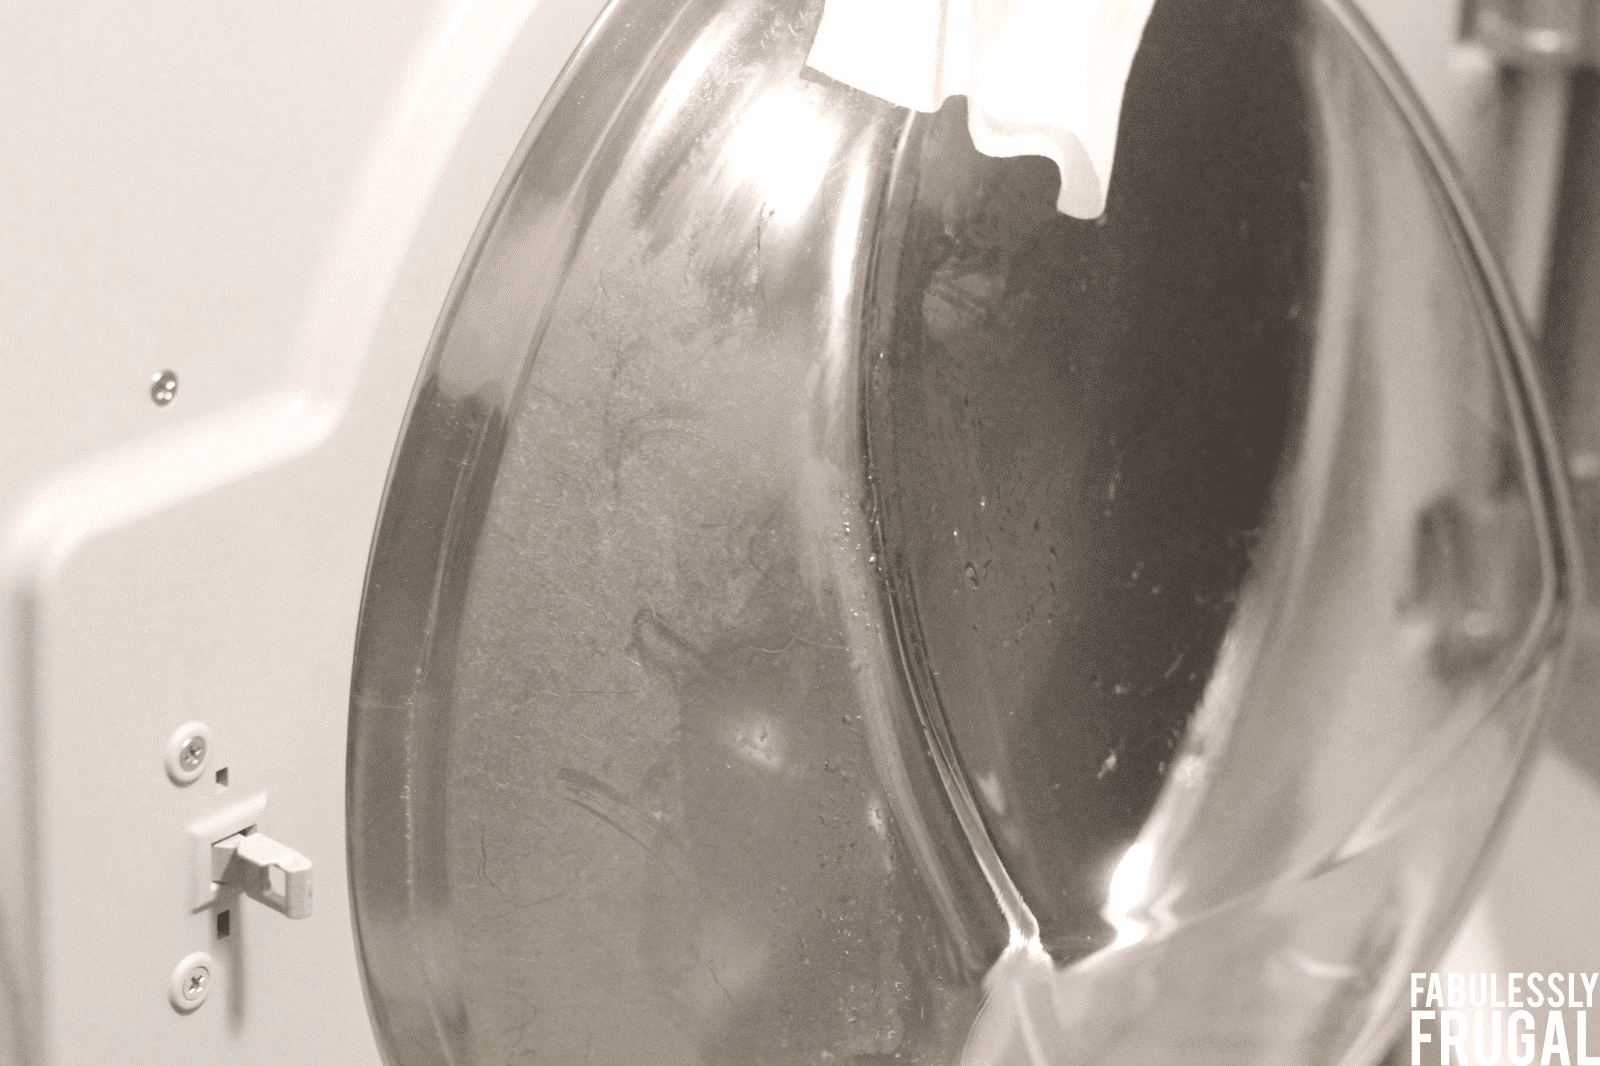
Once you have the outside looking nice and tidy, open up the front door and give that a good scrub too. There was a lot of build-up all around the plastic window part on the inside of the door.
We have hard water in our home, so if you have soft water this might not be as noticeable for you. If it is noticeable, try this DIY soap scum remover or this DIY hard water stain remover to really clean it up.
Step 3. Cleaning the Front Load Washer Gasket:
Now comes the gross part…at least for my washer (I have children and a dog).
Have you ever really looked in between the door and drum of the washer down in the gasket? I quickly peel it back when I notice a sock stuck in there, but for the most part, that is part of the washer I skip over. Why? Well, because I didn’t really notice how much build-up and funk came from this one location of the machine.
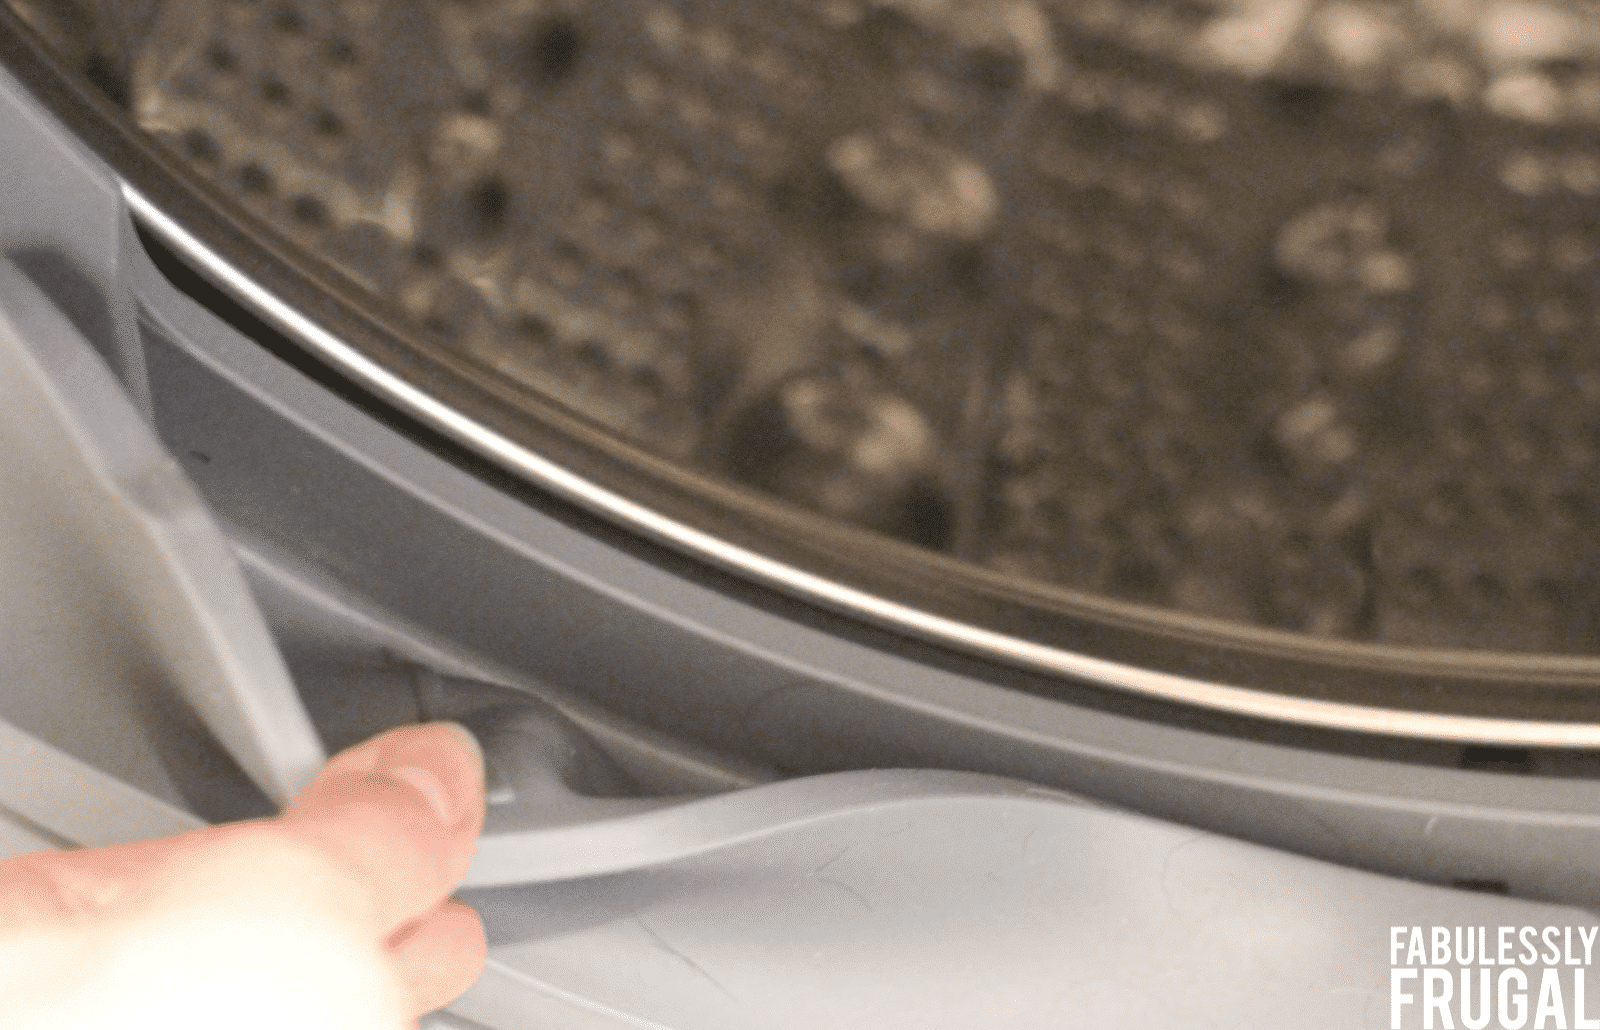
If your washer gasket has a lot of build-up too, grab a heavy-duty scrubbing sponge and some vinegar. Pour vinegar on the sponge and then start scrubbing the inside of the gasket. You’ll be glad you did! In just doing this, I could already notice a difference with the washer.
Step 4. Cleaning the Drawers and Trays:
The next part of the machine you’ll want to scrub is the drawer where you put detergent, bleach, or fabric softener. Different machines may have a different setup, but the trays are usually removable by lifting up or a lever of some sort.
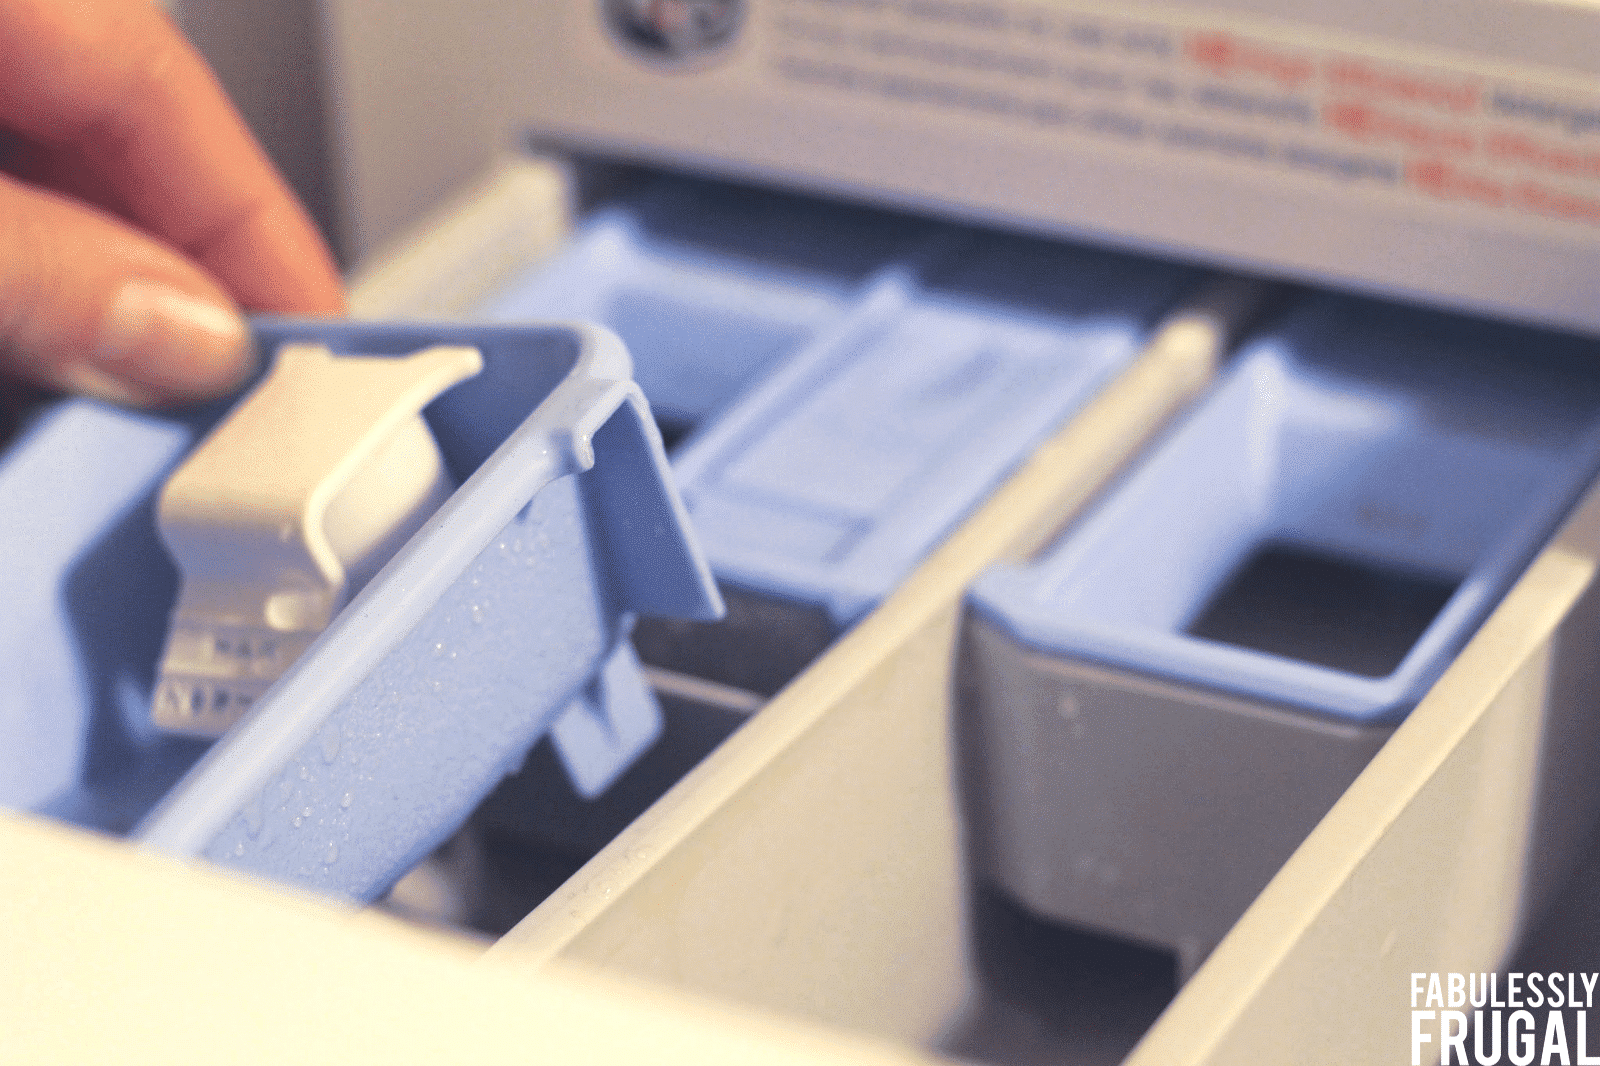
If needed, use a toothbrush to scrub the area of the detergent drawer as well as the detergent drawer itself with vinegar. Once this area was clean, I also noticed a huge difference. Now you’re one step closer (and done with the elbow greasing part of the clean up) to a clean washer!
Step 5. Cleaning the Inside of the Machine:
To clean the inside of your front load washer you’ll need to grab a few things from the kitchen to make a DIY washing machine cleaner. This is a VERY simple recipe, easy to follow, and super FRUGAL! I always love that! 🙂
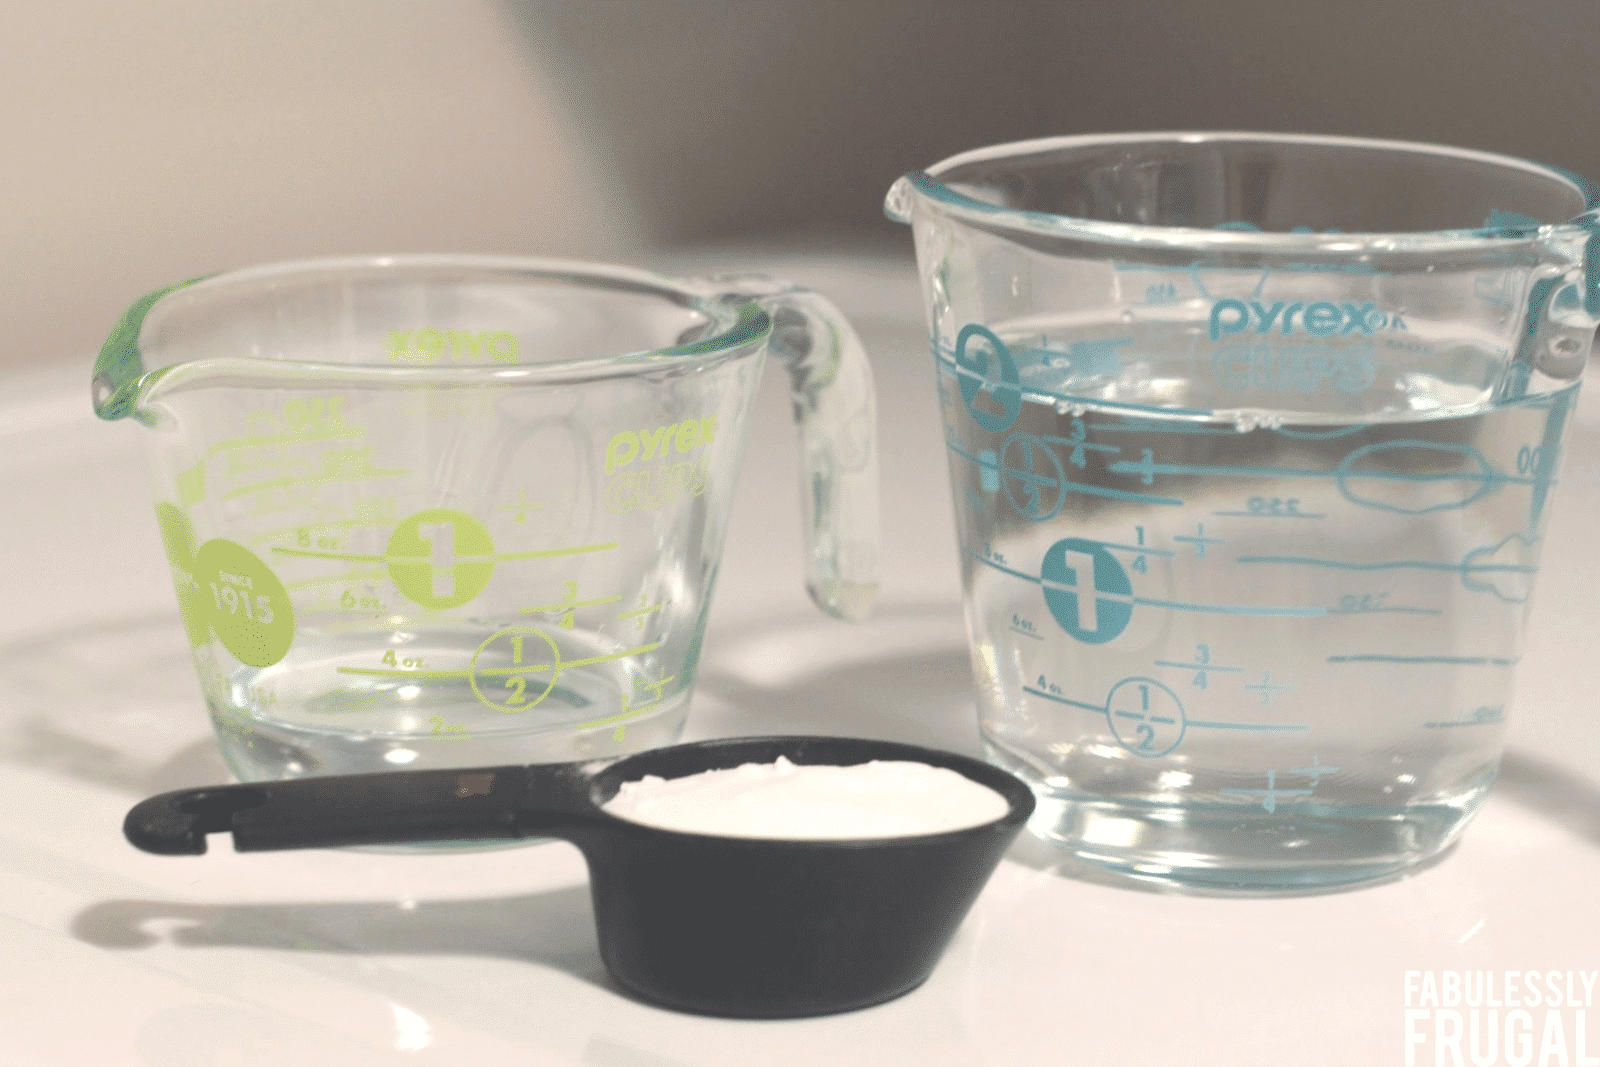
Homemade Front Load Washing Machine Cleaner (scroll down for a printable version!)
You’ll Need:
- 2 cups vinegar
- 1/4 cup baking soda
- 1/4 cup water
How to use the DIY washing machine cleaner:
- Mix together the water and baking soda to make your detergent, then pour the mixture into the detergent area.
- Pour the two cups of vinegar directly into the drum of the washer.
- Set the load to the “Wash” cycle, or if yours doesn’t have a wash cycle, select the highest water temperature setting. Now you can walk away for a bit while the washer does the next part for you.
There you have it! With those three steps done, the inside of your washer will soon be smooth, shiny, and CLEAN sailing from here on out!
Final Thoughts
If you go through the easy 5-step process above and clean your front load washer at least every few months, you should never have to deal with a smelly washing machine again! Check out the additional tips below to keep that clean, fresh smell maintained 🙂
A few tips to remember:
- Wipe down the glass door after every load of laundry, and give the gasket crevice a quick wipe down as well. I now have a stack of old rags I keep handy just for this purpose, and then I toss it in with the next load of towels.
- When you are not using the washer, leave it propped open. This will help with keeping it dry inside and will prevent mildew from building up.
- Always try to move the clothes over before the funk sinks in!
Have any questions or tips to share? Leave a comment below!

Thanks PopSugar, PrettyHandyGirl
Other Posts You Might Like:
- 8 Laundry Tips and Tricks to Get Laundry Done Fast
- 17 DIY Cleaners That Work Like Magic
- 60+ Remarkable Uses for Vinegar You Need to Know
- Simple Spring Cleaning Checklist (Room-By-Room)
- 6 Home Organization Tips: Organize Your Home Once and For All
How to Clean Your Front Load Washer (5 Simple Steps)

Ingredients
- 2 cups vinegar
- 1/4 cup baking soda
- 1/4 cup water
Instructions
- Mix together the water and baking soda to make your detergent
- Pour the mixture into the detergent area
- Pour the two cups of vinegar directly into the drum of the washer.
- Set the load to the "Wash" cycle, or if yours doesn't have a wash cycle, select the highest water temperature setting
Notes
Keep a stack of old rags next to your washer and wipe down the glass door after every load of laundry.
Give the gasket crevice a quick wipe down as well, then just toss the rag in with the next load of towels.
Always try to move the clothes over before the things start to get smelly.
When you are not using the washer, leave it propped open. This will help with keep it dry inside and the mildew from building up.
Comments
Leave a Reply
More Related Diys


Trending DIY Projects
- DIY
- Recipes
- Deals
- Blog


Report a Problem
Please select the problem you are facing with this deal:
- Price Increased
- Price Decreased
- No longer available
- Expired
- Link doesn't work
- Suggestion
- Compliment
- Other
Add more details:
Thank you for your feedback. We really appreciate it.
Enter your email address if you would like to receive a follow up.
Please Try Again
Thanks for providing the email address.
We will reach out to you as soon as possible.


Popular
Recommended
About Us

At Fabulessly Frugal, our goal is to help you live HEALTHY, WEALTHY, and WISE! My team and I work hard to bring you the best, online deals, clean eating, DIY's, freezer meal recipes, and more! I LOVE coaching and inspiring people to improve their health in my fitness challenge! You should also check out my favorite cleanse! Learn more about me and the rest of my team.


Copyright © 2008–2024
Fabulessly Frugal: A Coupon Blog Sharing Gift Ideas, Amazon Deals, Printable Coupons, DIY, How to Extreme Coupon, and Make Ahead Meals. All rights reserved
How did you get the window clean of rh hard water build up?
See if this recipe will work for you! https://fabulesslyfrugal.com/diy/hard-water-stain-remover-ingredients/
How do you get the mildew from between the drum and where the drum rotates? I pulled the gasket back and away but I noticed the mildew deeper down inside. I used a toothbrush and rag to stick between the two to clean, but there is still mildew. I wipe down the door and leave it open after every load, yet there is still mildew buildup. What do you suggest?
I’ve heard of people taking the entire rubber seal off and soaking it in a very warm water/dish soap solution, and then wiping down the metal drum. But I’ve also heard that for some, the rubber seal didn’t reattach correctly and then the washer was unusable. 🙁 I’ve been too nervous to try it out for myself so I just keep wiping it down the best I can and running a cycle with the vinegar/baking soda solution.
Cathy, we agree too scary to pull out the gasket. Do you know then how to clean the drain hole space under the gasket? Like you, we have a dog and I found dog hair sticking out from the gasket drain hole and used a toothpick to pry out as much as possible, it is still in reachable… and smelly. First step now, to run the tub clean. Thoughts? Thank you.
Hi Michael – I’ve used q-tips to get inside those tiny little holes where the water drains under the gasket… I pull it out a bit and use the q-tip to clean the tiny crevices. Hope that helps!
I have tried using the baking soda and water in the detergent spot, but it got clogged. The next time I went to run a load it was still in the detergent drawer. Any suggestions to avoid that?
I actually just put it right in the drum!
After a load, all the remaining water in the gasket area stands right in the center, the lowest point. So, after the last load is removed and to avoid mildew and other nasties growing between the gasket, I just squeeze and old dish towel around the lip of the gasket so it is touching the bottom. It absorbs all the moisture in a short time. Then, I remove it and close the door. Use a microcloth or other dish towel that actually absorbs significant moisture. Don’t use the thin cheapo dish towels that are totally soaked in no time. I been doing this for the past 2 years which is when I bought a front loader. It has never smelled and the gasket looks like new. The only other thing I do is run the LG Tub Clean cycle periodically. Full disclosure, I only use Tide Free & Clear liquid detergent and OxyClean (i.e. minimal chemicals) So if you use other soaps and chemicals, your residue in the gasket might be more than water, and my method might not work.