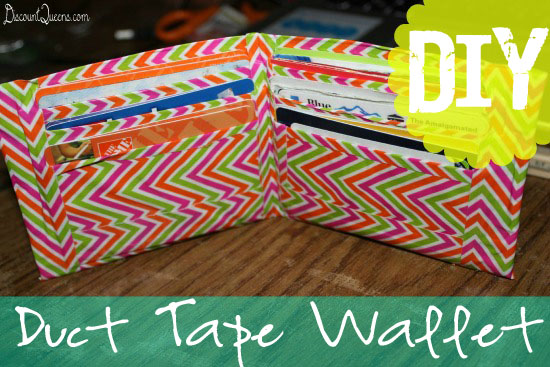
52 Weeks of Pinterest: Week 40 – DIY Duct Tape Wallet!
This year I wanted to go with a resolution I would have no problem sticking to! Then as I was pinning an item on Pinterest, a light bulb flashed on above my head. Ok, maybe not literally, but this great idea popped into my head. Those of us who are Pinterest users know that we pin hundreds of things a week, but do we ever do them? So I decided this year I would do one of my pins every week. At the moment, 52 weeks of Pinterest was born. Each week I will do something I found on Pinterest rather it be a craft, new recipe, organizing technique, or whatever!
This week I went with a very popular pin: DIY Duct Tape Wallet.
What You Will Need:
Ruler
Scissors
Duct Tape Design Of Your Choice
This is actually my second time making one and they are so easy and fun!
There are a few steps involved but the total project takes about 25 minutes.
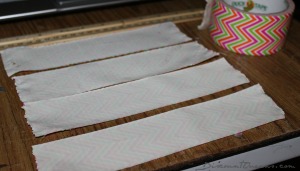
First thing you need to do is tear/cut 4 strips of duct tape 8″ long.
Next thing you will need to do is stick them all together by overlapping one to the next. Just a tiny bit of overlap. You are trying to create a large square. I apologize, I forgot to grab an image of that.
Now you will cut/tear 4 more 8″ strips of Duct Tape. Lay them sticky side to sticky side with your previous 4, over lapping as you go.
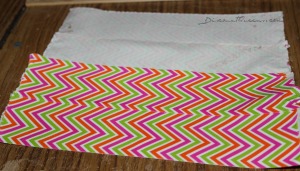
Once you have these 4 pieces down, you should now have a non-sticky square of duct tape.
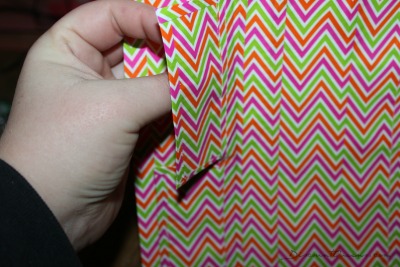
Now you will want to add trim to outside of your square to make it nice and clean and no sticky overlays. If I would have had another roll of duct tape that matched these colors, I would have done the trim a different color but I didn’t have any so I had to use the chevron one.
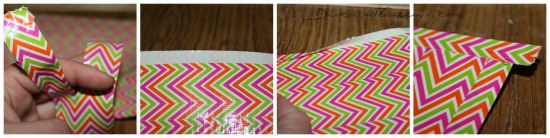
To do this, I just tore pieces of duct tape length ways as long as the square was. Tore that piece in half length ways to get two pieces. Take one and fold it in half over 1 of your edges. This will make it nice and clean. Repeat until your other 3 edges are covered. Trim any excess tape off the edges.
Now you should have a beautiful duct tape square and there should not be any sticky edges.
Now it is time to create your “pockets.”
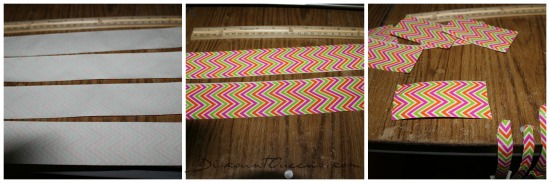
To create the pockets you will need to tear/cut 4 pieces of duct tape measuring 11.25″ long. Stick two of them sticky side to sticky side. Repeat with other two pieces. Now you will need to add trim to these, just like we did above with the square. I forgot to do them at this step so I had to do it at the next step and it took a lot longer. Don’t make my mistake! 🙂
Once you have two 11.25″ long pieces of duct tape completely trimmed and beautiful looking, grab your scissors.
You are going to need to cut six 3.75″ long pieces. You will get 3 out of each piece. These will be your pockets.
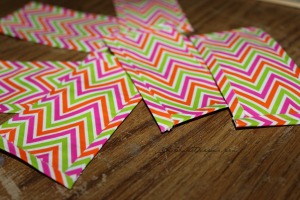
Now lets get this wallet put together, shall we?
Lay your large square down. Place 2 of your pocket pieces one after the other horizontally, leaving a small space between the two pieces.
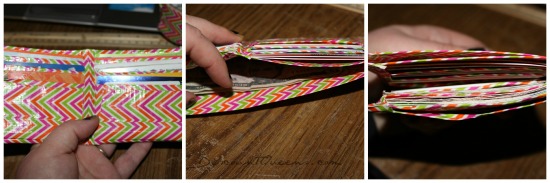
Again, I apologize because this chevron pattern makes it really hard to see different pieces in the pictures.
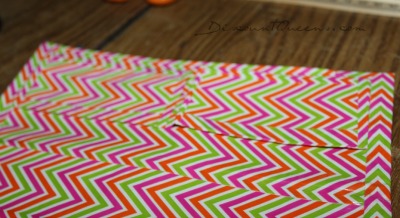
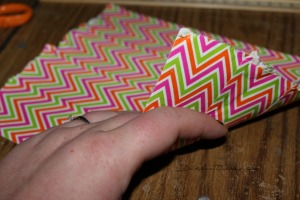
If you look closely, you will see the two pockets there with a small space in-between them. You will need to leave some space at the top and the sides of the pocket as well. No exact measurements here but about ¼”. Now take another piece of duct tape, you don’t need a wide piece so tear it the length of the wallet and then tear that in half length ways. Place 1 piece all the way across the bottom of the two pockets attaching them to the large square.
This is just to give you an idea on how high up on the picket you should add the trim or attaching piece. The second pocket is under my hand in the photo.
Now you will need to place your other 4 pockets. We are going to overlap these so you should have three on each side with a total of six pockets.
Repeat the above steps to attach these pockets.
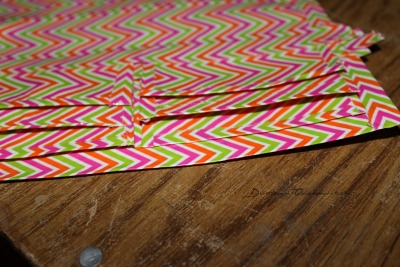
Now you should have 6 flaps here, 3 on each side, with a small space in-between. Also notice that these 6 flaps are only on half the big square because we will be folding it up soon to make it the size of a wallet.
Next, you will need a thin strip of duct tape to attach the pockets up the center of the wallet. Make sure it is wide enough to attach all 6 pieces to the wallet it self. You will want to really press down making sure to secure them all.
Please note that I am holding folded in half at this point. It is not taped that way. I am showing the center piece of tape here holding the pockets down in the middle.
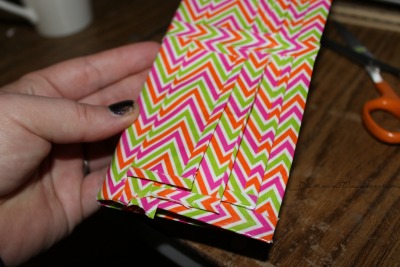
Trim an excess tape off. Now you will want to fold the wallet in half with the pockets facing you. Now you will need some more duct tape. You can take a piece and rip it in half length ways again as it doesn’t need to be too wide. You are going to take one piece, attach it to one set of the outer edge pockets and wrap it around the other side of the wallet. Holding the pockets down and keeping the wallets shape. Repeat with your other piece of duct tape on the other side with other pockets. Remember to trim off any excess.
Now you should have a wallet that looks like the one below.
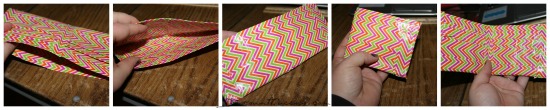
That’s it. Now fill it up with cash, cards, and whatever else you want in your wallet.
I love having my duct tape wallet, it is so much easier for me to find when I misplace it! 🙂
Make sure to pin this to Pinterest to save for later! If you are not following us on Pinterest, make sure to do so now so you don’t miss out on some great pins!
Hope you enjoyed Week 40  of 52 Weeks of Pinterest, come back next Saturday for another attempted pin!If you don’t want to wait a week for a new pin idea, checkout our DIY posts, there are some great ideas there as well!
More Related Diys


Trending DIY Projects
- DIY
- Recipes
- Deals
- Blog


Report a Problem
Please select the problem you are facing with this deal:
- Price Increased
- Price Decreased
- No longer available
- Expired
- Link doesn't work
- Suggestion
- Compliment
- Other
Add more details:
Thank you for your feedback. We really appreciate it.
Enter your email address if you would like
to receive a follow up.
Please Try Again
Thanks for providing the email address.
We will reach out to you as soon as possible.


Popular
Recommended
About Us

At Fabulessly Frugal, our goal is to help you live HEALTHY, WEALTHY, and WISE! My team and I work hard to bring you the best, online deals, clean eating, DIY's, freezer meal recipes, and more! I LOVE coaching and inspiring people to improve their health in my fitness challenge! You should also check out my favorite cleanse! Learn more about me and the rest of my team.

Copyright © 2008–2024
Fabulessly Frugal: A Coupon Blog Sharing Gift Ideas, Amazon Deals, Printable Coupons, DIY, How to Extreme Coupon, and Make Ahead Meals. All rights reserved